
Jun
Getting Started With Your Huggy Wuggy
So I made my first Huggy Wuggy back in spring 2022 when my nephew wouldn’t stop talking about Poppy Playtime and honestly I had no idea what I was getting into with those long arms. The pattern itself isn’t super complicated but you gotta be ready for a lot of blue yarn and some patience with the limbs.
First thing – yarn choice matters more than you’d think. I used Red Heart Super Saver in that bright blue color, I think it was called Bright Blue or maybe just Blue? They have like fifty blue shades. You’ll need probably 3-4 skeins of the blue depending on how big you want to make him. For the mouth and details I grabbed some black and white from my stash, honestly can’t remember the brand for those but any cheap acrylic works fine. Some people get all fancy with fancy yarn but Huggy Wuggy is a creepy toy monster so the slightly stiff acrylic actually works better for keeping his shape.
The Body Structure
You’re basically making a tube for the body. Start with a magic ring, do like 6 single crochet in the ring, then increase every round until you get to whatever width you want. I made mine about 4 inches wide at the widest part. The body is pretty straightforward – just keep crocheting in rounds without increasing once you hit your desired width. Make it maybe 8-10 inches long before you start decreasing for the bottom.
The annoying part and this drove me crazy was stuffing it evenly while also attaching those ridiculous arms. Like you need the body firm enough to support those long heavy arms but not so stuffed that it’s rock hard. I ended up having to unstuff and restuff mine twice because it looked lumpy and weird.
Those Arms Though
Okay so the arms are what make Huggy Wuggy recognizable right? They’re super long and dangly. Each arm is basically a long tube that you make by chaining like 40-50 stitches depending on how long you want them. Then you single crochet back down the chain, which creates this flat piece. Then you fold it in half lengthwise and slip stitch or single crochet the edges together to make a tube.
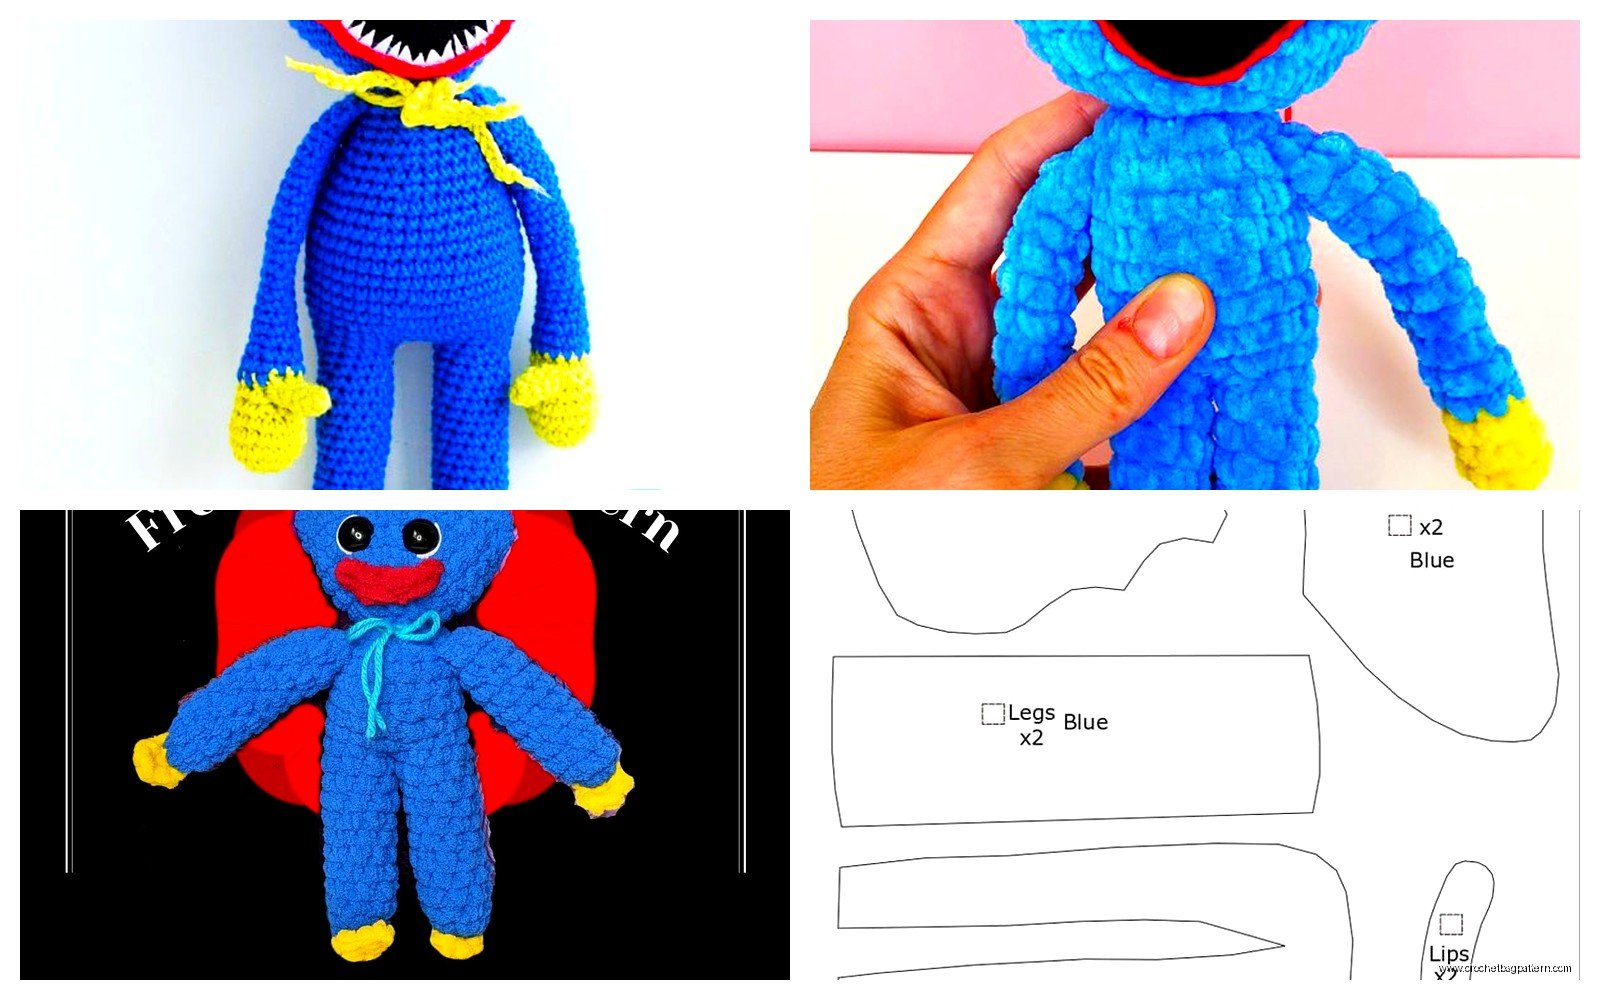
For the hands, I just did a simple mitten shape – decrease at the end of the arm tube to make it narrower, then work in rounds for a few rows before closing it off. The fingers are optional honestly. I tried making individual fingers on my first one and it looked weird and took forever, so on the second one I made for my friend’s kid I just did the mitten hands and called it done. Nobody complained.
The arms attach to the upper body, maybe an inch or two down from where the head will go. I stitched them on really securely because kids yank on stuff. Used regular sewing needle and thread that matched the yarn color and went through multiple times.
Legs and Feet
The legs are shorter than the arms but same concept. I made them about half the length of the arms. Start with the foot – make an oval shape for the bottom of the foot by chaining like 8 stitches, then single crochet around the chain, increasing at the ends to make that oval shape. Then work up in rounds without increasing to make the leg tube. You’ll need two obviously.
The feet are kinda big and clownish looking which is part of his creepy vibe. I stuffed the feet pretty firmly so he could stand up on his own but the legs I left a bit softer so they’d pose better.
The Head and Face Details
The head is probably the most important part because that’s where all the creepy happens. Make it bigger than you think – like noticeably bigger than the body. I started with the same magic ring technique, 6 sc in the ring, then increased every round until it was about 5-6 inches wide. That’s probably too specific because I didn’t actually measure I just eyeballed it but yeah, big head.
Work in rounds for a while to make it sphere-ish, then decrease to close it up. Leave the neck part open because you’ll attach it to the body later.
That Creepy Mouth
This is where it gets fun or terrifying depending on your perspective. The mouth is basically a big oval that you applique onto the front of the head. I used black yarn and made an oval similar to how you make the foot base – chain a bunch, then single crochet around it with increases at the ends. Make it pretty big, like it should take up maybe a third of the head.
For the teeth I used white yarn and just did a bunch of triangular shapes. Chain 4, then decrease back down to make a triangle, fasten off leaving a long tail. Make like 20 of these because Huggy has a LOT of teeth. This part took forever and I was watching that baking show, the British one with the tent, and I got through like three episodes just making teeth.
Sew the black mouth oval onto the head first, then arrange the teeth around the inside edge of the mouth. I did two rows of teeth – one pointing up on top and one pointing down on bottom. Don’t worry about making them perfect, the uneven teeth actually make him look creepier.
The Eyes
I used safety eyes, the big ones, maybe 20mm or 25mm? Get the biggest ones you can find at the craft store. Position them above the mouth, pretty far apart. The wide-set eyes are part of what makes him look unsettling. If you can’t find safety eyes big enough you can crochet circles in white and black and sew them on but the plastic safety eyes are easier and look better in my opinion.
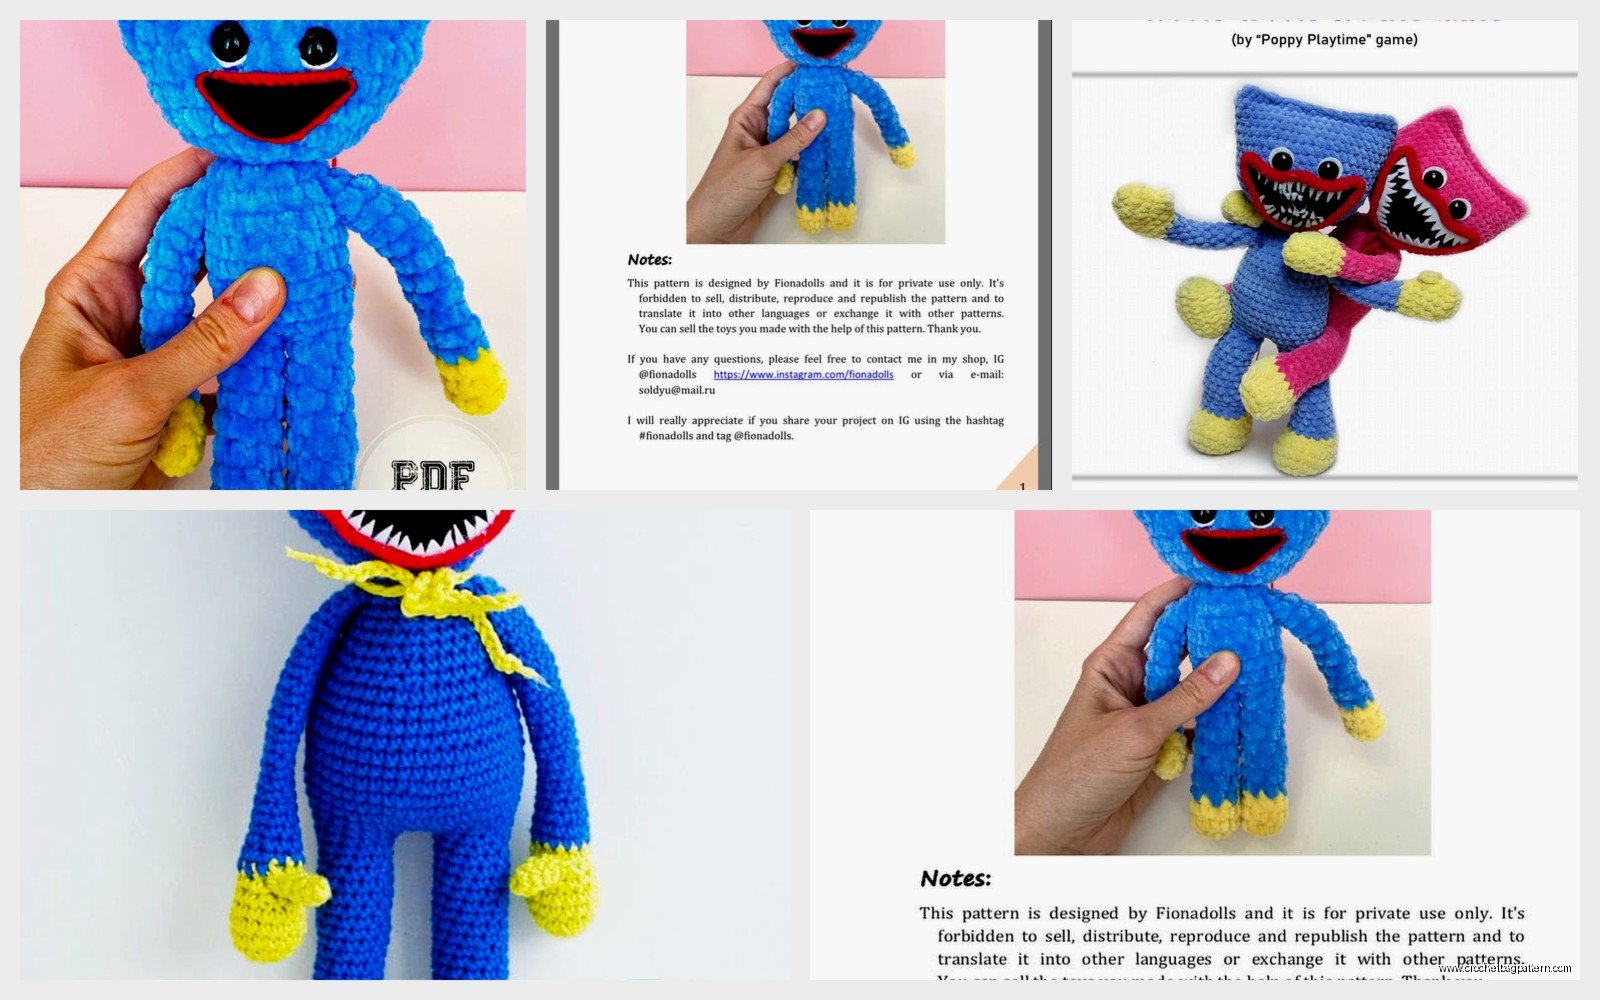
Some patterns have you add white felt or crochet pieces around the eyes but I skipped that because I was getting tired of the project at that point and wanted to be done.
Assembly Is Where Things Get Real
So you’ve got all these parts and now you gotta put them together which sounds simple but there’s a strategy to it or you’ll end up with a floppy mess.
First stuff the head firmly and attach it to the body. I stitched around the neck opening multiple times because this connection takes a lot of stress. Then attach the legs to the bottom of the body – position them so the doll can sit or stand. I put mine pretty close together in the front rather than out to the sides.
The arms attach last because they’re heavy and annoying to work around. Pin them in place first before you sew to make sure you like the positioning. I put mine pretty high up on the body, almost at the shoulders.
Final Details and Fixes
After everything’s attached you’ll probably notice some gaps or loose spots. I went back with yarn and a tapestry needle and just filled in any spaces where the stuffing was showing through or where attachments looked wonky. This is also when you can add any extra details if you want – some people do like a different colored belly or chest piece but I kept mine all blue.
My cat kept trying to attack the arms while I was working on attaching them which was not helpful. Had to lock her out of the room.
Sizing and Yarn Amount
I mentioned this before but it’s worth repeating – you’re gonna need more yarn than you think. My finished Huggy was about 18 inches tall if you don’t count the arms fully extended, and the arms added another 12 inches or so. I used almost 4 full skeins of that Red Heart blue.
If you want to make a smaller version for a younger kid just use a smaller hook and thinner yarn. I made a mini one with sport weight yarn and a D hook and it turned out pretty cute actually, less creepy and more toy-like.
Common Problems I Ran Into
The arms were too heavy and kept pulling away from the body until I reinforced the attachment points with actual thread. Yarn alone wasn’t strong enough for how much those arms weigh when stuffed.
The head wanted to flop forward because it’s so big and heavy. I ended up putting a pipe cleaner or actually it was a twist tie from a bread bag inside the neck area to give it some structure. You could use a cardboard tube or something too.
Getting the mouth positioned right took me three tries. I kept putting it too high or too low and having to rip it out and reposition. Before you sew it on permanently, pin it in place and look at it from different angles to make sure you like where it is.
Variations You Can Try
I’ve seen people make pink or purple versions which aren’t canon to the game but look cool. There’s also Kissy Missy who’s basically the same pattern but in pink with eyelashes. You could add eyelashes with black yarn or felt if you want to make the girl version.
Some people add like wire inside the arms so they’re poseable which seems cool but also like a lot of extra work. The regular stuffed arms are fine, they drape and hang naturally which is kinda the whole point of the character design anyway.
You could also make the teeth out of felt instead of crocheting them which would definitely save time. Cut white felt into triangle shapes and hot glue them on. I’m gonna try that method next time because the crochet teeth were tedious as hell.
Skill Level Real Talk
This isn’t a beginner project even though the techniques are basic. You need to know single crochet, increases, decreases, and how to work in rounds. The actual stitches aren’t complicated but there’s a lot of pieces and the assembly requires some problem-solving. If you’ve made a few amigurumi before you’ll be fine. If this is your first stuffed toy maybe start with something smaller and less… limby.
The whole thing took me maybe 15-20 hours spread over a week? I wasn’t rushing and I did have to redo some parts so someone faster could probably finish in less time.
Final Random Tips
Use stitch markers when you’re working the body and head in rounds or you’ll lose track of where your rounds start and end. I just use little pieces of different colored yarn.
Weave in your ends as you go instead of leaving them all for the end. Future you will be grateful.
If you’re making this for a little kid make sure those safety eyes are REALLY locked in because they’re a choking hazard. Test them by pulling hard. Or just embroider eyes with yarn to be extra safe.
Take progress photos if you’re the type who likes to share your work online because people go crazy for Poppy Playtime stuff. I posted mine on Instagram and got way more likes than my other crochet projects usually get.
The pattern is pretty forgiving overall – if your proportions are slightly off it still reads as Huggy Wuggy because the key features are so distinctive. Long arms, big mouth full of teeth, wide eyes. Get those elements right and people will recognize what you made even if the details aren’t perfect.
