
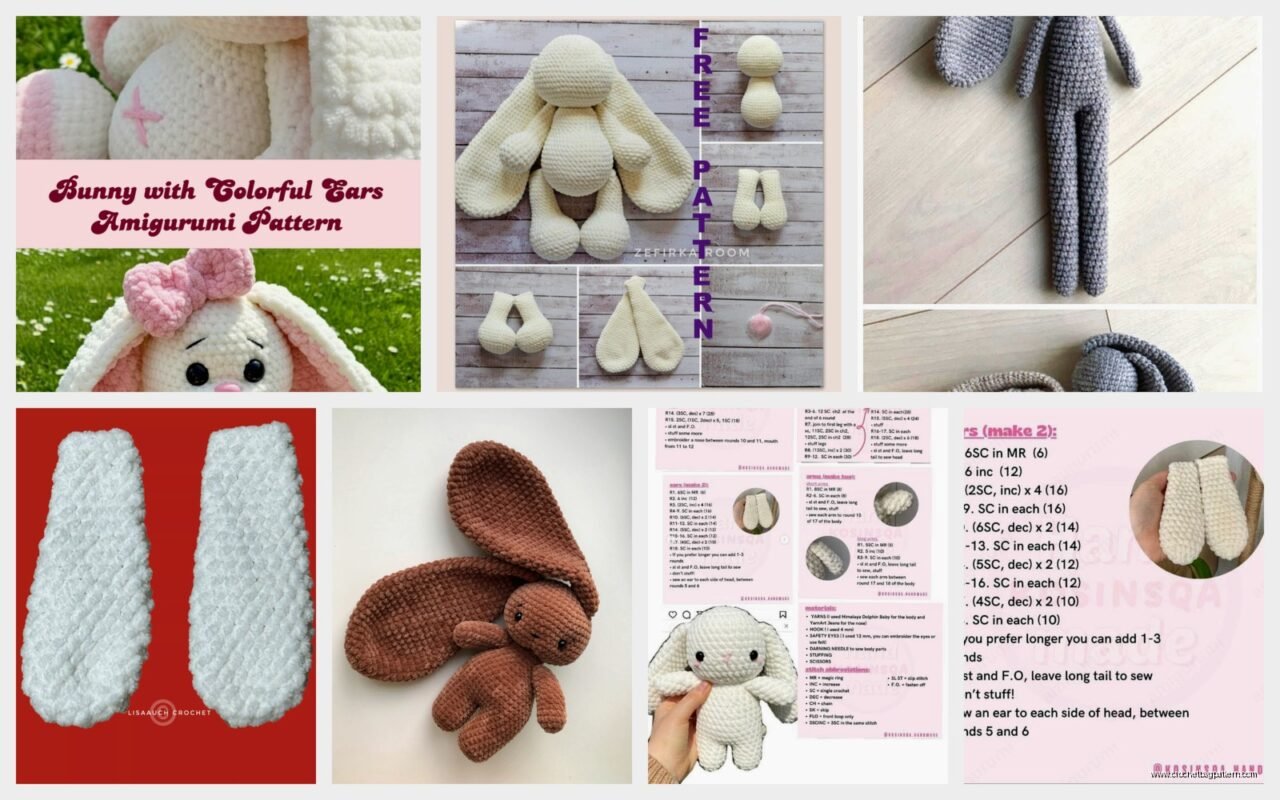
May
Getting Started With Long Eared Bunny Patterns
So I made my first long eared bunny back in spring 2022 when I was binge watching The Office for like the third time and honestly the ears were way more annoying than anyone tells you they’re gonna be. But let me just jump into what actually works because I’ve made probably six or seven of these now and some patterns are trash and some are actually useable.
First thing you need to know is that “long eared bunny” patterns are everywhere online for free but they’re not all the same. Some have ears that are like ridiculously long – we’re talking 12 inches or more – and others are more reasonable like 6-8 inches. You gotta figure out what size bunny body you’re making first because there’s nothing worse than finishing a 5 inch tall bunny body and then realizing your ears are meant for something twice that size.
Yarn Choices That Actually Matter
Most patterns will say “worsted weight yarn” but that’s pretty vague. I’ve used Red Heart Super Saver in that off-white color (Aran I think?) and it works fine but it’s kinda stiff. The bunny stands up on its own which is cool but it doesn’t have that soft cuddly feel. For a baby gift or something you actually want someone to snuggle, I’d go with Bernat Blanket yarn or even that Lion Brand Feels Like Butta stuff – super soft but then your bunny might be floppy.
The ears specifically need yarn that has some structure or they just flop forward and look sad. I learned this the hard way when I made one with this really soft cotton blend and the ears literally would not stand up no matter what I did. Had to add wire which was a whole other nightmare because then you’re worried about safety if it’s for a kid.
Basic Supply List
- Worsted weight yarn in main color (100-150g depending on size)
- Smaller amount of pink or contrasting color for inner ear
- Crochet hook size G or H (4mm-5mm)
- Stuffing – like a lot of it, more than you think
- Safety eyes or black yarn for embroidering eyes
- Yarn needle for sewing pieces together
- Stitch markers because you will lose track
The Body Construction
Most free patterns have you start with a magic ring for the body. You’re typically working in continuous rounds which means you need those stitch markers or you’ll have no idea where your round starts. I usually do a 6 sc in the magic ring to start, then increase every round until you get to the widest part of the body.
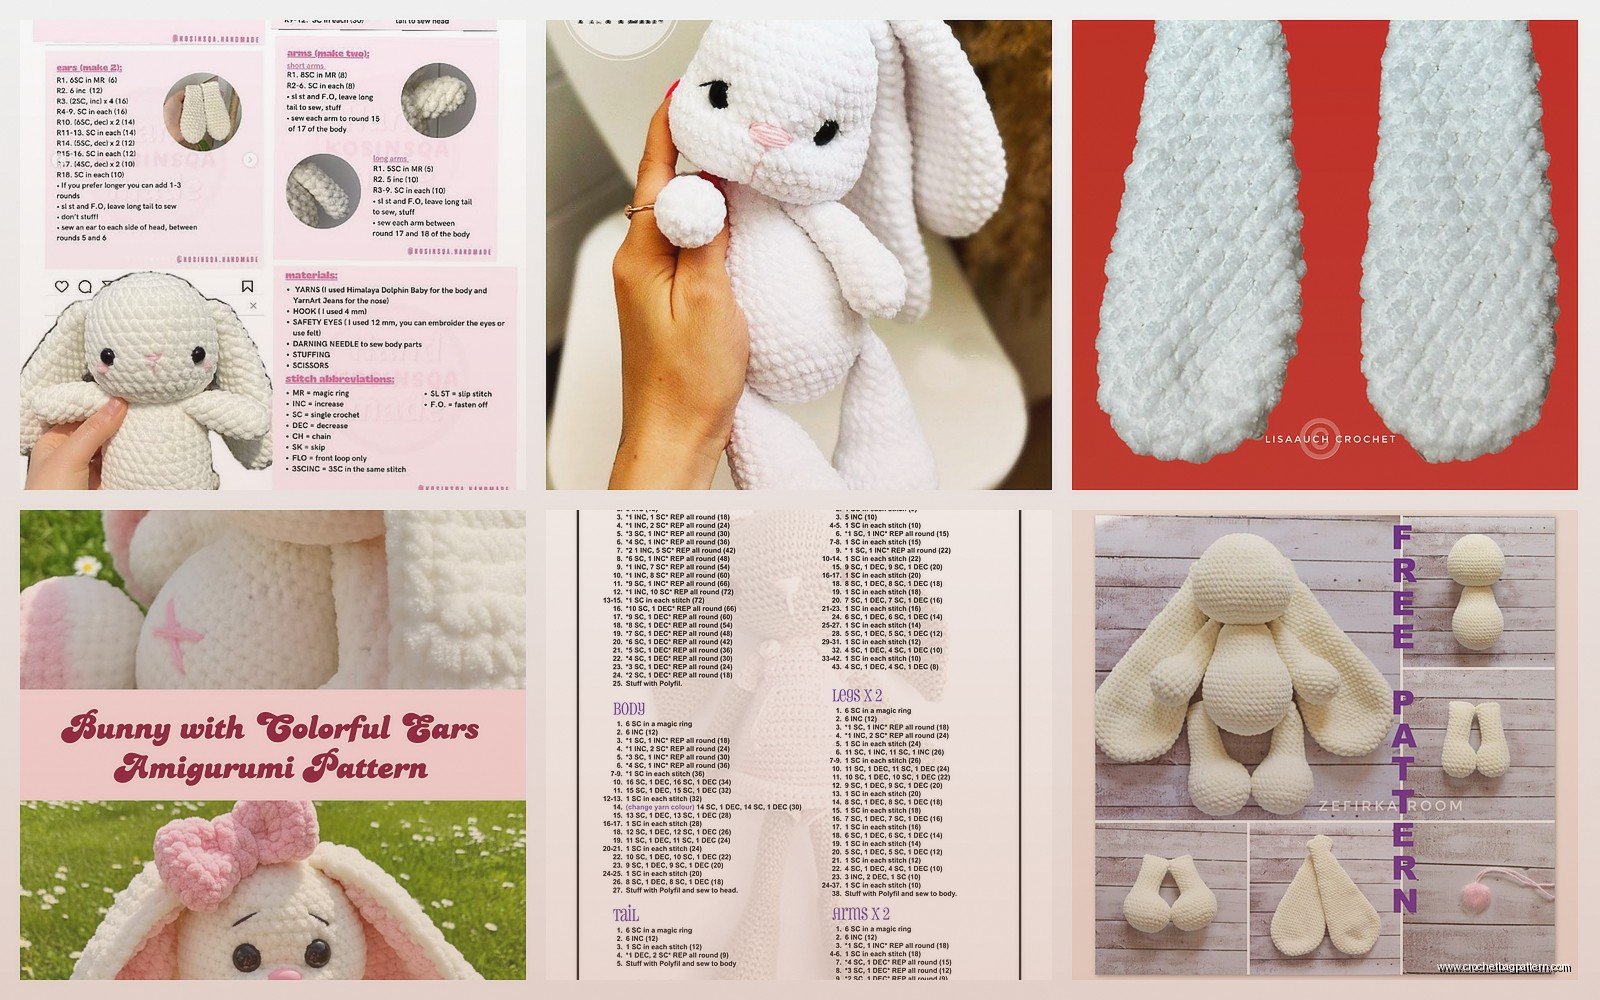
The pattern I use most often has you increase up to about 36 or 42 stitches depending on how chubby you want your bunny. Then you work even (no increases or decreases) for like 10-15 rounds. This creates the main body cylinder. The annoying part is that some patterns don’t tell you when to start stuffing and if you wait too long you can’t get your hand in there properly.
I start stuffing when I’m about halfway through the straight rounds. Just add a little bit at a time and really push it into the bottom part with the end of your hook or a chopstick or something. My cat always tries to steal the stuffing which is why I now crochet with the door closed.
Shaping The Head
The head is usually worked as a continuation of the body or as a separate piece you sew on. I prefer the continuous method because I hate sewing pieces together but it does make it harder to get the neck shaping right. You’ll decrease down to create a neck (usually down to like 24 stitches or so), then increase back out for the head.
The head increases should bring you back up to about 36-40 stitches for a proportional look. Work even rounds for the middle section of the head, then decrease at the top to close it off. This is where you really need to stuff firmly or the head will be all saggy and weird looking.
Those Ridiculous Ears
Okay so the ears are what make it a long eared bunny obviously but they’re also the most frustrating part. During that spring 2022 bunny I mentioned, I literally frogged the first ear three times because it was twisting and I couldn’t figure out why.
Here’s what I eventually figured out: you need to work the ears flat (in rows, not rounds) or in a very specific way if you’re doing them in the round. Most patterns have you chain like 20-30 stitches depending on how long you want the ear, then work back down with single crochet or half double crochet.
The pattern I use does it like this:
- Chain 25 (or however long you want)
- Row 1: sc in 2nd chain from hook, sc across (24 sc)
- Row 2: ch 1, turn, sc in each stitch across
- Repeat row 2 for about 4-6 more rows to create width
- Then start decreasing on both ends to taper the ear
The decreasing is usually something like sc2tog at the beginning and end of each row until you’re down to just a few stitches, then fasten off. You make two of these outer ear pieces in your main color.
Inner Ear Drama
The inner ear pieces are smaller and in a contrasting color. Same concept but you start with fewer chains (maybe 18 or so) and fewer rows. The thing that annoyed me SO MUCH is that patterns never tell you how to actually attach these inner ear pieces to the outer ear pieces before sewing them to the head.
I just whipstitch them on with regular sewing thread in a matching color because using yarn is too bulky. Just center the inner ear on the outer ear piece and stitch around the edges. Don’t overthink it.
Assembly Is Where Everything Goes Wrong
So you’ve got your body/head piece, two complete ears, and probably some little arms and legs if your pattern includes them. Now you gotta put it all together and this is where a lot of people mess up the proportions.
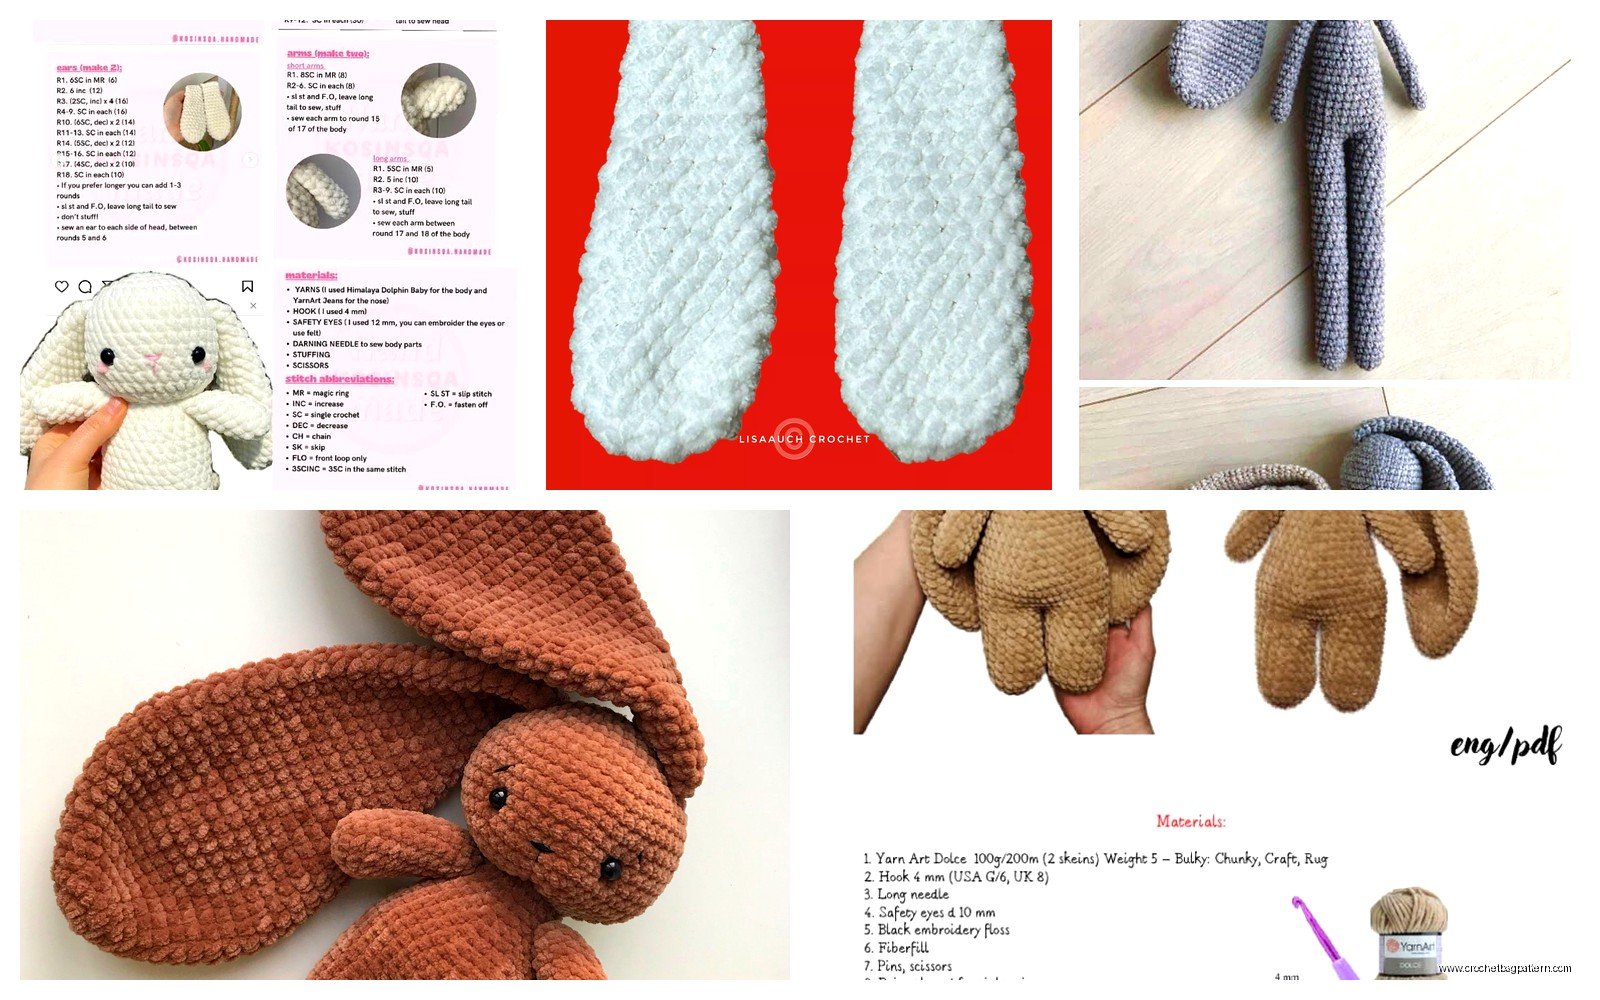
The ears need to be positioned on top of the head but slightly toward the back, not right on top like antenna. I pin them in place first with regular sewing pins, then walk away and look at it from across the room. If it looks stupid from far away, it’ll look stupid up close too. Adjust until the ears look right, then sew them on with the same color yarn as the head.
I use a whipstitch or ladder stitch to attach them, going through both the ear base and the head stitches. Make sure you’re catching enough of the head stitches or the ears will just fall off later – I had this happen with a bunny I gave to my sister and it was embarrassing.
Face Details
Safety eyes should go in before you close up the head completely. I usually put them between rounds 8 and 10 of the head section, with about 6-8 stitches between them. The wider you space them, the more derpy your bunny looks, which honestly can be cute in its own way.
For the nose, you can embroider a small triangle with pink yarn or just do a few straight stitches. Some patterns have you make a whole separate nose piece which seems like overkill to me. I just do a simple Y-shape with the branches going down for the mouth line.
Arms and Legs
Most patterns have simple tube-shaped limbs. Start with a magic ring, increase to about 8-12 stitches depending on thickness you want, work even for the length you need. For legs you might want to make the foot section slightly wider.
The pattern I made in summer 2024 (made one for my neighbor’s baby shower) had these little paw pads on the bottom of the feet which was actually cute but added like an hour to the project. You basically crochet a small oval in pink and sew it onto the bottom of each foot. Skip this if you’re already annoyed with the project.
Legs get sewn to the bottom of the body on either side. Arms go on the sides of the body at about the neck area. I don’t stuff the limbs as firmly as the body or they stick out weird – like just enough stuffing that they hold their shape but still have some flexibility.
Common Problems I’ve Run Into
The ears won’t stand up: This is the worst. You can try adding a pipe cleaner or floral wire inside the ear before closing it up, but then it’s not really safe for babies. Otherwise just accept that your bunny has floppy ears which is also a valid bunny style I guess.
The head is too heavy and tips forward: You didn’t stuff the body firmly enough or your head is too big for your body. Not much you can do after the fact except maybe add more stuffing through the neck area if you can still access it.
Gauge is all wrong and bunny is huge/tiny: Yeah this happens when you don’t check your gauge or switch yarn weights mid-project. I made one with chunky yarn once thinking it would just be a bigger bunny but the proportions were all off because I didn’t adjust the pattern. Just stick with the recommended yarn weight or find a pattern specifically for the yarn you wanna use.
Variations Worth Trying
Once you’ve made a basic long eared bunny you can mess around with it. I’ve done ones with floppy ears instead of upright (just don’t add wire and sew them pointing down), ones with different colored spots, even one with a little vest that I crocheted separately.
You can also adjust the ear length by just adding or subtracting chains at the beginning. Want super dramatic ears? Chain 40 instead of 25. Want more reasonable ears? Chain 18. The width rows stay about the same.
Some people add tails which is just a little pompom sewn on the back. You can buy pompom makers or just wrap yarn around your fingers and tie it off. I usually skip the tail because it seems unnecessary but it does add to the bunny-ness of it.
Yarn Amounts and Planning
For a medium-sized bunny (about 10 inches tall including ears) you’ll need roughly 100-120 grams of main color yarn. The inner ear color you barely use – like maybe 10 grams. If you’re adding arms and legs that might bump up the main color to 150 grams.
I always buy two skeins of Red Heart Super Saver just in case because there’s nothing worse than running out of yarn 3/4 through a project and the dye lot is discontinued. You can usually return unopened skeins or just save them for the next bunny.
Time Investment
A basic bunny takes me about 4-6 hours total if I’m not watching TV or getting distracted. The body and head is maybe 2 hours, each ear is about 30-45 minutes, limbs are quick like 15 minutes each, and then assembly is another hour because I’m slow at sewing pieces together.
If you’re newer to crochet it might take longer, especially if you’re still getting comfortable with increasing and decreasing evenly. The ears are probably gonna take you longer too because they’re worked flat and that’s different from working in the round.
Pattern Sources
I’ve used free patterns from Ravelry, Pinterest (though half those links are broken now), and some random blogs. The best one I found was on a site called Club Crochet or Crochet Club or something – it had actual helpful photos at each step which made the ear attachment finally make sense to me.
YouTube tutorials can be good too but I find them hard to follow for the whole project. I’ll watch one for a specific technique I’m stuck on (like how to do an invisible decrease for the head shaping) but trying to follow along for the entire bunny is tedious.
Just search “free long eared bunny crochet pattern” and you’ll find tons. Read through the whole pattern before starting because some are written confusingly or have errors. If a pattern has lots of comments from people who actually made it, that’s usually a good sign.
The main thing is just to start with one pattern and follow it all the way through before trying to modify stuff. Once you understand the basic construction you can mix and match elements from different patterns or adjust to your liking. My bunnies now don’t really follow any one pattern exactly – I just kind of know what shapes I need and wing it, but that took making several of them following patterns first.
