
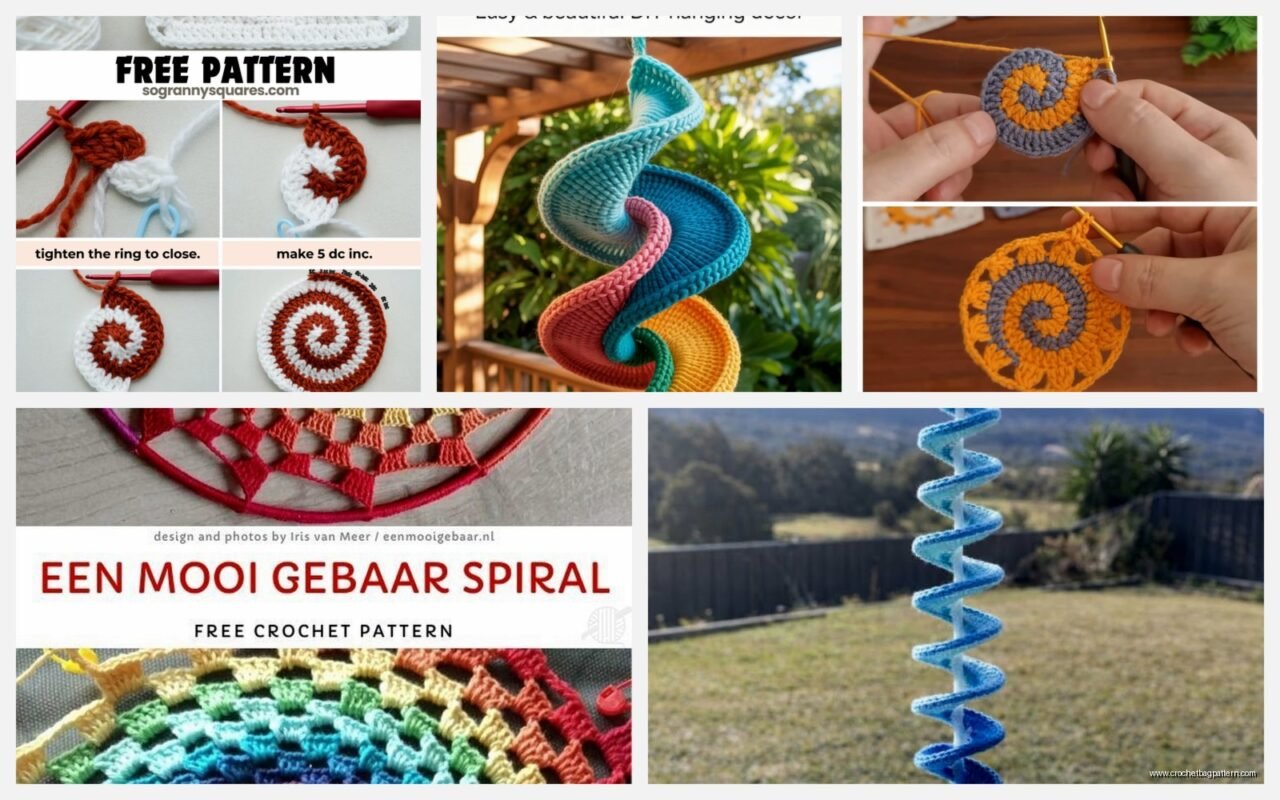
May
okay so spiral crochet patterns
Right so last summer around July 2024 I was making this little spiral basket thing while binge-watching The Bear and honestly the spiral method is way easier than joining rounds once you get the hang of it. Like you literally just keep going around and around without having to slip stitch and chain at the end of each round which saves so much time.
The basic idea is you’re working in continuous rounds instead of joined rounds. You never actually finish a round technically because you just keep spiraling up. Makes sense? It’s like… instead of creating distinct circles stacked on top of each other, you’re creating one long spiral that goes up.
What You Actually Need
You need a stitch marker. This is non-negotiable with spirals because you WILL lose track of where your round starts. I use those little plastic locking ones but even a piece of different colored yarn works. You’re gonna move this marker up at the start of each new round.
For yarn I was using Red Heart Super Saver for that basket project because it was just sitting in my stash and it’s cheap. The color was called Soft Navy I think? But honestly any medium weight yarn works fine for learning this. I’ve also used Caron Simply Soft before and that works too. Lion Brand Pound of Love is good if you’re making something big because you get a ton of yarn.
Starting the Spiral
So you start with a magic ring or a chain ring, whatever you prefer. I always do magic ring because it’s tighter but some people hate those so do what works. For a basic spiral you’re usually working in single crochet but you can do half double or double crochet too, it just spirals faster with taller stitches.
Round 1 is typically like 6 or 8 single crochets into your ring. Pull it tight. Now here’s the important part – put your stitch marker in that first stitch you just made. That marks the beginning of your round.
Round 2 you’re gonna increase in every stitch, so 2 sc in each stitch around. You should have 12 or 16 stitches depending on what you started with. When you get back to your marker, DON’T slip stitch. Just move the marker up into the first stitch of the new round you’re about to start and keep going.
That’s it. That’s the whole spiral thing. You just never stop to join.
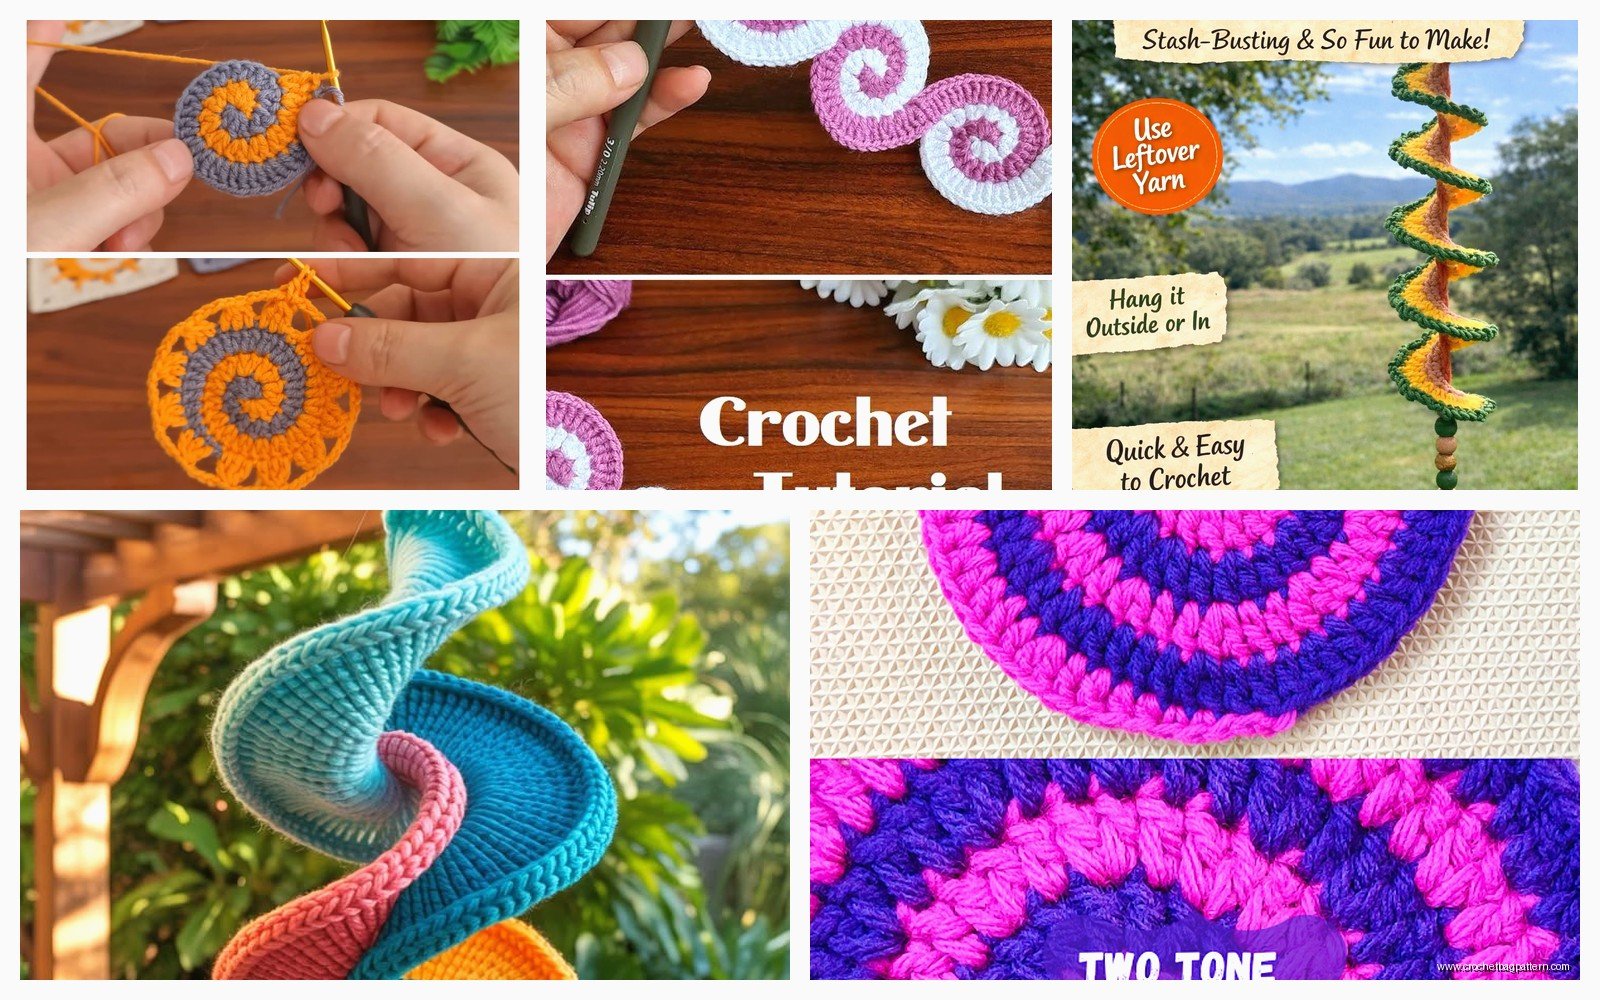
The Increase Pattern for Circles
If you’re making a flat circle (like for the bottom of a basket or a coaster or whatever), you gotta increase evenly or it’ll curl up on you. The pattern goes like this:
- Round 1: 6 sc in ring (or 8, I usually do 6)
- Round 2: 2 sc in each st around (12 total)
- Round 3: *1 sc, 2 sc in next st* repeat around (18 total)
- Round 4: *1 sc in next 2 sts, 2 sc in next st* repeat around (24 total)
- Round 5: *1 sc in next 3 sts, 2 sc in next st* repeat around (30 total)
You see the pattern right? Each round you add one more regular stitch between your increases. So round 6 would be 4 regular stitches then an increase, round 7 would be 5 regular stitches then an increase, etc.
The annoying thing about spirals though is that you get this little jog where the rounds connect. Like there’s this visible line that spirals up your work and it’s just… there. You can’t really avoid it. It annoyed the hell out of me when I first started because I thought I was doing something wrong but nope, that’s just how spirals look. Some people do this invisible join technique at the end but that kind of defeats the purpose of continuous rounds in my opinion.
Working Up Instead of Flat
Once your circle is as big as you want it, you can start working up the sides. For the basket I made you just stop increasing and work one stitch in each stitch around. Your work will naturally start going up instead of out. It’s actually really satisfying to watch it happen.
This is where you gotta be careful with your stitch marker because the rounds can get confusing. I usually do a little tug on the marker every few stitches to make sure it’s still where I think it is.
Counting Stitches in a Spiral
Okay so counting is weird with spirals. Because there’s no clear end to a round, you can’t just count at the end and be like “yep that’s 48 stitches.” You have to count as you go or count from marker to marker. I usually count every round when I’m doing a pattern that matters, but for something simple like a basket I just eyeball it.
If you lose count (which I do constantly), you can count back from your marker. Just look at the stitches between where your marker is now and where it was last round. That’s how many stitches you did.
Changing Colors in a Spiral
Color changes in spirals are also kind of annoying because you get that jog thing even more obviously. The color change spirals up instead of making a clean line. There’s ways to fix this – you can slip stitch to the beginning of the round when you change colors, or do that jogless join thing I mentioned before.
When I made a striped baby blanket back in spring 2022 using this method I just embraced the jog. Used Bernat Baby Blanket yarn in like three different colors and honestly once it was done you didn’t really notice the spiral color change that much. Or maybe I just told myself that because I wasn’t gonna frog the whole thing.
To change colors you just work up to where you want to change, then on your last stitch before the change, pull through the last two loops with your new color. Drop the old color and keep going with the new one. Weave in ends later or carry the yarn up the inside if you’re doing stripes.
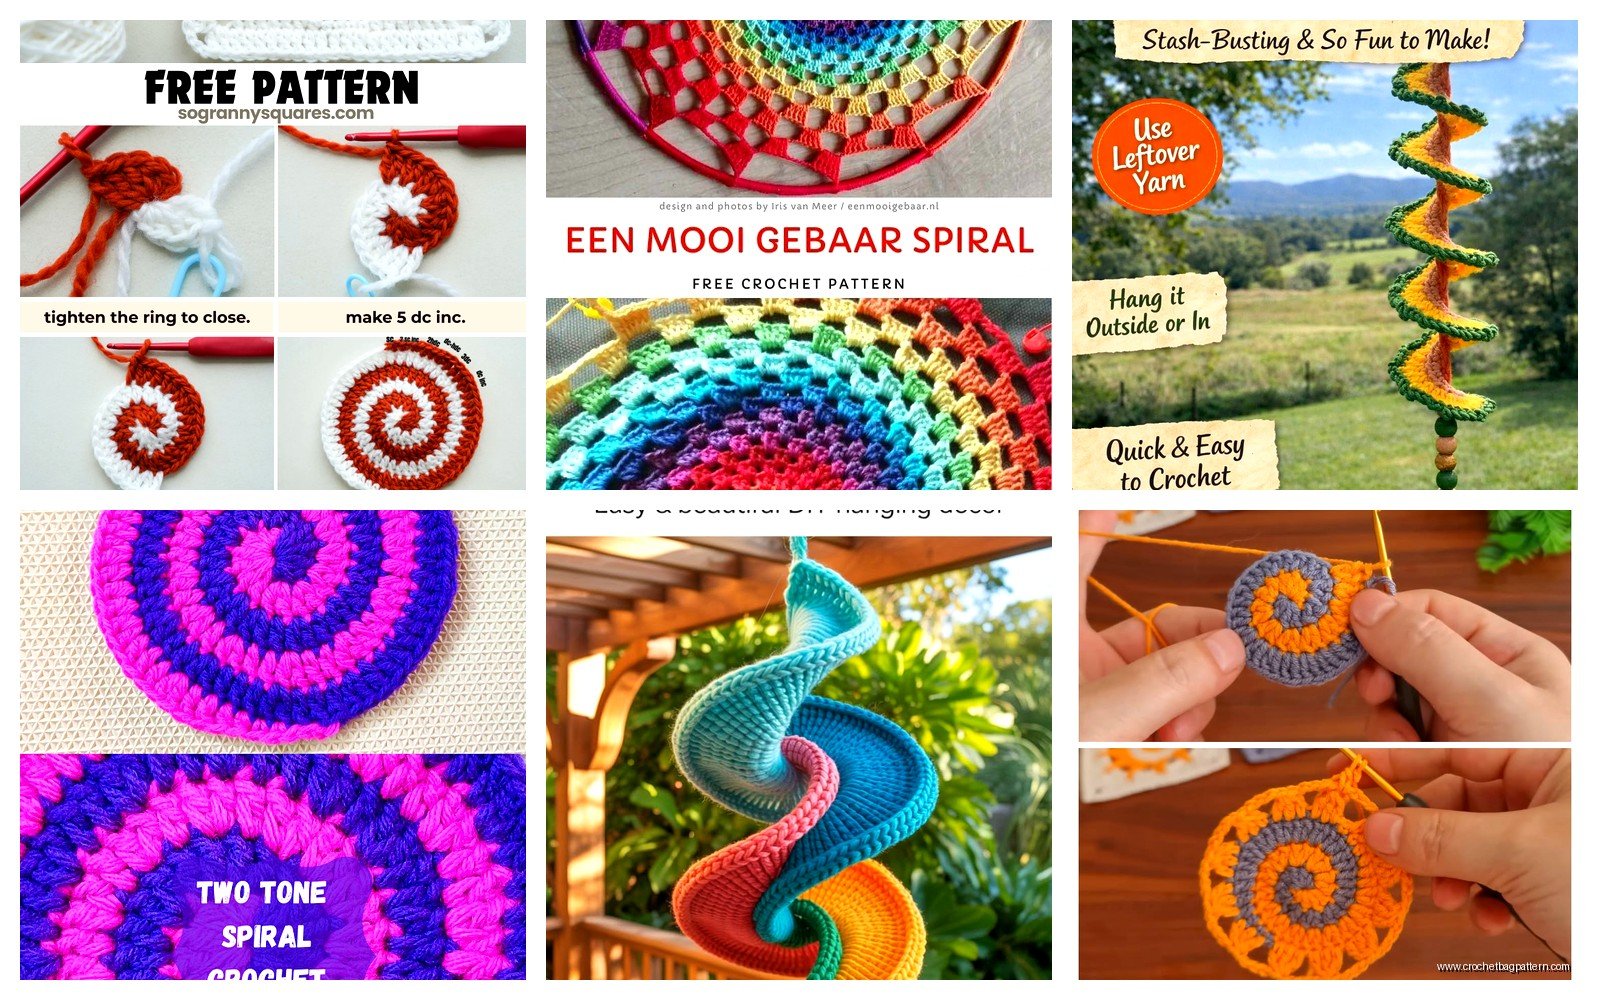
When to Use Spirals vs Joined Rounds
Spirals are great for:
- Amigurumi (stuffed animals) because the jog doesn’t matter as much and you don’t want visible seams
- Baskets and bowls
- Hats if you don’t care about the jog
- Things where you want speed over perfection
Joined rounds are better for:
- Anything with a clear pattern or colorwork design
- Mandalas
- Stuff where you want clean color changes
- Projects where the jog would be really obvious and annoying
Honestly I use spirals probably 70% of the time because I’m lazy and I hate slip stitching at the end of every round. My dog was literally sitting on my lap while I made that basket and kept shifting around and making me lose my place, so the fact that I didn’t have to do any joining made it way easier to pick up where I left off.
Fixing Mistakes in Spirals
If you mess up in a spiral you gotta rip back to before the mistake. There’s no like… oh I’ll just fix this one stitch situation because everything is connected continuously. This is probably the most frustrating part. I’ve ripped back like 15 rounds before because I realized I messed up an increase way back and the whole thing was warping.
The trick is to catch mistakes early. Check your stitch count every round or every few rounds depending on what you’re making. It’s tedious but way less tedious than frogging half a project.
Finishing a Spiral Project
When you’re done with your spiral piece, you can’t just tie off and cut because you’ll be in the middle of nowhere in your round. Well you can but it looks weird. What I do is work up to a few stitches before my marker, then do a slip stitch to the marked stitch. This creates a little bit of a join but it’s less noticeable than just stopping randomly.
Or you can do the invisible finish which is where you cut your yarn with a long tail, thread it on a yarn needle, and weave it through the tops of the stitches to create a fake join. I’ve done this for amigurumi heads and stuff where the finish needs to be really clean.
Tension and Spirals
Your tension matters more in spirals than in joined rounds I think because any weirdness just keeps spiraling up with you. If you crochet too tight for a few stitches, that tightness is gonna be visible as a line going up your work. Same with loose stitches.
I’m naturally a pretty tight crocheter so I usually go up a hook size from what the yarn label says. For that Red Heart Super Saver I used a 6mm hook instead of the recommended 5.5mm. Made the fabric a bit more drapey which worked better for a basket anyway.
Common Spiral Patterns
The most basic spiral is the one I already described – starting with a flat circle and working up. But you can do other stuff too.
There’s the cone spiral where you keep increasing but not as much as you would for a flat circle. This makes it cone shaped obviously. Good for like… I dunno, decorative trees or witch hats or whatever.
There’s the decrease spiral where you start with a wide circle and slowly decrease to close it up. This is how you make the top of a hat or close up amigurumi pieces. Same principle as increasing but backwards – you skip increases and start doing decreases instead.
You can also do spiral patterns with different stitches. Like alternating rows of single crochet and half double crochet creates this cool texture. Or doing front post and back post stitches in a spiral creates ribbing. I made a basket with alternating rounds of sc and dc once and it had this nice ridged texture.
The Math of Spirals
Okay so technically there’s math involved if you wanna get precise about it. The standard increase for a flat circle in single crochet is 6 stitches per round. So you start with 6, then each round you add 6 more (12, 18, 24, 30, etc).
If you start with 8 stitches you’d add 8 per round (8, 16, 24, 32, etc).
For half double crochet the increase is usually 8 per round because the stitches are taller. For double crochet it’s 12 per round.
But honestly I don’t always follow this exactly because different yarns and tensions behave differently. Sometimes you need to add an extra increase or skip one to keep things flat. You gotta just look at your work and see if it’s ruffling (too many increases) or cupping (not enough increases).
Stitch Markers Deep Dive
Since stitch markers are so important for spirals I’m gonna talk about them more. The locking ones are best because they actually clip onto your stitch and won’t fall out. The ring ones can slide around and get lost.
Put your marker in the TOP of the stitch, like through both loops after you’ve completed the stitch. Not in the side or the bottom. Makes it easier to see and move.
Move it EVERY round. Don’t skip this. I’ve tried to be lazy about it and just estimate where the round starts and it never works. You will lose track.
Some people use two markers – one for the start of the round and one a few stitches ahead so they can count between them. I’ve never done this but it might help if you keep losing count.
Troubleshooting Spiral Weirdness
If your spiral is twisting or looks wrong, few things to check:
Are you accidentally working in the wrong direction? Like spiraling left instead of right or vice versa? This happens if you flip your work when you shouldn’t.
Are you working in the right loops? You should be working under both loops of the stitch unless the pattern says otherwise. Working in just the front or back loop changes how it looks.
Is your increase pattern consistent? If you’re supposed to be adding 6 stitches per round but you accidentally add 7 one round and 5 the next, it’ll look wonky.
Are you pulling the spiral up as you go? Sometimes the work can get bunched up and you need to gently pull and shape it to see what it actually looks like.
Spiral Hexagons and Other Shapes
You can make hexagons in a spiral too, you just cluster your increases at six points instead of distributing them evenly. So like… you’d do several stitches, then 2 in one stitch (increase), then several more stitches, then another increase, and repeat that 6 times per round. Creates corners.
Same concept works for squares (4 corners), triangles (3 corners), octagons (8 corners), whatever. I’ve only done hexagons once and it was fine but I prefer circles.
The thing about shaped spirals is that the jog is more noticeable because it crosses over the corners weirdly. So if you care about that, maybe do joined rounds instead.
What I Wish I’d Known Starting Out
The jog is normal and you’re not doing it wrong. Literally everyone’s spirals have that line.
Stitch markers are mandatory, not optional. Don’t try to wing it.
Count your stitches way more often than you think you need to.
Different yarn weights and fibers spiral differently. Acrylic is pretty forgiving, cotton is less stretchy so mistakes show more, wool is… well I haven’t used wool much because it’s expensive but probably it’s fine.
You can’t really block a spiral into a different shape. Like if your circle is ruffling, blocking won’t fix it. You need to actually adjust your increases.
Sometimes you just gotta accept that handmade stuff looks handmade and that’s okay. That basket I made has a wobbly spot where I clearly messed up the tension but I still use it to hold my remotes and nobody’s ever said anything.
Oh and one more thing – if you’re making something like a hat in spiral and you want the top to be closed, you decrease down to like 6 stitches then cut your yarn with a long tail and thread it through those last 6 stitches and pull tight. Creates a closed top. Then weave in the end on the inside.
