
Jun
Getting Started With Your Snail
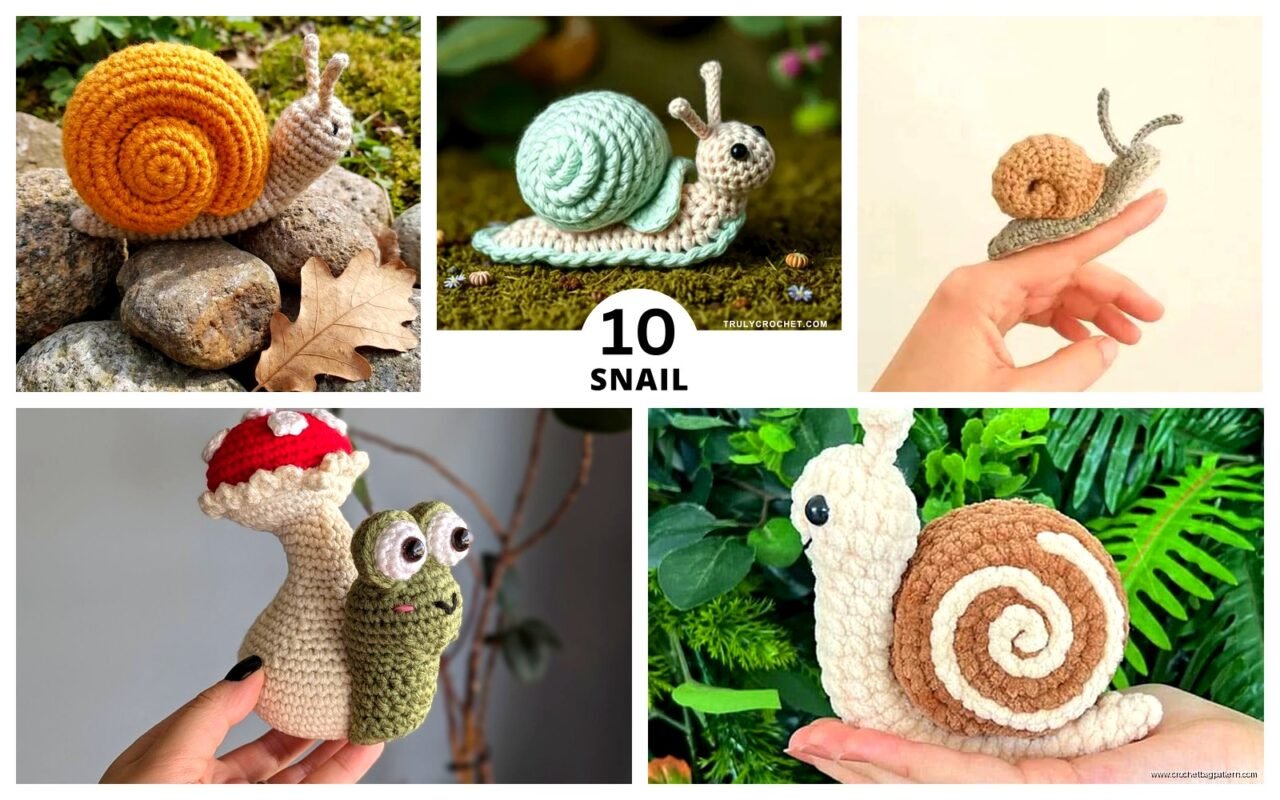
So basically you’re gonna want to start with the shell because that’s the part that takes forever and you might as well know early if you hate it. I made my first snail in spring 2022 when I was supposed to be doing actual work and it turned out way better than expected, which was honestly surprising.
The shell is worked in a spiral, and you need to pick your colors first. I used Red Heart Super Saver in Tea Leaf and Buff because that’s what I had lying around, but honestly any worsted weight yarn works. Some people use Bernat Softee Cotton or whatever but I think that’s overkill for something that’s literally just gonna sit on a shelf. The body I did in a cream color, also Red Heart because I’m predictable like that.
The Shell Part
You start with a magic ring, which if you don’t know how to do that just look it up because explaining it in text is basically impossible. Make 6 single crochet stitches in the ring. Then you’re gonna increase every stitch in round 2, so that’s 12 stitches total. Round 3 is the standard increase pattern, sc 1 then increase, repeat around. You end up with 18 stitches.
Keep going with the increases until you hit about 36 stitches. The exact number doesn’t really matter that much because snail shells in nature aren’t perfectly mathematical anyway. What annoyed me SO much about this process was trying to keep track of where each round ended because I wasn’t using a stitch marker at first and kept losing my place. Just use a stitch marker. Or a piece of different colored yarn. Or a bobby pin. Whatever.
After you get to your maximum width, you work even for maybe 3 or 4 rounds. Then you start decreasing, but here’s the thing… you don’t decrease evenly like you increased. You want the shell to start curling and creating that spiral shape. So you’re gonna decrease on one side more than the other.
I usually decrease 6 stitches every other round, but only on one half of the circle. The other half you just sc normally. This makes it start curling to one side. Keep doing this and stuffing as you go because trying to stuff a spiral shell after the fact is genuinely terrible.
The Body Situation
The body is way easier. Start with another magic ring, 6 sc. Then increase to 12. Then work even for about 10-12 rounds depending on how long you want your snail to be. Mine ended up kind of stubby because I got impatient, but it still looked fine.
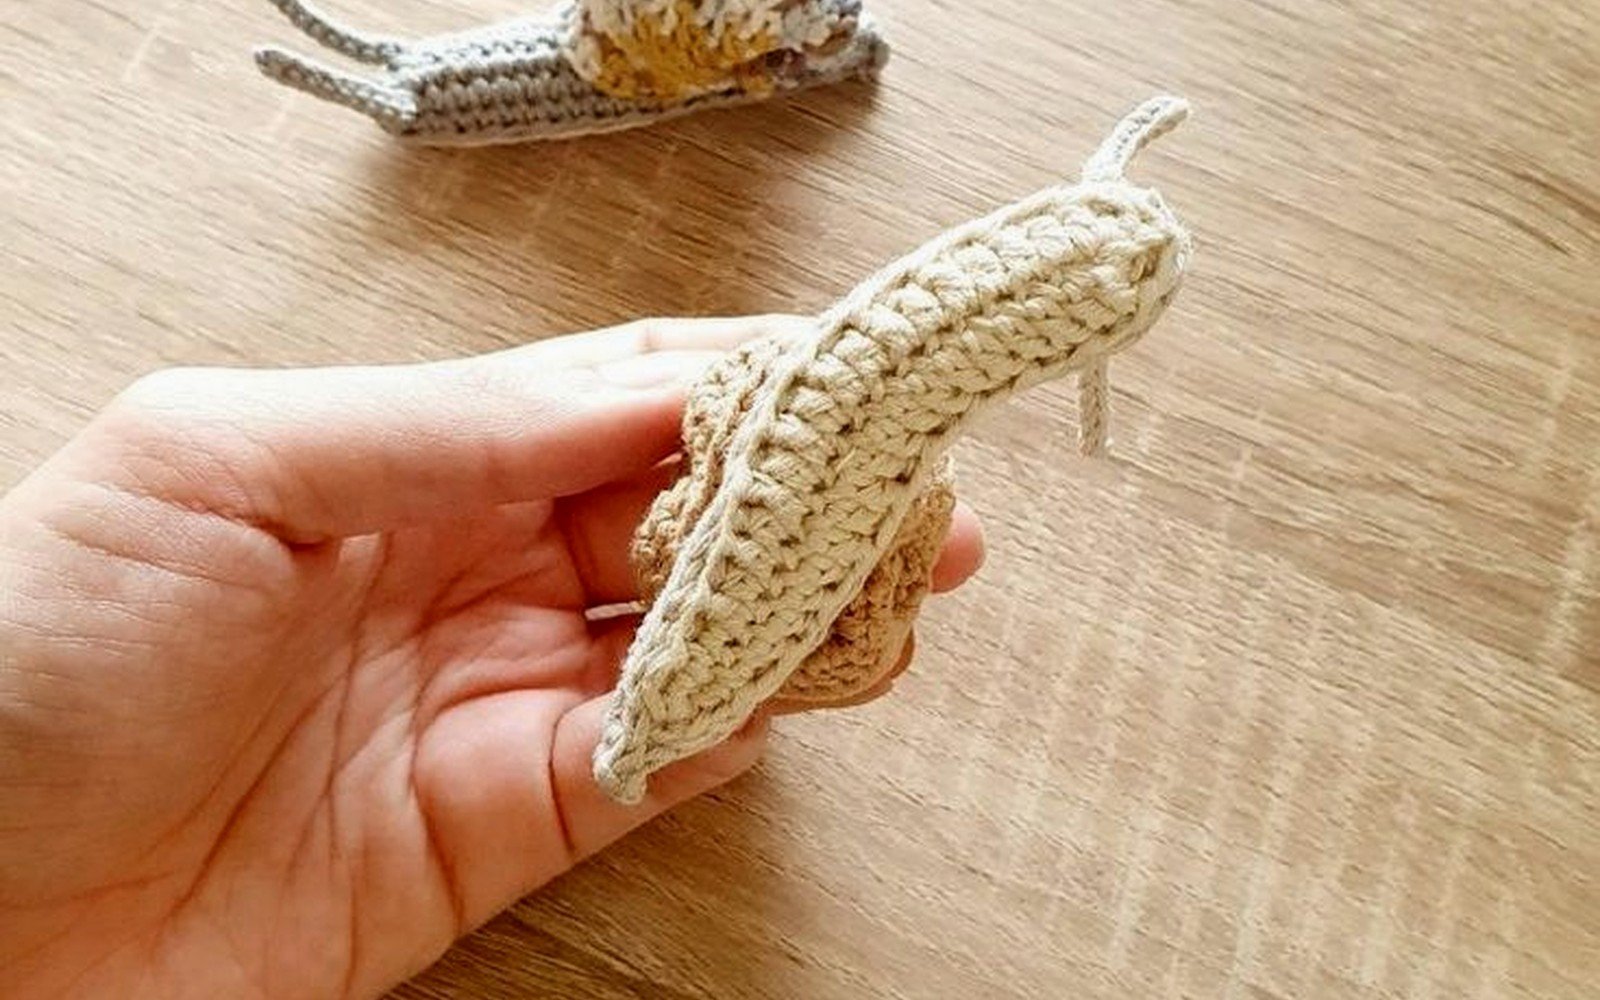
You need to shape the head end a little bit. After your tube of body rounds, do a round where you increase 6 stitches evenly spaced. This makes the head slightly wider than the body. Work 2 more rounds even at this width, then start decreasing to close it up. Leave a long tail for sewing.
For the bottom of the snail, the part that would be touching the ground, you can either just sew the body closed flat or you can make a separate oval piece to sew on. I usually do the flat closure because who’s gonna see the bottom anyway.
The Antenna Things
These are technically called tentacles or eyestalks but I just call them the antenna things. You need two longer ones and two shorter ones because real snails have that setup going on.
For the long ones, chain about 8-10 stitches, then single crochet back down the chain starting in the second chain from hook. That gives you a little thin tube-ish thing. Make two of these. My cat kept trying to attack them while I was working on this part which was… distracting. She thought they were toys.
The shorter ones are the same process but only chain 5 or 6 stitches. These are the ones that have the eyes on them, or at least that’s how I think of it even though technically snails have their eyes on the longer ones? I don’t know, biology wasn’t my thing.
Eyes
You can use safety eyes if you want that really polished look, but I usually just use black yarn and make little French knots or just sew on tiny circles. Safety eyes are like 6mm or 8mm depending on how big your snail is. I made one snail with 9mm eyes once and it looked absolutely ridiculous, like a cartoon character.
If you’re using safety eyes, you gotta put them in before you close up the head completely. Once it’s stuffed and sewn shut you can’t get them in there. Been there, had to redo an entire head because I forgot.
Assembly Is Where It Gets Real
Okay so now you have a shell, a body, four antenna things, and maybe some eyes. Time to put it together and this is where you find out if your snail looks cute or weird. There’s not much middle ground.
First stuff the body firmly but not so tight that it’s hard as a rock. You want it to have some give. Then sew the opening closed if you haven’t already. Position the shell on top of the body, kind of toward the back half. It should sit at a slight angle, not straight up and down. Sew it on with matching yarn using a whip stitch or whatever stitch you know that works.
The shell is heavier than you think it’s gonna be, so make sure you sew it on really securely. I had one shell fall off after a few days because I didn’t sew it enough and that was annoying.
Attach the longer antenna to the top front of the head, spacing them maybe half an inch apart or whatever looks proportional. The shorter ones go in front of those, lower down on the face area. This is all approximate because honestly you’re just eyeballing it.
Color Combinations That Worked
I’ve made probably five or six of these at this point and some color combos were better than others. The tea leaf and buff one I mentioned looked really natural. I also did one with Caron Simply Soft in Dark Sage and Bone that turned out nice. There was one I made in bright purple and pink that was absolutely hideous but my niece loved it so whatever.
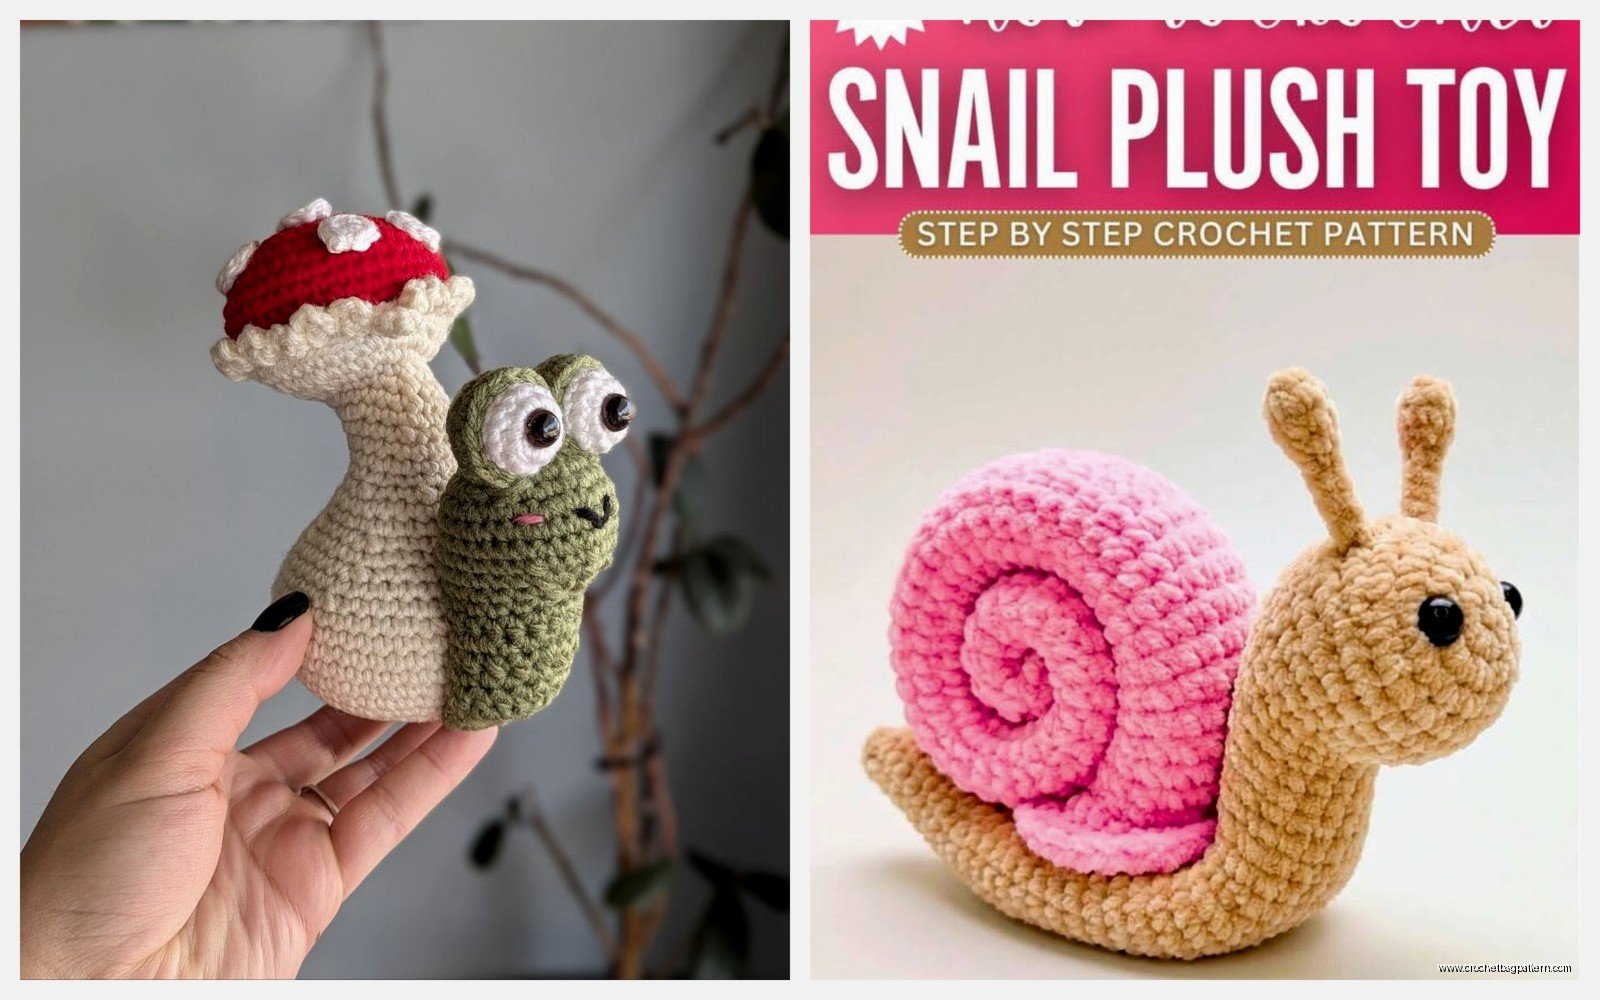
The body color should probably be something light or neutral unless you’re going for a fantasy vibe. Real snails are usually tan or cream or light gray on their body parts. But also who cares, make it rainbow if you want.
Sizing and Gauge Stuff
I usually use a 4mm or 5mm hook with worsted weight yarn. If you use a smaller hook you get a tighter fabric which is better for amigurumi because the stuffing doesn’t show through as much. But also it takes longer and your hand gets tired.
With a 4mm hook and Red Heart Super Saver my snails end up being about 4 inches long not counting the antenna. The shell is maybe 2.5 inches across at the widest point. If you want a bigger snail use a bigger hook or hold two strands together or use bulky yarn.
Gauge doesn’t really matter that much for something like this. It’s not a sweater. As long as your stitches are tight enough that stuffing doesn’t poke through, you’re good.
Stuffing Tips
Use polyfil or whatever stuffing you can find. I bought a big bag of Fairfield Poly-Fil from the craft store like two years ago and I’m still working through it. You need more stuffing than you think for the shell because of the spiral shape. There are all these little pockets that need to be filled or it looks lumpy.
Stuff as you go, especially with the shell. Trying to stuff it after you’ve finished crocheting is basically impossible. The opening gets too small and you can’t reach the inner parts of the spiral. I learned this the hard way on snail number two and had to partially unravel it to stuff it properly.
For the body you can stuff at the end since it’s just a tube shape. Pack it firm but not rock hard. You want it to be huggable if someone’s gonna actually play with it.
Variations You Can Try
Once you’ve made a basic snail you can mess around with it. I made one with a striped shell which involved changing colors every two rounds and weaving in a million ends but it looked cool. You could do spots instead of stripes by working in different colors randomly.
Some people add a little smile with embroidery or a felt mouth. I tried that once and thought it looked kind of creepy but your mileage may vary. You could also add little cheek circles with pink yarn or fabric paint.
I saw someone online who made a slug instead of a snail by just skipping the shell entirely, and honestly that’s genius if you hate making the shell part. Just make the body longer and call it done.
The Spiral Direction Thing
Most snail shells spiral clockwise when you look at them from above but some spiral counterclockwise. This happens naturally when you’re crocheting depending on which side you decrease more on. I don’t think anyone actually cares which direction your amigurumi snail shell spirals but if you’re trying to be realistic, clockwise is more common in nature.
To control this, just pay attention to which side you’re decreasing on. If you decrease more on the left side of your circle, it’ll spiral one way. Decrease more on the right and it spirals the other way. Or just let it do whatever it wants, that works too.
Common Problems
The shell not curling enough is a big one. If your shell is staying flat instead of spiraling, you’re probably not decreasing aggressively enough on one side. You really need to create a significant difference between the two sides of the circle.
The body being too floppy means you didn’t stuff it enough. The antenna falling over means you didn’t make them stiff enough… you can put a pipe cleaner or wire inside them if you want them to stand up straight but honestly I never bother with that.
If your snail won’t sit upright and keeps falling over, the shell might be too heavy or positioned wrong. Try moving it slightly more toward the back of the body and sewing it at more of an angle.
Yarn Amounts
For one snail you need maybe 50 grams of your main shell color and 30 grams of your body color. The accent color for shell stripes or whatever is minimal, maybe 10 grams. This is approximate because it depends on your tension and hook size and how big you make things.
I usually just use scraps from other projects. Snails are good for that because they don’t need much yarn and you can mix colors without it looking weird.
How Long It Takes
The first one took me probably four hours total because I kept messing up the shell and redoing parts. Once you get the hang of it you can finish one in maybe two hours if you’re focused. I made one while watching that whole true crime documentary series… what was it called, the one about the staircase or whatever… and finished it in three episodes.
The shell takes the longest, probably an hour to an hour and a half. The body is maybe 30 minutes. Assembly and making all the little antenna parts is another 30 minutes. This is all approximate and depends on how fast you crochet.
If you’re making multiple snails for like a craft fair or gifts, you can production-line it. Make all the shells first, then all the bodies, then assemble everything. It’s faster that way but also kind of boring.
