
Jun
Getting Started with Amigurumi Dolls
So the magic ring is basically where you gotta start with most amigurumi patterns and honestly it took me forever to get this right. You make a loop with your yarn, work your stitches into it, then pull it tight so there’s no hole in the center. I was making this little bunny pattern back in spring 2022 while binge-watching The Crown and kept ending up with these weird gaps at the top of the head that looked terrible.
The trick is to leave a long enough tail—like 6 inches at least—and make sure you’re working into the ring itself, not just the loop. Some patterns say to start with chain 2 and work into the first chain but that always left a visible hole for me so I just stick with the magic ring now.
Yarn Choices Matter More Than You Think
For amigurumi you want yarn that’s got good stitch definition because you need to see where you’re putting your hook. I’ve used Red Heart Super Saver a ton because it’s cheap and comes in every color, but it can be kinda splitty which gets annoying when you’re trying to work tight stitches. Bernat Softee Baby is actually really nice for smaller dolls—it’s soft and has a slight sheen that makes the finished toy look more polished.
Lily Sugar’n Cream works if you want something that holds its shape really well but it’s cotton so it doesn’t have any stretch and your hands will get tired faster. I made this little octopus last summer, July 2024 I think, using some leftover Sugar’n Cream and my fingers were cramping after like 20 minutes because the stitches need to be so tight.
Hook size is gonna be smaller than what the yarn label recommends. If your yarn says use a 5mm hook, you’ll probably want a 3.5mm or 4mm for amigurumi. The whole point is to make the fabric dense enough that stuffing doesn’t show through. You should barely be able to see between stitches when you hold it up to the light.
Understanding Pattern Abbreviations
Most patterns use the same basic abbreviations and once you know them you can make pretty much anything. SC is single crochet which is like 90% of amigurumi. INC means increase so you put two single crochets in the same stitch. DEC or sometimes you’ll see sc2tog means decrease where you combine two stitches into one.
The pattern will usually tell you how many stitches should be in each round in parentheses like (18) or whatever. Count your stitches every few rounds especially when you’re starting out because it’s so easy to lose track and then your doll’s head is lopsided or—wait I should mention stitch markers because you’re gonna need them.
Get the locking kind not the rings. Just trust me on this. You put one in the first stitch of each round so you know where it starts and ends. I use bobby pins sometimes when I can’t find my actual markers which probably isn’t the best idea but it works.
Basic Doll Construction
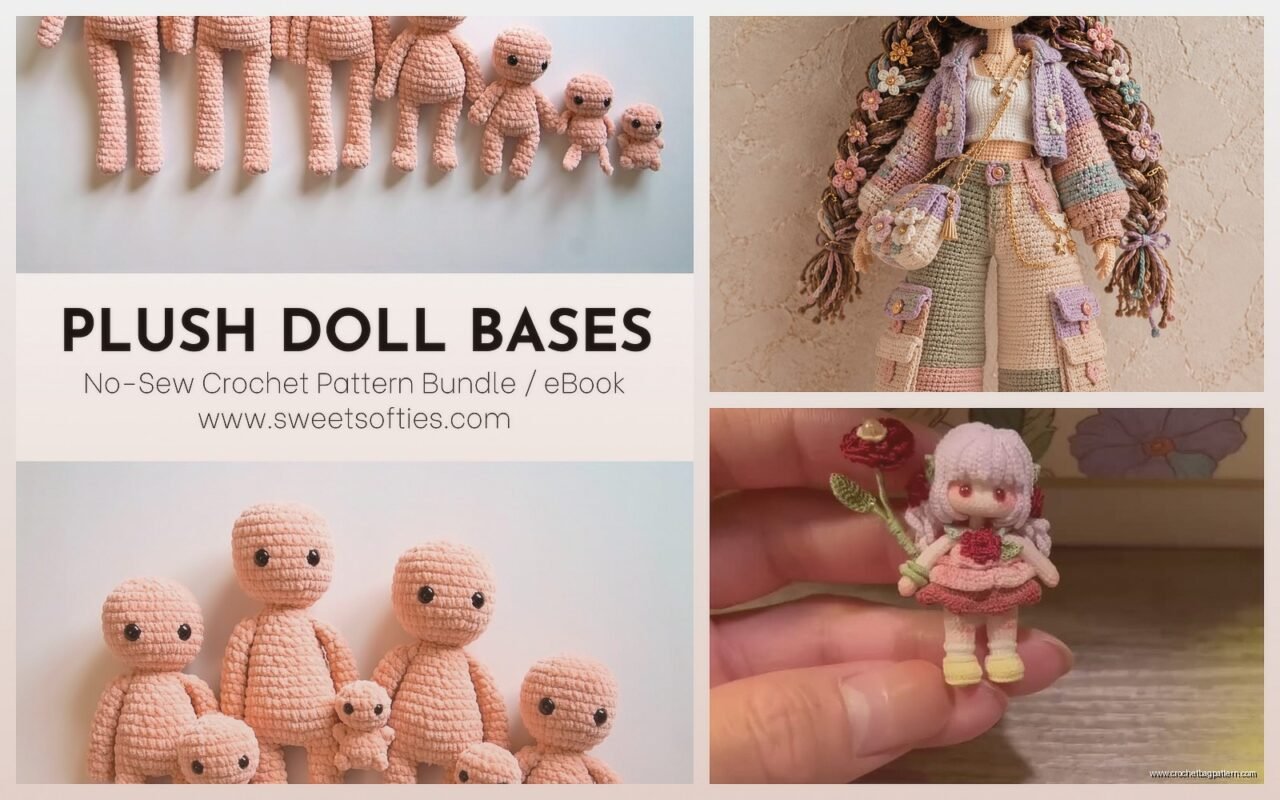
Most amigurumi dolls are made in pieces that you sew together at the end. You’ll make the head, body, arms, legs, maybe ears or other features separately. Some patterns have you make the head and body as one continuous piece which I actually prefer because it means less sewing later and one less seam that might come apart.
The basic head shape starts with 6 SC in a magic ring, then you increase every round for a few rounds until you get to the size you want. Then you work even (no increases or decreases) for several rounds to make the sides of the head. Then you start decreasing to close it up. It makes a sphere basically.
Bodies are usually more cylindrical so you might increase for just a couple rounds then work even for most of it. Arms and legs are like tiny tubes. The thing that annoyed me the most when I was learning this was that different pattern writers have different styles and some are way more clear than others. Like some will write out “Round 1: SC in each stitch around” and others just put “1: 6” and you’re supposed to know that means 6 SC.
Stuffing Techniques
Polyfil is what most people use and you can get it at any craft store. Don’t overstuff or your stitches will stretch out and you’ll see the white stuffing through the gaps. But don’t understuff either or your doll will be floppy and sad looking. You want it firm but not rock hard.
Stuff as you go with pieces like legs and arms because once you’ve closed up the end it’s impossible to get stuffing down into the feet or whatever. I learned this the hard way making a giraffe where the legs were all loose and wobbly at the bottom because I waited too long to stuff them.
For weighted dolls you can put poly pellets in the bottom of the body so it sits better. Just put them in a little fabric pouch or the leg of pantyhose first so they don’t work their way through your stitches. My cat knocked over my container of pellets once and they went everywhere under the couch and I’m probably still gonna be finding them in 5 years.
Adding Faces and Details
Safety eyes are the easiest option and they look professional. You poke the post through from the front and snap the washer on the back before you stuff the head. Once they’re in, they’re in—you can’t reposition them so make sure you like the placement first. I usually put them in around rounds 10-12 depending on the pattern and space them about 6-7 stitches apart but this varies.
Some people prefer embroidering faces with black yarn which gives a softer look and is safer for actual babies. You can do French knots for eyes or just satin stitch ovals. I’m not great at embroidery so mine always look a bit wonky but honestly it adds character.
For blush on cheeks you can use actual makeup—just scrape some pink eyeshadow or blush onto a brush and apply it. Or there’s chalk pastels. Seal it with some matte sealant spray if you want it to last. I never remember to do this step though.
Joining Pieces Together
You’ll use a yarn needle to sew pieces onto the body. Leave long tails when you finish off each piece so you have something to sew with. I usually leave like 12-18 inches. Thread it through your needle and whip stitch around the opening of whatever you’re attaching, going through both the piece and the body.
Pin pieces in place first with regular sewing pins so you can see how they look before you commit. Arms should usually be placed a few rounds below the neck and symmetrical obviously. Legs depend on if you want a sitting or standing doll. Ears on animals need to be positioned carefully or they look drunk.
The seaming is probably my least favorite part because it’s tedious and my stitches never look as invisible as I want them to. Some people are perfectionists about this but I figure if it’s secure and not super obvious then it’s fine.
Reading Patterns vs. Winging It
When you’re starting out, follow patterns exactly. Like don’t try to modify things or you’ll end up with weird proportions. Once you’ve made a few dolls you’ll start to understand how the shaping works and you can adjust.
Free patterns online are great but sometimes you get what you pay for. Ravelry has tons of free amigurumi patterns and most include photos of the finished product. Etsy has paid patterns that are usually more detailed with better instructions and photo tutorials. I’ve bought a few from there for like $5-8 when I wanted to make something specific.
YouTube tutorials are helpful for seeing the actual hand movements if you’re a visual learner. I learned how to do invisible decreases from a video because the written instructions made no sense to me at first—you basically go through the front loops only of the next two stitches, yarn over, pull through both loops, yarn over again, pull through both loops on hook. It makes the decrease less visible than the regular kind.
Common Mistakes and Fixes
If you accidentally skip a stitch or add an extra one, you can usually fudge it in the next round by adjusting. Like if you were supposed to have 24 stitches but you have 25, just do a decrease somewhere inconspicuous. If you’re short a stitch, add an increase. This only works if you’re off by one or two though.
Twisted stitches happen when you’re not going through both loops properly. Your fabric will look kinda wonky and tilted. Make sure your hook goes under both the front and back loop of the V unless the pattern specifically says front loop only or back loop only.
If your rounds are spiraling and you don’t want them to, you might be accidentally working in a spiral instead of joined rounds. Some patterns want spiral rounds where you just keep going around and around. Others want you to slip stitch to join at the end of each round and chain 1 before starting the next round. Check what the pattern calls for.
Specific Pattern Types
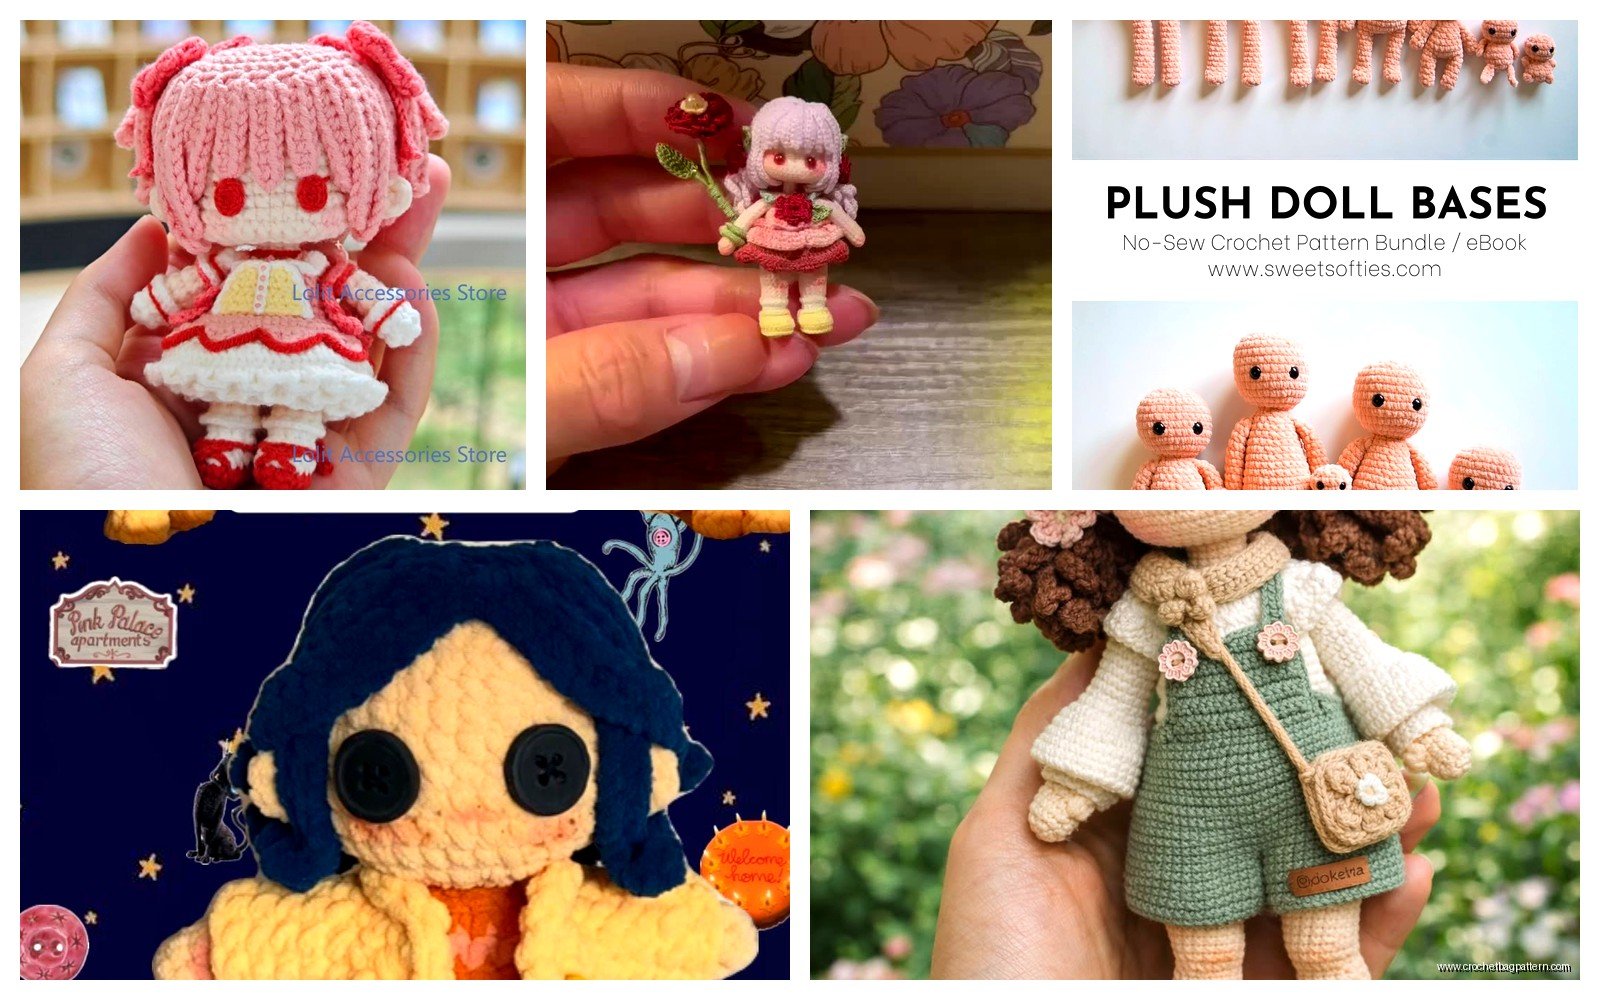
Basic dolls are usually just a head, body, arms and legs with maybe some hair. You can make hair with yarn by cutting strands and attaching them to the head, or by crocheting a little cap with loop stitches, or just embroidering it on. I made a little girl doll in summer 2024 using loops for hair and it took forever but looked really cute with little pigtails.
Animal amigurumi follow similar construction but you’re adding ears, tails, maybe snouts or beaks. Bears and bunnies are good beginner animals because they’re pretty forgiving shape-wise. I tried to make a dragon once and the wings were a nightmare—they kept flopping forward instead of standing out to the sides.
Food amigurumi is fun and usually quicker since the pieces are smaller. Fruits, donuts, little cakes. There’s something satisfying about making a perfect tiny strawberry. The patterns are usually simpler too.
Yarn Weight Considerations
Most patterns are written for worsted weight yarn (number 4) but you can use different weights if you adjust your hook size. Sport weight or DK with a smaller hook makes more delicate, smaller dolls. Bulky yarn with a bigger hook makes chunkier quick projects.
Just know that if you substitute yarn weight, your finished size will be different than the pattern states. A pattern that says the doll will be 8 inches with worsted might only be 5 inches with sport weight. Sometimes this is fine, sometimes it matters if you’re making a set of things that need to match.
Acrylic yarn is washable which matters for kids toys. Wool is nice but can felt if it gets wet and agitated. Cotton is durable but no stretch like I mentioned before. I mostly stick with acrylic honestly because it’s practical and cheap and comes in so many colors.
Finishing Touches
Weave in all your ends with a yarn needle by running them through several stitches inside the piece where they won’t show. Don’t just cut them short or they’ll work loose. I go through like 4-5 stitches in different directions then trim.
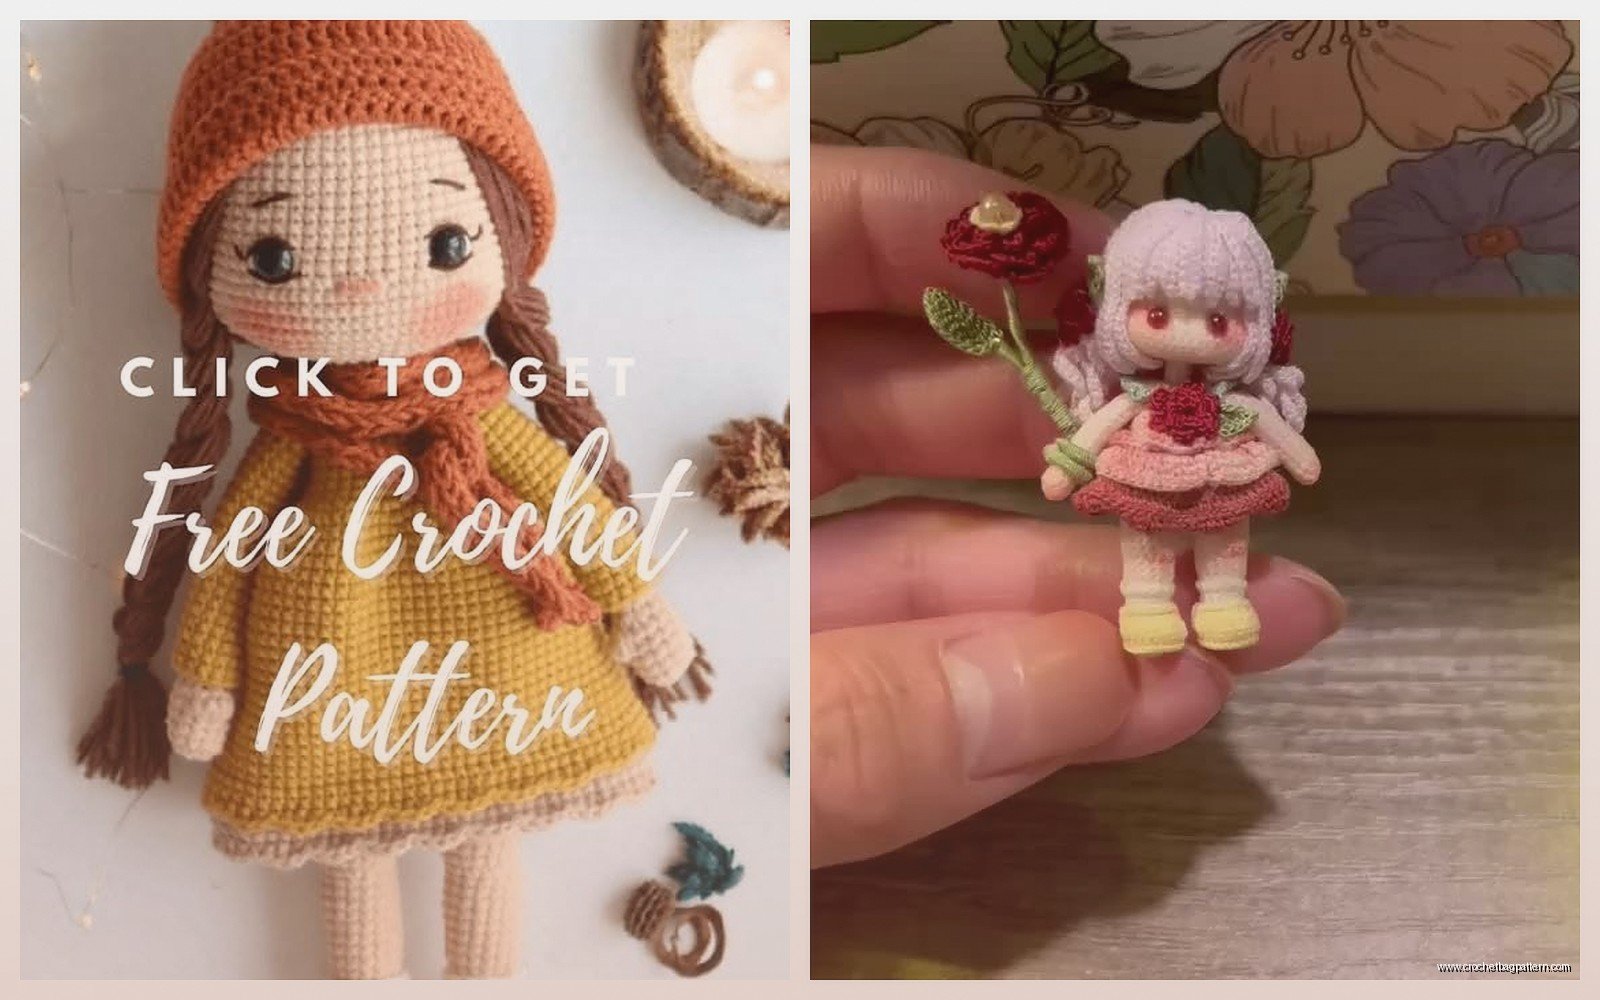
You can add clothes to dolls which is a whole other thing—tiny dresses or hats or scarves. Usually these are made separately and put on the finished doll. Some people get really into making whole wardrobes which seems ambitious to me but whatever makes you happy.
If you want your doll to stand up, use thicker legs or add wire armature inside before stuffing. Just make sure any wire ends are folded over and covered so they don’t poke through. Pipe cleaners work for small dolls.
The nice thing about amigurumi is once you understand the basic techniques you can pretty much make anything. Like the patterns all follow similar logic—start with increases to make it bigger, work even to maintain size, decrease to make it smaller and close up. Everything is just variations on spheres, cylinders, and cones basically. Once that clicks it gets way easier to look at a pattern and know what shape you’re making even before you start.
