
May
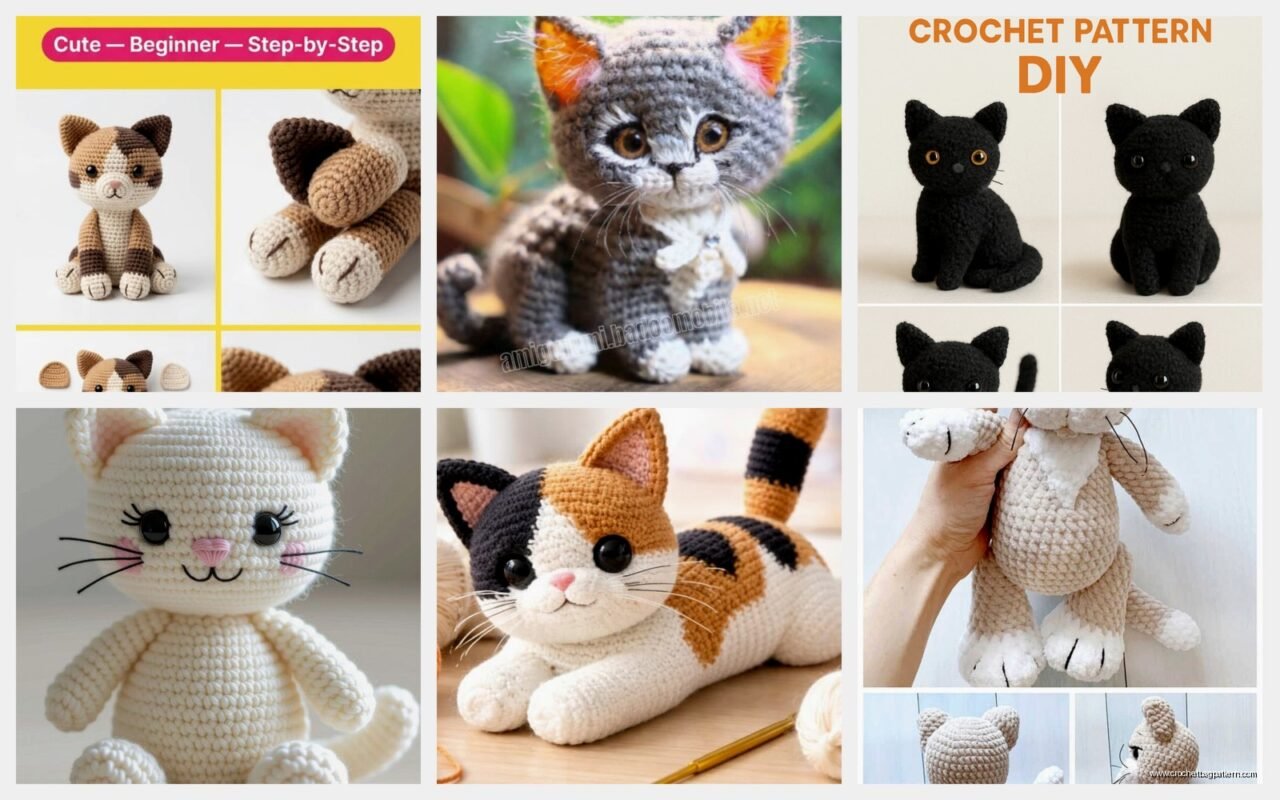
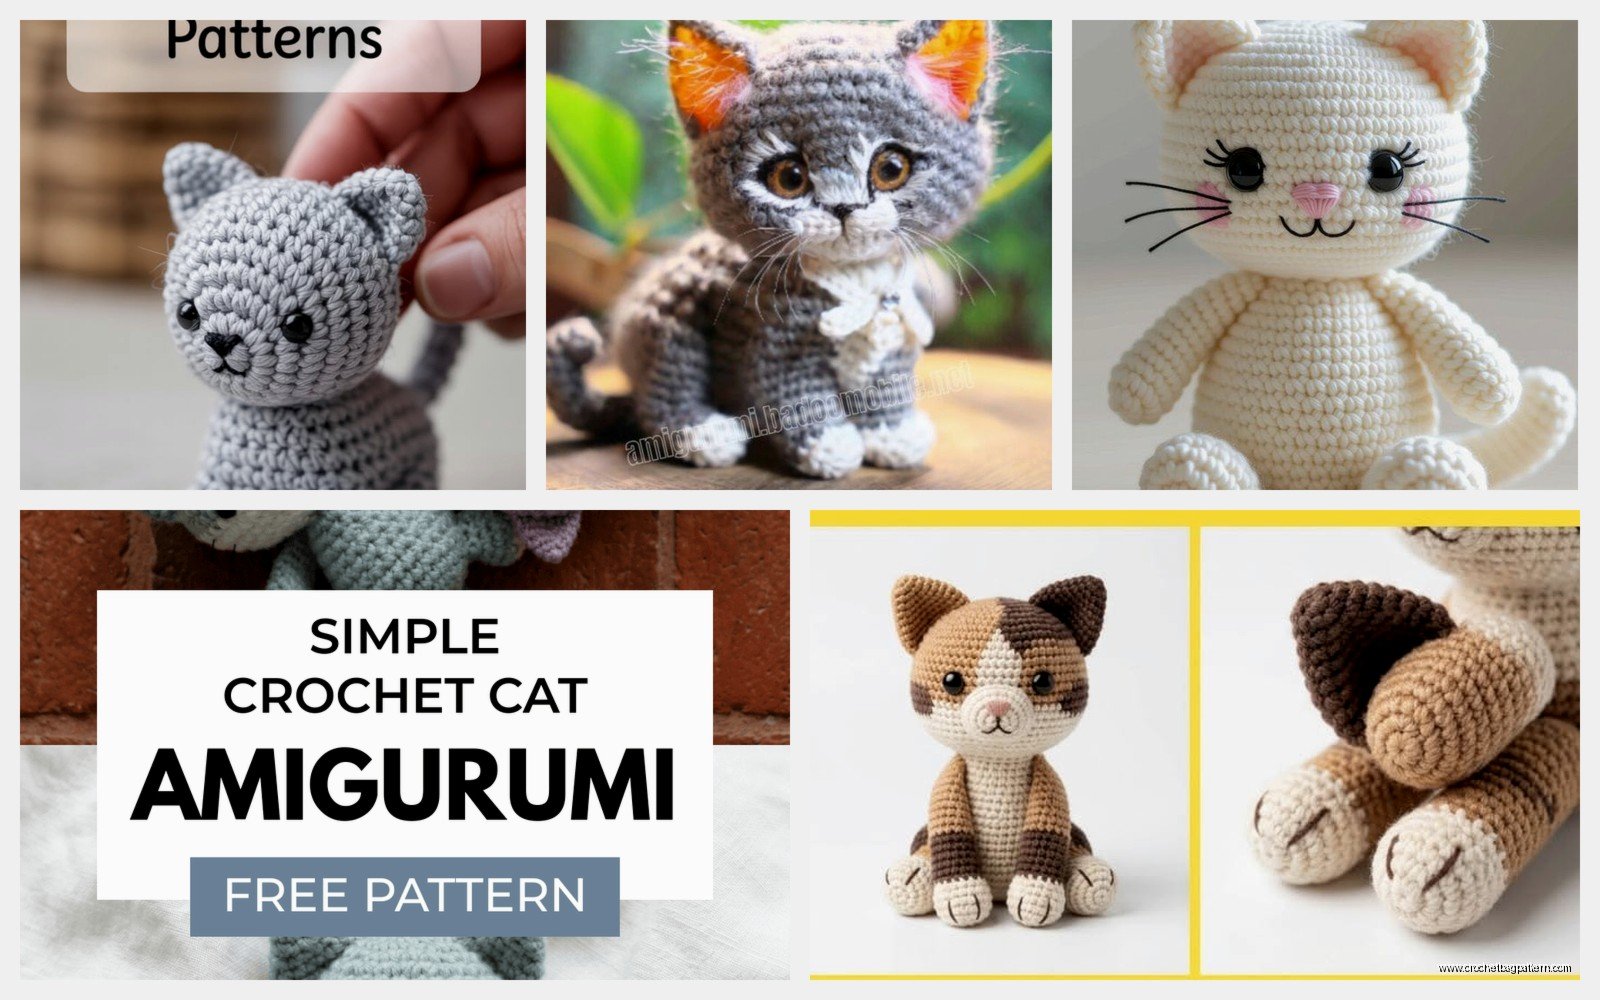
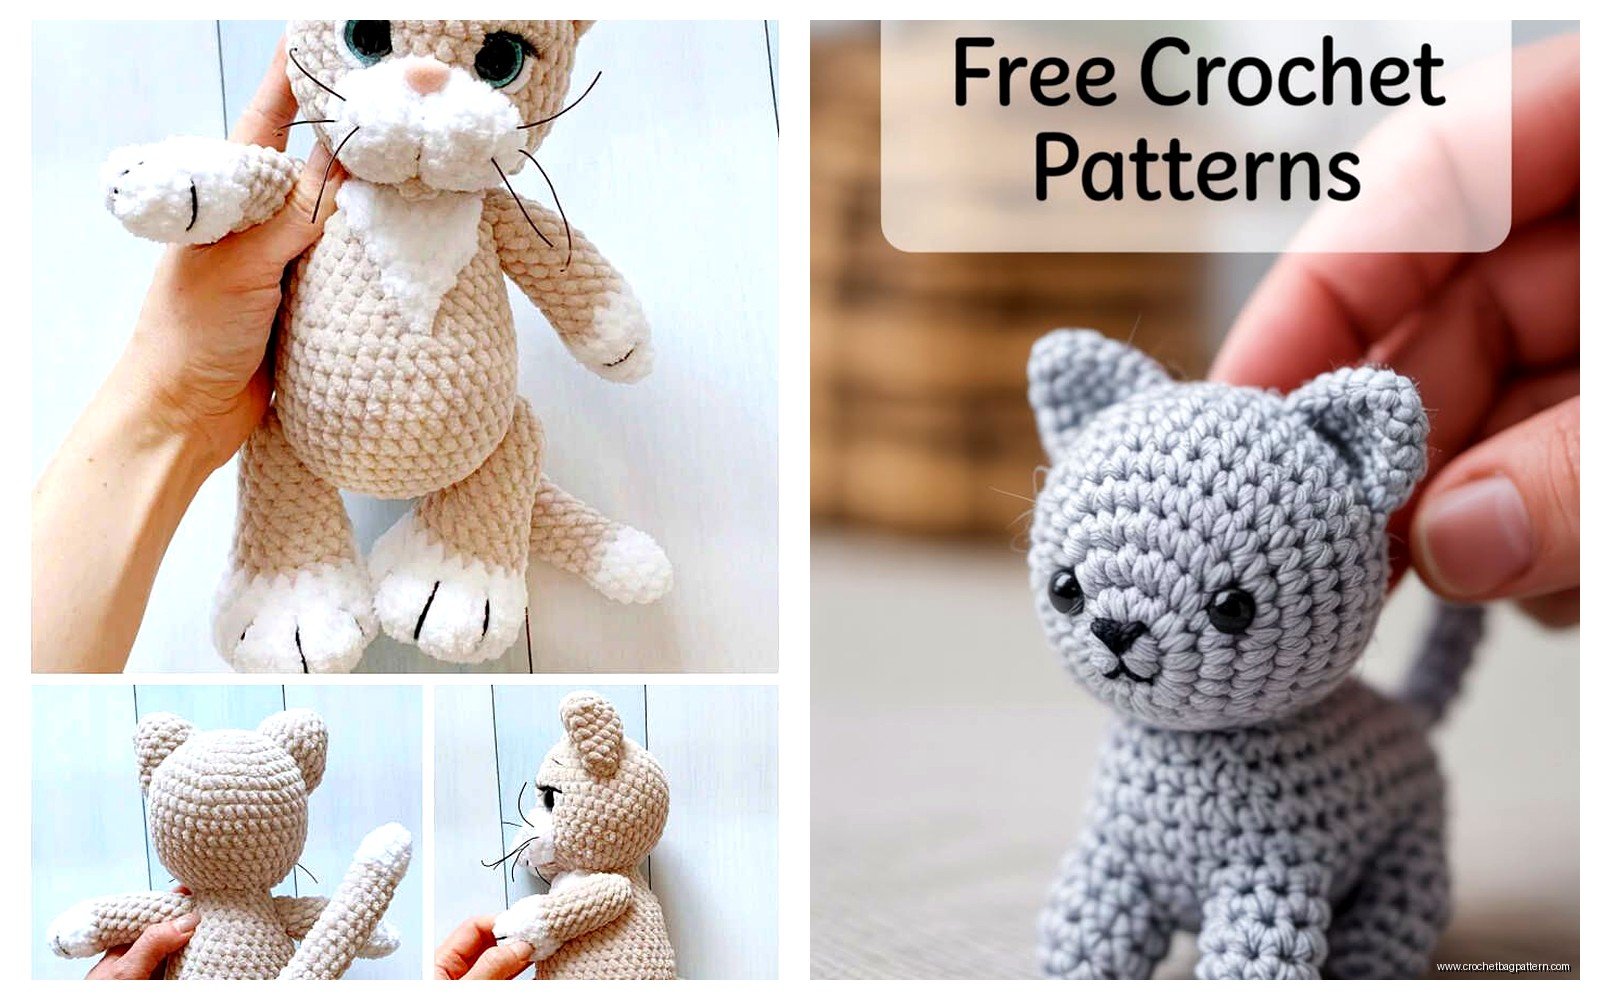
okay so first thing about making amigurumi cats
You need a hook that’s smaller than what the yarn label says. Like if you’re using worsted weight yarn that says use a 5mm hook, grab a 3.5mm or 4mm instead. The whole point is making the stitches tight enough that the stuffing doesn’t show through. I learned this the hard way back in spring 2022 when I made my first cat and you could literally see the polyfil poking through the holes and it looked honestly terrible.
what yarn to actually use
So I’ve tried a bunch and here’s what actually worked for me. Red Heart Super Saver is cheap and works fine if you’re just starting out, comes in like a million colors. The texture isn’t super soft but cats aren’t really about being cuddly soft anyway they’re more about having that satisfying weight when you hold them. I also used Bernat Softee Baby yarn once for a grey tabby and that turned out really nice, though it splits more when you’re crocheting which got annoying.
Caron Simply Soft is probably my favorite middle ground. Not too expensive, doesn’t split as much, and the cats end up with a nice finished look. I made this orange cat during summer 2024 while binge watching The Bear and I swear the yarn choice made such a difference compared to my earlier attempts.
starting with the head because that’s usually first
Most patterns start with a magic ring. If you don’t know how to do a magic ring just youtube it real quick, it’s way easier to see than to read instructions. But basically you’re making an adjustable loop that you can pull tight so there’s no hole in the middle.
Start with 6 single crochets in the magic ring. Then you’re gonna increase in a spiral. Round 2 is increase in every stitch so you end up with 12. Round 3 is single crochet, increase, repeat all the way around for 18 stitches. Keep going with this pattern.
The thing that really annoyed me about making the head was keeping count of where I was. Like you’re going in a spiral and not joining rounds with slip stitches, so it’s super easy to lose track. I finally started using a stitch marker just a cheap plastic one from the craft store and moving it up every round. Game changer honestly.
shaping the head properly
You’ll increase until the circle is big enough for a cat head. For a normal sized cat that’s usually around 36 or 42 stitches depending on your yarn weight. Then you work even (no increases or decreases) for several rounds to make the sides of the head. This is where you start seeing it actually look three dimensional.
When it’s time to decrease, you’re doing the opposite of increasing. Instead of two stitches in one, you’re putting two stitches together (invisible decrease is better than regular decrease because it looks cleaner). The decreasing rounds mirror the increasing rounds basically.
Before you close up the head completely, stuff it. I use polyfil stuffing from Fairfield, comes in a big bag at Walmart. Don’t overstuff or it’ll look weird and lumpy, but don’t understuff either or it’ll be floppy. You want it firm but not like rock hard.
the body is pretty straightforward actually
The body starts the same way as the head with a magic ring and increases. Usually the body is a bit bigger around than the head, so you’ll increase to maybe 48 or 54 stitches. Then work even for a while to make it cylindrical.
Some patterns have you decrease gradually at the bottom, some have you keep it the same width. I prefer a slight decrease because it makes the cat look more natural and not like a tube with legs stuck on.
One thing I figured out is that you can adjust the body length to make your cat look fatter or skinnier. If you want a chonky cat (which let’s be honest is the best kind), work more rounds at the full width before decreasing. For a sleeker cat, start decreasing sooner.
legs and the annoying part about them
Legs are small tubes. Start with magic ring, increase a bit for the paw, then work even for the leg length. Most patterns have you make four legs separately then attach them to the body.
Here’s what drove me crazy though: getting the legs positioned evenly. Like you finish the body and then you’re supposed to sew these legs on and somehow make them all the same distance apart and at the same angle? I still don’t have a perfect system for this. What helped was using pins to position them first before sewing, then standing the cat up to see if it wobbles before I commit to the stitching.
For the back legs I stuff them fully. Front legs I sometimes only stuff the top part and leave the bottom a bit flexible so you can pose the cat sitting or whatever. This isn’t in most patterns but it works.
ears are easier than you think
Cat ears are usually just flat triangles. You can make them by starting with a chain, then working back and forth in rows while decreasing. Or some patterns have you work them in the round and flatten them. Either way works.
The important thing is getting them placed symmetrically on the head. I measure with my fingers like two finger-widths from the center on each side, but that’s not very scientific. Sometimes I still end up with one ear slightly off and it bugs me forever even though no one else notices.
Pin them first, look at the cat from the front and from the side, adjust if needed, then sew them on with the same color yarn you used for the head.
tail time
Tails are another tube, usually tapered. Start with the same magic ring method, increase to whatever width you want the base of the tail to be, work even for most of the length, then decrease at the tip.
You can make the tail curved by… okay so this is gonna sound weird but when you stuff it, don’t stuff it super evenly. Put more stuffing on one side and it’ll naturally curve. Or you can just sew it onto the body at an angle and let gravity do its thing.
My cat Pickles always tries to attack the tails while I’m making them, she thinks they’re toys obviously. Had to start keeping my crochet projects in a closed bag.
face details and assembly
For the face you need safety eyes or you can embroider eyes. Safety eyes are plastic eyes with a washer back that you push through the fabric. You gotta put these in before you finish stuffing the head because you need to access the inside to attach the washer.
Position them first by pushing the post through to see where they’ll sit. Cat eyes are usually pretty far apart and kind of on the sides of the head, not front-facing like human eyes. Once you’re happy with the placement, push them through and attach the washers on the inside. These are permanent so don’t mess up the placement or you’ll have to start over with a new head.
The nose is usually embroidered with black or pink yarn. Just a simple triangle or upside-down triangle shape. I use regular sewing thread doubled up sometimes because yarn can be too thick for the nose details.
Mouth is optional but a little line down from the nose and then curved lines going out to the sides makes that cat smile. Or just do the Y shape under the nose.
putting it all together
This is where it either looks great or looks like a disaster. Sewing amigurumi pieces together is its own skill honestly.
I use a yarn needle and the same color yarn as the pieces I’m attaching. For the head to body connection, I sew all the way around where they meet, going through the stitches of both pieces. Pull it tight so there’s no gap but not so tight that it puckers.
The legs and tail get sewn on using the yarn tails you left when you finished those pieces. Weave the needle through the body where you want to attach it, then back through the leg or tail, back and forth several times until it feels secure. Test it by tugging gently.
Some people use hot glue for the legs and honestly I’ve tried that and it works okay for decorative cats but if you want something that’ll hold up to being handled, sewing is better.
details that make it actually look like a cat
Whiskers are just embroidery thread or fishing line poked through the cheeks and knotted on the inside. I use white embroidery floss usually, three or four on each side.
You can add stripes or spots by crocheting with two colors, either switching colors every few stitches or every few rounds. Fair warning though, working with multiple colors means weaving in a million ends later and that part is tedious as hell.
For a tabby pattern I did this thing where I switched between tan and brown every two rounds on the body and it looked pretty good. The head I kept solid tan because doing stripes on a sphere while increasing and decreasing made my brain hurt.
common problems I ran into
The head being too heavy for the body is a real issue. If your cat tips forward, either make the body bigger or don’t stuff the head quite as firmly. Or add some weight to the bottom of the body like put some poly pellets in there before you finish stuffing.
Lumpy stuffing shows through and looks bad. Fix this by using smaller bits of stuffing and really pushing it into all the corners with like a chopstick or the back of a crochet hook.
Legs that splay out weird usually means they’re attached too low or too far apart. The back legs should be pretty close together, almost touching, and positioned more toward the back bottom of the body.
If your tension is inconsistent the whole thing will look wonky. This just takes practice honestly, but making sure you’re always pulling the yarn the same tightness helps. I crochet pretty tight naturally so my amigurumi comes out dense which is good for this.
variations you can try
Once you’ve made a basic cat you can mess with it. Longer body for a dachshund-style cat (not a real thing but whatever). Bigger head for a kitten look. Tiny legs for a munchkin cat vibe.
Different ear shapes change the breed. Pointed ears are generic cat, folded ears are scottish fold, really big ears are like sphynx or oriental breeds.
You can add clothes too if you’re into that. Little scarves are easy, just chain a long strip and tie it around the neck. I made a cat with a tiny sweater once and it was cute but also took forever because knitting tiny sweaters for fake cats is apparently what I do with my time.
how long this actually takes
A basic cat takes me maybe 3-4 hours if I’m not distracted. That’s making all the pieces and assembling everything. The first one will take longer because you’re figuring out the pattern and probably messing up and frogging sections.
The orange cat I made last summer took me two evenings because I kept pausing to watch TV and also I made the first ear way too big and had to redo it.
Assembly always takes longer than I think it will. Like the actual crocheting is maybe 2-3 hours but then sewing everything together and doing the face details is another hour at least.
final random tips that don’t fit anywhere else
Keep your tension consistent or the cat will look weird with some parts looser than others. Work in good lighting because counting stitches in bad light is how mistakes happen. If you mess up just frog it back and redo that section, it’s not worth trying to fudge it and having it look wrong forever.
Block your pieces before assembly if you’re using acrylic yarn and want it to look more polished. Just means getting them damp and shaping them how you want them, then letting them dry.
Weave in ends as you go instead of saving them all for the end. Trust me on this, having 30 yarn ends to weave in after you’re done is soul crushing.
Take breaks if your hands hurt. Amigurumi uses tight stitches and a small hook so it’s harder on your hands than regular crochet.
Don’t worry too much about making it perfect, handmade stuff is supposed to look handmade and a slightly wonky cat has more personality anyway.