
Apr
okay so basically making a crochet rabbit
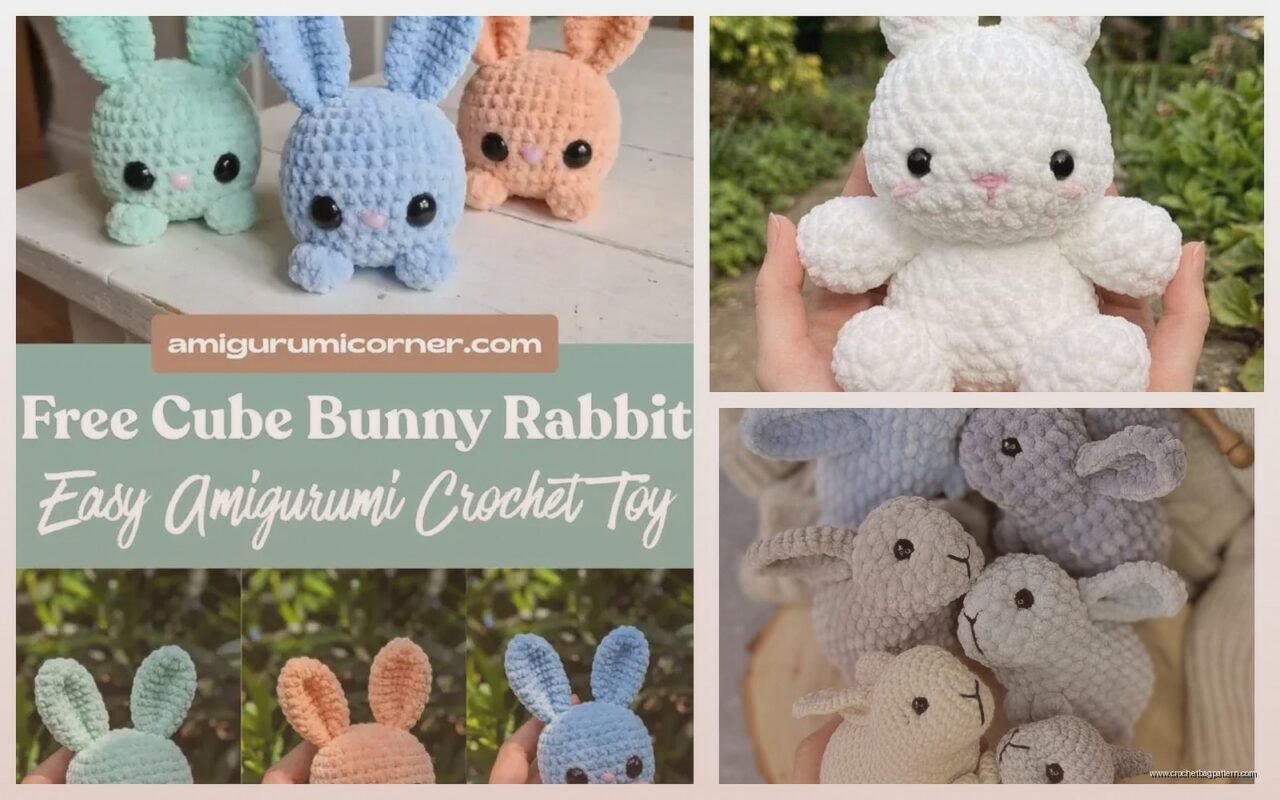
So you want to make a bunny amigurumi right? I made my first one back in spring 2022 when I was binge watching that whole Ozark final season and honestly it kept my hands busy during the stressful parts. The thing about rabbit patterns is they’re actually pretty forgiving compared to like trying to make a perfect sphere or whatever.
First thing you gotta know is most bunny patterns work in continuous rounds which means you’re spiraling around instead of joining each round. Get yourself some stitch markers because you WILL lose track of where your round starts. I use those little plastic ones from the craft store but honestly a paperclip works fine.
Yarn choice matters more than you think
For my first rabbit I used Red Heart Super Saver in that off-white color because it was cheap and I wasn’t sure if I’d mess it up. Spoiler alert: the bunny came out kinda stiff but it held its shape really well. Later I tried Bernat Blanket yarn for a bigger chunkier bunny and that was SO soft but also annoying because the thick yarn makes it harder to see your stitches.
If you want a really soft cuddly bunny go with something like Hobbii Friends or Lion Brand Vanna’s Choice. The Vanna’s Choice has good stitch definition so you can actually see what you’re doing. I made one in summer 2024 for my neighbor’s kid and used their Cotton Bamboo blend which was nice but splitty as hell.
Basic structure of a rabbit pattern
Most patterns break down like this:
- Head (worked from bottom up usually)
- Body (same deal)
- Two arms
- Two legs
- Two ears (this is where the bunny actually looks like a bunny)
- Maybe a tail pom pom thing
You start with a magic ring for pretty much every piece. If you don’t know how to do a magic ring just YouTube it because trying to explain it in text is impossible. But basically you make an adjustable loop, crochet into it, then pull it tight so there’s no hole in the center.
The head is where you start probably
Magic ring with 6 single crochets. Then you increase every round or every other round until you get to like 36 or 42 stitches depending on how big you want the head. The formula is usually:
Round 1: 6 sc in magic ring
Round 2: inc in each stitch (12)
Round 3: sc, inc around (18)
Round 4: sc 2, inc around (24)
You keep going with that pattern. Once you hit your max size you work even rounds (no increases) for like 5-8 rounds to make the head tall enough. Then you decrease the same way you increased.
The thing that annoyed me SO MUCH about making rabbits is the decreasing part because you have to stuff it while you’re closing it up and getting the stuffing distributed evenly is a pain. Like you’re trying to crochet and also shove polyfil in there and it gets lumpy or too tight or too loose. I usually use Fairfield Poly-Fil because it’s at every craft store but honestly the cheap stuff from Walmart works the same.
Safety eyes or embroidered eyes
If you’re making this for a baby you gotta embroider the eyes because safety eyes can still be pulled out by a determined toddler. But safety eyes are SO much easier and cuter honestly. You put them in around round 12 or 13 of the head usually between rounds with like 6-8 stitches between them.
For embroidered eyes I use black yarn and just make a few stitches in a circle or do French knots if I’m feeling fancy which is rare. My cat knocked over my entire box of safety eyes once and I found them everywhere for like three months after.
Body construction
The body is basically the same as the head but usually a bit bigger or longer. Some patterns have you make it egg shaped which means you increase to a bigger number like 48 stitches then work even then decrease. Other patterns make it more cylindrical.
I prefer the egg shaped body because it looks more natural and the bunny sits better. You can also do a round belly by just increasing more in the middle section before you start decreasing.
One trick is to stuff the body pretty firmly especially at the bottom so the bunny doesn’t flop over. Under-stuffing is a common mistake and your bunny ends up looking sad and deflated.
Attaching the head to body
This is where people get nervous but it’s not that bad. I usually sew them together with the same yarn I used for the project using a yarn needle. You whip stitch around the opening where the head meets the body. Some people use hot glue but that feels like cheating and also it can look messy if you use too much.
Make sure you position the head before you sew it all the way so it’s facing forward not off to the side unless you want a quirky looking bunny I guess.
Arms and legs
Arms are usually pretty skinny tubes. Start with 6 in a magic ring, increase once or twice so they’re not toothpicks, then work even for however long the pattern says. You can leave them unstuffed for floppy arms or stuff them lightly.
Legs are similar but usually a bit thicker and you stuff them more firmly so the bunny can sit up. Some patterns have you make feet by doing a flat oval shape first then working up the leg from there which looks really cute but adds extra steps.
I usually attach arms and legs after everything else is done. Pin them where you want them first with straight pins so you can adjust before sewing. Arms go on the sides of the body kind of high up near where the neck would be. Legs go on the bottom angled slightly forward.
The ears make it a bunny
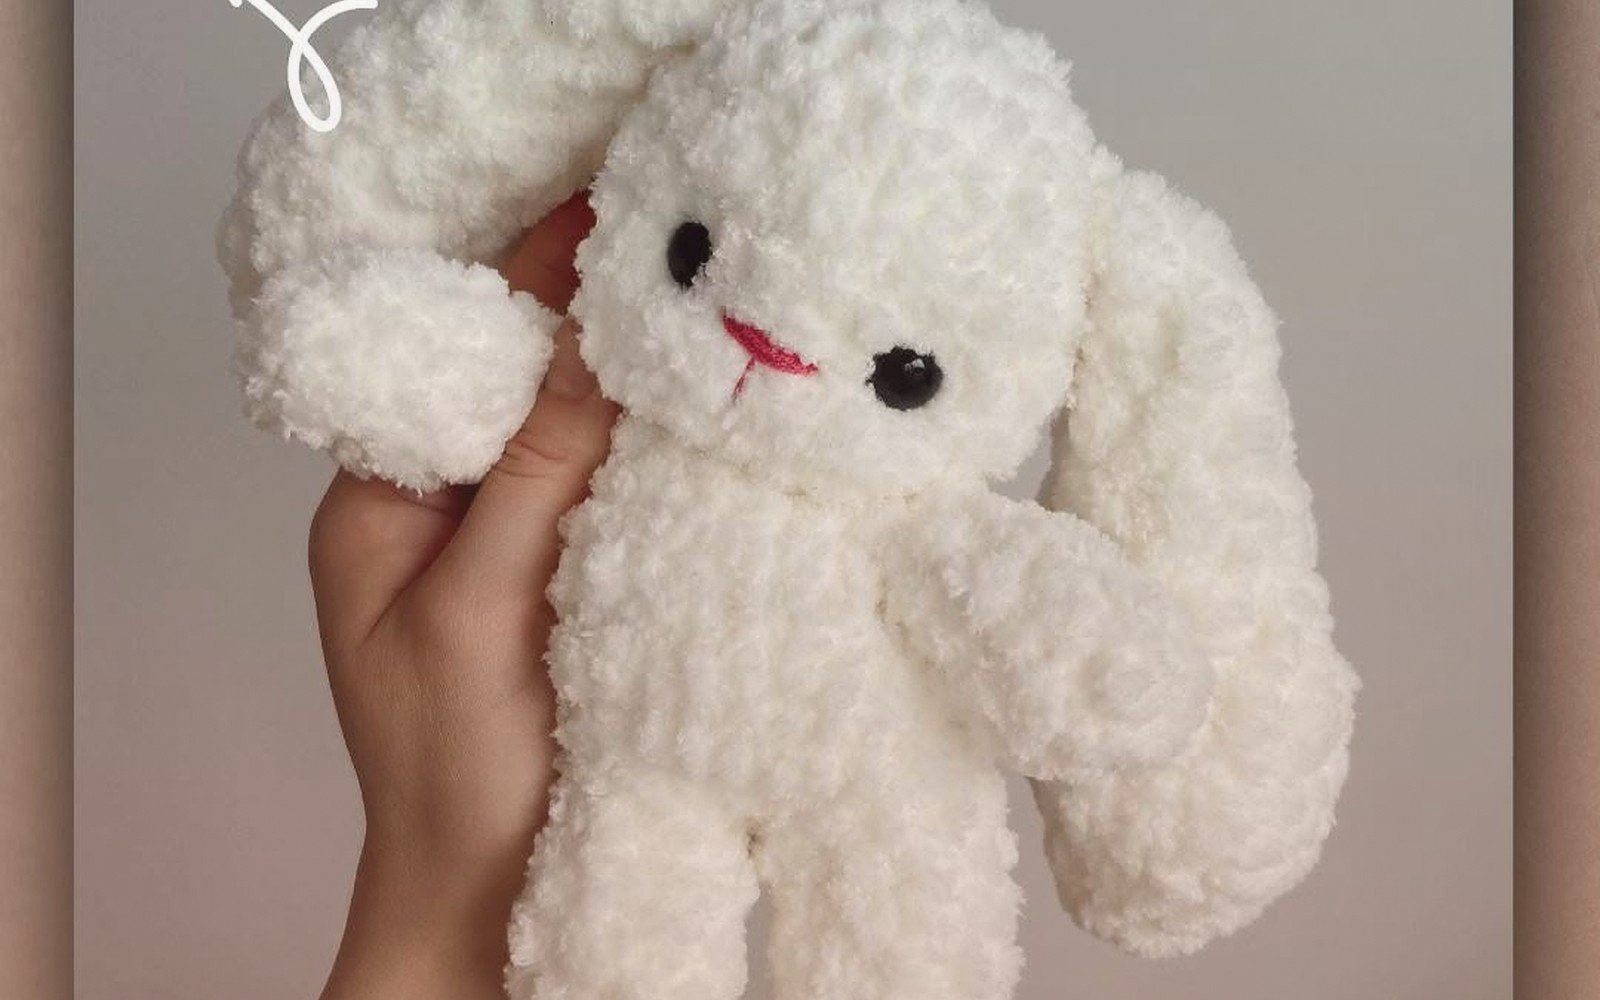
Without ears it’s just a weird blob with limbs. Rabbit ears are usually long ovals that you work back and forth in rows or you can do them in rounds for tube ears. I prefer the flat oval ears because they have more character.
Pattern usually goes: chain like 8 or 10, sc back down the chain, then work around the whole edge increasing at the corners to make it oval shaped. Then you keep working around until it’s as long as you want. Some patterns are like 15 rounds some are 20 depends on if you want loppy ears or upright ears.
For floppy bunny ears I make them longer and don’t stuff them. For upright ears you can insert a pipe cleaner or wire to make them stand up which looks cute but also kind of creepy depending on the bunny’s vibe.
Attaching ears is the final step usually and you sew them onto the top of the head. I put them kind of close together not on the sides of the head because that looks weird like a bear or something not a rabbit.
Details and finishing
For the tail just make a small pom pom with white or cream yarn. You can use a pom pom maker or just wrap yarn around your fingers like 50 times then tie it in the middle and cut the loops. Fluff it up and sew it on the back of the body.
Some people add a nose by embroidering a triangle or doing a few stitches with pink yarn. I usually just do three straight stitches in a Y shape for the nose and mouth. Keep it simple because you can over-detail and it starts looking cluttered.
Common problems I’ve run into
The head being too heavy and the bunny falling forward – stuff the body more and maybe add some weight in the bottom like poly pellets or dried beans in a little baggie
Lumpy stuffing showing through – use smaller pieces of stuffing and really work it into the shape with your fingers or like the back of a crochet hook
Losing count of stitches – seriously just use a stitch marker I cannot stress this enough
The bunny looking drunk because parts are sewn on crooked – pin everything first and look at it from all angles before you commit to sewing
Different rabbit variations
Once you make a basic bunny you can modify it pretty easily. I made one with really long legs so it looked like it was standing up and that was just adding more even rounds to the leg section. You can make the ears shorter for a different breed look or add spots with different colored yarn.
Some patterns have you make clothes for the bunny which seems excessive but people love it. Like little dresses or overalls. I made one with a scarf once because that was quick and it did look pretty cute I’ll admit.
For a more realistic rabbit you can use multiple colors and do color changes for the belly and inner ears. That gets complicated though with weaving in ends and I’m usually too lazy for that honestly.
Hook size matters
Most amigurumi uses a smaller hook than what the yarn label recommends so you get a tight fabric that doesn’t show the stuffing. If your yarn says use a 5mm hook maybe use a 4mm or 3.5mm instead. This makes your hand cramp up faster though so take breaks.
I’ve used everything from a 2.5mm hook with sport weight yarn up to an 8mm hook with that chunky Bernat Blanket yarn. The smaller hook versions look more professional but take forever. The chunky yarn versions work up in like two hours which is nice when you need a quick gift.
Pattern resources
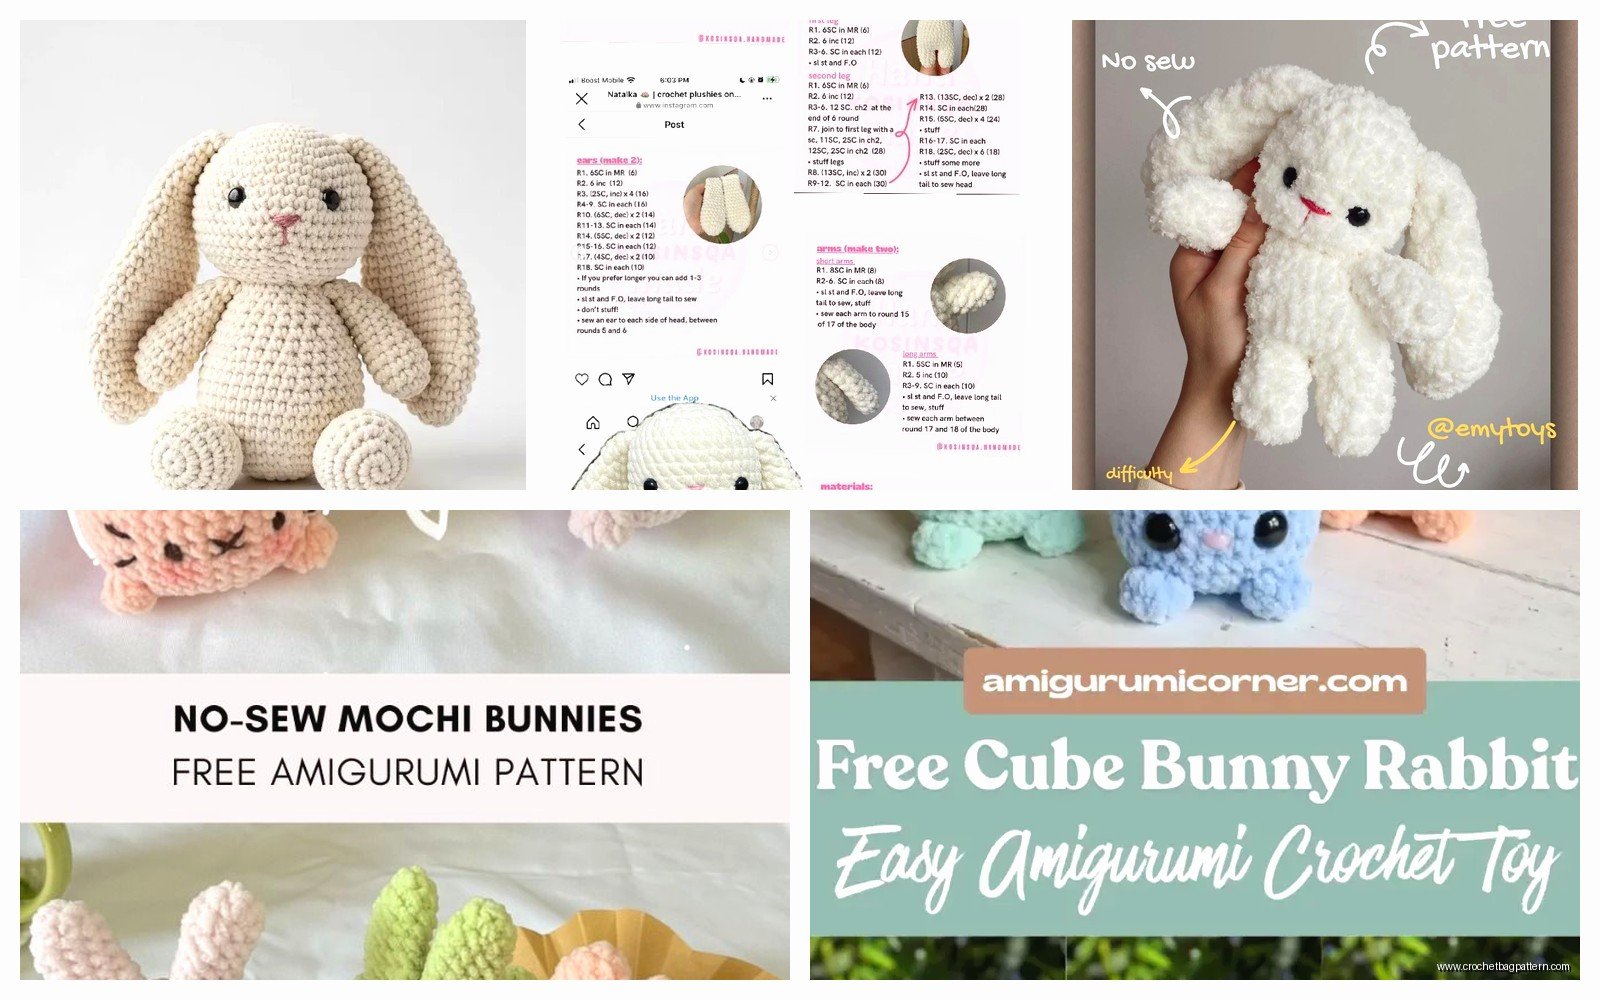
You can find free rabbit patterns on Ravelry or Pinterest but honestly some of them are written really confusingly. I’ve bought patterns from Etsy that were way clearer with step by step photos. Usually like $5 and worth it to not get frustrated.
Some designers I’ve used are… actually I don’t remember the names but there’s one that does really detailed patterns with like 40 photos showing each step. Just search “bunny amigurumi pattern PDF” and read the reviews before buying.
YouTube tutorials are good if you’re a visual learner but I find it annoying to keep pausing and rewinding while I’m trying to crochet. But for learning specific techniques like invisible decrease or magic ring yeah watch a video.
Yarn amounts
A small bunny like 6 inches tall takes less than one skein of worsted weight yarn usually. A bigger bunny might take two skeins. I always buy extra though because running out of yarn halfway through is the worst and trying to match dye lots later never works perfectly.
For the bunny I made in summer 2024 I used probably like 150 yards total? Maybe less. I still have most of that skein left actually it’s in my yarn basket somewhere under the couch probably.
If you’re making multiple bunnies in different colors those value packs are good. Like the Caron Simply Soft value pack has a bunch of colors and that yarn is nice to work with not splitty.
How long it takes
First time making a bunny took me probably 6 hours total spread over a few days because I kept messing up and frogging sections. Now I can make a basic bunny in like 3-4 hours if I sit down and focus which I never do because I’m usually watching TV or whatever.
The head takes longest because you have to be careful with shaping and placing eyes. The body goes faster. Arms and legs are quick. Ears depend on if you’re doing fancy ones or not.
Assembly and sewing everything together takes longer than you think maybe an hour because you want it to look good and be secure especially if it’s for a kid who’s gonna yank on it.
Washing finished bunnies
If you use acrylic yarn you can throw it in the washing machine on gentle but I usually just hand wash in the sink with a little detergent. Let it air dry completely before giving it to someone. Safety eyes hold up fine in the wash but embroidered details might get fuzzy.
Don’t use wool for a bunny unless you want it to be decoration only because wool felts when you wash it and that’s gonna be a disaster if a kid spills juice on it or something.
Okay so that’s basically everything I know about making crochet rabbits from actually doing it a bunch of times and messing up and figuring out what works. The main thing is just start making one and you’ll figure out your preferences for how you like to construct them and what yarn you like working with. Every bunny I’ve made looks slightly different even following the same pattern because tension varies and you make little choices along the way about stuffing and assembly and whatever.
