
Jun
Getting Started with One Piece Amigurumi
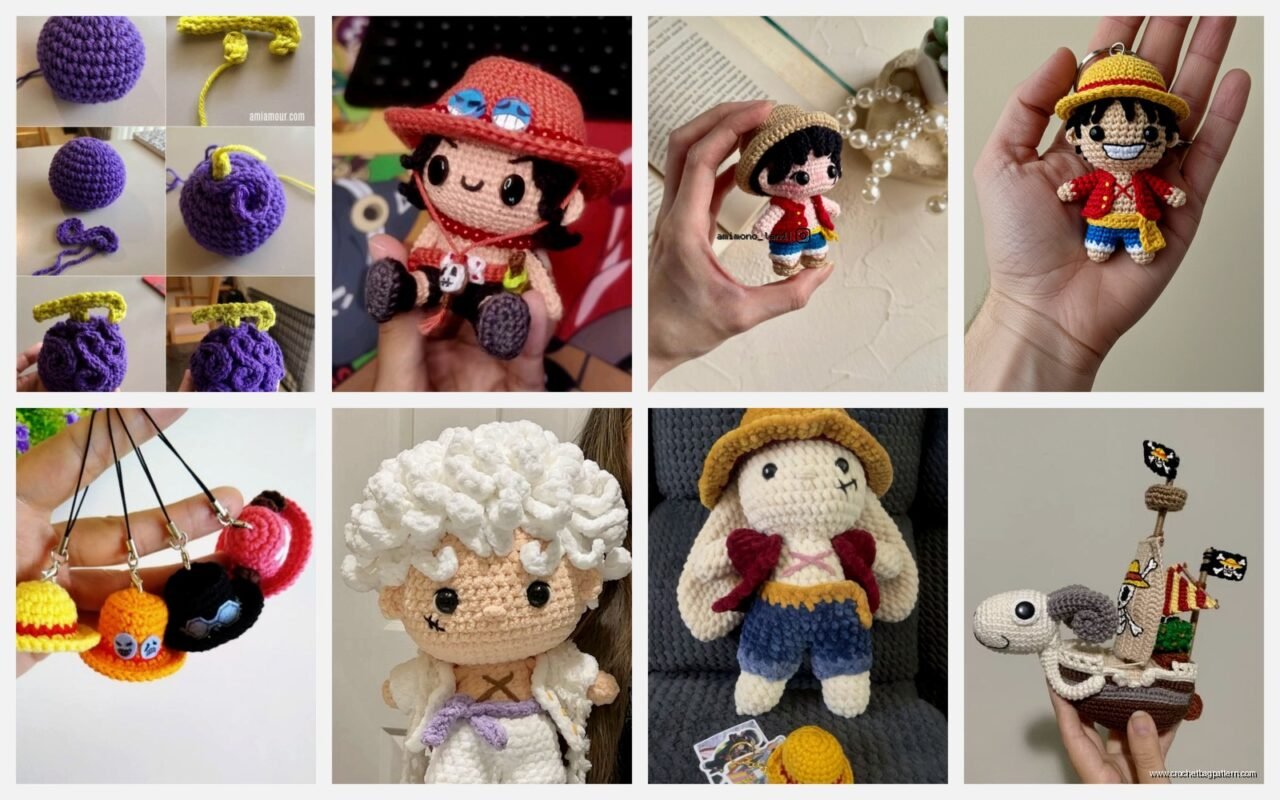
So the first time I actually finished a One Piece character was summer 2023 when I was binge-watching the Wano arc for like the third time and thought you know what, I’m just gonna make a Luffy. Not the elaborate one with all the details but a simple version because honestly the complicated patterns make my brain hurt sometimes.
The thing about making anime characters is you gotta understand they’re not gonna look exactly like the show unless you’re some kind of crochet wizard. The proportions are different when you translate 2D animation into a 3D stuffed thing. I used Red Heart Super Saver for most of it because it was cheap and I had a ton left over from another project. The red was actually Cherry Red I think? But any red works honestly.
Yarn Choices That Actually Matter
For skin tones I usually grab Caron Simply Soft in Soft Pink or Light Country Peach depending on which character. Zoro I made with the Country Peach and it looked pretty good. The Simply Soft is nice because it’s not scratchy like some acrylics and if you’re making something you might actually display or give someone you don’t want it feeling like steel wool.
One thing that really annoyed me was trying to get Luffy’s scar right under his eye. Like you can embroider it but then it looks too thick or you can try to crochet it in but that’s… anyway I ended up using fabric paint in the end which probably isn’t what you’re supposed to do but whatever it worked.
For black details like Luffy’s shorts or Zoro’s pants I’ve used both Vanna’s Choice in Black and Bernat Super Value. The Bernat is slightly softer but the Vanna’s Choice holds its shape better which matters for things like legs that need to be sturdy.
Basic Structure for Most Characters
Pretty much every One Piece character you make is gonna start with a magic ring for the head. I do about 6 single crochets in the ring then increase every other round until I get to like round 6 or 7. The size depends on what hook you’re using but I usually work with a 3.5mm or 4mm hook.
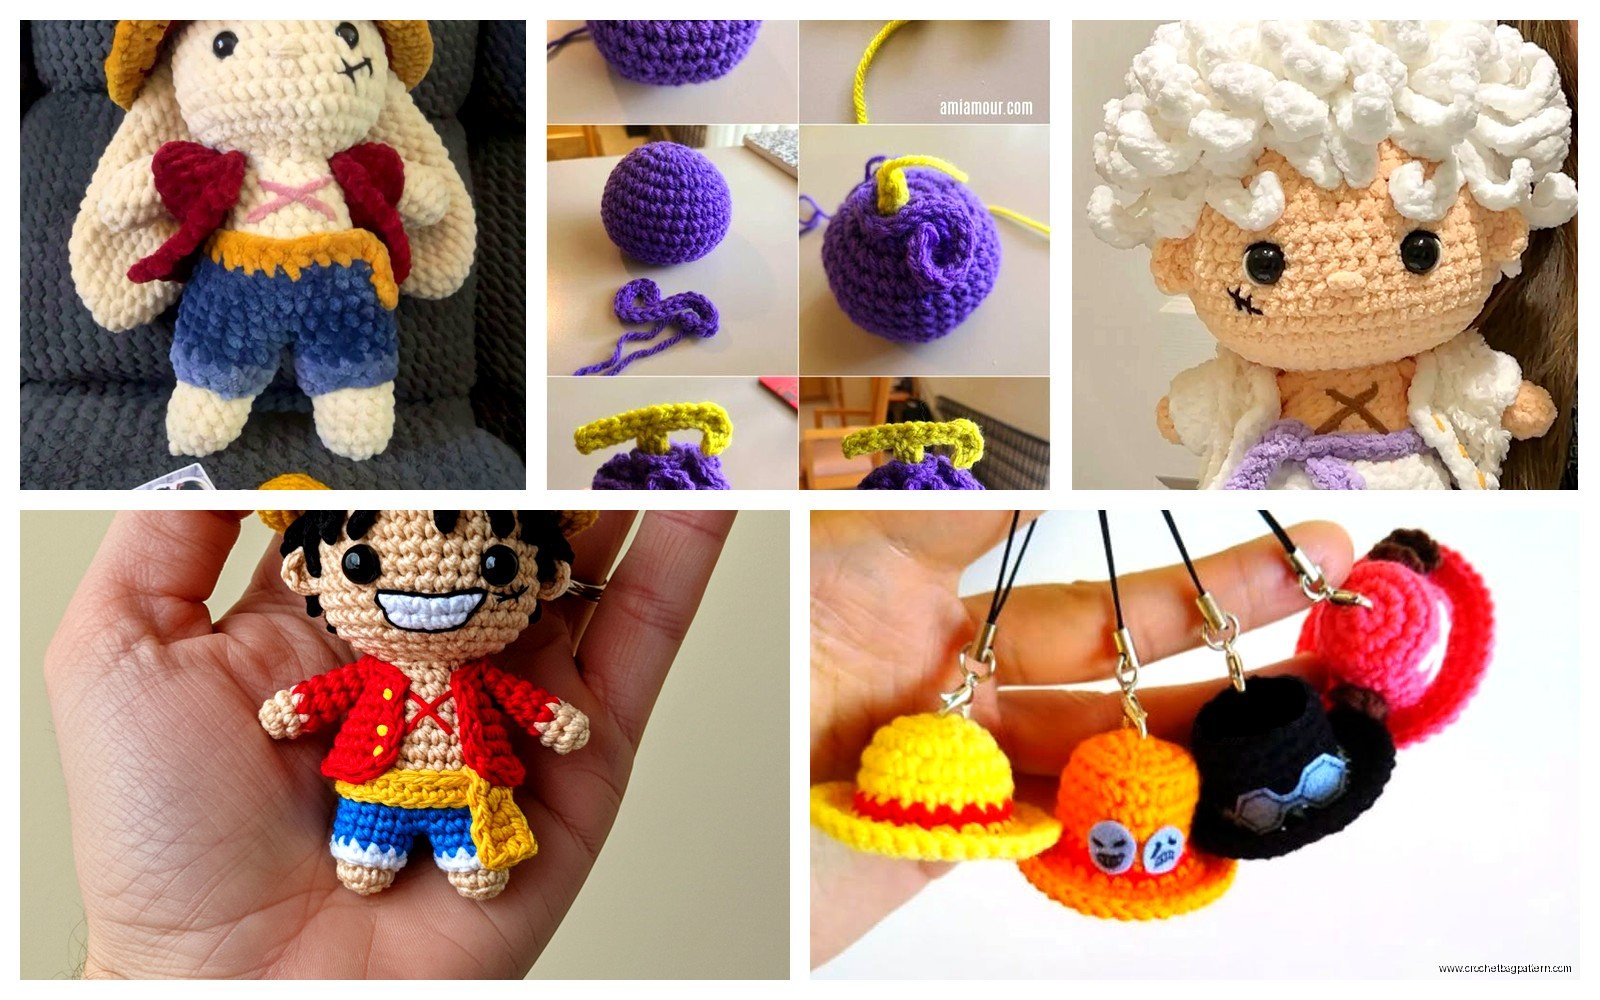
The head gets worked in continuous rounds which means you don’t join you just keep spiraling up. Use a stitch marker because you WILL lose track of where you are. I’ve frogged entire heads because I lost count and the shaping got weird.
For the body it’s basically the same principle but you make it more oval shaped. Start with the magic ring, increase until you get the width you want, then work even rounds for the length, then decrease at the bottom. Some people stuff as they go but I usually wait until the piece is almost closed because my cat kept trying to steal the polyfil stuffing and it was everywhere.
Arms and Legs
The limbs are where people mess up proportions. One Piece characters have those long bendy limbs especially Luffy with his stretchy powers so you can make the arms and legs longer than you think. I made Luffy’s arms probably 15 rounds long each and they still looked proportional.
Start with the hand or foot in the appropriate color then switch to whatever color their shirt or pants are. For color changes I just drop the old color and pick up the new one but some people cut the yarn and weave in ends. Too much work if you ask me.
The annoying part is stuffing these thin limbs. I use the back of a crochet hook or a chopstick to push the stuffing down. Don’t overstuff or they’ll look like sausages but you need enough so they don’t flop around.
Character-Specific Details
Luffy is probably the easiest to start with because his design is simple. Red vest, blue shorts, straw hat, and that scar. The straw hat is its own whole thing though. I crocheted it flat in rounds using a lighter tan color – I think it was Lily Sugar’n Cream in Jute but that’s cotton yarn so it’s stiffer which actually works great for a hat.
For the hat brim you increase a lot in one round to make it flare out. Then you can either leave it floppy or starch it if you want it really stiff. I didn’t starch mine because that seemed like too much effort.
Zoro needs three swords which you can make with gray or silver yarn worked in really tight rounds. They’re basically just thin tubes. I made the handles brown using some Lion Brand Vanna’s Choice in Mustard that I had laying around. The swords don’t need to be perfect because honestly at that scale they just read as “sword-shaped” anyway.
His hair is the tricky part because it’s that short spiky style. I ended up doing loop stitches all over the top of his head in green yarn. Caron Simply Soft in Pistachio looked right. Loop stitches are tedious but they give that spiky texture without having to glue on a million individual pieces.
Nami and Female Characters
Made a Nami during spring 2024 and the body shape is different from the male characters obviously. You need to shape the body more with increases and decreases to show the waist. Her hair is orange and long so I did long strands of yarn that I attached to the head and could style.
I used Red Heart Super Saver in Carrot for her hair which sounds ridiculous but it’s actually a good orange. For really long hair like hers you can either crochet long tubes and attach them or just cut strands and attach them directly. I did the strand method because tubes would’ve been too heavy and made her head flop forward.
Her outfit changes constantly in the show so just pick one you like. I did the Alabasta arc outfit with the white shirt and blue skirt because it’s simpler than some of her later looks.
Face Details and Expression
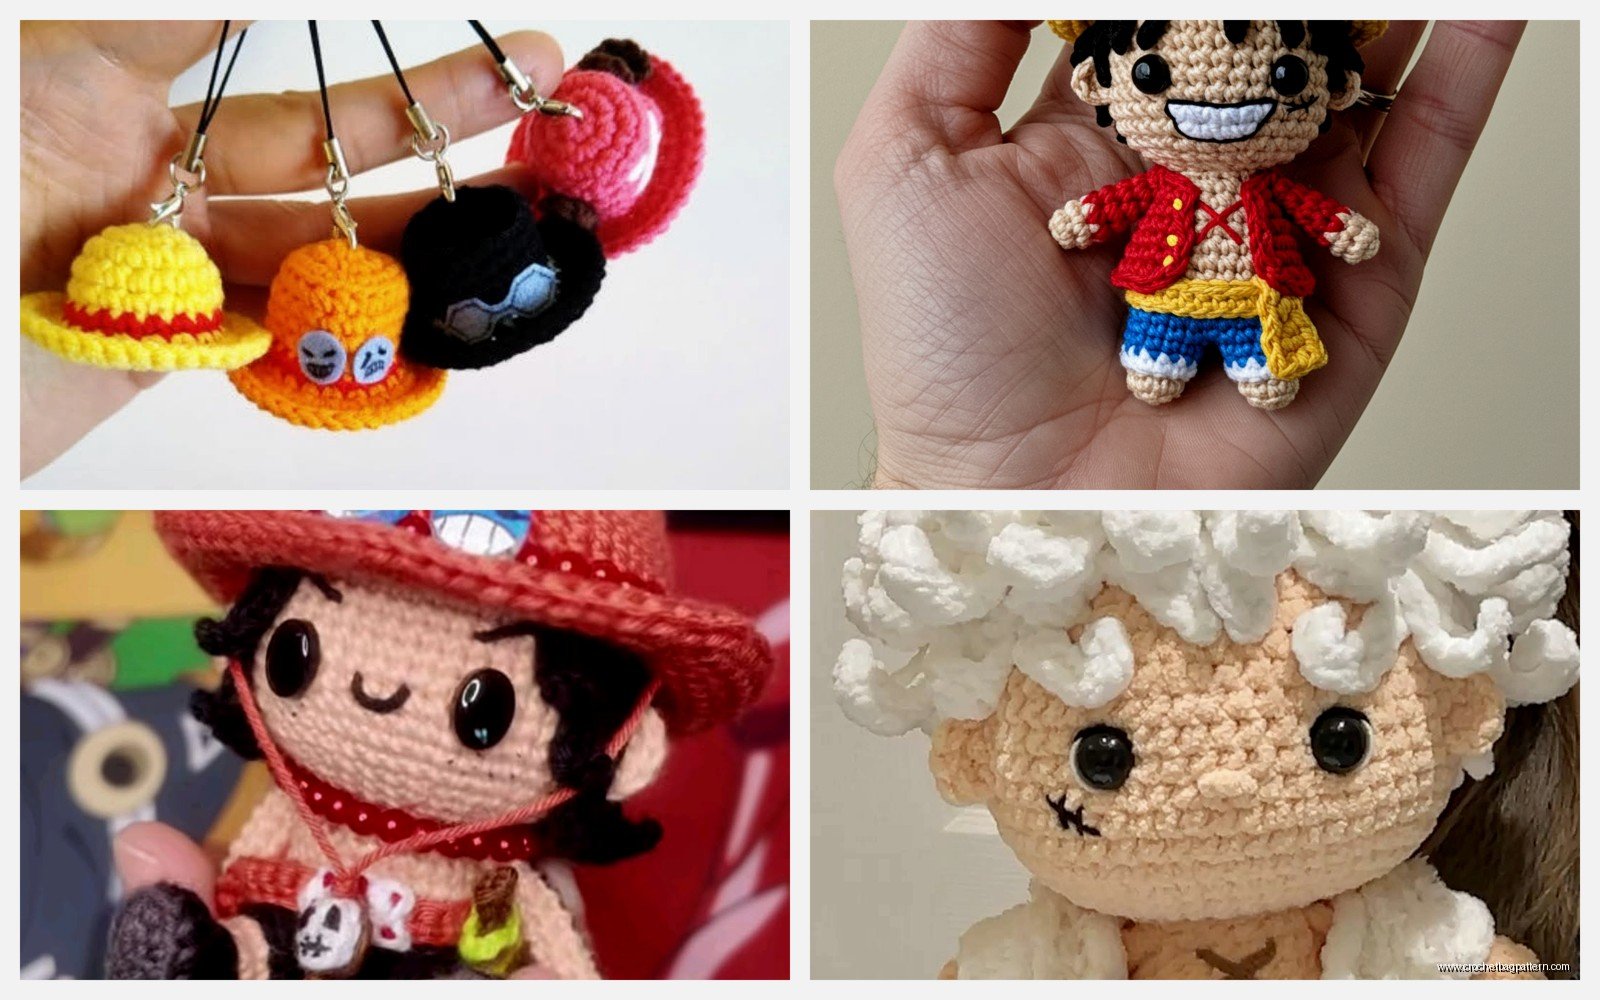
This is where you either make it look like the character or make it look like a generic doll. The eyes are critical. For anime style I use black safety eyes usually 9mm or 10mm depending on head size. Position them lower on the head than you think – like halfway down or even a bit below halfway.
The mouth can be embroidered with black yarn. Luffy’s big smile I did with a curved line of backstitch then filled in the top to make it look open. It took three tries to get it symmetrical which was super frustrating.
Some people use felt for details like Sanji’s eyebrows or whatever but I just embroider everything because I don’t wanna deal with gluing felt and having it peel off later.
Assembly Tips
I pin everything in place before I sew it. Use regular sewing pins to attach the arms and legs where you want them then look at it from all angles. The limbs should be positioned so the character can stand if you want it to stand or sit if that’s the pose.
Sew with the same color yarn as the body and go through multiple times so it’s secure. I learned this the hard way when Luffy’s arm fell off because I only went through once and my dog grabbed it and pulled.
For things like Chopper’s hat or other accessories you can sew them on or make them removable. Removable is cute but then you lose the pieces so I usually just sew everything down permanently.
Working from References
I don’t usually follow patterns exactly because most free patterns online are kind of… not great? Or they assume you know techniques that aren’t explained. So I look at pictures of the character from the anime and just wing it based on basic amigurumi shapes.
The magic formula is basically: head sphere, body oval, arms and legs are cylinders, add details. You can make any character if you break it down into those basic shapes.
Keep a screenshot or picture of the character open while you work so you can check colors and details. I use my phone propped up against my yarn basket.
Specific Technique Stuff
For increasing rounds the pattern is usually like: round 1 is 6 sc, round 2 is increase in each stitch for 12, round 3 is sc then increase repeated for 18, round 4 is 2 sc then increase for 24. You keep going with that pattern adding one more sc between increases each round.
Decreasing is the opposite. Instead of working two stitches into one you work two stitches together into one. I use invisible decrease because regular decrease leaves visible bumps that look bad on light colored yarn.
When you’re working in continuous rounds for the head you’ll increase until you get to the widest part then work several rounds even without any increases or decreases then start decreasing for the neck. The number of even rounds determines if the head looks more spherical or more egg-shaped.
Problem Solving Common Issues
If your character looks lumpy it’s usually a stuffing problem. Either too much stuffing or it’s not distributed evenly. I pull out stuffing and rearrange it constantly while I’m working.
If the head is too big for the body just make the body bigger. There’s no rule that says you have to follow exact round counts from patterns. I adjust constantly based on how it looks.
Limbs that won’t stay in position need wire. I don’t usually wire mine because it’s extra work but for characters in action poses you basically need pipe cleaners or floral wire inside the limbs so you can bend them. Leave the wire shorter than the limb so it doesn’t poke through.
Color bleeding can happen with red yarn especially Red Heart Super Saver reds. If you’re gonna wash your amigurumi test the yarn first or use color catchers in the wash. I don’t usually wash mine unless they get actually dirty though.
Other Characters Worth Trying
Chopper is cute and popular but that pink hat is gonna require either really small rounds or working with thinner yarn. His antlers are just tiny tan tubes with a branch coming off each one.
Sanji needs that curly eyebrow which I did with a tiny spiral of yellow yarn glued on. His suit can be black or whatever color suit he’s wearing in your favorite arc.
Brook is actually fun because he’s a skeleton so you use white or cream for everything except his clothes. The afro is just a big puff of black yarn. You could do loop stitches or just attach a bunch of yarn strands in a big cloud shape.
Law is popular right now and his hat is spotted which is annoying to make but you can either embroider spots or use the intarsia technique to crochet them in. I’d probably just embroider them because intarsia in amigurumi is a pain.
The really detailed characters like Doflamingo with his feather coat or Katakuri with all his leather and spikes – maybe save those for when you’ve made a few simpler ones first. Or just simplify the design because honestly a simplified version still reads as the character.
Yarn amounts and planning
For a basic character about 8-10 inches tall you need maybe 50-75 yards of the main body color, smaller amounts for details. I never measure honestly I just buy a skein of each color and there’s always leftovers.
If you’re making a whole crew you can save money by buying the multi-packs of yarn. Red Heart Super Saver comes in packs with multiple colors and you’ll use black, white, and tan for almost every character.
Write down what colors you used if you’re planning to make multiple characters so they all match. I made Luffy and Zoro months apart and used different skin tones and they look weird together because Zoro looks way more tan even though they should probably be similar.
The other thing is some people make really tiny amigurumi with thin yarn and small hooks but I think that’s unnecessarily difficult. Bigger is easier and you can actually see the details better. My One Piece characters are usually about 8 inches tall which feels like a good size where you can add details but it’s not so big that it takes forever.
