
May
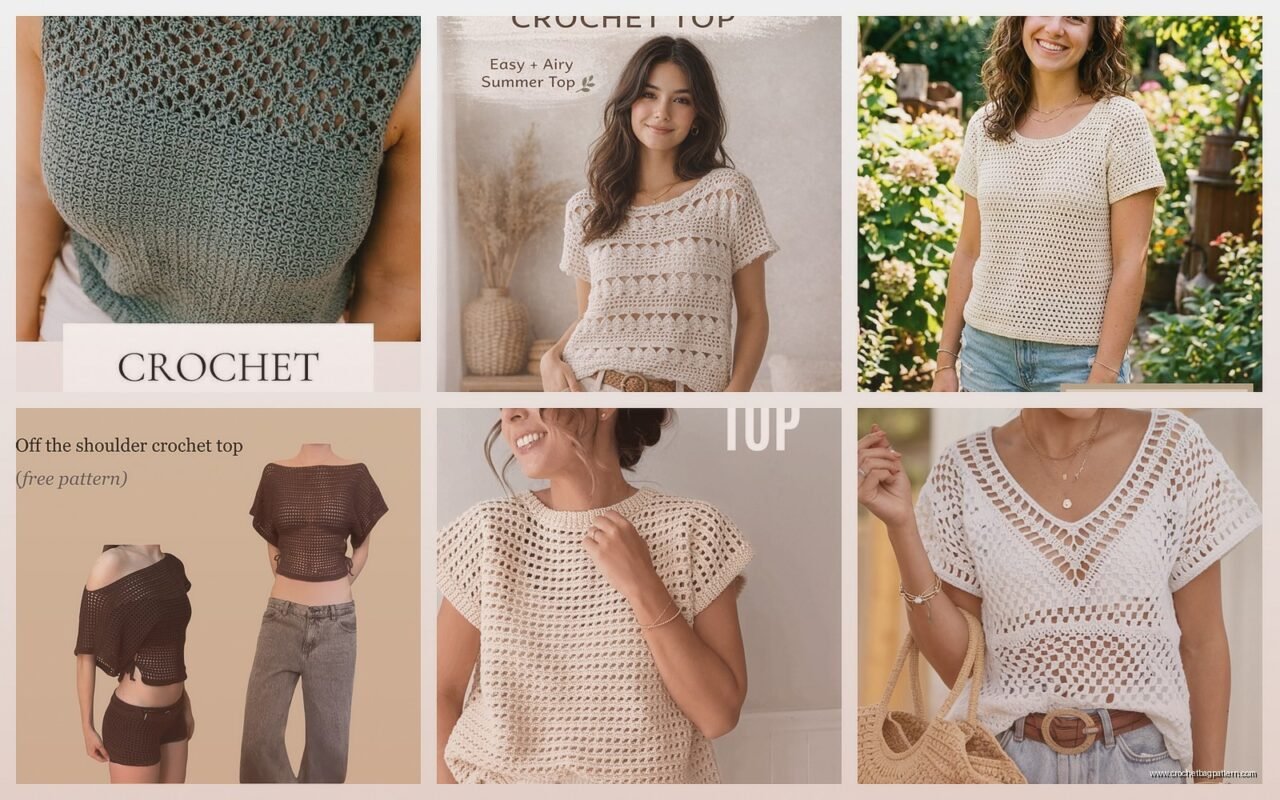
okay so free crochet shirt patterns
So you want to make a summer top and honestly there are SO many free patterns out there but most of them are either super complicated or they look like something your grandma wore in 1975 which is fine if that’s your vibe but probably not what you’re going for. I made this really simple summer tank in spring 2022 right after my breakup with James and honestly it was the best distraction because I just sat there and worked on it while binge-watching The Great British Baking Show and didn’t think about anything else.
finding patterns that actually work
First thing is you gotta know where to look. Ravelry is obviously the biggest database and you can filter by free patterns only. But also a bunch of bloggers just put patterns up for free if you sign up for their email list which is annoying but whatever, just use a separate email for that stuff. I’ve found good ones on LoveCrafts too and sometimes random Etsy shops will have a freebie just to get you interested in their paid patterns.
The problem with free patterns though is that they’re not always tested properly. Like I tried this one halter top pattern last summer 2024 and the gauge was completely off and I ended up with something that could fit a literal child even though I followed the measurements exactly. So frustrating. Always read the reviews or project notes if they exist before you commit.
what makes a good summer top pattern
You want something with decent drape obviously because nobody wants a stiff crochet shirt in 90 degree weather. Look for patterns that use lighter weight yarn like sport or DK weight, sometimes even fingering weight if you have the patience for that. Worsted can work but it gets heavy and warm real fast.
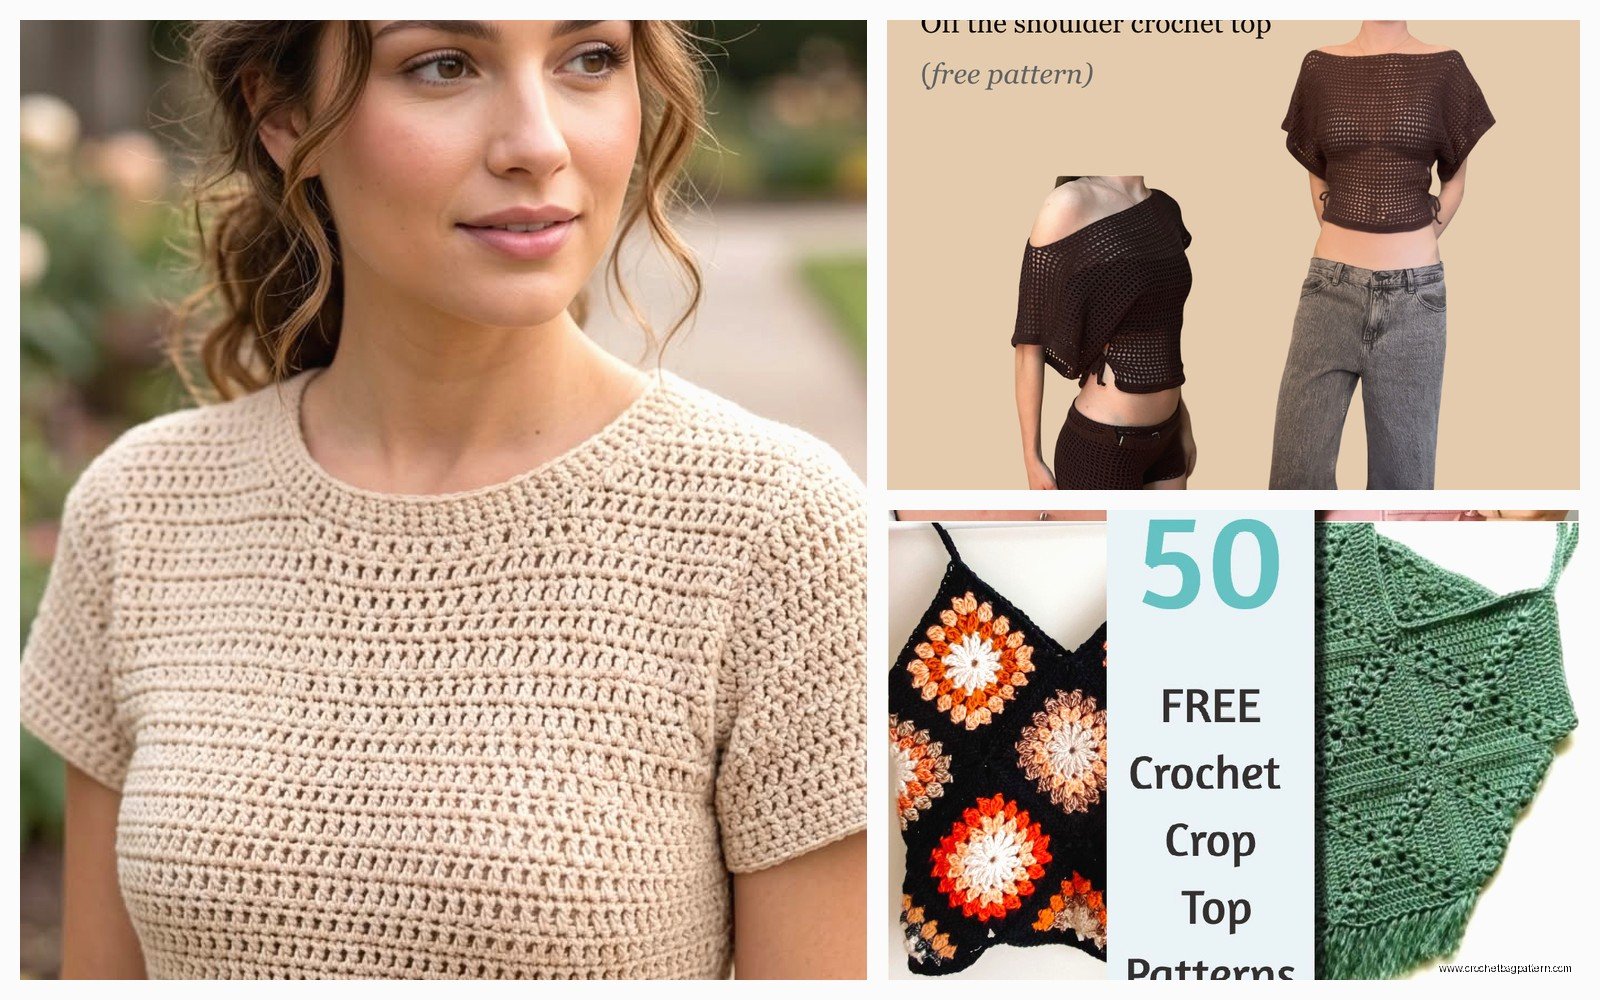
Open stitches are your friend here. Shell stitches, V-stitches, anything with gaps basically. Not only does it look summery but it actually breathes which is the whole point. I made one with just solid double crochet once and I literally couldn’t wear it outside because I was sweating through it immediately.
yarn choices because this matters more than you think
Cotton is the default choice and yeah it works fine. I’ve used Lily Sugar’n Cream which is super cheap and available everywhere but it’s a bit rough honestly. Better for dishcloths than shirts but if you’re on a budget it’ll do. Knit Picks Dishie is basically the same thing.
If you can spend a bit more, Paintbox Yarns Cotton DK is really nice and the color selection is amazing. I used their “Mint Green” for a crop top and it was so soft and didn’t stretch out weird after washing. Lion Brand 24/7 Cotton is another solid choice and you can usually catch it on sale at Michaels.
But here’s the thing nobody tells you – cotton gets HEAVY when you make a whole shirt out of it. Like you’re gonna have shoulder strain if you make a big flowy top. So sometimes a cotton blend is actually better. I tried Caron Simply Soft which is acrylic and honestly it worked pretty well for a summer top even though everyone says acrylic is too hot. It was light enough that it didn’t drag down.
There’s also bamboo yarn which feels amazing and drapes beautifully but it can be pricey. And linen blends if you want that fancy look but linen can be splitty and annoying to work with, just a heads up.
basic construction styles
Most summer tops fall into a few categories. You’ve got your basic rectangles sewn together which is honestly the easiest way to start. You make a front panel, a back panel, maybe some simple straps, and seam them up. Not the most fitted thing but it works and you can actually finish it in a weekend.
Then there’s top-down construction where you start at the neckline and work your way down. This is nice because you can try it on as you go and adjust the length. I prefer this method even though it means more stitch counting in the beginning.
Granny square tops are everywhere right now and they’re very… I mean they’re definitely a look. You make a bunch of squares and connect them. The annoying part about this is weaving in all those ends, like every single square has multiple ends and I wanted to throw the whole thing away by the end. But my cat kept attacking the yarn tails so at least she was entertained.
the actual process and what to expect
So let’s say you found a pattern you like. First thing is CHECK THE GAUGE. I know everyone says this and it’s boring but I’ve wasted so much yarn ignoring this step. Make the gauge swatch, measure it, adjust your hook size if needed. For a shirt you really need it to fit properly or it’s unwearable.
Most patterns will have you start with a foundation chain. The one thing that really annoyed me about making that spring 2022 tank top was that the foundation chain kept twisting and I didn’t notice until I was like three rows in and had to rip it all out. Now I always lay the chain flat on a table and pin it or put something heavy on it while I work the first row.
following the pattern vs winging it
Here’s where my self-taught background probably shows because I’m terrible at following patterns exactly. I’ll start with a pattern and then halfway through I’ll decide to change something and then I have to figure out how to make it work. Like with that 2022 tank I decided the straps were too thin so I made them wider but then I had to recalculate how many stitches to decrease at the armholes and it became this whole thing.
If you’re newer to crochet just follow the pattern as written first. You can always make modifications the second time around. Trust me it’s less frustrating that way.
specific pattern types that are actually free and decent
The Boardwalk Top pattern that went viral on Instagram a while back is still available free I think. It’s basically a big rectangle with armholes and it ties at the shoulders. Super simple but it actually looks put-together.
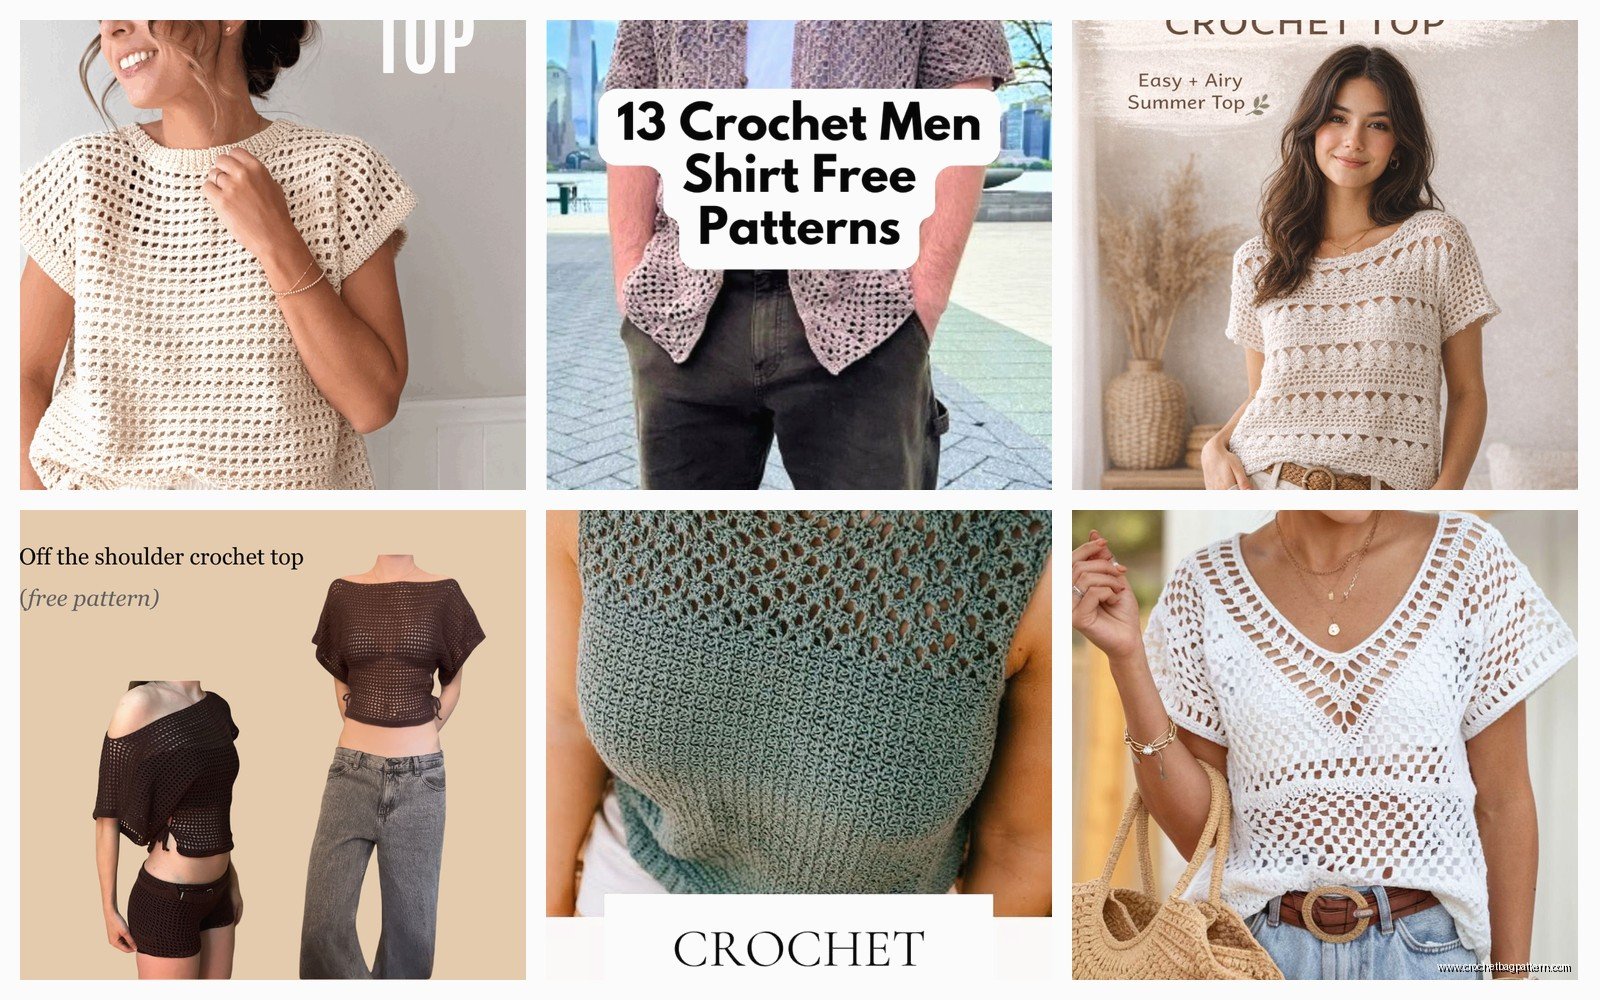
Mesh summer tops are everywhere and they’re usually pretty straightforward. Just repeating mesh stitch in rows and shaping for armholes. You can find these under names like “breezy summer tee” or “beach coverup” even though they’re not really coverups.
Crop tops are probably the easiest summer crochet project because you use less yarn and there’s less that can go wrong with fit. The shorter length means less weight pulling down too. I’ve seen good free patterns for basic cropped tanks that are just worked in rows of half double crochet with some simple shaping.
sizing issues because this is the real problem
Okay so this is where crochet garments get tricky. Crochet fabric stretches differently than knit fabric and it can grow over time especially with the weight of the garment pulling down. What fits perfectly when you first try it on might be sagging off your shoulders after you wear it for a few hours.
A lot of free patterns only come in one or two sizes which is basically useless unless you happen to be exactly that size. Look for patterns that give you actual measurements and instructions for customizing rather than just “small medium large” because those mean nothing.
I usually make things slightly smaller than my measurements because I know they’ll stretch. Like if my bust is 36 inches I’ll make the shirt to fit 34 inches. This doesn’t work for every yarn though – you gotta think about the fiber content and how it behaves.
the construction part that everyone messes up
Seaming is where people either make something wearable or make something that looks homemade in a bad way. If you’re joining panels together use mattress stitch or a flat seam method, not just whip stitching the edges together. It makes such a difference in how professional it looks.
For shoulders and straps you want them secure because this is what’s holding up the whole shirt. I’ve had straps rip out because I didn’t reinforce them properly and then you’re just sad. Go back and forth a couple times when you’re attaching straps or use a stronger seaming method.
Edging can make or break the whole thing. A simple single crochet border around the armholes and neckline cleans everything up. Some patterns don’t include this step but you should do it anyway because raw edges look unfinished and can roll.
length and fit adjustments
Most patterns will tell you to work until piece measures X inches but honestly you should try it on as you go. Hold it up to yourself and see if the armholes are sitting where you want them. Check if the length is gonna work before you bind off.
Adding length is easy you just work more rows. Taking away length means you have to frog back which sucks but it’s better than finishing something too long. Width is harder to adjust mid-project so that’s why gauge matters so much at the beginning.
finishing and wearing the thing
Block your finished shirt before you wear it. I know it seems like extra work but it really does make everything lay flatter and look more polished. For cotton you can wet block or steam block. Just pin it out to the right measurements and let it dry.
Weaving in ends properly is important for shirts because they get washed and worn more than like a decorative blanket or whatever. I use a yarn needle and weave ends through several stitches in different directions so they don’t work loose. That granny square top I mentioned had probably 80 ends to weave in and I almost gave up on life.
Washing instructions depend on your yarn but most cotton can go in the machine on gentle and lay flat to dry. Don’t hang it wet or it’ll stretch out. Acrylic is more forgiving but can get weird in high heat so skip the dryer.
what to wear it with so it doesn’t look costume-y
The trick with crochet tops is styling them so they look intentional and not like you’re wearing a doily. High-waisted jeans or shorts work well because they create a clear separation. If you made a crop top this is easy.
Layering can help too – a crochet tank over a simple cami or bralette looks more finished. Or under a cardigan or jacket if you need to make it work-appropriate or whatever.
Keep the rest of your outfit simple because the crochet top is already a statement. Don’t go full boho unless that’s really your thing but then you probably don’t need my advice anyway.
common mistakes I see people make
Using yarn that’s too thick is the main one. You end up with something stiff and heavy that doesn’t drape right. Stick with DK weight or lighter for summer tops.
Not accounting for stretch means your shirt might fit great initially but then grows two sizes after you wear it once. This is especially true with looser stitches and drapey yarn.
Ignoring the armhole shaping because it seems complicated. But if you skip this step you get a boxy shirt that doesn’t fit properly through the shoulders and arms. Just follow the decreases even if they seem fussy.
Making the straps too thin or too thick. There’s a sweet spot where they’re sturdy enough to hold up the shirt but not so chunky they look weird. Usually about 1-1.5 inches wide works for most people.
when to give up on a pattern
Sometimes you get partway through and realize the pattern is just not good or not working for you. That’s fine. Don’t waste more time and yarn on something you’re not gonna wear. I’ve frogged multiple projects because I could tell they weren’t turning out right.
If the gauge is really off and you’d have to go up or down multiple hook sizes that’s usually a sign the pattern isn’t a good match for you or your yarn. Try a different pattern instead of fighting it.
If you absolutely hate the process you’re probably not gonna love the finished object either. Crochet should be at least somewhat enjoyable even when it’s challenging. That breakup tank I made was actually really soothing to work on even though I was going through it emotionally, but I’ve had other projects that just felt like punishment and those never turned out well.
