
May
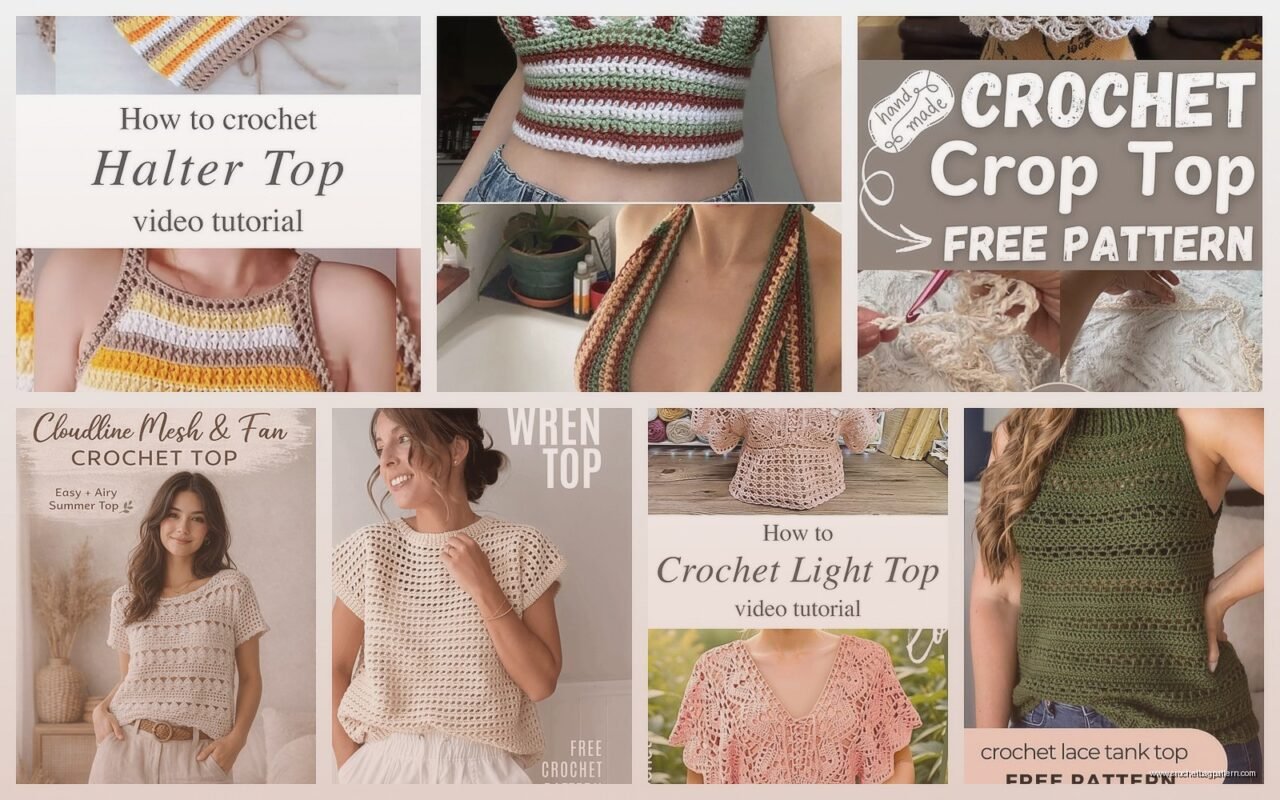
Getting Started With Crochet Summer Tops
So the first time I actually finished a wearable top was summer 2022 and honestly I was just tired of buying overpriced tank tops that didn’t fit right. Started with a really basic granny square situation because that’s what I knew how to do without looking anything up.
The thing about crochet tops is you gotta pick a pattern that matches your skill level but also like, your attention span. I’ve started probably 8 different tops and only finished 3 because I get bored halfway through or realize it’s gonna look weird. Summer tops are actually good beginner projects though because they use less yarn than a sweater and if you mess up the sizing slightly it doesn’t matter as much since they’re meant to be flowy anyway.
Yarn Choices That Actually Work
Cotton is your friend here. I used Lion Brand 24/7 Cotton for my first top and it was fine, nothing special but it held up. The problem with acrylic for summer stuff is you’re literally gonna sweat in it and it feels gross. I learned that the hard way with some Red Heart Super Saver I tried to use because it was on sale.
For a drapey kind of look, the Wool and the Gang Shiny Happy Cotton is really nice but it’s expensive and I only used it once when I was feeling fancy. Honestly most of the time I go with Lily Sugar’n Cream because it’s cheap and comes in good colors. Yeah it’s technically dish cloth yarn but whatever, it works.
You want something that’s gonna breathe and not stretch out weird after one wear. I made this one top with some mystery yarn from a thrift store haul and after wearing it for like 3 hours it grew about 2 inches longer and never went back. Super annoying.
Weight and Yardage
Most summer top patterns call for DK or sport weight. Sometimes worsted if you want something that works up faster. I prefer sport weight because it makes a nicer fabric that’s not too thick but also not so thin you can see everything through it.
Yardage depends on your size obviously but generally you’re looking at 600-1000 yards for a basic top. I always buy extra because running out of yarn 3/4 of the way through is the worst and trying to match dye lots later is basically impossible.
Pattern Types and What Actually Works
There’s basically a few categories of summer top patterns and some are way easier than others.
Granny Square Tops
This is where most people start including me. You make a bunch of squares and sew them together. The nice thing is you can work on it in pieces and stop whenever. The annoying thing that drove me crazy when I made mine in 2022 was sewing all those stupid squares together. My hands hurt, I was watching Love Island while doing it and I kept losing track of which squares I’d already attached.
You need probably 12-20 squares depending on size. Make them all first, then lay them out on your bed or floor to figure out the arrangement. Some people do stripes of color, I just did random because planning seemed like too much work.
The actual construction is: front panel (usually 3-4 squares wide), back panel (same), and then 2 squares for each shoulder strap or you can do ties instead. Sew the sides together leaving armholes, sew the shoulders.
Worked in One Piece Tops
These start at the bottom and you work your way up. Usually they have you work the front and back separately then join them. I made one of these spring 2024 and it was actually pretty straightforward once I figured out the shaping.
The pattern I used had you decrease for the waist then increase again for the bust which sounds complicated but it’s really just adding or removing stitches at the ends of rows. Where I messed up was not trying it on enough while working on it, so by the time I finished the whole thing it was too tight in the shoulders.
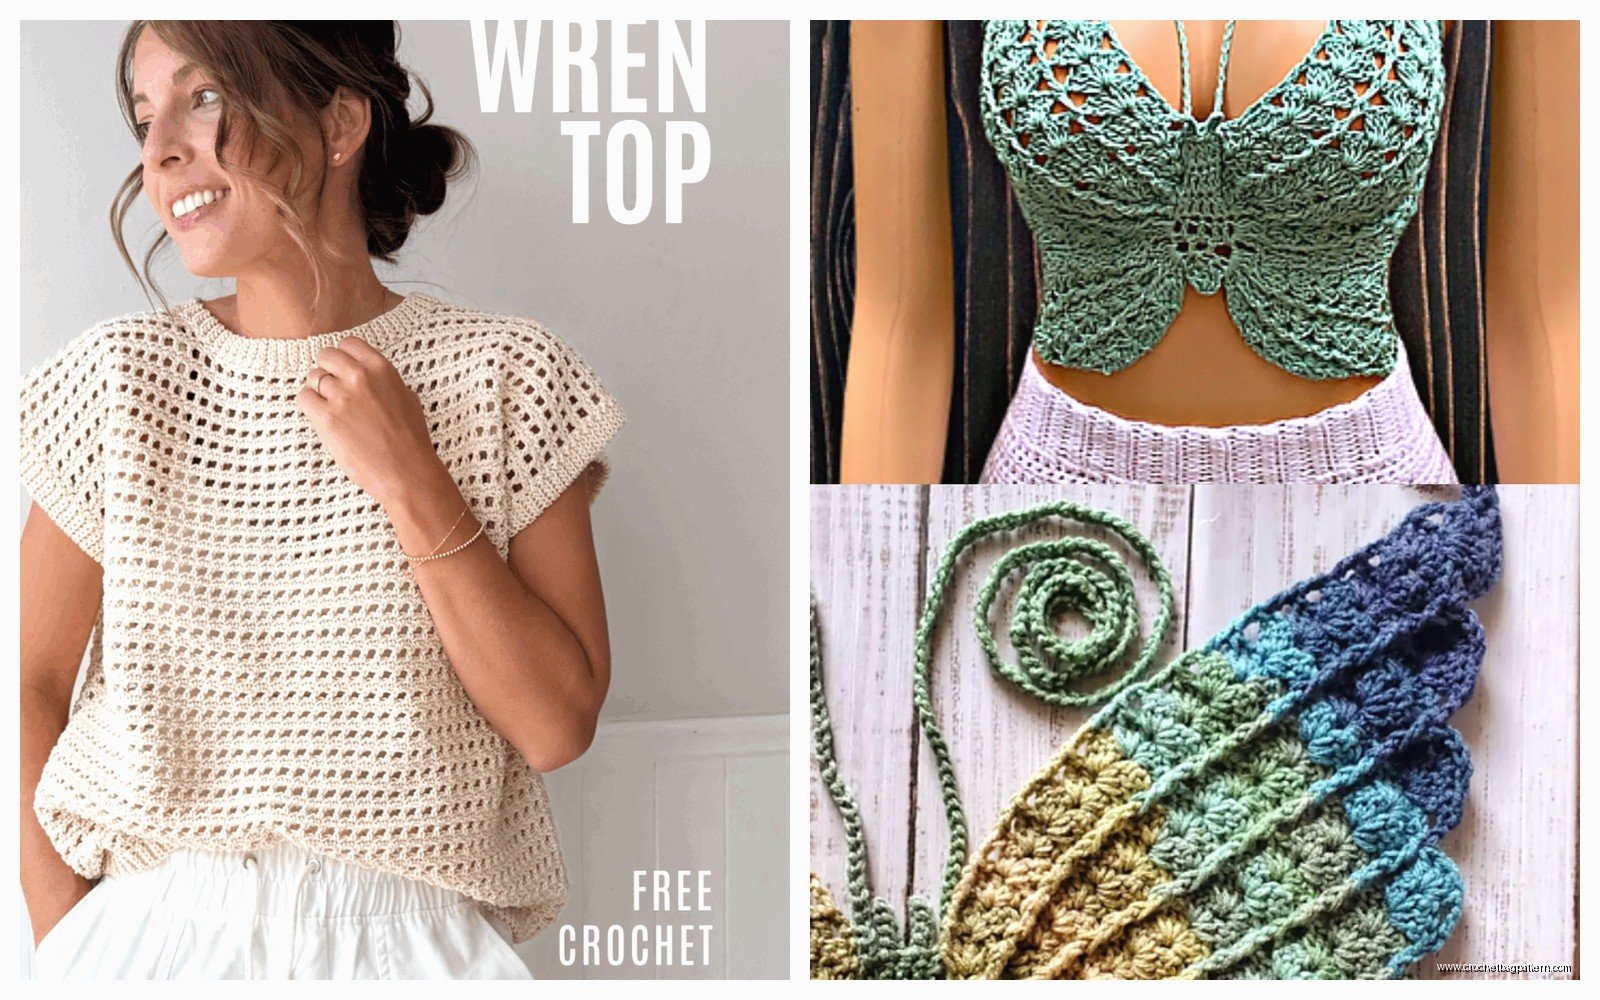
Hexagon or Motif Based
Similar to granny squares but using different shapes. Looks fancier, same amount of annoying sewing involved. I haven’t actually finished one of these because I got bored after making 6 hexagons and realized I needed like 15 more.
The Actual Process
Okay so once you’ve picked your pattern and yarn, you need to do a gauge swatch. I know everyone says to do this and I know everyone skips it including me most of the time, but for tops you really should because if your gauge is off the whole thing won’t fit right.
Make a 4 inch square in whatever stitch the pattern uses. Count your stitches and rows. If it matches the pattern great. If not, go up or down a hook size. I usually need to go up a hook size because I crochet tight, which apparently is common for self-taught people.
Starting the Top
Most patterns have you chain a foundation row. I’ve started using foundation single crochet instead because it’s stretchier and looks better but that’s just personal preference. The pattern will tell you how many chains you need for your size.
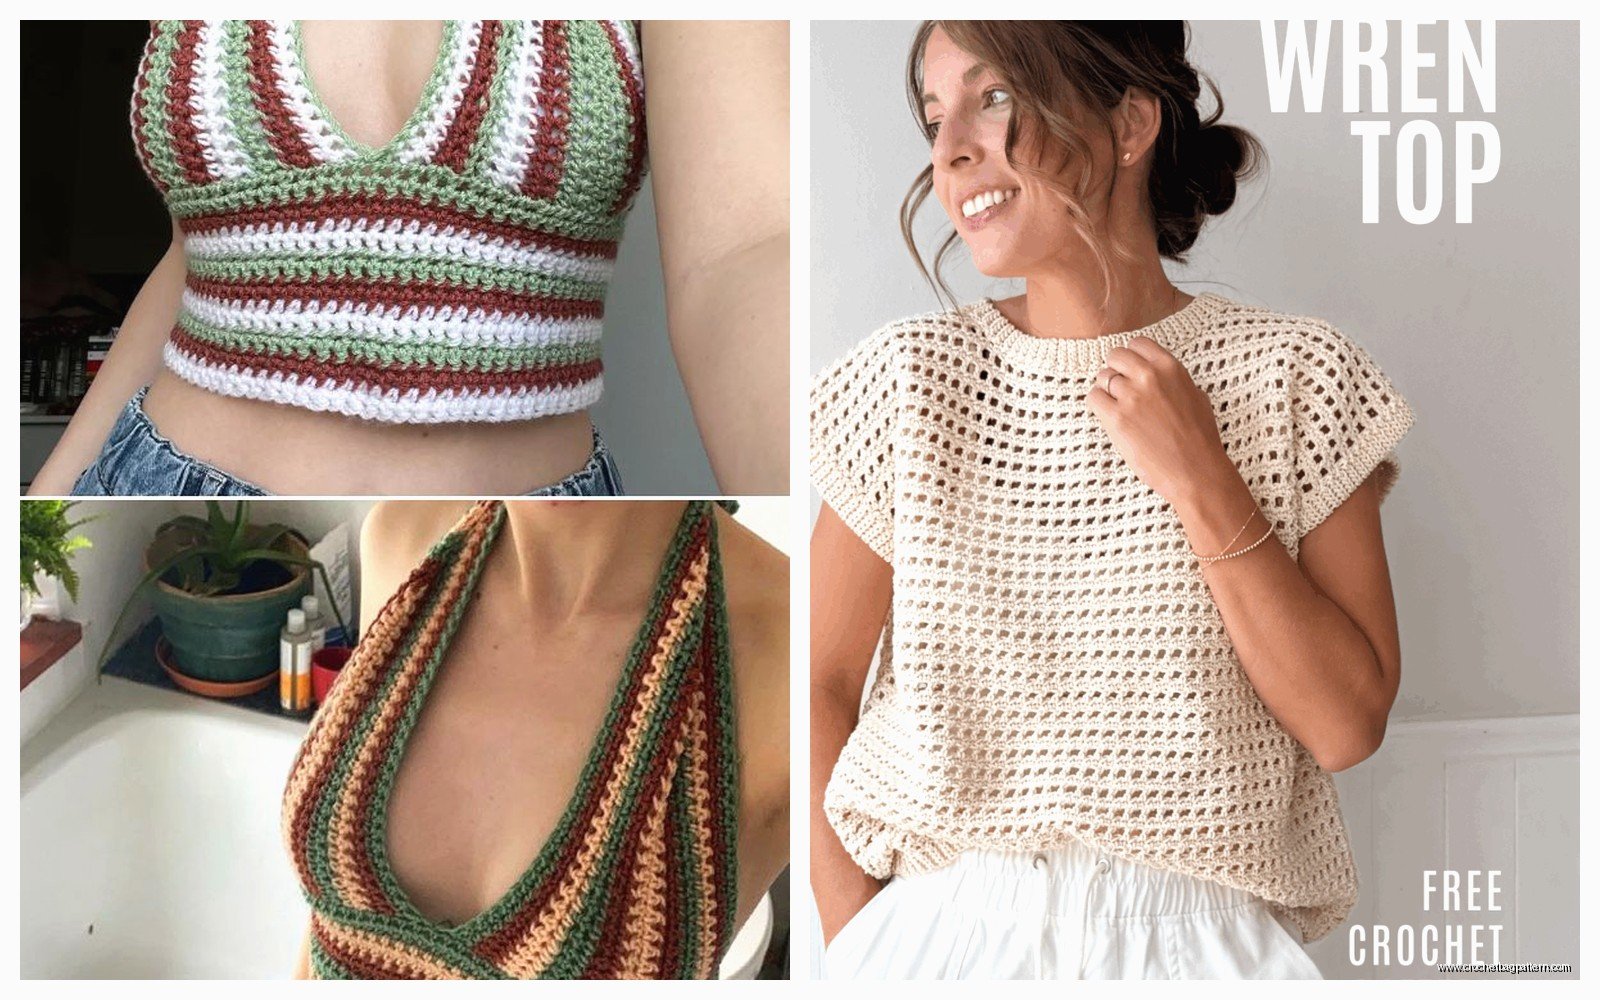
Pay attention to whether the pattern is written for wearing it alone or as a layering piece. Some of these tops are basically just decorative and you need a tank top under them, others are meant to be worn by themselves. The ones that are see-through or have lots of open stitchwork obviously need something underneath unless you’re braver than me.
Following the Pattern
Read through the whole pattern before you start. I never do this and I should because I’ve gotten halfway through things and realized there was a technique I didn’t know how to do.
Most summer tops use basic stitches – single crochet, double crochet, maybe some shells or V-stitches. If you can do those you’re fine. The tricky part is the shaping and keeping track of where you are.
Use stitch markers. I just use safety pins or pieces of yarn in a different color. Mark the beginning of your rows and any important points like where you need to increase or decrease.
Sizing Issues and Adjustments
Here’s the thing that annoyed me most about making that first top in 2022 – the sizing in patterns is all over the place. One pattern’s medium is another pattern’s large. And they usually give you finished measurements but it’s hard to visualize how it’ll actually fit.
I measure an existing top that fits how I want and compare those measurements to the pattern. Bust circumference is obvious but also check the length from shoulder to hem and the armhole depth. Armholes that are too deep look weird and ones that are too shallow are uncomfortable.
If you need to adjust sizing, it’s usually easier to go up or down a hook size rather than trying to modify the stitch count, unless you’re good at math which I’m not.
Trying It On
Try the thing on as you work. I know it’s got pins and loose ends and looks messy but you need to check the fit. Way easier to fix problems as you go than to finish the whole thing and realize it doesn’t fit.
My cat keeps trying to attack the yarn while I’m working which makes this whole process take longer than it should but whatever.
Finishing Techniques
Once all your pieces are made you gotta put them together. If it’s a seamed top, I use mattress stitch or whip stitch depending on how visible I want the seam to be. Mattress stitch is nearly invisible but takes longer. Whip stitch is faster but you can see it more.
Some people do a slip stitch seam which I think looks sloppy but it’s definitely the fastest method.
After seaming, weave in all your ends. This is boring and takes forever but if you don’t do it the ends will work themselves loose and your top will fall apart. I use a yarn needle and weave them through the back of stitches for a few inches then trim.
Edging
Most tops need some kind of edging around the armholes and neckline to make them look finished. Usually this is just a round of single crochet or slip stitch. Some patterns call for a crab stitch edging which is just reverse single crochet – you work left to right instead of right to left and it makes a nice border.
I’ve also done picot edging on one top which looked cute but was fussy and took like 2 hours just for the edging so I probably won’t do that again unless I’m making something for a special occasion or…
Specific Pattern Recommendations
The easiest pattern I’ve used was basically just rectangles for front and back with chain spaces for the lacey look, then you seam the sides and add straps. Took maybe 6 hours total and looked decent. I don’t remember what it was called but if you search “easy crochet tank top rectangle” you’ll find similar ones.
For something more fitted, look for patterns that have bust darts or princess seaming. These sound complicated but they’re really just strategic increases and decreases that make the top fit better over your chest instead of hanging straight down.
Halter tops are popular and they’re actually pretty easy because you don’t have to worry about sleeves or shoulder shaping. You just make the body part and add ties that go around your neck. I made one last summer with Knit Picks Dishie which again is technically dishcloth yarn but worked fine and was like $2 a ball.
Common Problems
The top is too tight: You can try blocking it to stretch it out a bit. Get it wet, pin it to the measurements you want, let it dry. This works better with natural fibers than acrylic.
The top is too loose: Not much you can do except maybe add a drawstring at the waist or take it in at the side seams. Or just wear it oversized as a beach coverup.
The straps keep falling down: Make them shorter or add a back strap that connects them. Or switch to a halter style where the strap goes around your neck.
It’s see-through: Either that’s the design and you need to wear something under it, or your gauge is too loose and you should’ve gone down a hook size. You can line it with fabric if you’re desperate but that’s a whole different skill set.
The hem rolls up: Add weight to the hem with a different stitch pattern or block it aggressively. Some yarns just do this and it’s annoying but you kinda have to live with it.
Care and Maintenance
Cotton tops can usually go in the washing machine on gentle but I hand wash mine anyway because I don’t trust my washing machine not to stretch them out. Just use regular detergent, cold water, squeeze out the excess water (don’t wring it), and lay flat to dry.
Don’t hang them wet or they’ll stretch. I learned this the hard way with that top I mentioned earlier that grew 2 inches.
If you used acrylic you can machine wash and dry but honestly why would you make a summer top out of acrylic, it’s gonna be so hot.
Time Investment
A basic top takes me probably 10-15 hours depending on the complexity and how much TV I’m watching while I work. That’s spread out over a week or two usually. If you’re a faster crocheter it might take less time, if you’re slower or learning new techniques it might take more.
The granny square top took longer because of all the seaming – probably 20 hours total. But you can break it up into smaller chunks which is nice if you don’t have long blocks of time to work on it.
Is It Worth It
Depends on what you mean by worth it. If you’re trying to save money, probably not because the yarn alone costs as much as a cheap store bought top. But you get something that fits exactly how you want and you made it yourself which is cool.
I like making summer tops because they’re quick enough that I don’t lose interest but substantial enough that I feel like I accomplished something. And you can actually wear them unlike some crochet projects that are just decorative.
The main thing is to pick a pattern that matches your skill level and actually appeals to you. Don’t make something just because it’s popular on Instagram if you hate the style. You’re gonna spend hours on this thing so make something you’ll actually wear.