

Jun
What You Actually Need First
Okay so ladybug amigurumi is honestly one of those projects that looks way harder than it actually is. I made my first one back in spring 2022 when I was supposed to be doing literally anything else productive and I just kept thinking about how cute those little spotted bugs are.
For yarn you’re gonna want red and black obviously. I used Red Heart Super Saver in Cherry Red because I had like three skeins of it already sitting around from another project I never finished. The black was some random Bernat stuff I think? Bernat Softee Baby maybe. You don’t need fancy yarn for this at all. Cotton would work too if you want it to be more structured but acrylic is fine and honestly easier to work with when you’re stuffing things.
You need a smaller hook than you’d normally use for the yarn weight because amigurumi has to be tight enough that the stuffing doesn’t show through. I used a 3.5mm hook with worsted weight yarn which makes the fabric really dense. Some people go even smaller but then my hands start cramping and like… it’s supposed to be fun right?
The Basic Body Shape
Start with a magic ring. If you don’t know how to do a magic ring just YouTube it because trying to explain it in text is impossible. Make 6 single crochet stitches into the ring and pull it tight.
Then you’re gonna increase every round for a bit to make the dome shape. Round 2 is 2 sc in each stitch around so you end up with 12 stitches. Round 3 is increase then 1 sc, repeated all the way around for 18 stitches total. Round 4 is increase then 2 sc repeated for 24 stitches. Keep going with this pattern – adding one more sc between increases each round until you hit about 48 stitches or whatever size feels right for what you want.
The thing that really annoyed me was figuring out where rounds actually ended because I kept losing track of my stitch marker and then I’d be sitting there counting like an idiot trying to figure out if I was on stitch 23 or 27.
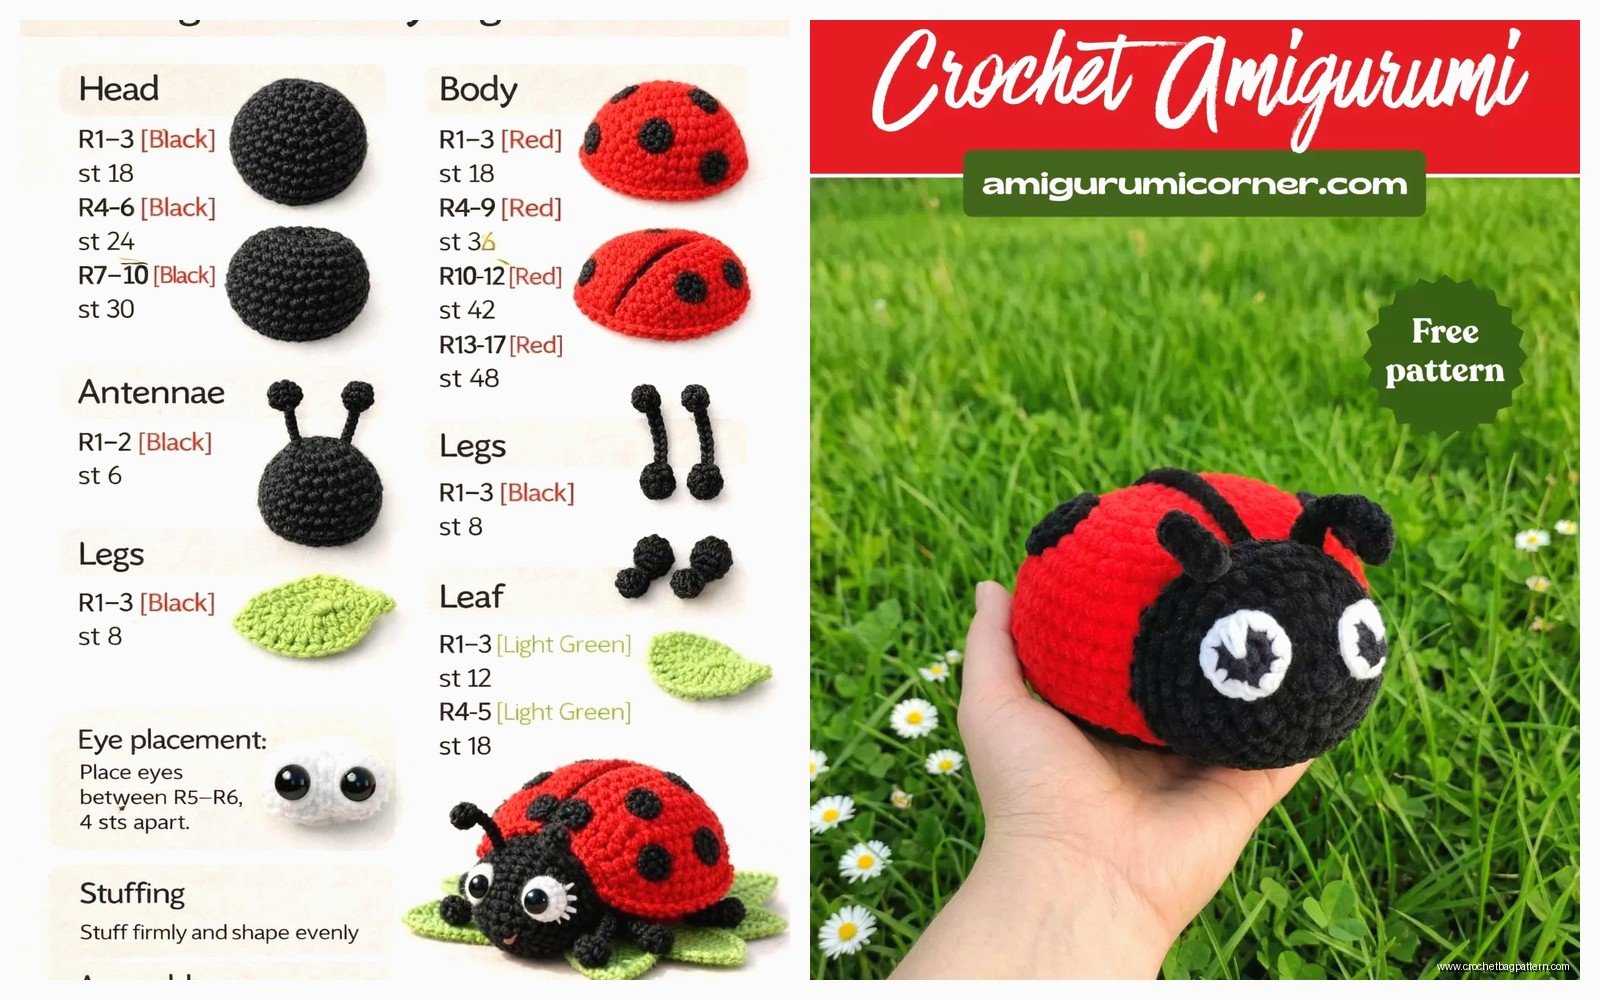
Once you get to the width you want you just work even for several rounds without any increases. This creates the sides of the body. I usually do like 8-10 rounds straight depending on how chubby I want the bug to look.
The Decrease Part That Everyone Messes Up
After the straight sides you gotta decrease to close up the bottom. This is basically the increases but backwards – you do invisible decreases instead of regular ones if you want it to look neat. I honestly don’t always bother with invisible decreases because once you stuff it and close it up you can barely tell anyway.
Before you decrease too much though you need to stuff the body. I use polyfil stuffing from Walmart because it’s cheap and who cares. Pack it in there pretty firm but not so tight that it distorts the shape. My cat kept trying to steal the stuffing while I was working on this which was extremely unhelpful.
Keep decreasing each round – taking away the same number of stitches you added on the way up. When you get down to like 6-8 stitches left cut your yarn leaving a long tail and thread it through the remaining stitches to cinch it closed.
Adding The Black Spots
This is where it actually starts looking like a ladybug instead of just a red blob. You can either crochet separate black circles and sew them on or you can embroider them with black yarn. I’ve done both ways and honestly sewing on circles looks better but takes more time.
To make the spots crochet tiny circles – magic ring with 6 sc then maybe one round of increases to get 12 stitches and fasten off. Make like 5-7 of these depending on how spotty you want your bug. They don’t have to be perfect circles because real ladybugs don’t have perfect spots either.
Position them on the body before you sew them – I usually do three on each side of an imaginary line down the middle and one at the back. Use black thread or yarn to stitch them down. Go through the back of the spot and into the body then back out through the spot again so the stitches don’t show on the inside.
If you’re embroidering instead just use black yarn and make circular shapes with a needle. This is faster but looks less dimensional. Your choice really depends on how much time you wanna spend and whether you’re watching something good on TV because I find I can only do the fiddly sewing stuff when I’m like halfway paying attention to something else. I made mine while binging some cooking show I don’t even remember the name of.
The Head Situation
The head is basically a smaller version of the body. Start with magic ring and 6 sc. Increase to maybe 18 or 24 stitches depending on how big you want the head compared to the body. Work a few rounds even then decrease back down and stuff it before closing.
For the face you can either use safety eyes which you can buy at craft stores or online or you can embroider eyes with white and black yarn. Safety eyes are easier and look more professional but you have to put them in before you close up the head because they have a washer that goes on the inside.
I used 6mm safety eyes for mine and positioned them pretty close together because it looks cuter that way. If you want to embroider eyes just make two white circles with yarn and add smaller black circles in the center for pupils.
Sew the head onto the body at the front – like where you’d imagine a ladybug’s head would be. Use black yarn and sew it on really secure because if you’re making this for a kid it’s gonna get yanked around.
Antennae and Legs
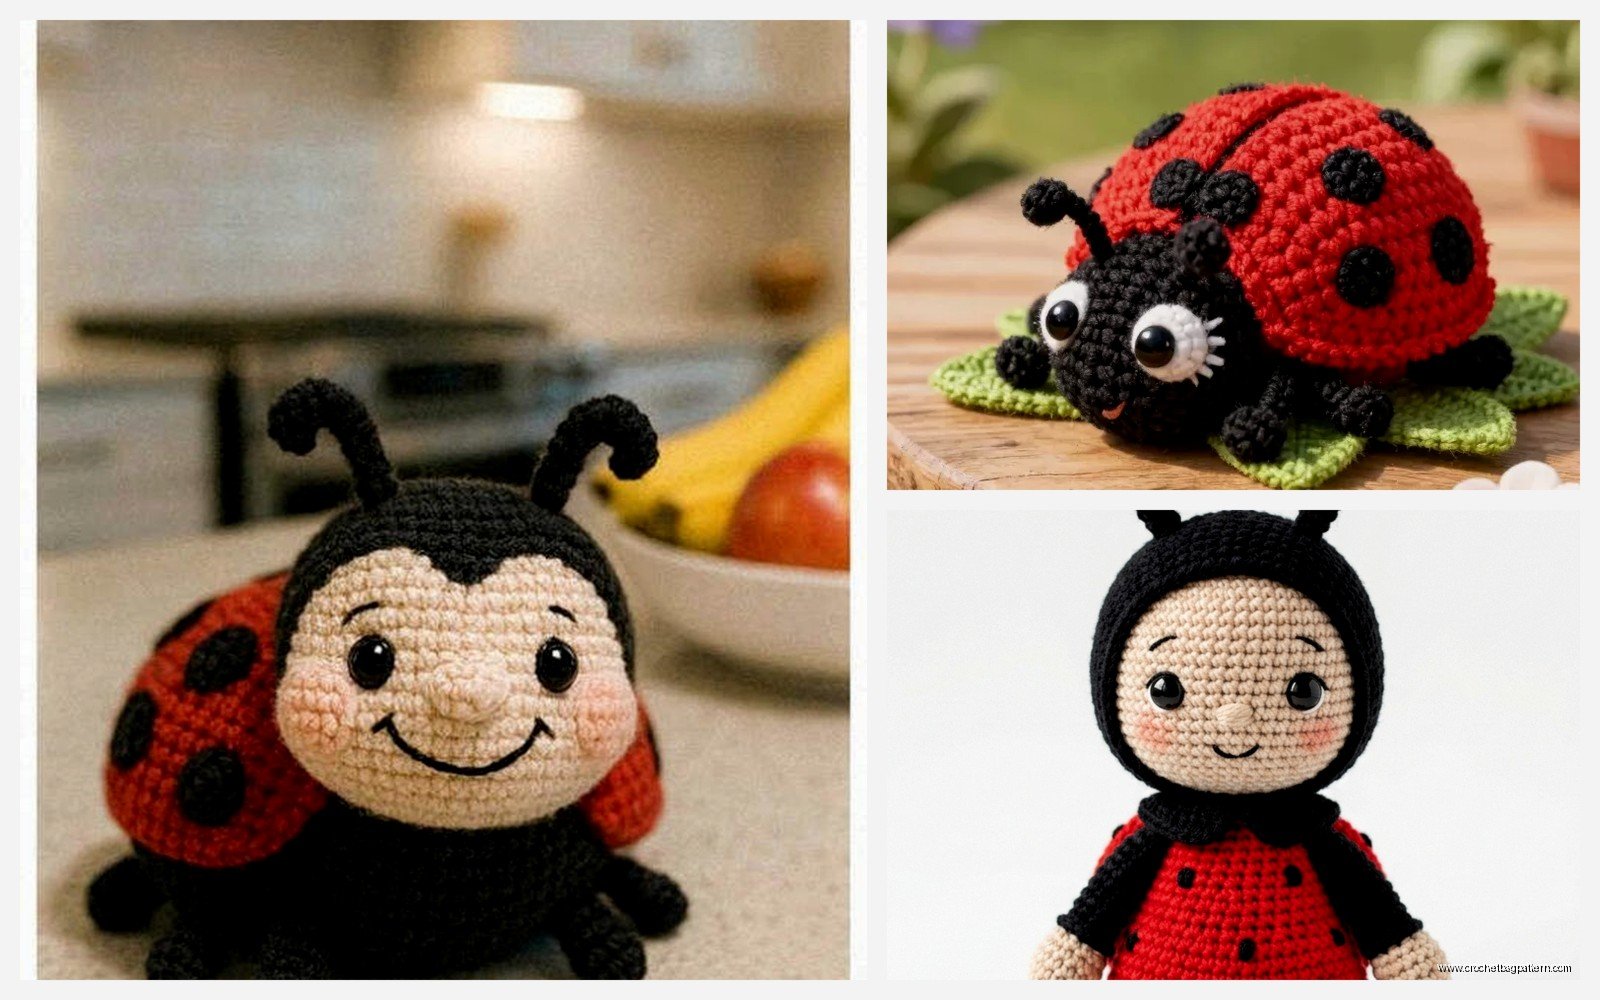
Antennae are just chains with black yarn. Chain like 8-10 stitches and fasten off leaving a long tail for sewing. Make two of these and sew them onto the top of the head. You can make them stick straight up or curve them a bit by shaping them as you sew.
Legs are probably the most tedious part honestly. You need six legs because ladybugs are insects and insects have six legs not eight like spiders which everyone gets confused about sometimes. Chain about 12 stitches with black yarn then work back down the chain with slip stitches or single crochet – either works. The slip stitch version is thinner and more leg-like but also more annoying to work.
Fasten off each leg leaving a tail for sewing and attach three legs on each side of the body toward the bottom. They don’t have to be perfectly even because… have you ever looked at a real bug? Nothing is symmetrical in nature anyway.
Some people make the legs poseable by putting wire inside them but that seems like overkill to me unless you’re making like a display piece or something.
That Line Down The Middle
Real ladybugs have that line down their back where their wings separate right? You can add this with embroidery using black yarn. Just stitch a straight line from the back of the head to the back of the body right down the center. I usually do it with a backstitch or just a running stitch – doesn’t need to be fancy.
This detail really makes it look more ladybug-ish instead of just a spotted red ball with legs. Takes like two minutes and makes a big difference.
Sizing and Yarn Weight Options
The pattern I described uses worsted weight yarn which makes a ladybug that’s maybe 3-4 inches long depending on how many rounds you do. If you want a bigger one use bulky yarn with a bigger hook or just do more increase rounds to make the body wider.
For a tiny one you could use sport weight or even thread with a tiny hook but honestly my patience doesn’t extend to thread crochet. That’s for people who are more dedicated than I am.
Lily Sugar’n Cream cotton yarn works really well if you want a cotton version – it comes in good bright red and the black is actually black not like dark gray. The cotton ones hold their shape better and are more durable if you’re making it for a kid who’s gonna drag it everywhere.
Common Problems I’ve Run Into
The body coming out lopsided is pretty common especially if your tension isn’t consistent. Just embrace it honestly – handmade things aren’t supposed to look factory perfect. Or you can block it by getting it damp and shaping it while it dries but that seems like a lot of effort for a small stuffed bug.
Spots falling off happens if you don’t sew them on well enough. Use regular sewing thread instead of yarn for attaching them if you want them really secure because thread is stronger for that kind of thing.
Running out of black yarn right when you’re almost done with the legs is extremely annoying and has definitely happened to me more than once. Just buy an extra skein of black because you’ll use it for other projects anyway and it’s better than having to stop and run to the store when you’re in the zone.
Variations You Can Try
You don’t have to stick with traditional red and black. Yellow ladybugs exist in real life so you could do yellow with black spots. Or make a pink one with purple spots if you want something more whimsical because who says amigurumi has to be realistic.
Adding a smile to the face makes it look friendlier – just embroider a little curved line under the eyes with black or red yarn. Some people add blush with actual makeup or fabric paint but I’ve never bothered with that.
You could make wings that open by crocheting two red semi-circles and attaching them at the top so they hinge open to show white or yellow underneath. This is more complicated though and requires planning where the wings attach before you finish the body.
Tiny ladybugs make good keychains if you attach a keyring to the top of the head. Just make sure everything is sewn on really secure if it’s gonna be on someone’s keys getting jostled around all day.
How Long It Actually Takes
The body and head together take maybe an hour or two if you’re working at a normal pace and not constantly getting distracted. The spots and legs add another hour-ish depending on how many spots you’re doing and whether you’re embroidering or sewing on circles.
Assembly and finishing takes longer than you’d think because sewing all those pieces on neatly is fiddly work. Budget like 30-45 minutes for attaching everything unless you’re really fast at sewing.
So total you’re looking at maybe 3-4 hours for a complete ladybug which isn’t bad for a handmade gift or decoration. You could definitely finish one in an afternoon if you’ve got nothing else going on.
The first one always takes longer because you’re figuring out the construction and where you want things positioned but once you’ve made one you can crank them out pretty quick if you wanted to make a whole family of them or whatever.
