
May
okay so headbands are actually super easy
I made like three of them back in spring 2022 when I was binge-watching that show Severance and honestly couldn’t focus on anything complicated. Headbands are perfect for that because you can just zone out and your hands do the work.
The easiest pattern is literally just a long rectangle. That’s it. You crochet a rectangle, then you sew the ends together. I know people get all fancy with twists and buttons and whatever but if you’re starting out or just want something fast, rectangle method is the way to go.
What You Actually Need
Any yarn works but worsted weight is gonna be your best bet. I’ve used Red Heart Super Saver which is like the most basic yarn ever but it’s cheap and comes in a million colors. Also used Lion Brand Wool-Ease for one that I actually still wear – it’s softer and has better stretch. The acrylic ones can be kinda stiff which was annoying because they’d slide around on my head constantly and I’d have to keep adjusting them.
For the hook size just check what the yarn label says. Usually worsted weight needs a 5mm or 5.5mm hook. I typically use whatever’s laying around honestly.
The Basic Rectangle Method
Chain about 12 stitches to start. This becomes the width of your headband – so like the part that goes across your forehead. You want it wide enough to actually stay on your head but not so wide it looks like an 80s sweatband situation.
Then you just single crochet back and forth. Chain 1, turn, single crochet across. Chain 1, turn, single crochet across. Over and over until it’s long enough to wrap around your head. For me that’s usually around 18-20 inches but you gotta measure your own head because everyone’s different.
The thing that really annoyed me was figuring out when to stop. Like you think it’s long enough, then you try it on and it’s too tight. Or you make it bigger and then it’s too loose and saggy. I ended up just keeping a measuring tape next to me and checking every few rows.
Making It Stretchy
Single crochet makes a pretty tight fabric which doesn’t have much give. If you want more stretch you can do half double crochet instead – those are taller stitches and the fabric ends up with more flexibility. Or you could do the whole thing in ribbing which looks really nice and professional.
For ribbing you basically crochet into the back loop only of each stitch. So instead of going under both loops like normal, your hook only catches that back loop. This creates these vertical ridges that stretch sideways. It’s not hard but it does take longer because you have to pay attention to which loop you’re grabbing.
I made one with ribbing in summer 2024 using some Caron Simply Soft I had leftover from another project – I think it was that grey color they call like Silver or something? My cat kept trying to attack the ball of yarn while I worked on it which made the whole process take twice as long.
Joining the Ends
Once your rectangle is long enough you gotta connect the two short ends together. You can sew them with a yarn needle – just whip stitch the edges together on the wrong side so the seam doesn’t show as much. Or you can do a slip stitch seam which is faster but sometimes bulkier.
I usually just sew it because I can make it flatter that way. The seam goes at the back of your head under your hair so nobody sees it anyway.
Variations That Are Still Easy
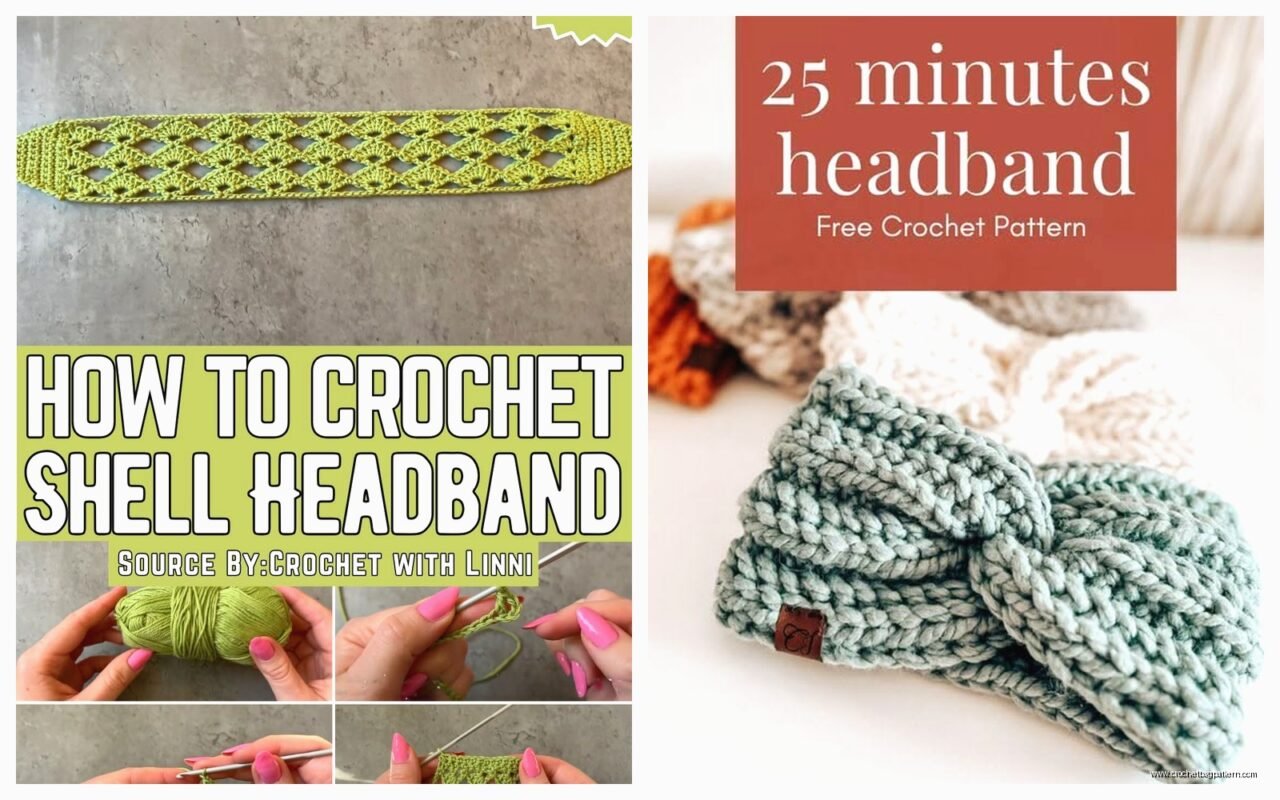
If you want to get slightly fancy without adding much difficulty, you can make a twisted headband. You literally just take your rectangle before you sew the ends, give it one twist, then sew the ends together. It creates that trendy twisted look in the front. Super simple.
Another option is the ear warmer style where it’s wider and actually covers your ears. Same concept just chain more stitches at the beginning – maybe 18 or 20 instead of 12. I made one of these for winter and it was great except it kept messing up my hair.
Adding a Button or Bow
You don’t have to sew the ends into a circle. You can leave it as a straight piece and add a button closure on one end. Just crochet a button loop on one side – chain like 4 or 5 stitches and attach it back to the edge to make a loop. Then sew a button on the other end.
Or make two separate pieces and tie them together in a bow at the side or top. This looks cute and also lets you adjust the size easier. I did this with some Red Heart Soft yarn in like a dusty pink color and it came out looking way more put-together than the effort I actually put in.
Actual Measurements and Stuff
Okay so here’s what works for an average adult head. Chain 12 for the width, crochet until you have about 18-20 inches of length. If you’re making it for a kid obviously go smaller – maybe chain 10 and make it 16 inches long.
The width measurement is more important than you’d think. Too narrow like 6 stitches or whatever and it’ll just be this thin band that doesn’t stay in place. Too wide and it starts looking like a headband from an aerobics video.
I usually work a few rows, then try it on my head just holding the ends together to see if the width feels right before I commit to the whole length.
Gauge Doesn’t Really Matter Here
This is one project where you don’t need to stress about gauge. Like yeah your stitches should be relatively even but if some rows are slightly looser or tighter it’s not gonna ruin anything. The headband is small enough and stretchy enough that minor variations don’t show.
I never do a gauge swatch for headbands. Just start crocheting and adjust as you go.
Color and Yarn Choices
Solid colors are easiest because you don’t have to think about it. But variegated yarn can look really cool – the colors shift as you crochet and you get this gradient effect. I used some Lion Brand Mandala yarn once in the colorway Sphinx and it made the headband look way more interesting than it actually was pattern-wise.
Cotton yarn makes a good summer headband because it breathes and doesn’t get as hot. Acrylic is fine for whenever. Wool or wool blend is warmer so better for winter. I tried making one with some chunky chenille yarn thinking it would be soft and cozy but it was just bulky and weird-looking, so maybe skip that unless you’re into the whole velvet scrunchie aesthetic.
How Long Does It Take
A basic headband takes me maybe an hour? Maybe 90 minutes if I’m watching TV and not paying full attention. If you’re newer to crochet it might take longer but it’s still a same-day project. That’s why these are great for making a bunch as gifts or whatever – you can crank out several in an afternoon.
The ribbed ones take a bit longer because of the back loop only thing but still not terrible. Maybe two hours tops.
Common Problems
The edges curling is probably the most annoying issue. This happens when your tension is too tight or if you’re not chaining enough at the ends of rows. Make sure you’re doing that turning chain and not pulling your stitches super tight.
If the headband is too stretchy and won’t stay on your head, you probably need to go down a hook size or use a tighter stitch. If it’s too tight and gives you a headache, opposite problem – bigger hook or looser stitches.
Sometimes the seam where you joined the ends is really obvious and bulky. This bugs me so much and I’ve started being more careful about how I sew it. Use the same yarn color obviously, and try to catch just the very edge of the stitches instead of going through the whole stitch. Makes it flatter.
Making It Stay in Place
Some hair types just don’t hold headbands well. If yours keeps sliding back or falling off you can add a strip of that elastic-y shelf liner stuff on the inside. Just cut a small piece and sew it to the inner band where it sits against your forehead. Creates grip without being uncomfortable.
Or crochet with two strands of yarn held together for a thicker, sturdier band that has more structure. I haven’t tried this myself but I’ve seen people do it.
Free Patterns Online
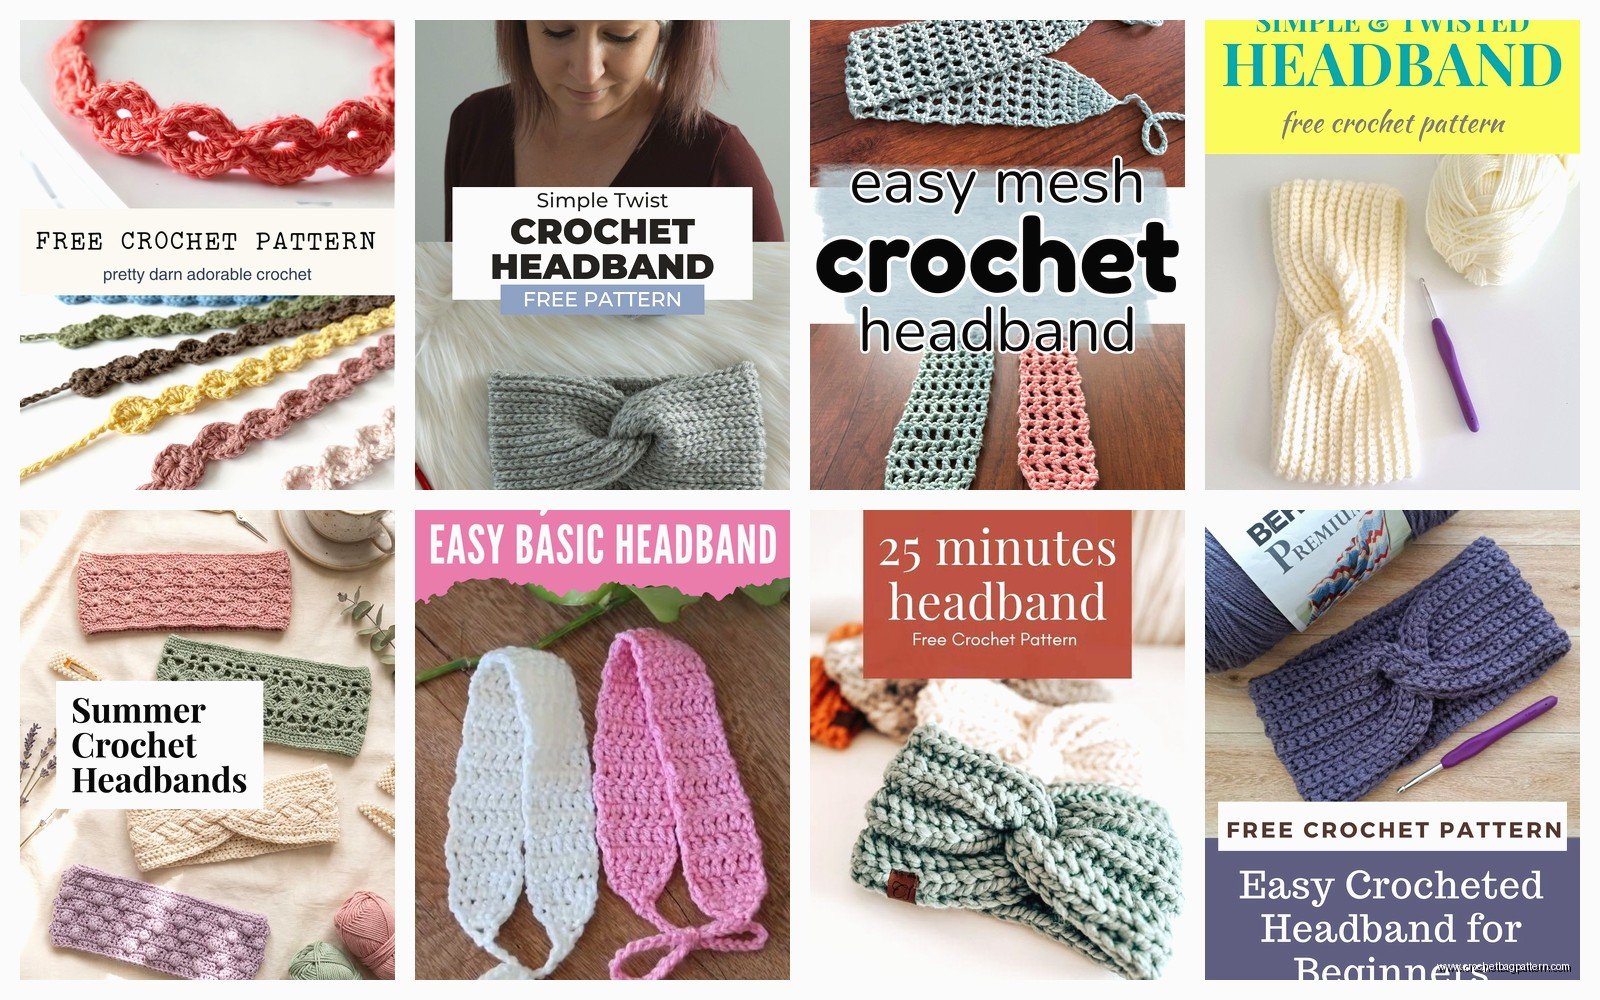
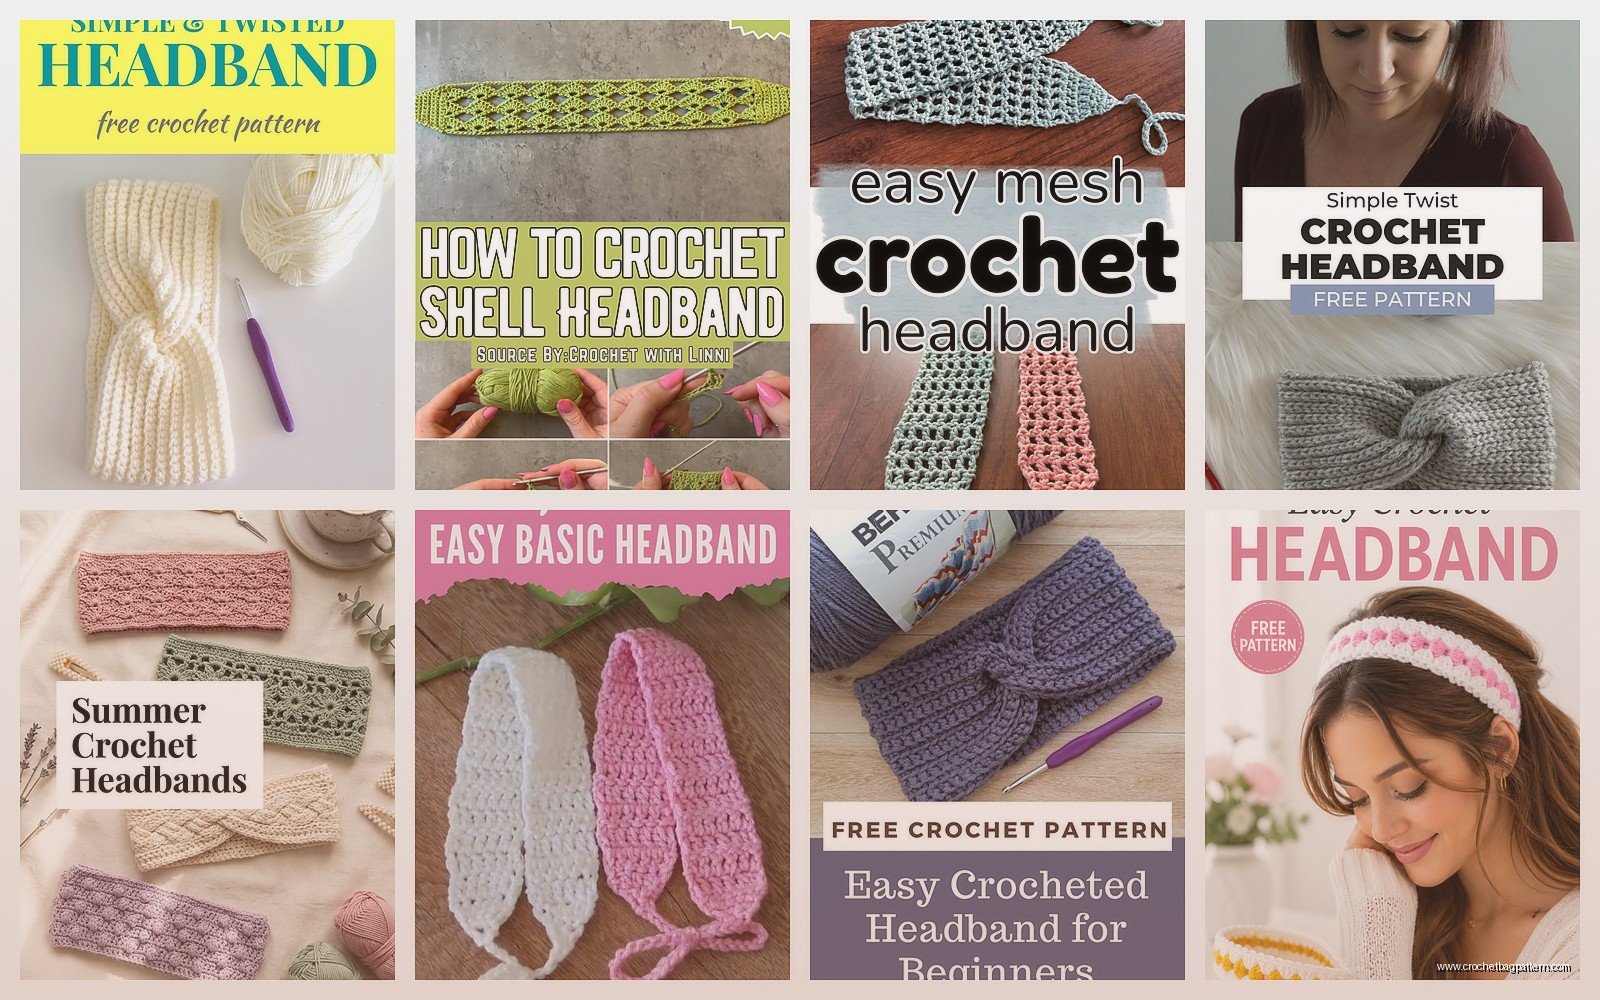
You really don’t need a written pattern for the basic rectangle version – just chain, single crochet back and forth, done. But if you want something more specific there’s tons on Ravelry and Pinterest. Search for “simple crochet headband” or “beginner headband pattern” and you’ll find like hundreds.
Some have actual shaping with increases and decreases but honestly that seems like overthinking it for a headband. The beauty of this project is how straightforward it is.
YouTube videos are helpful if you need to see someone actually doing the stitches. I learned that back loop ribbing technique from a video because the written instructions weren’t making sense to me.
Using Up Leftover Yarn
Headbands are perfect scrap yarn projects. You only need like 50-75 yards total depending on width and length. I have a whole bag of partial skeins from other projects and headbands are what I make when I want to actually use that stuff up instead of just hoarding it forever.
You can even do stripes if you have multiple colors – just switch colors every few rows. Or carry two colors and do something simple like alternating stitches though that might be getting beyond “easy” territory… I don’t know, depends on your skill level I guess.
Washing and Care
Acrylic headbands can go in the washing machine, just toss them in with regular laundry. Wool ones need to be hand washed or they’ll felt and shrink. Cotton is usually machine washable too.
I throw mine in a lingerie bag before washing so they don’t get stretched out or tangled with other stuff. They air dry pretty fast since they’re small.
Why Make Your Own
I mean you can buy headbands anywhere for cheap but making your own means you get exactly the color and style you want. Plus it’s a quick project that actually feels satisfying to finish – you start and complete something in one sitting which is rare with crochet. Most blankets and sweaters take forever.
And if you mess up it’s not a big deal. It’s just a headband. Worst case you frogged it and try again, you’ve only lost an hour of time and barely any yarn.
They make decent gifts too if you know someone’s color preferences. I made a few for friends and they actually wore them which was cool. Better success rate than the weird amigurumi animals I tried making that one time.
