
May
okay so you wanna make the forever florals bouquet
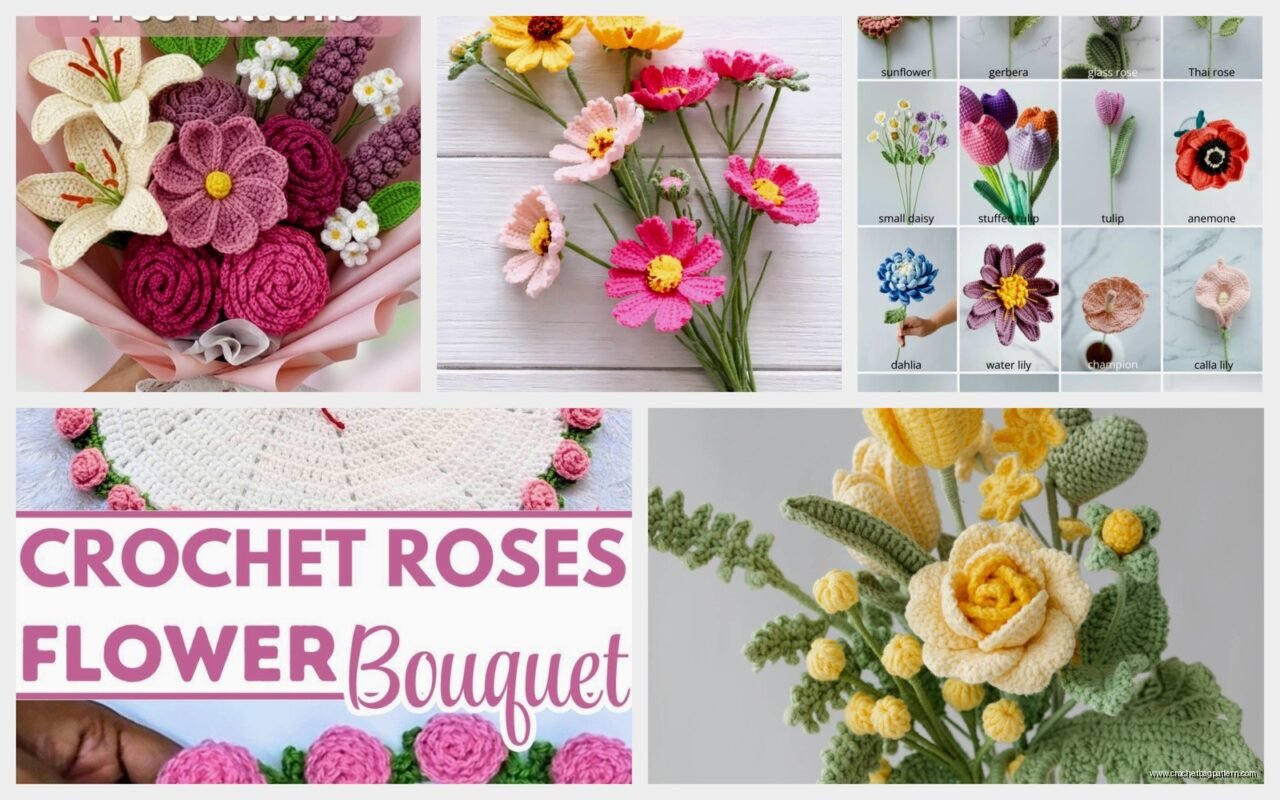
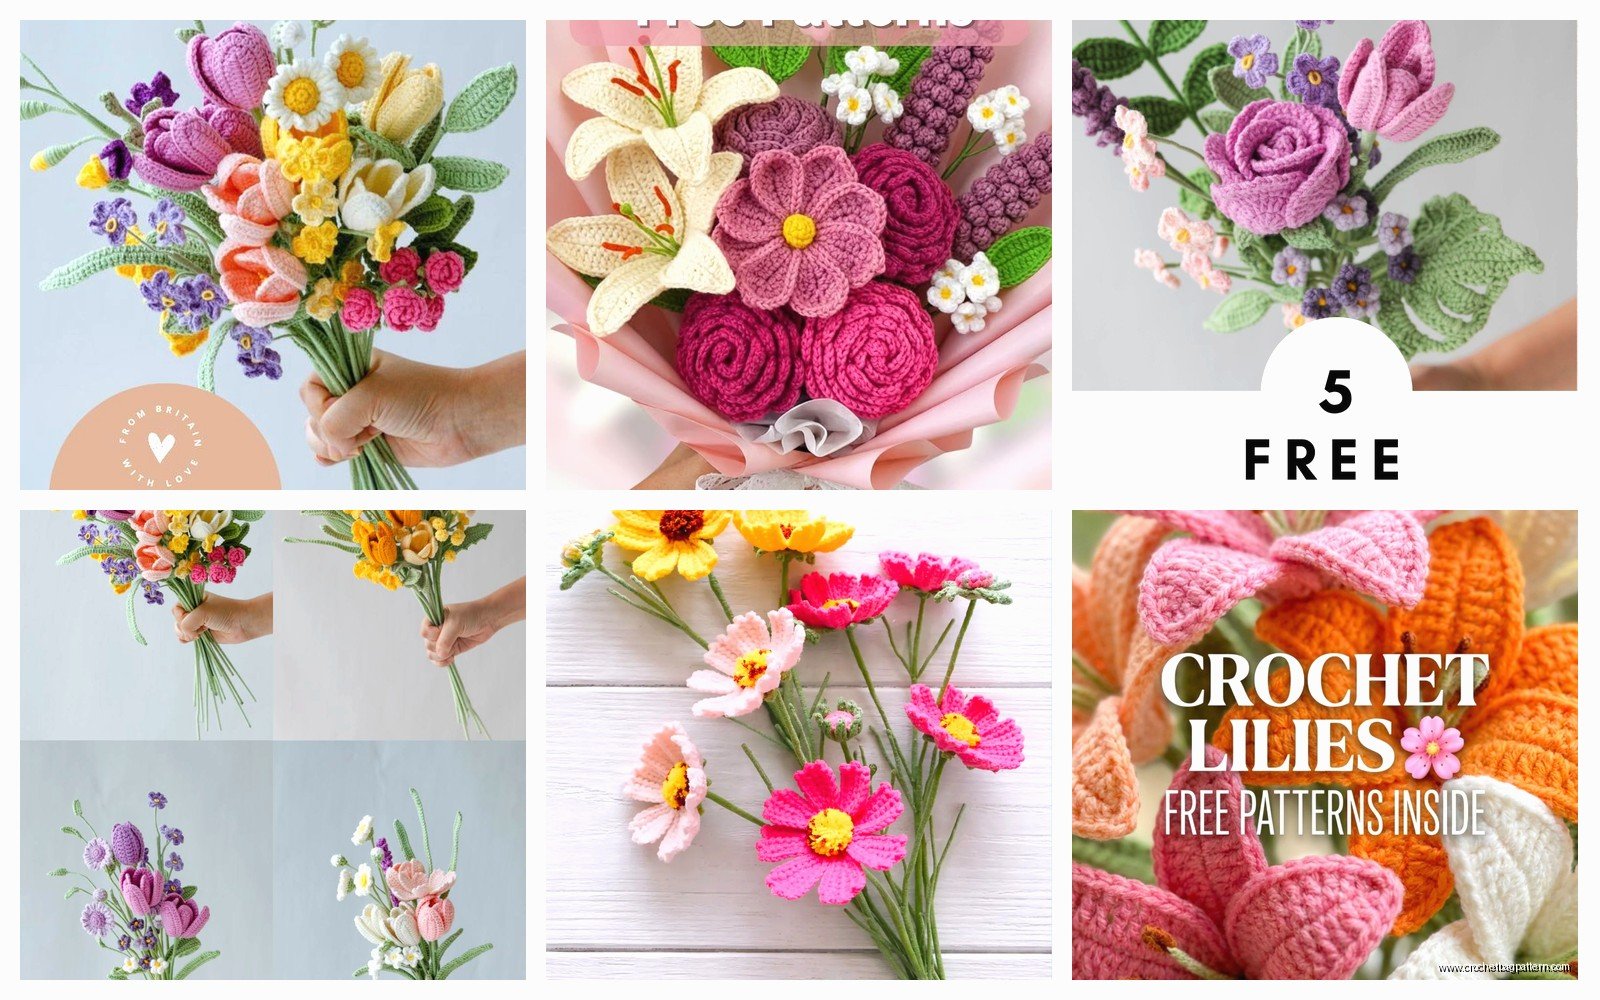
I made this pattern back in spring 2022 when I was basically living on my couch binge-watching Bridgerton and needed something to do with my hands. The forever florals thing is basically a collection of different crochet flowers you can bunch together to make a bouquet that won’t die on you, which honestly is the main selling point because I’ve killed every real plant I’ve ever owned.
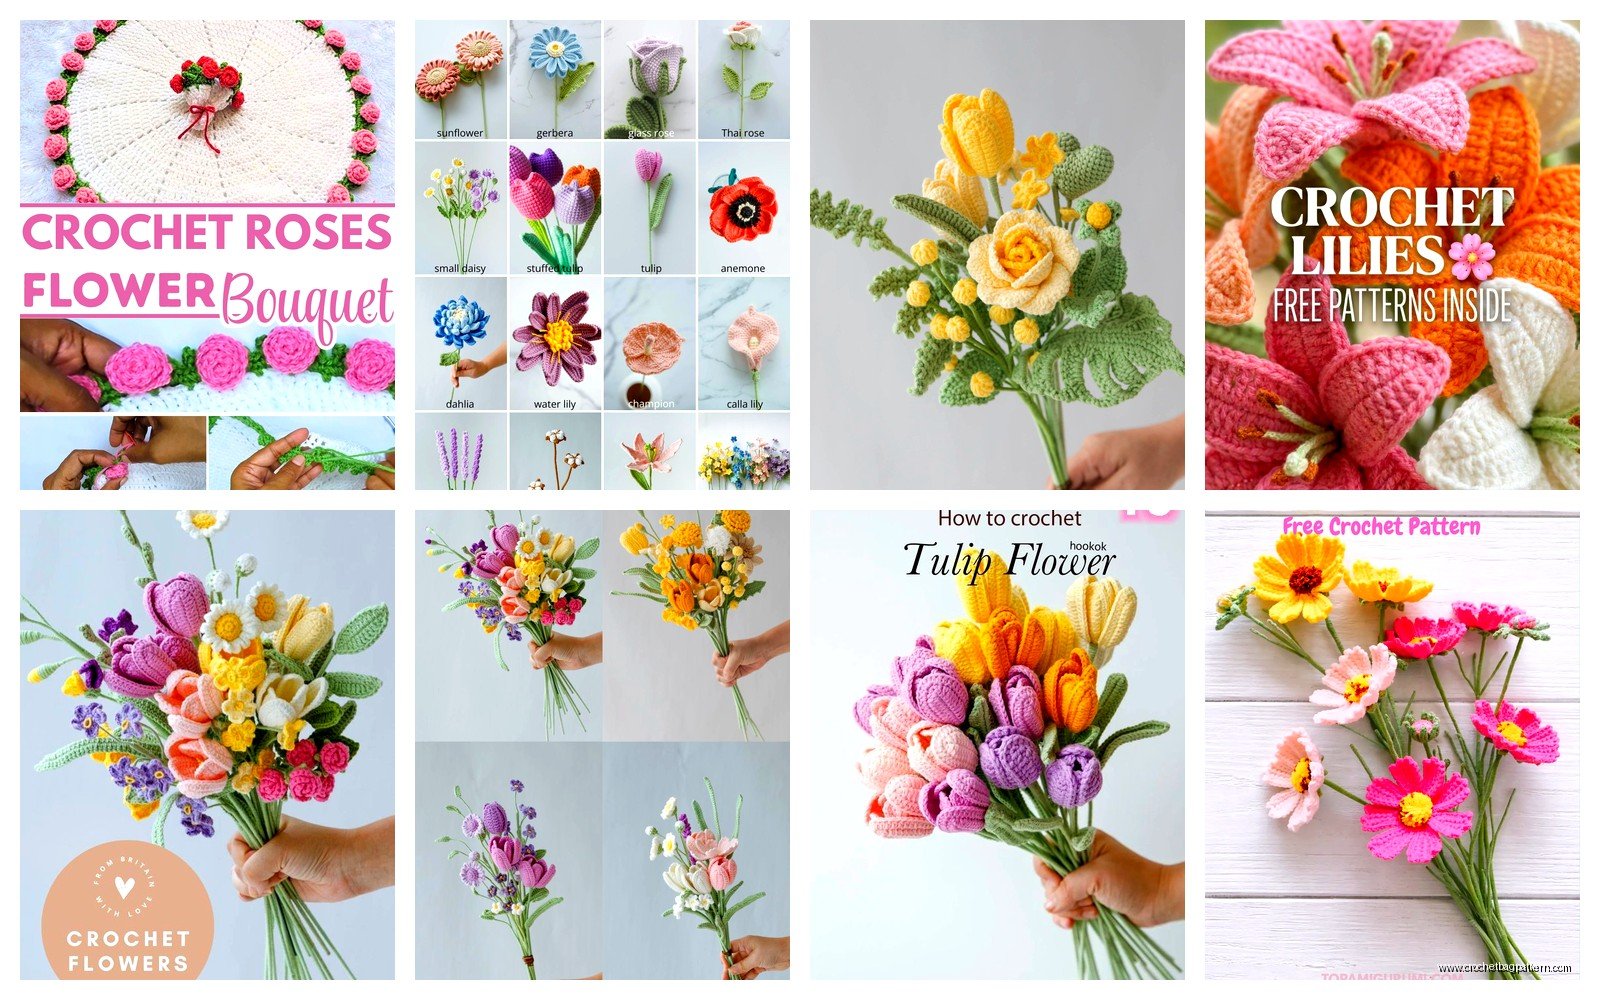
So the pattern itself isn’t like one specific thing, it’s more like you’re gonna make several different flower types and then stick them together. Most free patterns I found online had like 3-5 different flower styles – usually a rose, some kind of daisy situation, maybe a sunflower, and then filler flowers that are smaller.
what you actually need
Yarn wise, I used a bunch of different stuff because I just raided my stash. The roses I made with Red Heart Super Saver in that “Perfect Pink” color because it was what I had, but honestly it worked fine. For the centers and stems I used Lily Sugar’n Cream in green – I think it was “Sage Green” maybe? The cotton yarn actually holds shape better for stems which is something I didn’t realize until I tried using acrylic first and everything was all floppy.
You need a smaller hook than you’d normally use for whatever yarn weight you pick. I used a 3.5mm hook with worsted weight yarn which made the stitches tight enough that you couldn’t see through them. If you use too big a hook the stuffing shows through or the petals look weird and holey.
Also gonna need floral wire if you want the stems to actually stand up straight. I got mine from the dollar store, the green kind that’s already wrapped. You can skip this if you’re making a flat bouquet or planning to stick everything in a vase where it doesn’t matter, but freestanding bouquets need the wire or they just flop over.
the actual flowers
Most patterns start with a magic ring which I hate but whatever, you gotta do it. The basic rose pattern I used went something like – magic ring, chain 3, then you’re making a bunch of double crochets in the ring. I think it was like 15 or 18 dc? Then you don’t close it normally, you start working in rows back and forth to make petals.
Each petal is basically: chain 3, skip a stitch, slip stitch in the next stitch, chain 3 again. But then you work back along that chain with different stitches to make it ruffle – usually sc, hdc, dc, hdc, sc or something like that. The outer petals need to be bigger so you add more chains and taller stitches. This is the part that annoyed me SO MUCH because the pattern I was following kept saying “work petals evenly around” but didn’t specify how many petals or exactly where to put them, so my first rose looked absolutely deranged.
After you make all the petals you roll the whole thing up from the center and stitch it together at the bottom. Use regular sewing thread for this, not yarn, because yarn is too bulky and you’ll end up with this weird lumpy bottom that won’t sit right.
daisy type flowers are easier honestly
The daisy ones are way more straightforward. Magic ring again, chain 2 (counts as first hdc), then like 11 more hdc in the ring. Pull it tight. Then for the petals you’re doing: chain 5, slip stitch in second chain from hook, sc in next chain, hdc in next chain, dc in last chain, then slip stitch into the next stitch of your center ring. That makes one petal.
Do that 12 times around and you’ve got a daisy. I made these in white using some Caron Simply Soft I had leftover from a baby blanket. The centers I did in yellow – just a magic ring with 6 sc, then increase round to 12 sc, and you stuff it lightly with polyfil before sewing it onto the white petals.
You can make different sizes by changing your hook size or using thinner yarn. I made some small ones with thread and a 1.5mm hook which took forever but they turned out really delicate looking.
leaves because you need those too
The leaves are probably the simplest part but also easy to mess up if you don’t pay attention to tension. Chain however many you want for the length – I did chain 10 for medium leaves. Skip the first chain, slip stitch in second chain from hook, sc in next chain, hdc in next 2 chains, dc in next 2 chains, hdc in next chain, sc in next chain, slip stitch in last chain.
Then you work back down the other side of the chain doing the same stitches in reverse order. When you get to the bottom you do 3 slip stitches in that first chain to make the pointy leaf tip, then continue back up. Fasten off and leave a long tail for sewing.
I made like 20 leaves because you need way more than you think. They fill in all the gaps between flowers and make it actually look like a bouquet instead of just random flowers stuck together.
stems and assembly which is where it gets messy
Okay so stems – you can do this a couple ways. The way I did it was crocheting a long tube around the floral wire. Chain 6, join with slip stitch to make a ring, then just sc in each stitch around and around until you have the length you want. The tube slides over the wire after.
But honestly that took forever and my cat kept stealing the wire while I was working on it, so for half the flowers I just wrapped green yarn around the wire really tight and secured it with hot glue at the top and bottom. Looked basically the same and took like 5 minutes instead of 30.
One thing nobody tells you is that you need to attach the flower heads BEFORE you do the stems, or at least before you finish the stems. I did it backwards on my first few and had to undo everything. You want the wire to go up into the base of the flower, then you stitch around it to secure it, THEN you cover the wire with the green yarn or crocheted tube.
putting it all together
So once you have like 7-9 flowers and a bunch of leaves, you start arranging them. I laid everything out on my coffee table first to see what looked good. Taller flowers in the back or center, shorter ones in front and on the sides. The roses are usually your focal point because they’re the biggest and took the most work.
You bundle the stems together with floral tape – just wrap it around and around starting from where the flower heads end and going down the stems. Pull it tight as you wrap because it sticks to itself. Add in the leaves as you go, spacing them around so they poke out between the flowers.
If you want it to be a handheld bouquet, you can wrap the stems with ribbon or more yarn at the end. I used some cream colored ribbon I had from wrapping presents and tied it in a bow. For a vase bouquet you don’t really need to do anything fancy with the bottom.
the stuff that’s annoying about this project
The thing that drove me crazy was how long it takes to make enough flowers to look full. Pictures online show these gorgeous huge bouquets and then you make like 5 flowers and realize you need probably 15 to get that look. Each rose took me like 45 minutes, the daisies were faster at maybe 20 minutes each, but still – you’re looking at several hours of work minimum.
Also the patterns you find free online are often missing steps or assume you know techniques that maybe you don’t. I had to watch like 4 different YouTube videos to understand how to make the rose petals curl the right way. Something about working in the back loops only on certain rounds? The written pattern just said “work petals” and I was like cool, super helpful.
Another thing is the yarn ends – you’ll have SO MANY loose ends to weave in. Every flower has at least 2 ends, sometimes more if you changed colors for the centers. I spent an entire episode of whatever I was watching just weaving in ends with my tapestry needle.
variations you can try
I’ve seen people make these with different color schemes which changes the whole vibe. Like all white flowers with silver or gold stems for a wedding thing. Or bright rainbow colors for a kids room. The spring 2022 one I made was mostly pinks and purples because that’s what I had.
You can add other stuff too – I’ve seen patterns that include crocheted berries (just little balls in red or blue), or butterflies that you attach to the stems or flowers. Some people add beads to the flower centers instead of crocheting them.
Size wise you can make tiny ones for a boutonniere or huge statement flowers for a floor vase. Just adjust your yarn weight and hook size accordingly. The cotton thread ones I mentioned before would be good for like a dollhouse or a really delicate small arrangement.
specific flowers I included
In mine I did: 3 roses in different shades of pink, 4 daisies in white, 2 sunflowers that were kind of small (yellow petals with brown centers), and then like 6 of these tiny filler flowers that were basically just puff stitches in a circle. The puff stitch ones are super fast – magic ring, then yarn over pull up a loop like 3 times in the same stitch, yarn over and pull through all the loops. Do that 5 or 6 times around the ring and you have a puffy little flower.
I used some lavender colored yarn for a few – I think it was Bernat Softee Baby in Lavender? Made them the same way as the daisies just smaller. They filled in gaps really well.
The sunflowers I did with that Lily Sugar’n Cream again in “Sunny Yellow” and the centers were brown Red Heart. The pattern was similar to the daisy but with more petals (like 16 instead of 12) and pointier – you chain more and use taller stitches.
how long does it actually last
The forever in forever florals is legit – mine is still sitting on my bookshelf and it’s been almost 3 years. The colors haven’t faded at all, nothing’s come apart. I did have to fluff up the petals a bit after moving apartments because they got squished in a box, but they bounced back fine.
If you use acrylic yarn it’ll last basically forever unless you like, throw it in a fire or something. Cotton yarn might get a little limp over time especially in humid places, but it still holds up way better than real flowers obviously.
cost breakdown roughly
If you’re buying everything new, you’re looking at maybe $25-30 for enough yarn to make a decent sized bouquet. The floral wire was $3 for a pack that had way more than I needed. Stuffing if you don’t have any is like $5 for a bag. Ribbon or whatever you want for the stems is extra.
But if you have a yarn stash already you can probably make this for just the cost of the wire and maybe one or two new colors you don’t have. I only bought the yellow because I didn’t have any bright yellow, everything else was stuff I already had.
my actual tips that might help
Make more flowers than you think you need. Seriously, make like 3 extra because when you’re arranging them you’ll wish you had more.
Do all of one type at once – like make all your roses in one sitting, then all your daisies another time. It’s faster because you remember the pattern and don’t have to keep looking at it.
Use stitch markers for the magic rings because it’s really easy to lose track of where your round starts, especially on the flowers with lots of petals.
Don’t stress about making every flower perfect – they’re gonna be bunched together so small mistakes won’t show. My first rose was wonky as hell but once it was in the bouquet you couldn’t tell.
If your petals aren’t curling right, try blocking them – get them damp with water and shape them how you want, then let them dry. Works especially well with cotton yarn.
The floral wire is sharp on the ends so wrap the tips with tape before you work with it or you’ll poke yourself constantly. Found that out the hard way.
You can hot glue things instead of sewing if you’re lazy – I glued most of my leaves on because sewing through all those layers was annoying. Still holding fine.
Test your color combinations before you make everything – wrap the yarns around each other or hold them next to each other to make sure they look good together. I almost used this bright orange that looked terrible with my pinks.
where to find the patterns
I used a mix of patterns from different places – Ravelry has tons of free flower patterns if you search “crochet rose” or whatever flower you want. Pinterest also has a million but you have to click through to find the actual written pattern because half of them are just pictures with no instructions.
YouTube is honestly better for this project because you can see how the petals are supposed to look and how to shape them. I followed along with a video for the roses because the written pattern made no sense to me.
Some blogs have full bouquet patterns that tell you exactly which flowers to make and how many, but they’re usually not free – like $5-8 for a complete pattern. The free route is just finding individual flower patterns and combining them yourself, which is what I did.
Just search “free crochet flower pattern” plus whatever type you want and you’ll find options. Make sure it’s actually free before you start because some sites make you sign up or whatever and then surprise, it’s $3.
Anyway that’s basically how you make one of these – it’s time consuming but not actually that hard once you get the hang of the basic flower shapes. And you end up with something that looks impressive even though it’s really just the same few stitches over and over in different combinations.
