
Apr
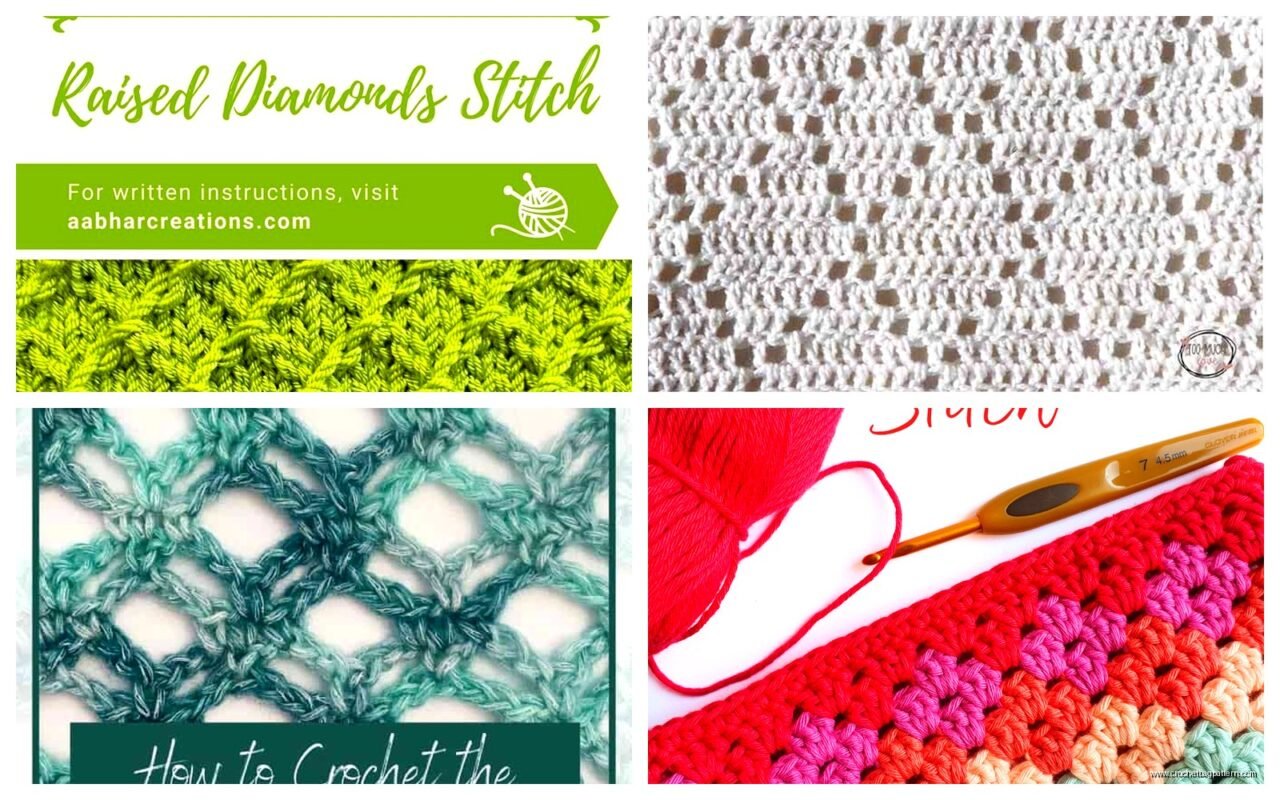
okay so diamond stitch basics
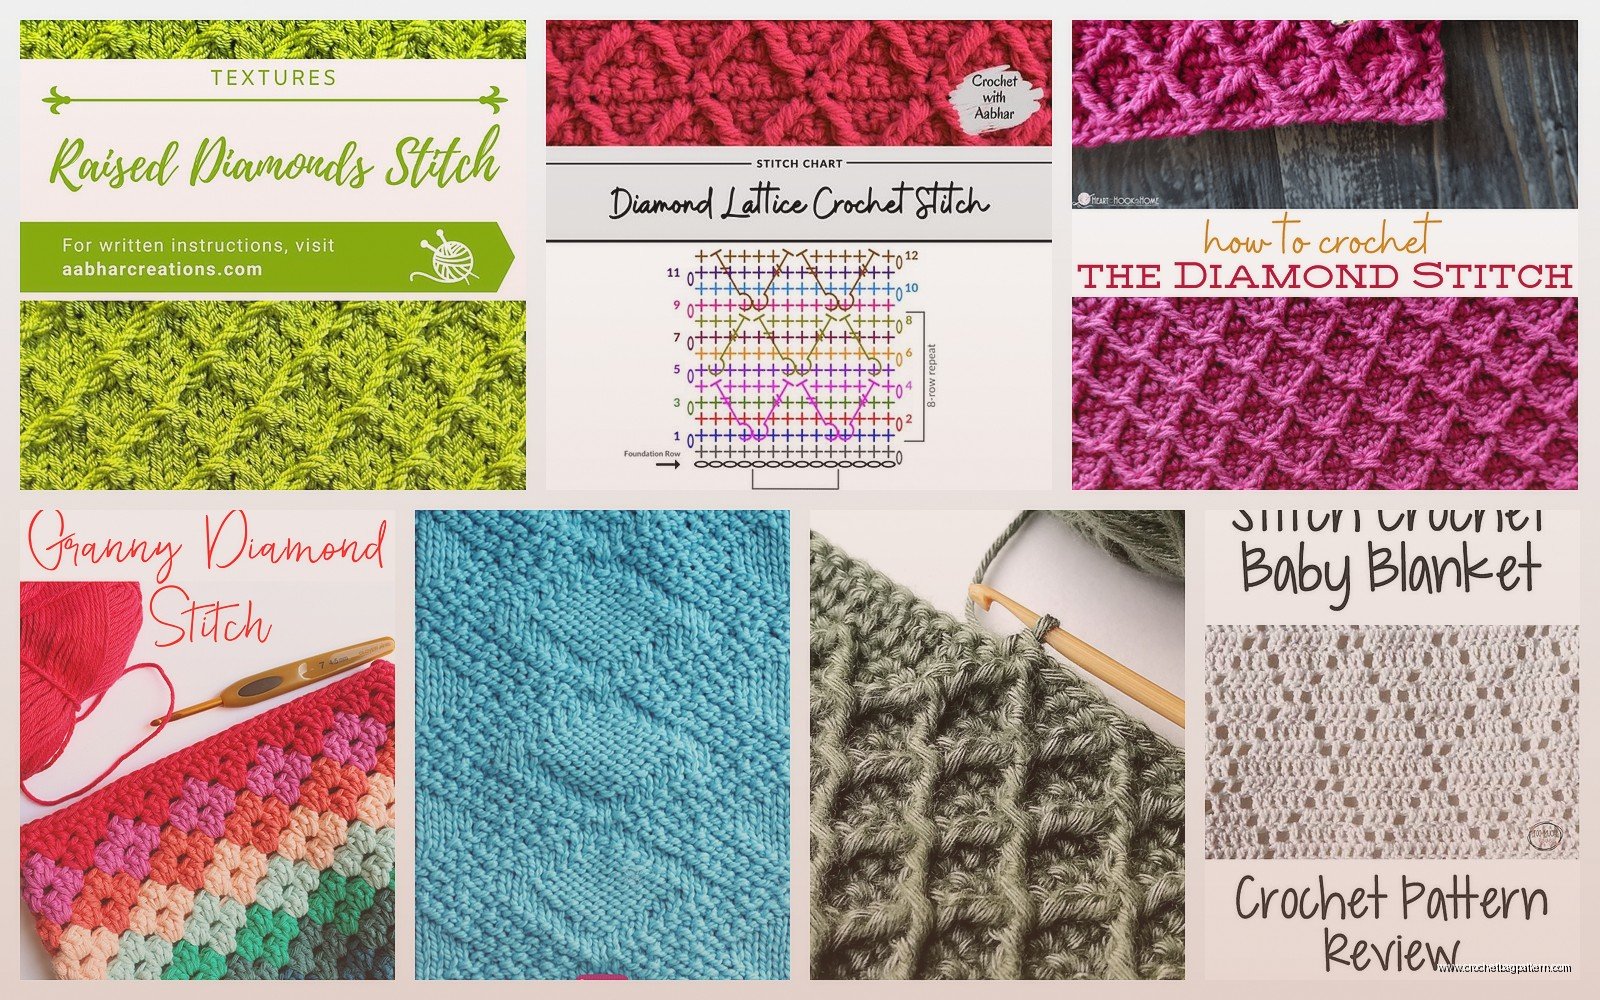
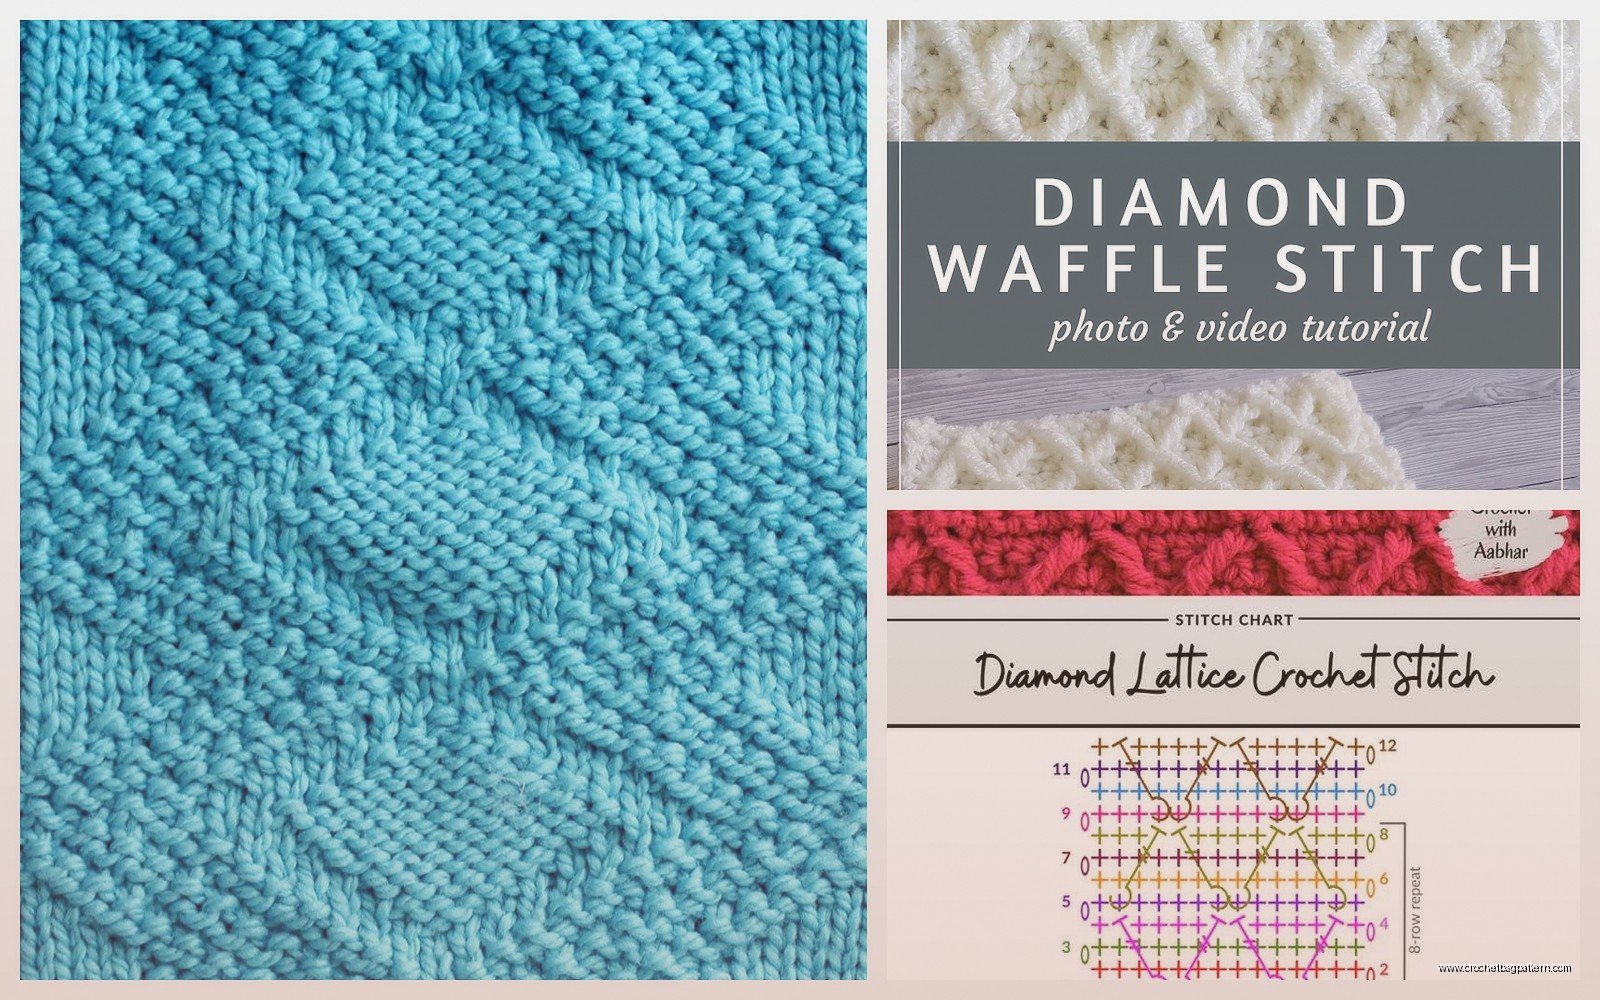
Right so the diamond stitch is basically this textured pattern that makes these raised diamond shapes across your fabric and honestly it looks way more complicated than it actually is. I made a blanket with this back in spring 2022 when I was stuck inside with covid and needed something to do that wasn’t doomscrolling, and it turned out pretty decent even though I messed up the edges like three times.
The foundation is just chains and then you’re gonna work in multiples. Most diamond stitch patterns work in multiples of 8 plus 1, so like if you want a small project you’d chain 25 (that’s 8×3 plus 1) or for something bigger maybe 65 or 73. The plus one is important don’t skip it or your pattern won’t line up right at the end.
what you actually need
Any medium weight yarn works but I’ve used Red Heart Super Saver in that Warm Brown color and also some Caron Simply Soft in like a cream shade I think it was called Bone? The Caron one was definitely softer but the Red Heart held up better for a blanket that actually gets used. You need a hook that matches your yarn weight so probably a 5mm or 5.5mm for worsted weight.
The stitch itself uses double crochets and front post double crochets which is where you stick your hook around the post of the stitch from the previous row instead of going through the top loops. That’s what creates the texture and makes the diamonds pop out.
the actual pattern breakdown
So after your foundation chain you’re gonna do a setup row that’s just straight double crochet across. Skip the first 3 chains (that counts as your first dc) then dc in each chain across. Turn your work.
Row 1 is where the pattern actually starts. Chain 3 (counts as first dc), then you do 3 regular dc. Then you do 1 front post double crochet around the next stitch, then 7 dc, then another fpdc. You keep repeating that 7 dc then fpdc pattern until you get close to the end, then you finish with however many dc are left to complete your row.
Row 2 you chain 3 again, then do 2 dc, then fpdc around the fpdc from the previous row (you can see it sticking out), then 3 dc, another fpdc in the next fpdc, then 3 dc. This is where the diamond shape starts forming because you’re staggering where the raised stitches go.
One thing that really annoyed me about this pattern was keeping track of where I was supposed to put the fpdc stitches because if you zone out for even a second while watching TV or whatever you lose your place. I was binging Succession at the time and definitely had to rip out like four rows one night because I got too into the episode and completely— anyway the point is you gotta pay attention at least a little bit.
continuing the pattern rows
Row 3 gets tighter. Chain 3, then 1 dc, fpdc in the fpdc below, then 2 dc, fpdc, 1 dc, fpdc, 2 dc, fpdc. See how it’s pulling in? That’s the top point of the diamond forming.
Row 4 is just chain 3, then fpdc in first fpdc, 1 dc, fpdc, 3 dc, fpdc, 1 dc, fpdc. The middle of this is the narrowest part of your diamond.
Then Row 5 through 8 basically mirror rows 3 through 1 but in reverse so the diamond opens back up again. Row 5 is like Row 3, Row 6 is like Row 2, and so on. Once you finish Row 8 you’ve completed one full diamond vertically and you just start the pattern over again from Row 1.
The rhythm becomes pretty natural after you do like two full repeats. Your hands kind of learn where the fpdc stitches should go and you can feel when something’s off.
front post technique stuff
Okay so front post double crochet sounds fancy but it’s really not. Instead of inserting your hook under the top two loops like normal, you insert it from the front of your work, go around the back of the post (that’s the vertical part of the stitch), and come back out the front. Then you yarn over and complete a regular double crochet.
The hook goes in from right to left if you’re right handed, left to right if you’re left handed. You’re literally wrapping your new stitch around the old one. It makes that stitch pop forward and creates the raised texture.
When you’re working into a fpdc from the previous row, you do another fpdc in the same spot so the texture continues vertically up your work. That’s how the diamond lines stay defined.
tension and gauge things
My tension is all over the place honestly but with diamond stitch it matters a bit more than some other patterns because if your fpdc stitches are too tight the whole thing puckers and looks weird. If they’re too loose the diamonds don’t stand out enough and it just looks like regular dc fabric with some random bumps.
I usually work my fpdc stitches slightly looser than my regular dc. Not like super loose but just not yanking the yarn tight when I pull through. That seems to work out about right.
Gauge for this pattern is maybe 14 stitches and 8 rows in 4 inches with worsted weight yarn and a 5mm hook? But honestly I never really measure gauge for blankets or scarves, only if I’m making something that needs to fit like a sweater.
common problems I’ve run into
The edges can get wonky because you’re doing different stitch types at different rows. Sometimes my edges would pull in where there were fpdc stitches close to the side and then flare out on other rows. I started adding one extra regular dc at each end of every row and that helped keep things straighter.
Counting stitches is annoying but necessary at least for the first few pattern repeats. I’d recount every row at first to make sure I still had the right number. After like 6 inches of fabric I’d stop being so careful about it because by then I could see if something looked wrong.
The other thing is the fabric curls a bit when you first make it, especially if you’re using acrylic yarn. It flattens out after you block it or wash it though. My cat kept trying to lay on the blanket while I was working on it and honestly the weight of her sitting there probably helped flatten it out some.
yarn amounts and project ideas
For a baby blanket size like 30×36 inches you’d need maybe 800-1000 yards of worsted weight. A throw blanket more like 1500-2000 yards. I always buy more than I think I need because running out of yarn partway through is the worst and dye lots can vary.
That spring 2022 blanket I made was supposed to be a lap blanket but I had extra yarn so I just kept going and it ended up being almost full size. Used five skeins of the Red Heart Super Saver which is like 364 yards each so about 1800 yards total.
Diamond stitch works good for blankets obviously but also scarves, cowls, pillow covers. Anything where you want texture. I wouldn’t use it for garments really because the fabric is pretty thick and not super drapey. Maybe a cardigan or vest could work but not like a fitted shirt or anything.
variations you can try
You can make the diamonds bigger by adding more stitches between the fpdc posts. Instead of 7 dc between posts do 9 or 11. Just keep it an odd number so the pattern stays symmetrical. You’d also need to add more rows to complete each diamond vertically.
Smaller diamonds work too, like 5 dc between posts, but they’re harder to see especially in darker yarn colors. I tried this with some navy blue Bernat Softee Chunky once and you could barely tell there was a pattern unless you looked close or felt the texture.
Color changes look really cool with diamond stitch. You can switch colors every two rows to get striped diamonds or do the whole diamond in one color and the background in another. I saw someone on Instagram do a rainbow version once that was pretty sick actually.
There’s also a version where you use back post double crochet instead of front post which makes the diamonds recessed instead of raised. Creates like an inverse texture thing. The pattern is exactly the same you just put your hook through from the back instead of the front.
finishing edges and borders
The top and bottom edges of diamond stitch look fine on their own but the sides can be messy. I usually add a simple single crochet border around the whole thing, working 2 or 3 sc in each corner to keep it flat.
For a fancier border you could do shell stitches or picots but honestly for something textured like diamond stitch a simple border looks better. You don’t want too much going on.
Weaving in ends is standard, nothing special. I use a yarn needle and weave through the back of stitches for like 3 inches then back the other direction for another inch. Hasn’t come loose on me yet.
blocking and care
If you’re using acrylic you can’t really steam block it because it’ll melt, but you can wet block. Just soak the whole thing in cool water with a tiny bit of wool wash or baby shampoo, squeeze out the excess water (don’t wring it), lay it flat on towels and shape it how you want it, then let it dry completely. Takes like a day or two depending on how thick your project is.
For wool or cotton yarn you can pin it out and use a steamer or iron on low heat with a pressing cloth. I don’t usually bother with this for blankets though, just scarves or things where I really care about the final dimensions being exact.
Washing is whatever the yarn label says. Most acrylic can go in the machine on gentle with cold water. I’d avoid the dryer though because even though the yarn itself might be dryer-safe, the heat can mess with the texture and make the diamonds less defined.
reading patterns vs winging it
I actually learned diamond stitch from a YouTube video not a written pattern because I’m terrible at reading pattern abbreviations. Like I know what they mean but I have to keep stopping to reference what fpdc stands for or whatever and it breaks my flow.
Once I understood the basic structure though I could just kinda wing it. You don’t really need a written pattern for every row once you get how the diamonds form. You can see where the next fpdc should go based on the previous row.
That said, if you’re making something where size matters definitely follow a pattern at least for the foundation chain and stitch counts. For a scarf or blanket where you can just keep going until it’s big enough, you have more flexibility to improvise.
combining with other stitches
You can do sections of diamond stitch alternating with sections of other textured stitches for a sampler type blanket. Like eight rows of diamonds then eight rows of moss stitch or something. Just make sure your stitch counts work out so the width stays consistent.
I’ve seen people do diamond stitch panels with cables or bobbles in between which looks really intricate. Haven’t tried that myself because it seems like a lot of counting and I’d definitely mess it up but it’s an option if you’re more patient than me.
how long it actually takes
A scarf maybe 10-15 hours? Baby blanket 20-30 hours, full size throw blanket 40-50 hours depending on your speed. I crochet while watching TV so it takes me longer than someone who’s really focused on just the project.
The pattern itself doesn’t slow you down much once you know it. Front post stitches take maybe half a second longer than regular dc but it’s not significant. The main thing is just that diamond stitch uses a lot of yarn per square inch because of all the texture so projects take more rows to reach your desired length.
That covid blanket took me like two weeks working on it a few hours most evenings. Would’ve been faster but I kept getting distracted or my hands would get tired and I’d have to take breaks.
Anyway that’s pretty much everything I know about diamond stitch. It’s a good intermediate pattern, looks impressive but isn’t actually that hard once you get the hang of where those front post stitches go. Just pay attention for the first few repeats and after that you’re good.