
Apr
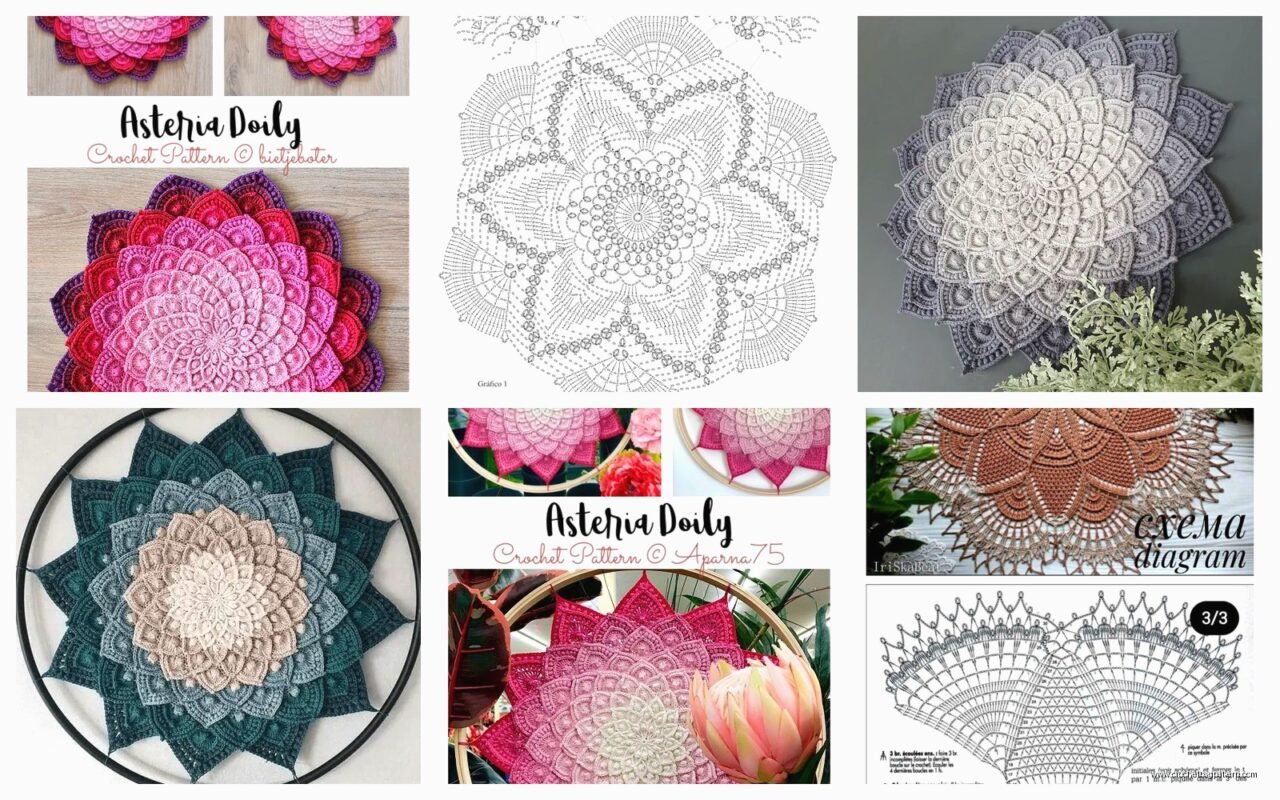
Getting Started with the Asteria Pattern
So I made this shawl back in spring 2022 when my apartment had that weird heating issue and I needed something to throw over my shoulders constantly. The Asteria pattern is basically a triangular shawl that works up from the top center down, and honestly it’s pretty forgiving if you’re someone who doesn’t follow patterns super strictly like me.
You’re gonna need around 800-1000 yards of fingering weight yarn. I used Knit Picks Gloss the first time because it was on sale and I’m cheap about yarn sometimes. The pattern works with basically any fingering weight though – I’ve seen people use Malabrigo Sock and it looks gorgeous but again, budget. The whole thing is based on a simple repeat that creates this kind of lacy, geometric look without being too fussy.
Yarn and Hook Situation
The pattern calls for a 4mm hook which feels kinda big for fingering weight at first but trust me it needs that drape. If you go smaller it gets too dense and loses the whole flowy shawl vibe. I actually started with a 3.5mm because I wasn’t thinking and had to rip out like 15 rows when I realized it was turning into a stiff triangular… thing.
For yarn amounts, here’s what I actually used:
- First shawl: 2 skeins of Knit Picks Gloss in that teal color (around 880 yards total)
- Second attempt: Lion Brand Coboo because my sister wanted one and I found it at Michaels – needed about 950 yards
- The one I frogged: Red Heart Soft which was totally wrong don’t do that
The Coboo one actually worked up really nice and soft even though Lion Brand isn’t usually my go-to for shawls. It’s got bamboo in it so it drapes better than straight acrylic.
The Actual Pattern Structure
The Asteria starts with a small chain – I think it’s like chain 4 or 5, then you work into that to create the center point. From there you’re increasing on both sides of the triangle plus down the center spine. The increases happen every other row which is pretty standard for triangle shawls.
The stitch pattern itself uses a combination of double crochet, chain spaces, and these little cluster stitches that create the geometric design. It’s not super complicated but you do need to pay attention to where you’re placing things. I usually keep a row counter app on my phone because I WILL forget what row I’m on if I’m watching TV or whatever.
One thing that really annoyed me was how the pattern explains the increase rows versus the plain rows. It switches between written instructions and charts kind of randomly and I’m not great at reading crochet charts so I basically had to translate everything into written format for myself. Took me like an hour just sitting there with a notebook writing out “dc in next st, ch 2, skip 2” over and over.
Row by Row Breakdown Sort Of
The pattern repeat is 12 rows I think? Or maybe 10. See this is why I should’ve written this down better. But basically you establish the pattern in the first section and then you just keep repeating that same sequence while the triangle gets bigger. The edges stay consistent – you’re always doing the same increase setup at the beginning and end of rows.
What happens is you work the increase row where you add stitches at both edges and the center, then you work a “plain” row that follows the established pattern without increases. Except the plain rows aren’t really plain because you’re still doing the whole lacy stitch pattern thing.
My cat kept trying to sit on the shawl while I was working on it which didn’t help the concentration situation.
Gauge and Sizing Notes
The pattern says gauge isn’t critical since it’s a shawl and like, technically true? But it does affect your final size obviously. My first one came out to about 60 inches across the top edge and maybe 30 inches deep at the center point. The second one was slightly smaller because I think I was crocheting tighter – I was stressed about work stuff and apparently that translates to tension issues.
If you want a bigger wrap-style shawl you can just keep going with the pattern repeat. Some people on Ravelry added like 20 extra rows and made these huge things. I stuck pretty close to the pattern length because I was running out of yarn and didn’t want to buy another skein.
For blocking you definitely need to block this. Like it looks kinda sad and crumpled before blocking and then you pin it out and suddenly it’s this beautiful geometric lacework situation. I use those foam tiles from the hardware store and a million T-pins. Takes forever to pin out a triangle shawl but whatever, it’s worth it.
Problem Areas I Had
The center spine increases were confusing at first. You’re supposed to work into the same stitch as the previous increase or something and the pattern explanation was not clear to me at all. I watched like three different YouTube videos of other triangle shawls just to understand the concept of center increases. None of them were specifically for Asteria but the principle is the same.
Also the edges wanted to curl for me in the first few rows. I think this is just a tension thing or maybe the nature of starting from such a small chain? It evens out once you get maybe 10-15 rows in and the weight of the fabric helps it lay flat. But those first rows I was like “this is gonna be a disaster” and almost gave up.
The Border Situation
The pattern includes a border that’s like 3 or 4 rows of a different stitch pattern. It’s pretty simple – mostly single crochet with some picots or shell stitches, I don’t remember exactly. I actually skipped the border on my first one because I ran out of steam and it still looked fine. The second one I did the border and yeah it does finish it off nicer.
If you’re gonna do the border make sure you have enough yarn left. I’d say keep at least 100 yards aside for it just to be safe. Nothing worse than getting to the last row and running out of yarn with like 10 inches left to go.
Yarn Substitution Ideas
Since I’ve messed around with this pattern a few times here’s what I learned about yarn choices:
- Fingering weight with silk content looks really fancy – I saw someone use Madelinetosh Tosh Sock and I was jealous
- Cotton works but it’s heavy and doesn’t drape as nice, plus it takes longer to dry after blocking
- Acrylic is fine if you get a nice soft one, just avoid the cheap scratchy stuff
- Wool blends are probably ideal if you’re not allergic – they block really well and hold their shape
I wanted to try it with one of those gradient yarn cakes but they’re expensive and I wasn’t sure if the color changes would work with the geometric pattern or just look weird. Maybe someday when I have extra money lying around which is… not now.
Time Investment Reality Check
This is not a fast project. The first one took me probably 25-30 hours total? I was working on it while binging that show about the chess player, what was it called, Queen’s Gambit. Anyway I got through the whole series plus some other stuff. The second one went faster because I knew what I was doing – maybe 20 hours.
If you’re a faster crocheter than me you could probably knock it out quicker. But there’s a lot of stitches happening even though it’s “just” fingering weight. And if you mess up in the lacy sections it’s kind of a pain to figure out where you went wrong and fix it.
Fixing Mistakes
Speaking of mistakes – you’re probably gonna make some. I dropped a stitch somewhere around row 30-something on my first attempt and didn’t notice until like 5 rows later. At that point I just fudged it and kept going. You can do that with lacy patterns sometimes and nobody notices.
If you mess up the increases though that’s harder to hide because your triangle will start going wonky. I’d recommend putting in a lifeline every 10-12 rows just in case. Thread some thin yarn through all the stitches on your row so if you need to rip back you don’t lose everything. I didn’t do this and regretted it.
What It’s Actually Good For
After finishing two of these I can tell you they’re actually useful which isn’t always true of crochet shawls honestly. The triangle shape means you can wear it a bunch of different ways:
- Point down your back like a traditional shawl
- Folded in half as a scarf type thing
- Wrapped around your shoulders with the point in front
- That weird wrap situation where you pull the ends through… I can never remember how that works
The lacy pattern means it’s not super warm but it’s good for spring/fall or overly air-conditioned buildings. I wore mine to work constantly that summer because my office was freezing. It’s nice for that in-between temperature situation.
Pattern Accessibility
The free version of the Asteria pattern is available on a few blogs and Ravelry. The instructions are decent but not like, professionally published pattern level. There’s some assumptions that you know basic shawl construction. If you’ve never made a triangle shawl before you might want to try something simpler first or be prepared to do some googling.
The chart is somewhat helpful but again, only if you read charts well. I basically ignored it and worked from the written instructions which was fine but slower probably.
Final Random Thoughts
Would I make this pattern again? Maybe. I mean I already made it twice so clearly I didn’t hate it. But there’s other shawl patterns I want to try too and only so much time. It’s a solid pattern though – not too complicated but interesting enough that you don’t get completely bored.
The geometric design does look impressive when it’s done which is nice when people ask “did you make that?” I’m not gonna lie, that’s part of why I like making shawls in general. People think you’re some kind of fiber arts wizard when really you just followed a pattern and knew how to count.
If you’re thinking about making one I’d say go for it but give yourself permission to not be perfect about it. The beauty of a lacy shawl is that minor mistakes kind of disappear into the overall design. Unless you really screw up the increases and make a wonky triangle, but you’d have to try pretty hard to mess up that badly.
Just get your yarn, get your hook, maybe put on a good show or podcast, and start chaining. That’s really all there is to it.