
Apr
okay so gnome patterns
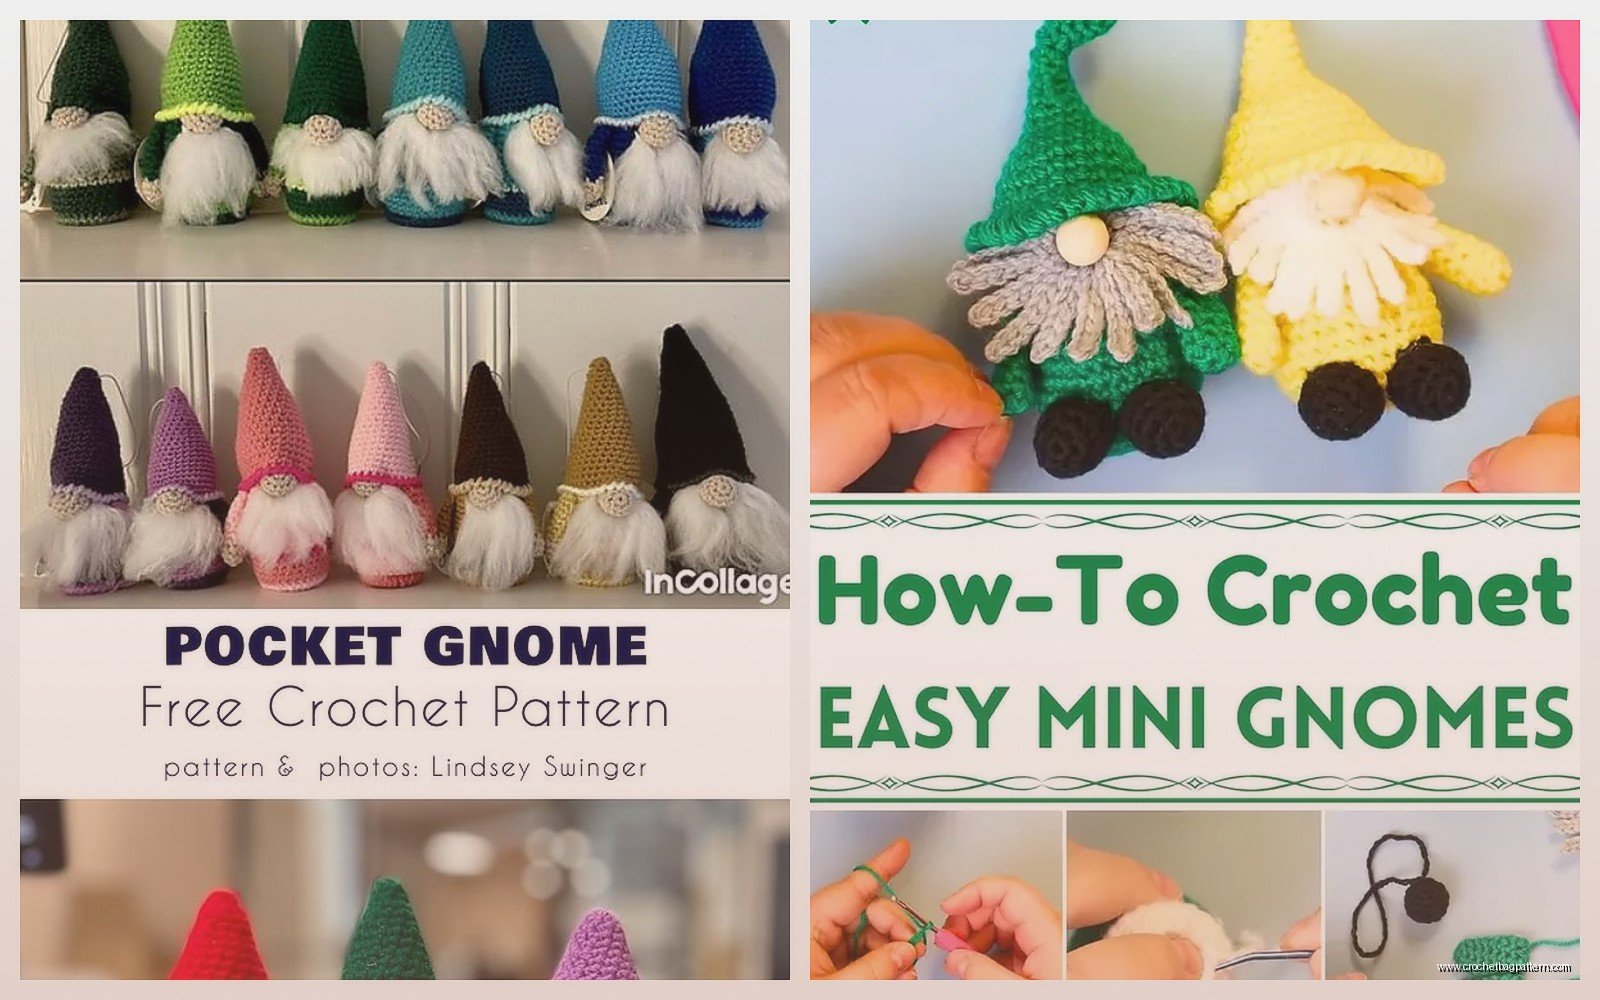
Right so last winter around January 2024 I made like four of these gnome things because my sister kept sending me pinterest links and I was bored between jobs. The Nordic style ones are honestly the easiest if you’re just starting because there’s less shaping involved compared to those fancy garden gnomes with the arms and stuff.
The basic concept is you’re making a cone for the body and a bigger cone for the hat and then you shove them together. That’s literally it. The beard covers up where they meet so you don’t even have to be neat about it which is great for me because I’m definitely not.
what you actually need
I used Red Heart Super Saver for most of mine because it was like $3 a skein at Walmart and I wasn’t gonna spend $15 on fancy yarn for something that might look terrible. The grey heather color works really well for the beard and body. For the hat I did one in that cranberry red color and another in a dark teal because I had it leftover from a blanket I never finished.
You need a size G hook or H hook depending on how tight you crochet. I use H because I’m a loose crocheter apparently, my tension is all over the place. Also you need stuffing obviously and a wooden bead for the nose. I got a pack of like 50 beads at the craft store for $4 and they’re still sitting in my drawer.
Some patterns call for a weighted pellet or bean bag filling for the bottom so they don’t tip over but honestly I just used dry rice in a little baggie and it worked fine. My cat knocked one off the shelf once and it survived so that’s my quality test I guess.
the body cone part
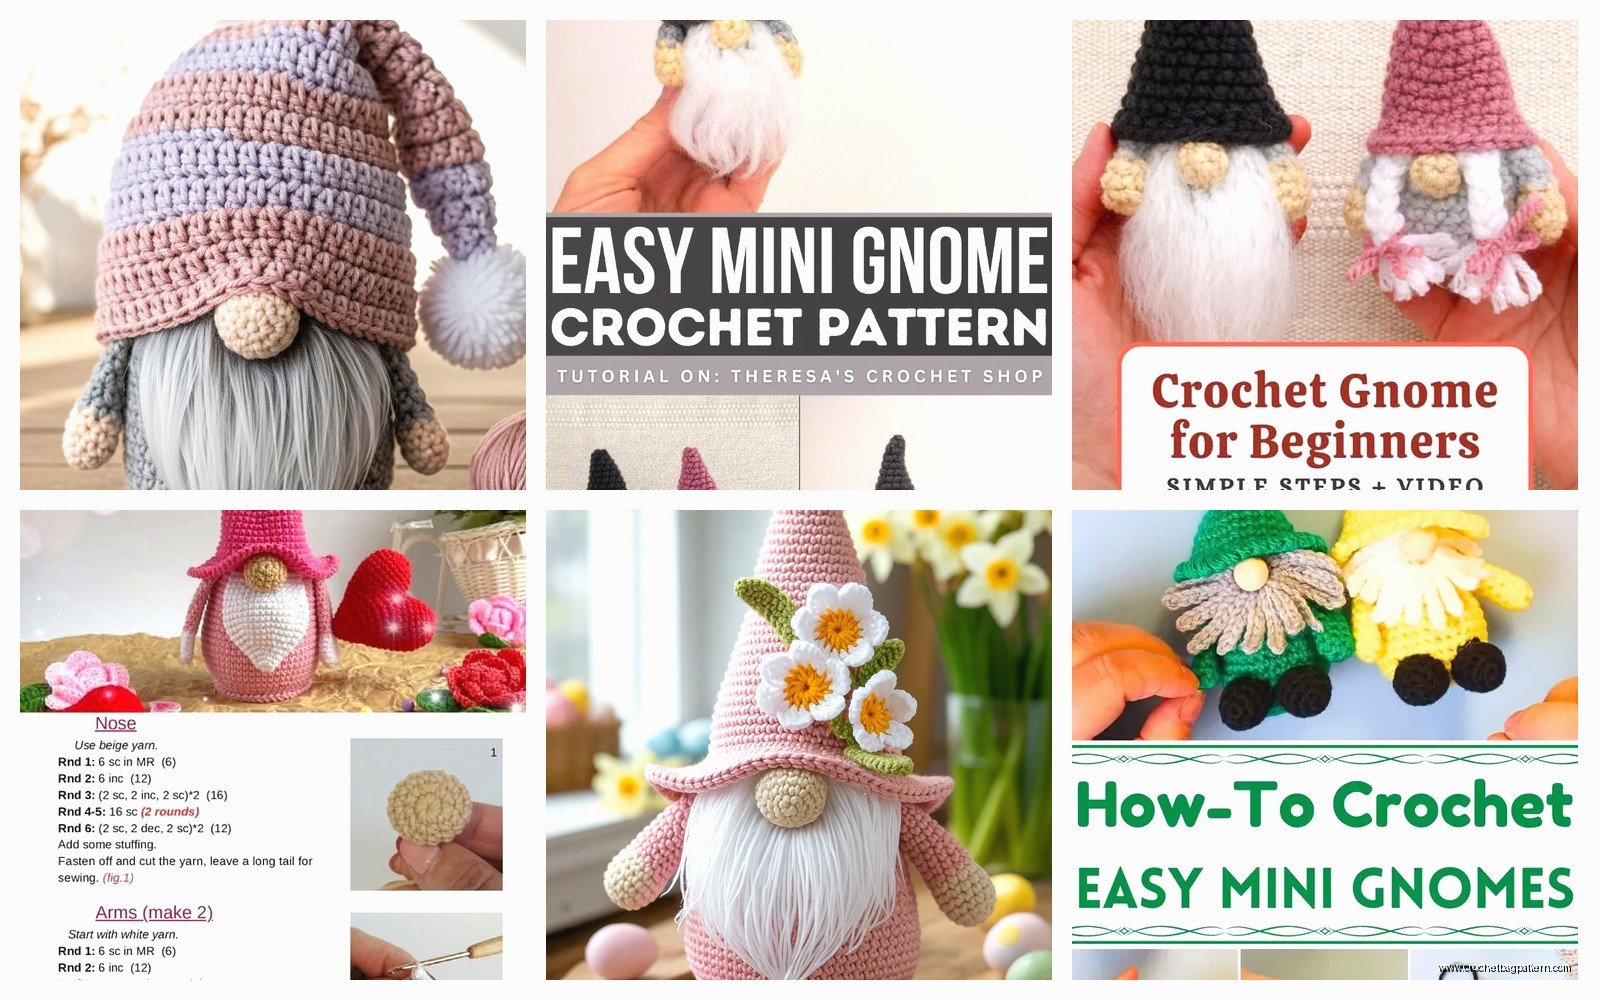
You start with a magic ring which I know some people hate but it’s actually easier than starting with chain 2 for this project because you want that bottom to be tight. Do 6 single crochet in the magic ring and then you’re gonna increase every round for like 5-6 rounds until you get a flat circle that’s about 3 inches across.
Then you stop increasing and just work even in single crochet going around and around. This creates the cone shape naturally because you’re working in a spiral. I usually do maybe 10-12 rounds of just straight single crochet no increases. You want it to be like 4 or 5 inches tall before you start decreasing.
The annoying thing about these patterns is that none of them agree on when to stuff it. Some say stuff as you go and some say wait until the end but if you wait until the end it’s really hard to get the stuffing into the point at the top without a chopstick or something. I learned that the hard way on my first one and it looked lumpy.
So stuff it like 3/4 full when you’re about halfway through the body. Put your rice or pellets or whatever in the bottom first for weight.
closing up the top
When you get to the top you decrease pretty quickly. I do decrease rounds where you sc2tog around the whole circle for maybe 2 rounds and then you should have a small opening left. Stuff any last bits in there and then just pull your yarn tail through all the remaining stitches and cinch it closed. Weave in that end on the inside.
The body is done and it should look like a grey cone or pyramid shape. If it’s wobbly your base might not be flat enough but honestly once you add the hat it doesn’t really matter because the hat is heavy.
hat situation
The hat is the same process but bigger and with color. I did mine in that cranberry red and it used maybe half a skein. You start the exact same way with a magic ring and 6 sc but this time you increase for more rounds to get a bigger circle base. Maybe 8 or 9 rounds of increases.
The base of the hat needs to fit over the top of the body so measure as you go. Just plop the hat onto the body cone every few rounds to check. It should slide down over the top third of the body cone.
Then work even in single crochet for a long time. Like maybe 15-18 rounds depending on how tall you want the hat. The Nordic style gnomes have those long droopy hats which is part of the look. I made mine pretty long and it flops over to one side which I actually like better than when it stands straight up.
You can decrease at the tip or just leave it pointed. I did a few decrease rounds at the very end and then tied off. Some people add a pompom to the tip but I didn’t bother because you can’t really see it once the hat flops over anyway.
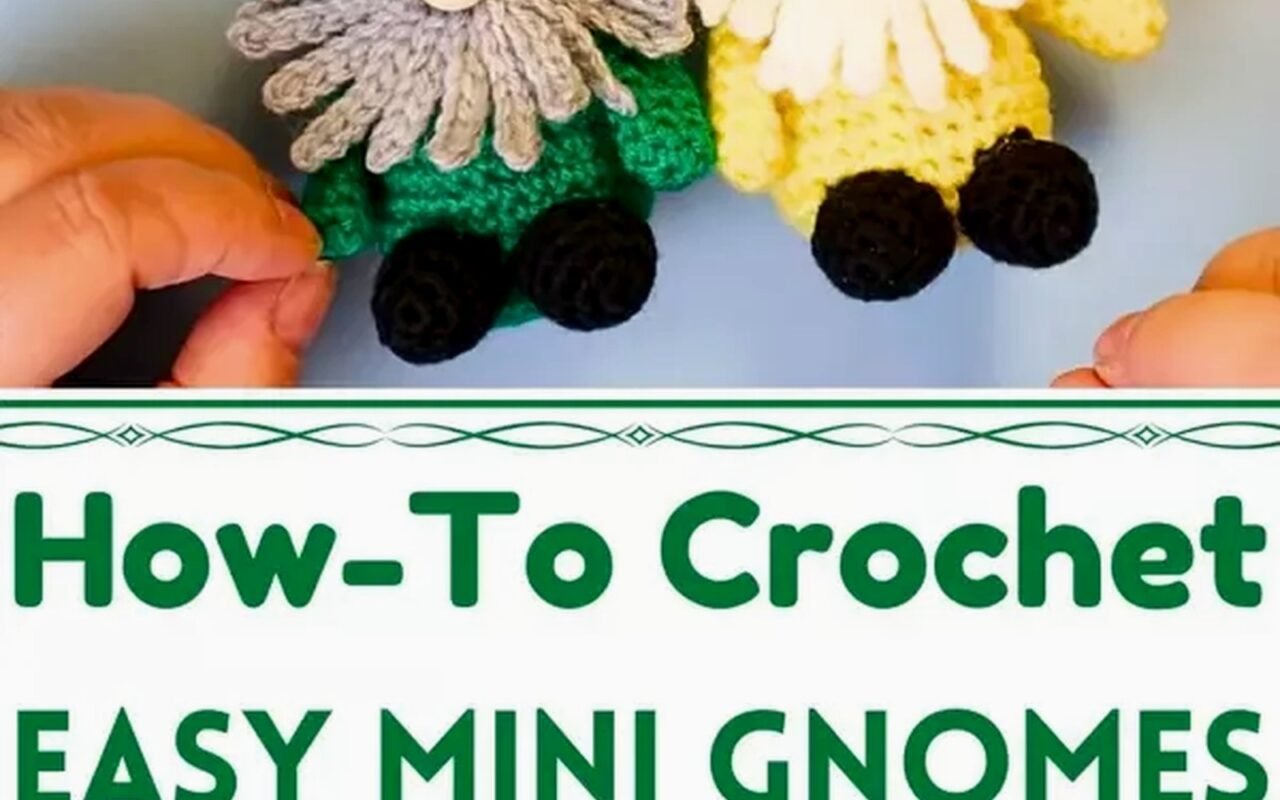
the beard is where it gets weird
Okay so the beard is not crocheted in rounds it’s made separately and then attached. There are different ways to do this but the easiest is to cut a bunch of yarn strands and attach them with a lark’s head knot. That sounds complicated but it’s not it’s literally just folding yarn in half and pulling it through.
I cut probably 40 pieces of the grey yarn about 8 inches long each. Then starting at what will be the bottom of the beard you take your hook and pull a loop of the folded yarn through a stitch on the body cone and then pull the ends through that loop. Pull it tight. Do this across the front of the body cone in rows going up.
You want more yarn at the bottom for a fuller beard and less at the top where the nose will be. I did like 4 rows of fringe basically. Once they’re all attached you can trim the beard to shape it. I gave mine a rounded bottom edge.
The thing that annoyed me most was getting the beard even. My first gnome had this lopsided beard situation where one side was way longer and it looked like he was standing in a strong wind or something. Just take your time with the trimming and keep checking from different angles.
nose and assembly
The wooden bead nose gets glued on with hot glue or fabric glue. I used hot glue because I’m impatient. Position it where you want it in the beard area before you glue and mark the spot with a pin or something. The nose should peek out from the beard above the bottom edge.
Then you glue the hat onto the body. I put hot glue around the inside edge of the hat base and pressed it down over the top of the body cone. Hold it for like 30 seconds until the glue sets. The hat should cover where the beard starts at the top so you don’t see any gaps.
You can position the hat straight or tilt it to one side for a more casual look. I tilted mine because it seemed more—I don’t know it just looked better that way.
variations I tried
For one of them I used Caron Simply Soft in grey instead of Red Heart and it made a much softer fluffier beard but it also showed dirt more easily. My nephew grabbed that one with chocolate on his hands and it was a whole thing.
I also made one with a striped hat using two colors of red which looked pretty Nordic actually. I just switched colors every 3 rounds. You carry the unused color up the inside of the hat which creates a slight ridge on the inside but you can’t see it when it’s on the gnome.
Some patterns tell you to add arms but I skipped that because it seemed fussy and also where would the arms even go? They’d just stick out weird from under the beard. The armless version looks more like the Scandinavian tomte style anyway which is what I was going for.
what I learned making multiple ones
Making them assembly-line style is way more efficient. I made all four body cones in one sitting while watching that show The Bear which was probably a weird combo now that I think about it. Then I did all the hats another day. Then beard day which took forever and was super tedious.
The second one you make goes way faster because you’re not checking the pattern every two seconds. By the fourth one I wasn’t looking at the pattern at all except I did mess up the increase rate on one hat and had to frog back three rounds which was annoying.
Size consistency is hard. My gnomes ended up being slightly different heights even though I used the same pattern because my tension varies depending on I don’t know what. Time of day maybe. How much coffee I’ve had. They still look fine together though like a little gnome family.
yarn amounts
For one gnome you need maybe 100 yards of the body color, 80 yards for the hat, and probably 50 yards for the beard if you’re cutting it into fringe pieces. So one skein of Red Heart Super Saver will easily do one complete gnome with leftovers.
I bought a pack of the grey and used it for multiple projects so I’m not exactly sure but I definitely didn’t use a full skein per gnome. The hat color you’ll use even less of unless you make the hat really really long.
common problems
If your gnome tips over it’s because there’s not enough weight in the bottom. Add more rice or get some actual poly pellets from the craft store. Or you could use small pebbles but make sure they’re in a sealed bag inside so they don’t poke through the crochet.
If the hat doesn’t stay on well you didn’t use enough glue or the fit is wrong. The hat base should overlap the body by at least an inch. You can also stitch it on instead of gluing if you want it to be removable for some reason though I can’t think why you’d need that.
Beard too sparse means you didn’t attach enough yarn strands. Go back and add more between the existing ones. Beard too thick means you went overboard but honestly I don’t think that’s really a problem unless you can’t see the nose at all.
where they ended up
I gave two of them to my sister for her birthday since she’s the one who wanted them in the first place. One is still on my bookshelf and I think my mom took the other one but I’m not sure. She might have just borrowed it for Christmas decorations and never gave it back.
They’re pretty sturdy actually. The one on my bookshelf has been there for like nine months and still looks the same. The beard gets a little dusty but you can just shake it out or hit it with a lint roller.
Total time per gnome is maybe 3-4 hours if you’re working at a normal pace. Less if you’re fast or you’ve made several already. More if you’re watching TV and getting distracted which is usually what happens with me.
The pattern I used was free from some blog I found through google but there are tons of variations out there. They’re all basically the same concept just with different stitch counts depending on what size you want. Some add little feet at the bottom or a scarf or whatever but the basic cone body cone hat beard nose formula is pretty standard.
would I make them again
Probably not gonna make more unless someone specifically asks because I feel like I got it out of my system. They’re cute and easy but also how many gnomes does one person need you know? Though I did see a pattern for a gnome that holds a bottle of wine which could be funny as a gift.
The nice thing is they work up quick enough that you could make one as a last minute gift if you needed to. Especially if you already have the yarn and supplies on hand. Way faster than a blanket or sweater or something that takes weeks.