
Jun
okay so wolf patterns aren’t as hard as they look
I made my first wolf back in spring 2022 when I was supposed to be cleaning out my garage but obviously started a new project instead. The thing about wolf amigurumi is that people think they’re super complicated because of the snout and the ears but honestly once you get the head shape down it’s just a dog with attitude.
So the basic shape you’re gonna need is pretty standard amigurumi stuff. You start with a magic ring for the head, usually about 6 single crochets to begin. Then you increase every other round until you get to like round 6 or 7, depending on how big you want this thing. I used Bernat Super Value in Grey Heather for mine and some cheap acrylic white from Michaels that I can’t remember the name of for the muzzle area. The grey heather actually looks really wolf-like because it’s got that mixed color thing going on.
the head is where everything matters
Here’s what annoyed me SO much about making wolves specifically – the muzzle placement. Like with bears or regular dogs you can kinda fudge where the snout goes but wolves have that longer face shape and if you put it too high they look like weird deer, too low and they’re just lumpy dogs. I redid the muzzle on my first one three times before I stopped caring.
What worked for me was making the muzzle separately. You do another magic ring, 6 sc, then increase to 12 in round 2. Round 3 you go 12 sc in the BACK loops only – this creates a little ridge that makes it look more defined. Then stuff it pretty firm and sew it onto the head between rounds 8 and 12ish. You want it lower than you think, trust me.
For the main head after you do your increases up to whatever size (I usually stop at 42 stitches around), you work even for like 8-10 rounds. This is where I was watching that true crime show on Netflix, the one about the chess guy, and I completely lost count so just… measure it against your hand or something. If it’s roughly tennis ball sized you’re good.
ears are actually the easy part
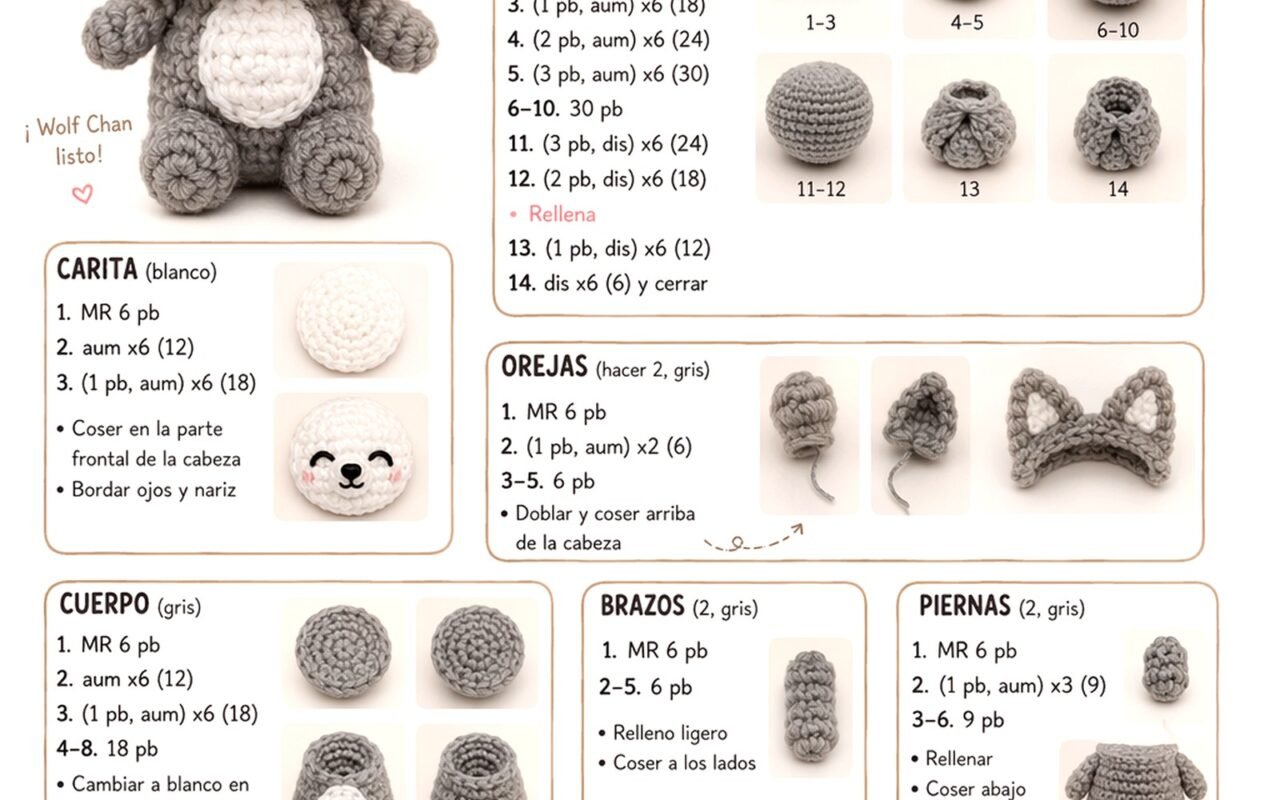
Wolf ears are just triangles basically. I make them flat by chaining 4, then working back and forth in rows. Row 1 is 3 sc, turn. Row 2 is decrease, 1 sc, turn. Row 3 is just a decrease and you’re done. Make two obviously. The trick is to pinch the bottom together when you sew them on so they’re not flat against the head – they should stick up and be slightly curved. Attach them around rounds 4-6 of the head, angled out to the sides a bit.
Some patterns tell you to make ears in the round but that never looked right to me for wolves. Flat and pointy is the way to go.
body and legs situation
The body is boring, it’s just a bigger oval shape. Start the same way – magic ring, 6 sc, increase rounds until you hit like 48-54 stitches depending on if you want a chunky wolf or a lean one. I did chunky because I had extra stuffing to use up and also my cat kept sitting on my yarn so I was rushing.
Work even for about 15 rounds then start decreasing. The decreases should be gradual – like every 6th stitch for a couple rounds, then every 5th, then every 4th. You want it to taper toward where the back legs will go but not get too narrow too fast or it looks weird.
Legs are where you can decide if you want this wolf standing or sitting. I always do sitting because standing amigurumi with four legs are annoying to balance and I don’t have patience for that. For sitting position you make the back legs thicker and shorter, front legs longer and thinner.
Back legs: magic ring, 6 sc, increase to 12, then work even for 6 rounds. Stuff them firm. Make 2.
Front legs: magic ring, 6 sc, increase to 9, work even for 10 rounds. These are skinnier and longer. Also make 2 of these obviously.
I used Lion Brand Vanna’s Choice in Grey Marble for one wolf I made and it had this nice heathered look that was very wolfy. But honestly any grey works – I’ve seen people use Caron Simply Soft and it comes out fine too.
assembly is where you can’t really mess up that bad
Sew the head to the body first. I put it slightly forward on the body, not centered, so the wolf looks like it’s got a neck kinda. Use the same yarn you made the pieces with and a yarn needle – whip stitch works fine, mattress stitch if you’re feeling fancy but who has time.
The back legs go on the bottom back of the body, positioned so if you set the wolf down it sits upright. Front legs attach to the front sides of the body around the middle. This is one of those things where you just gotta play with placement before you commit to sewing. I pin them with regular sewing pins first to see how it looks.
tail and details that make it look wolf and not just grey dog
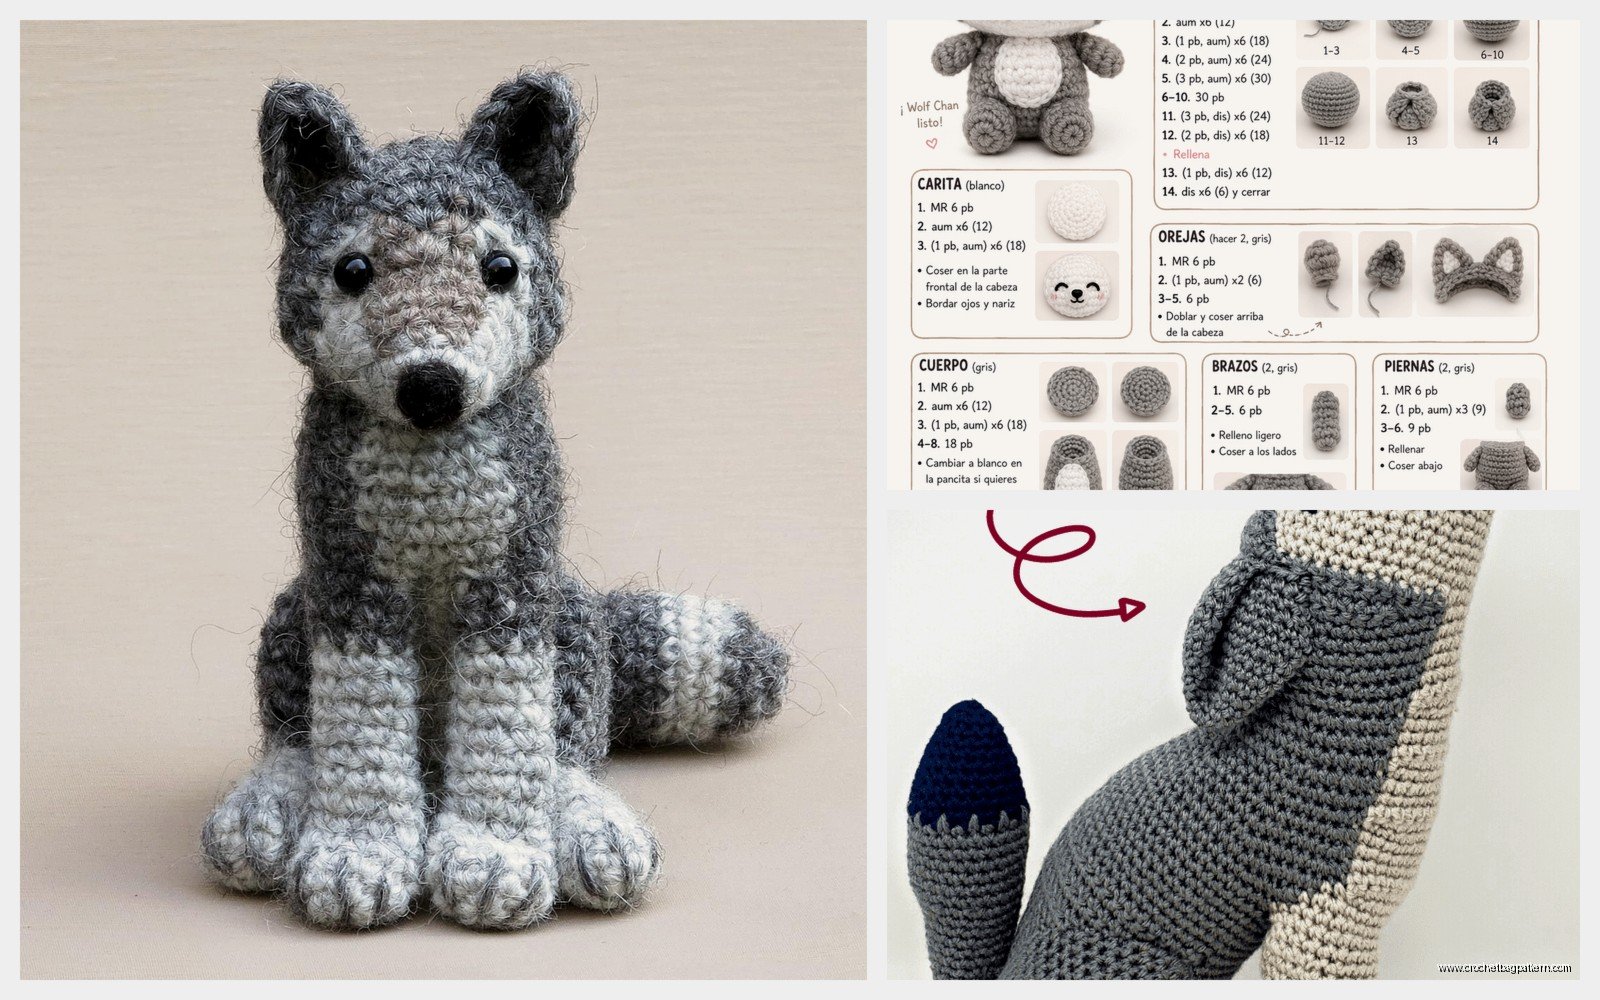
The tail is important for wolf vibes. It should be bushy and hang down, not curl up like a husky tail. I make mine by chaining about 15, then working back in sc but increasing randomly every few stitches so it gets wider as you go. Then I work in the round for a few rounds at the base where it attaches to the body. The whole thing should be like 4-5 inches long for a standard sized amigurumi.
Stuff it about halfway – you want it to have some weight so it hangs but not be super firm. Attach it low on the back of the body.
For the eyes I used 9mm safety eyes in amber or yellow. Brown works too but yellow looks more wild. Position them on the head before you stuff it completely – they should be pretty far apart, wolves have that wide-set eye thing going on. I put mine around round 10 of the head, with like 6-7 stitches between them.
Some people embroider a nose with black yarn but I’m lazy so I use a tiny bit of black felt cut into a triangle and glue it on with fabric glue. The nose goes at the tip of the muzzle, obviously.
optional stuff that I sometimes do sometimes don’t
If you want to get fancy you can add white or cream colored fur on the chest and belly area. I do this by crocheting a small oval piece in white – like 15 stitches around, working even for 4-5 rounds – and sewing it to the front of the body. Makes it look more realistic or whatever.
Claws can be embroidered with black yarn on the paws if you care about that level of detail. I did it on the one I made in summer 2024 because I was trying to avoid thinking about other stuff and needed a fussy project. Just a few straight stitches on each paw.
You could also add inner ear detail with pink yarn but that seems like overkill to me. I’ve seen patterns that include it and it does look cute but also… it’s gonna take an extra 20 minutes and I usually don’t care that much.
yarn weight and hook size stuff
I use worsted weight yarn (the medium #4 stuff) and a 3.5mm hook mostly. Some people go up to 4mm but then you get gaps between your stitches and the stuffing shows through. If you’re using a different weight yarn just adjust your hook – the fabric should be tight enough that you can’t see through it when you stretch it a little.
For one wolf you need maybe 100-150 yards of grey, 30 yards of white or cream, tiny amounts of black for nose and details. That’s if you’re making a normal sized one that’s like 8 inches tall sitting down. Bigger obviously needs more.
I’ve tried making tiny ones with sport weight yarn and a 2.5mm hook but they’re so fiddly and my hands cramp. Not worth it unless you specifically need a tiny wolf for some reason.
common problems I’ve run into
The head being too heavy and making the whole thing tip forward – this means you didn’t stuff the body firm enough or you made the head too big compared to the body. Fix it by adding more stuffing to the body or just accept that your wolf is looking down at something.
Lumpy stuffing showing through – you’re probably using too big of a hook or your tension is loose. Can’t really fix it after the fact except by making another one with a smaller hook. Or just own the lumpy look, I’ve kept plenty of lumpy wolves.
Legs falling off – use more thread when you sew them on. Like actually sew around the attachment point 2-3 times, not just once. I learned this when my first wolf’s leg fell off after my friend’s kid played with it for like ten minutes.
The muzzle looking flat or weird – stuff it really firm and make sure you’re sewing it on with the stuffing already in it, not trying to stuff it after. Also angle it slightly upward when you attach it, not straight out from the face.
variations I’ve tried
You can make the ears bigger and floppier for a different look – just add more rows to the triangle pattern. I did this once by accident because I wasn’t paying attention and it actually looked cool, like a younger wolf or maybe a coyote.
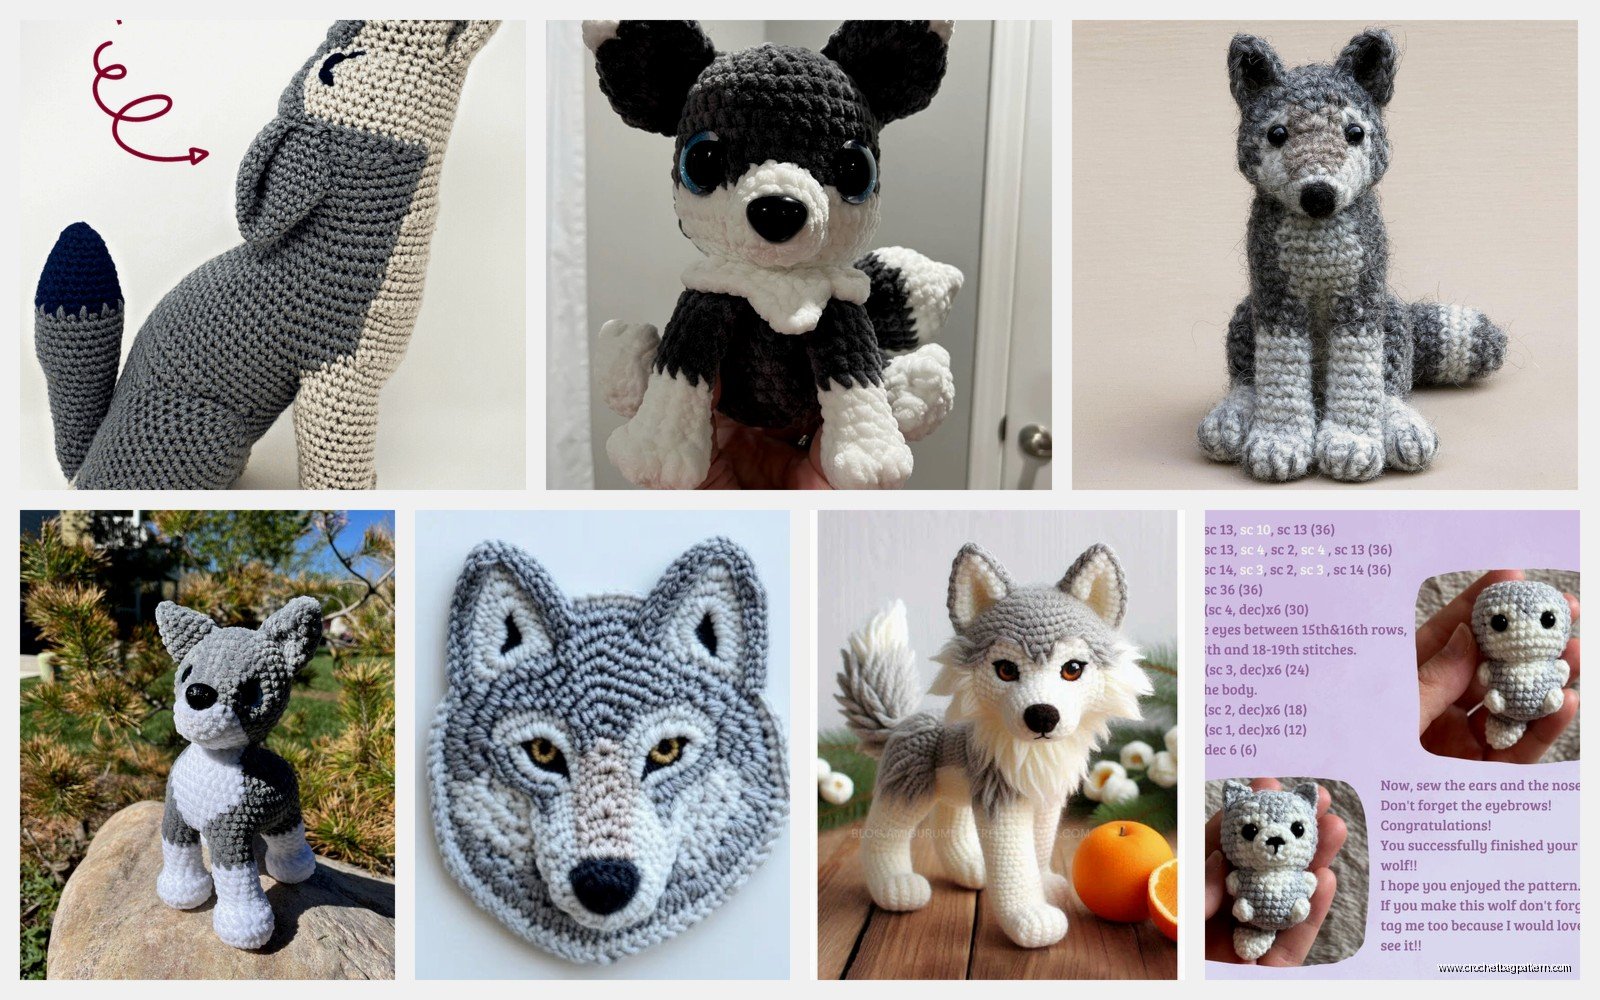
Different colors obviously change the whole vibe. I made one in brown and tan (Red Heart Super Saver in Café and Buff) and it looked more like a coyote. Black with grey belly would be cool but I haven’t tried that yet. Arctic wolf would be all white or cream which seems boring but probably looks elegant or whatever.
Adding a scarf or collar makes it more gift-friendly if you’re giving it to someone. I just chain a long strand and tie it around the neck. Takes 2 minutes.
The pattern scales pretty well if you want to go bigger – just keep increasing the head and body rounds until it’s the size you want, then adjust the legs proportionally. I haven’t tried going smaller than worsted weight though because like I said, fiddly and annoying.
how long it actually takes
If I’m working on it steadily and not getting distracted, maybe 4-5 hours total? The head and body take the longest, probably an hour each. Legs are quick, maybe 15 minutes for all four. Assembly always takes longer than you think – at least an hour because you’re positioning things and resewing stuff that doesn’t look right.
I usually spread it over a few days though because sitting and crocheting for 5 hours straight makes my shoulders hurt and also I get bored. The nice thing about amigurumi is you can pick it up and put it down whenever.
Pattern-wise you don’t really need to buy one if you understand basic amigurumi construction. Like everything I just described is basically the pattern – start with magic rings, increase to size, work even, decrease, stuff, sew together. Specific stitch counts matter less than getting the proportions to look right. I’ve never actually followed a written wolf pattern all the way through, I just kinda… make it up based on the shape I want.
The main thing is just accepting that your first one probably won’t look exactly like you pictured and that’s fine. My first wolf looked more like a rat-dog hybrid but I still have it because it’s got character or whatever. The second one looked better, the third one even better. You get a feel for the proportions after you make a couple.
