
Jun
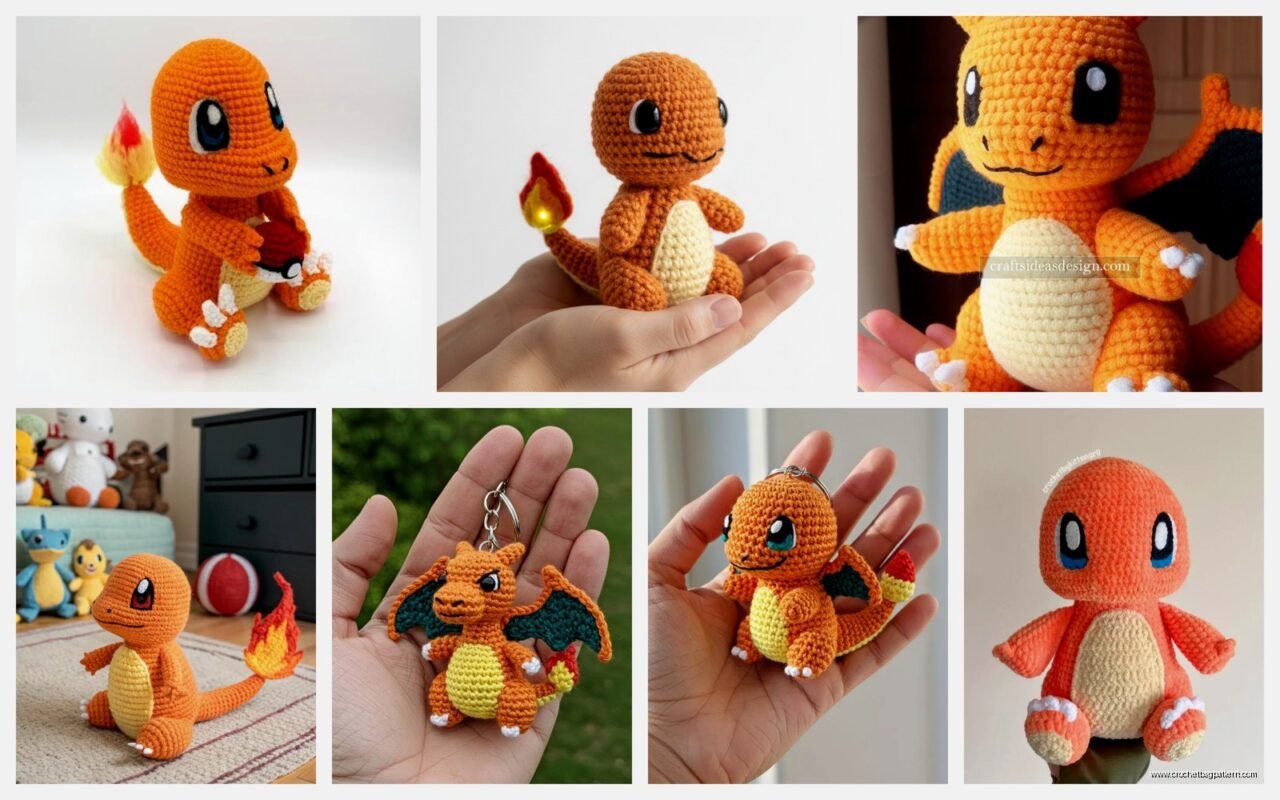
okay so charmander amigurumi here’s what i figured out
So you’re gonna need some orange yarn obviously. I used Red Heart Super Saver in that pumpkin color when I made mine back in spring 2022 because I was binge-watching The Office for like the third time and needed something to do with my hands. The color isn’t perfect perfect but it’s close enough and honestly who cares that much.
You’ll also need cream or off-white for the belly. I think I used Caron Simply Soft? Maybe? It was whatever was on sale at Michaels that day. And then you need some black and white for the eyes and a tiny bit of red or dark pink for the mouth if you wanna get detailed about it.
what you actually need to start
Get a 3.5mm or 4mm hook depending on how tight you crochet. I use 3.5mm because I crochet kinda loose and the stuffing shows through otherwise which is super annoying. You need stuffing obviously, safety eyes if you’re doing that route or you can embroider them but honestly safety eyes are easier. Get like 8mm or 9mm size.
The basic structure is you’re making a head, body, arms, legs, tail, and those little ear things. Oh and the flame on the tail which was actually the most annoying part for me because getting it to stand up right and not flop over was… I tried like four times and eventually just used way more stuffing than seemed reasonable and some wire.
starting with the head because that makes sense
Start with a magic ring. I do 6 single crochets in the ring to start. Then you increase every round until you get to like round 4 or 5. The pattern I sort of followed had specific numbers but I honestly just eyeballed it mostly. You want the head to be roundish and big enough that it looks right proportionally.
Round 1: 6 sc in magic ring
Round 2: inc in each stitch around so you get 12
Round 3: sc, inc around – that gives you 18
Round 4: sc in 2, inc around – now you’re at 24
Keep going like that until the circle is wide enough. I think I went up to 36 or maybe 42 stitches? Then you work even (no increases) for several rounds to build up the head height. Maybe like 8-10 rounds straight with no changes.
Then you gotta decrease it back down. This is where you put the safety eyes in BEFORE you close it up completely. I always forget this step and have to undo stuff. Put them between rounds 8 and 9 or so, space them apart enough that they look cute not creepy.
the body is basically the same thing but different
The body starts the same way with a magic ring but you make it more oval shaped kinda? Like you increase it wider than the head, work even for longer, then decrease gradually at the bottom. The thing that annoyed me SO MUCH about making this was that the body kept looking too skinny or too fat and I couldn’t get it right. I ended up frogging it twice which is so frustrating when you’ve already spent like an hour on something.
For the belly patch you can either crochet a separate oval piece in cream and sew it on, or you can work it in as you go with color changes but that’s more complicated. I just made a separate piece because I’m lazy and also my cat kept trying to attack the yarn while I was working and it was distracting enough without also trying to do color changes.
The belly oval is just like… start with a chain of maybe 6 or 8, then sc around the chain including both sides of it, then increase around for 2-3 rounds until it’s the right size. Pin it to the body where it looks good and whipstitch it on there.
arms and legs are repetitive but whatever
Arms start with the cream color for the little paw part. Magic ring with 6 sc, then maybe increase once to get to 9 or 10 stitches. Work even for like 3 rounds, then switch to orange. The color change is visible so just accept that it’ll look a little weird at the transition or try to hide it in back.
Work the orange part for maybe 6-8 rounds depending on how long you want the arms. Don’t stuff them too much or they’ll be too stiff. Light stuffing is better so they’re a little floppy and poseable. The pattern I loosely based this on said to stuff them firmly but that looked ridiculous so I didn’t.
Legs are the same concept but you make them thicker. Start with cream again for the foot part, maybe do a magic ring with 6, increase to 12, work even for a couple rounds. Then switch to orange and increase a little more to make the leg thicker than the arm. Work even for a while and stuff these ones a bit more because they need to support the body weight when you’re done.
You need to make two arms and two legs obviously. I always make all the same pieces at once so like both arms together, both legs together, because otherwise I forget exactly what I did on the first one and they end up different sizes.
the tail with the flame is where it gets weird
The tail is like a long cone shape basically. Start with orange, magic ring with 6 sc. Increase slowly over the next few rounds so it gets wider gradually. Round 2 might be 9 stitches, round 3 maybe 12, round 4 maybe 15. Something like that where it’s getting fatter but not too fast.
Work even at whatever width you end up with for a bunch of rounds to make it long. The tail should be pretty long, like almost as long as the body or close to it. Stuff it as you go because you can’t really stuff it properly after it’s closed up when it’s that long and narrow.
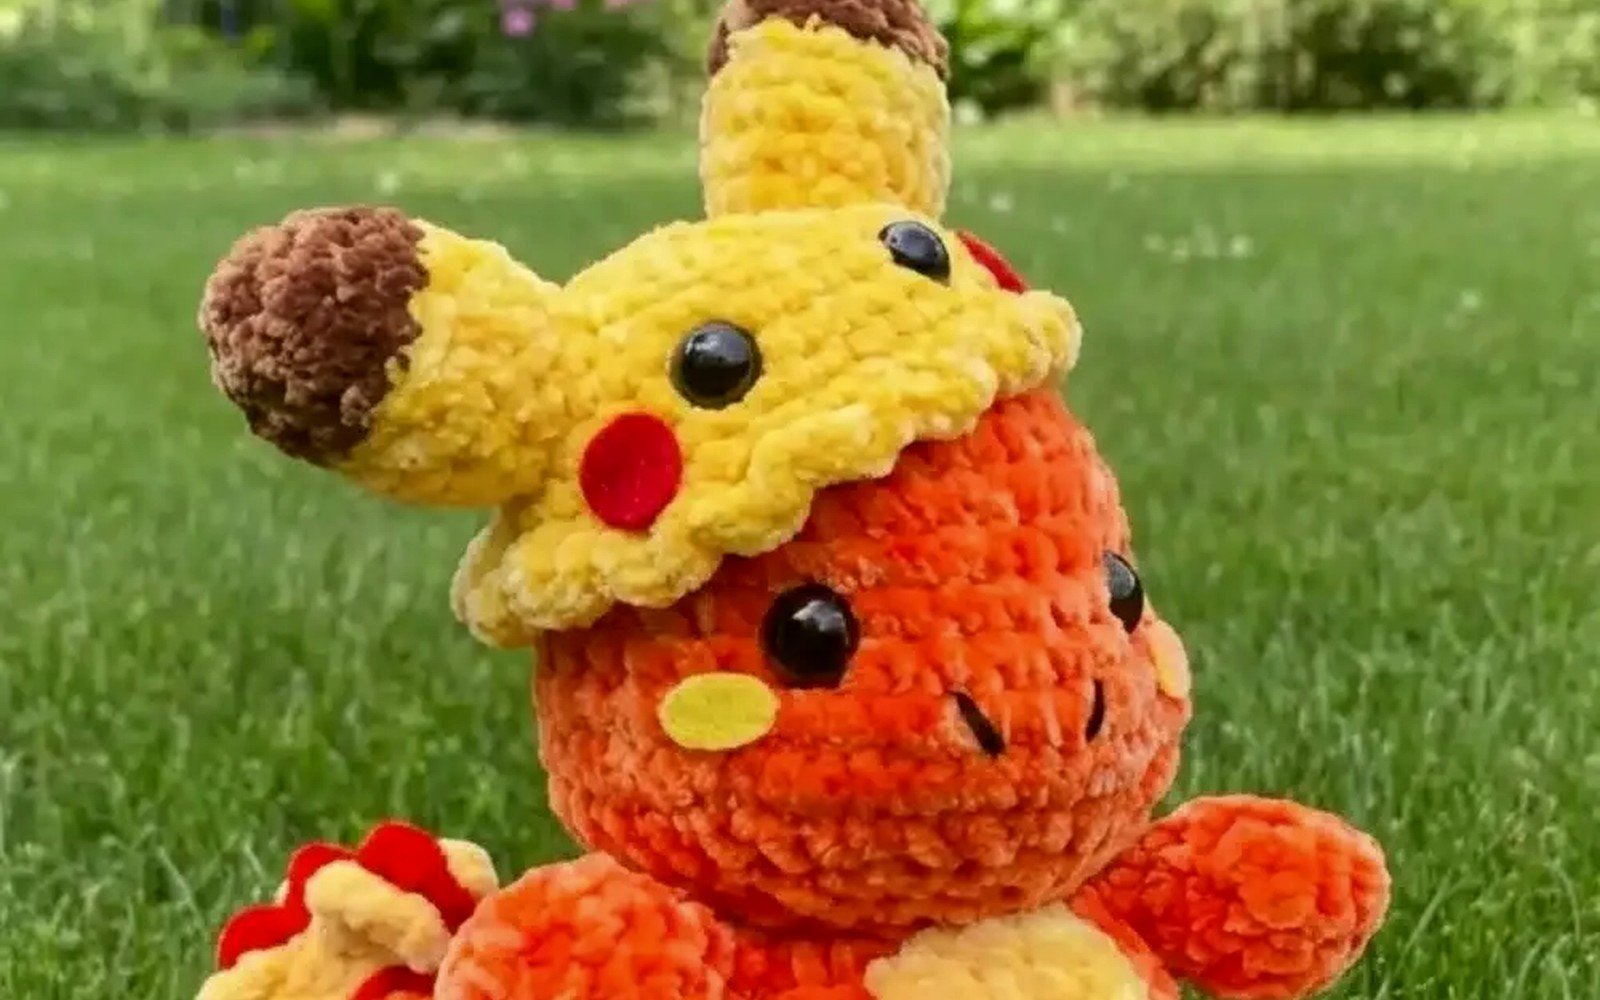
For the flame part I used Red Heart in red and Caron Simply Soft in yellow I think? Or maybe it was all Red Heart. The flame is basically a flat teardrop shape that you make by chaining a bunch, then sc and hdc and dc along the chain to make it flame-shaped. I made like three or four flame pieces in different sizes – some red, some yellow, some red with yellow tips.
Layer them together and sew them to the tip of the tail. Here’s the annoying part I mentioned before – the flame just wants to flop over sideways because it’s flat pieces sticking out. I ended up using a piece of wire (like floral wire from the craft store) inside the very tip of the tail going up into the flame base. Poke it through the crochet, bend it so it stays in place, and it helps the flame stand upright. Still not perfect but better than it drooping sadly to the side.
ears or horns or whatever those are
Charmander has those little ear nub things on the sides of his head. They’re super simple. Magic ring with 4 sc, increase to 8, maybe work one round even, then decrease back down and close it off. Make two of them and sew them to the sides of the head. Position them before you sew them on because if you put them too high or too low it changes the whole expression.
assembly is always the worst part honestly
Once you have all your pieces you gotta sew everything together. I use the same yarn as the body usually and just a regular yarn needle. Whipstitch or ladder stitch, whatever works. Pin everything in place first with regular pins so you can see how it looks before you commit.
Attach the head to the body first. I sew around the neck area a couple times to make sure it’s secure because if the head falls off that’s just sad and also embarrassing if you gave it to someone as a gift or whatever.
Then attach the arms to the sides of the body. I put mine kind of high up near where the neck meets the body so they look more natural. Legs go on the bottom obviously, position them so the Charmander can sit or stand depending on what you want. If you want it to stand you need to position the legs more forward and stuff them firmer.
Tail goes on the back lower area. Sew it on really securely because the tail is heavy especially with the flame and wire, so it needs a strong attachment or it’ll droop or fall off eventually.
face details and finishing
If you used safety eyes you’re already done with that part. If not you gotta embroider them now which is honestly harder than it seems because getting them even is tough. I always make one eye bigger than the other accidentally and then have to redo it.
Embroider the mouth with black yarn. It’s like a little curved line smile thing, pretty simple. Some people do nostrils too but I skip that usually because it’s fiddly and I don’t think it adds that much. You can add some white highlights to the eyes with a tiny bit of white yarn or fabric paint to make them look more alive and shiny.
The belly patch should already be sewn on if you did that earlier. If you forgot, do it now before you’re completely done because it’s easier to sew things on before everything else is attached… though I’ve definitely sewn on belly patches at the very end too because I forgot and it’s fine just more awkward.
yarn amounts and stuff
You don’t need a ton of yarn for this. Maybe 100-150 yards of orange, probably less than 50 yards of cream, tiny amounts of the other colors. If you’re buying new yarn one skein of each color is way more than enough. I had leftovers that I used for other projects later.
The whole thing probably took me like 6-8 hours total? Not all at once obviously. I worked on it over a few days during that spring when I was unemployed for a bit and had way too much free time. It’s a good mindless project for watching TV or listening to podcasts or whatever.
Gauge doesn’t matter that much for amigurumi as long as your stitches are tight enough that stuffing doesn’t show through. If you crochet really loose maybe go down a hook size. If you crochet really tight maybe go up. The finished size depends on your yarn weight and hook size but mine ended up being like 6-7 inches tall sitting down maybe?
variations and other stuff
You can make the eyes different styles. Some people do all black eyes, some do the anime style with white and blue, some do just safety eyes like I did. Whatever looks good to you is fine it’s not like there’s an official regulation Charmander crochet pattern that everyone has to follow.
If you want to make other Pokemon after this the basic structure is similar for a lot of them. Pikachu is the same concept just different colors and ear shapes. Squirtle needs a shell which is more complicated but the body is basically the same. Bulbasaur has that bulb thing on its back which is kind of annoying to attach but doable.
I’ve seen people make like tiny versions with thinner yarn and smaller hooks as keychains which is cute. You’d skip the safety eyes for something that small and just embroider everything probably. I haven’t tried that yet but it’s on my list of things to maybe do eventually if I feel like it.
Oh and if you mess up the proportions don’t worry about it too much. My first attempt the head was way too big and it looked kind of alien but also kind of cute in a weird way? I ended up keeping it anyway instead of frogging it because at some point you just gotta call something done even if it’s not perfect. Nobody else knows what you were trying to make it look like exactly except you.
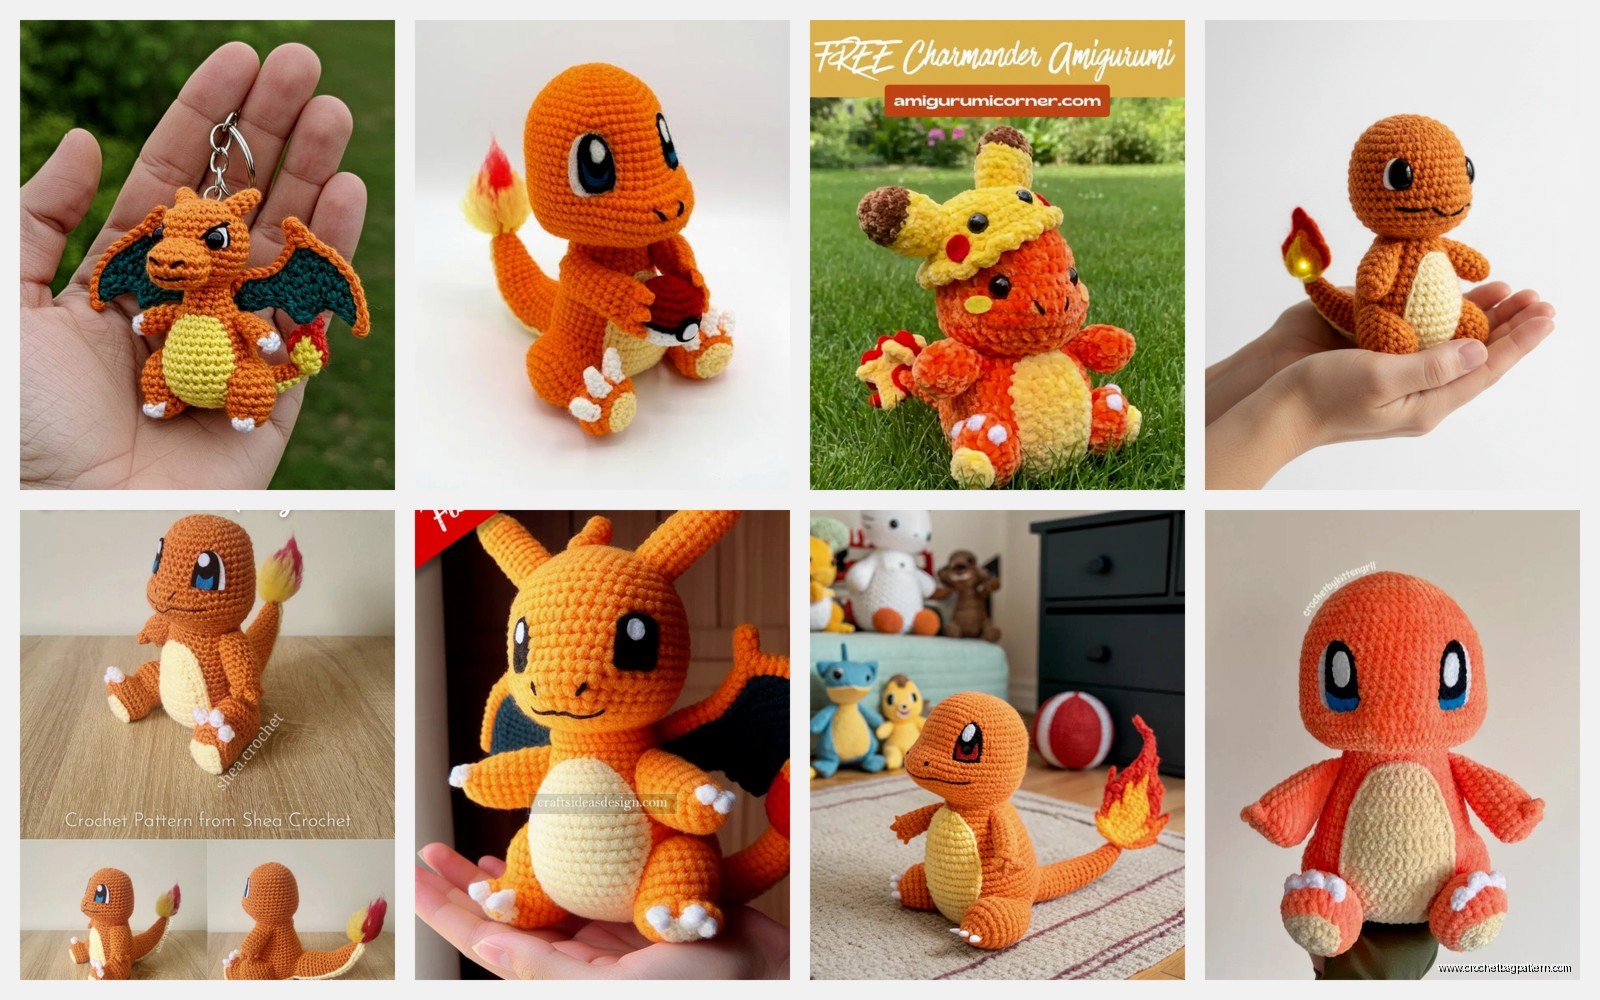
The pattern I sort of based mine on was free from some blog I found but I changed a bunch of stuff because their version looked too tall and skinny to me. I like a rounder chunkier look for amigurumi. Just search for “charmander amigurumi free pattern” and you’ll find a bunch of options to use as starting points.
