
May
Getting Started with Shrug Patterns
okay so shrugs are actually way easier than they look which is great because I remember trying to make my first one back in spring 2022 and thinking I’d completely screwed it up until I realized the whole point is that it’s just a rectangle with sleeves basically. I was watching that true crime documentary about the staircase and kept getting distracted so my gauge was all over the place but honestly it didn’t even matter that much.
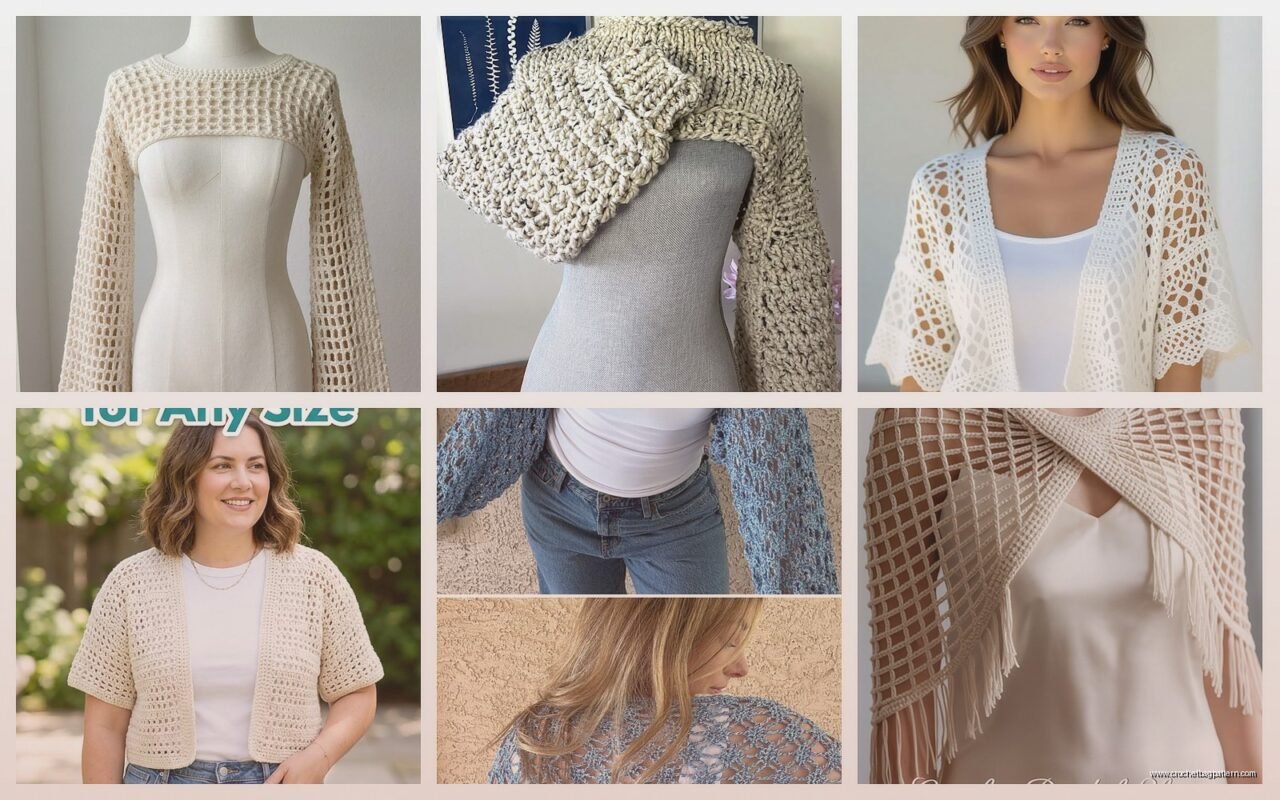
The main thing you gotta know is there’s basically two types – boleros which are the short cropped ones that hit right at your ribs or above, and wraps which are longer and flowier. I usually go for boleros because I’m short and the wrap style can overwhelm my frame but that’s just me.
Yarn Choices That Actually Work
So for yarn I’ve used Lion Brand Coboo a bunch of times and it’s really nice for this because it has that drape without being too heavy. The bamboo blend keeps it from getting too hot which is key if you’re making something you’ll actually wear indoors. I also tried Red Heart Soft once and it was fine but a little squeaky? Like the stitches made this weird sound when I worked them and it drove me nuts.
Caron Simply Soft is probably the most reliable if you want something affordable that comes in a million colors. I made a cream colored one in summer 2024 and wore it to like three weddings because it goes with everything. Weight-wise you want a 3 or 4 usually – sport or worsted. Fingering weight takes forever and bulky looks weird unless you’re going for that chunky oversized thing.
The Basic Rectangle Method
The easiest pattern is literally just make a long rectangle. You’re gonna chain enough to wrap around your shoulders with your arms out to the side – for me that’s usually around 50-60 inches but measure yourself. Then you just work back and forth in whatever stitch you want until it’s about 15-18 inches wide for a bolero or 24-30 for a wrap.
I like doing double crochet because it works up fast and has a nice texture. Sometimes I’ll do a shell stitch or even just single crochet if I want it tighter. The thing that annoyed me the most when I was learning this was that nobody tells you that your foundation chain WILL be too tight the first time you try. Like I’ve been crocheting for years and I still sometimes have to redo it because I chain too tight and then the whole bottom edge pulls in.
Once you have your rectangle you fold it in half and seam the top edges together for about 6-8 inches on each side – those become your armholes. Leave the middle open and boom you have a shrug. It’s almost stupidly simple.
Bolero Specific Stuff
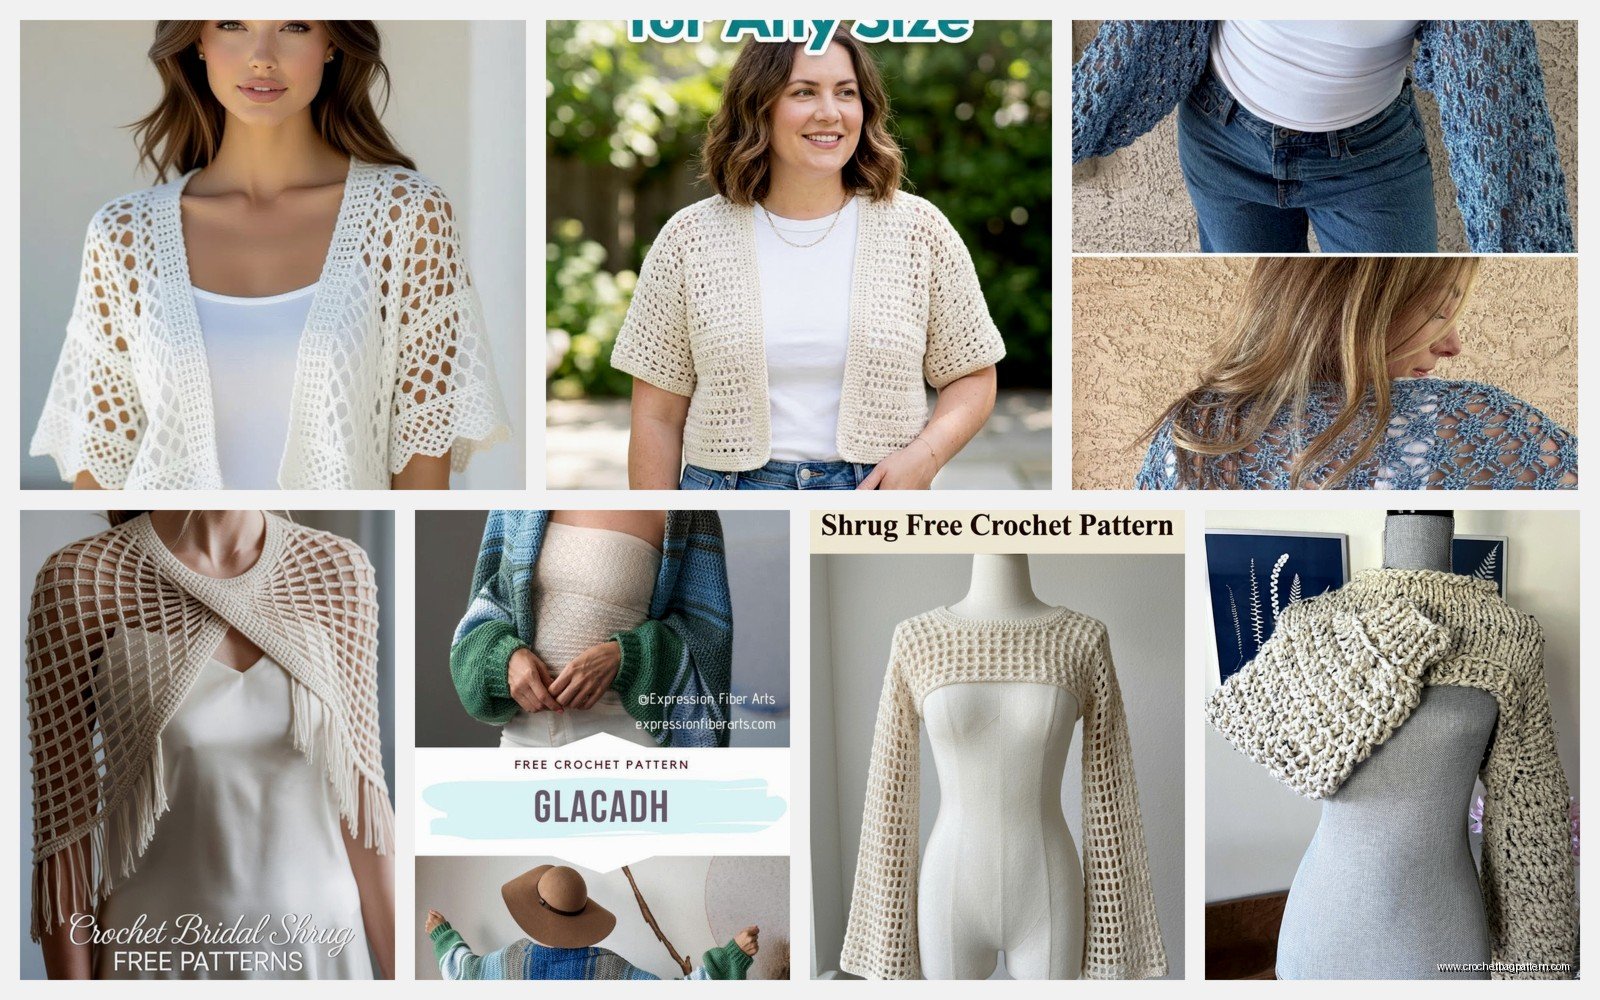
Boleros are cropped so you want that rectangle to be on the shorter side. I usually do mine about 15 inches wide max. The key is making sure the armholes are positioned right – if you seam too much you can’t get your arms through, too little and it slides right off.
I made one with a really pretty puff stitch pattern once and it looked amazing but took like three times as long. If you’re doing a textured stitch just know it’s gonna eat up more yarn than you think. I ran out of this gorgeous teal color I’d gotten at a local shop and couldn’t find more so I had to do the edging in cream which actually looked intentional but still.
For edging on boleros I usually do a simple single crochet border all the way around. Some patterns tell you to do picot edging or scallops but honestly that can look too fussy. My cat kept trying to attack the yarn while I was doing the edging on that teal one and I have little snags where her claws caught it.
Working in the Round vs Flat
You can also make a bolero by working in the round from the top down. You start with a circle for the yoke and then increase until it fits around your shoulders, then you divide for the armholes and work the body. This method is nice because there’s no seaming but the math can be tricky.
I tried this method following a pattern I found online and had to rip it out twice because my increases were uneven. The thing is you need to increase the same amount evenly spaced in each round or you get this weird ruffled effect. Which could be cool if that’s what you want but it wasn’t what I wanted.
Wrap Style Shrugs
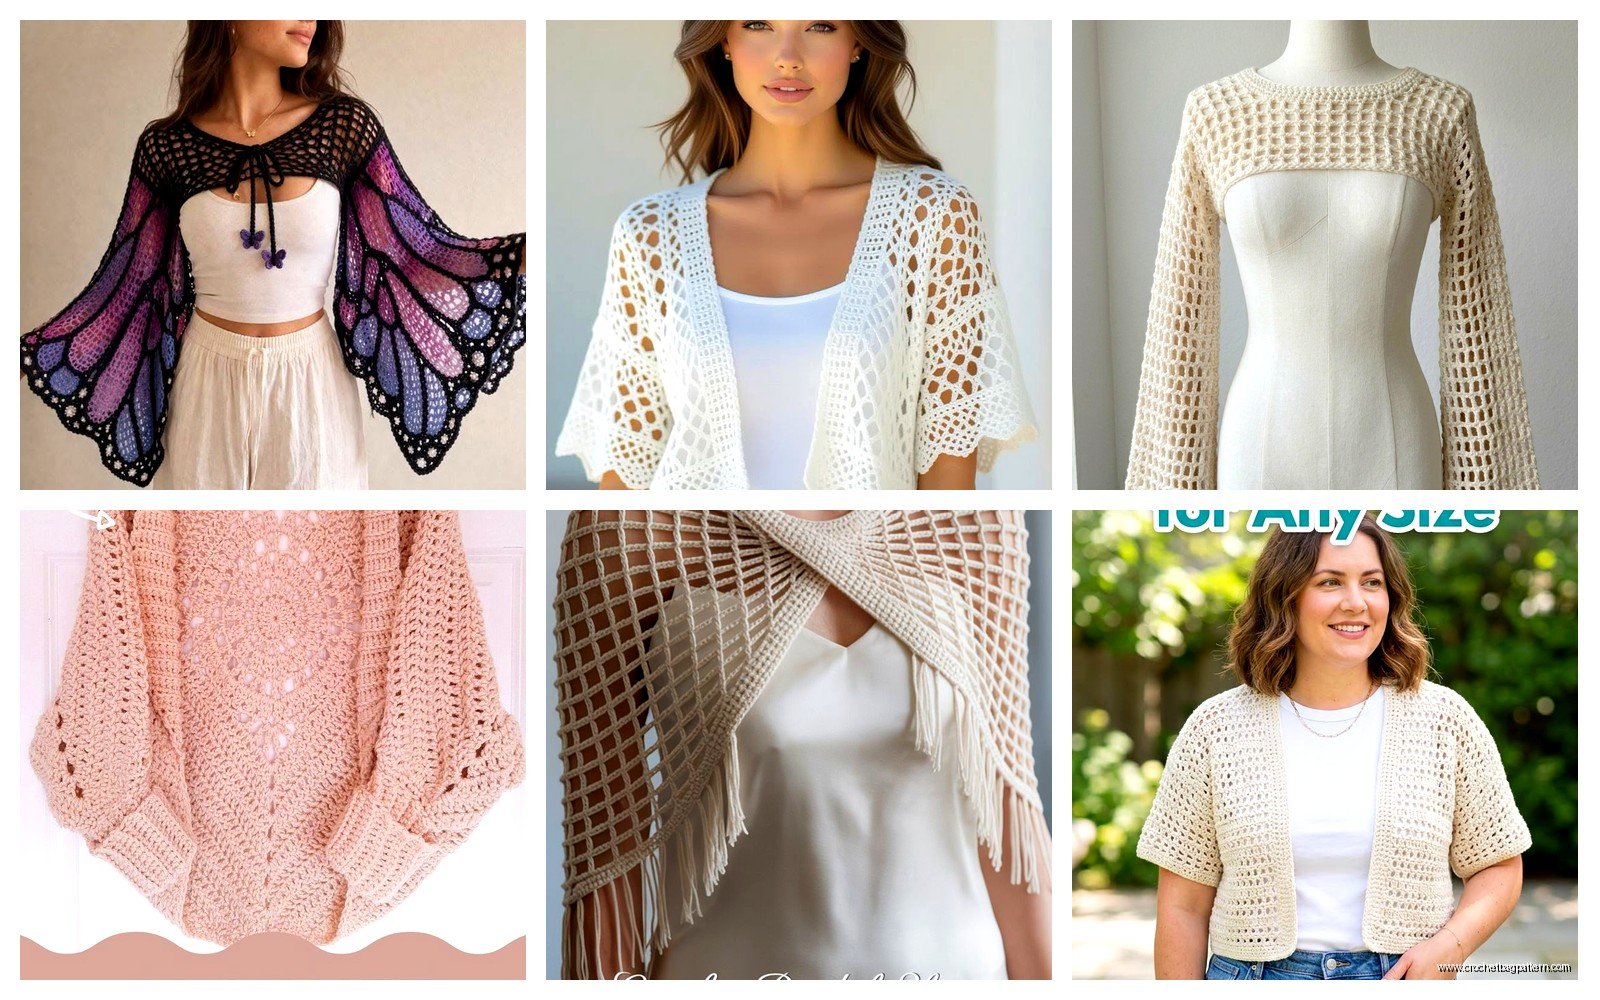
Wraps are basically the same concept but longer and usually you add ties or a button. The rectangle needs to be bigger – I do mine about 24-28 inches wide and the same 50-60 inches long. Sometimes even longer if you want it really drapey.
The drape is everything with wraps. You need a yarn that flows and doesn’t hold its shape too much. I used Bernat Softee Baby once thinking it would be nice and soft but it was too stiff and the whole thing just kinda stuck out instead of draping nicely. Waste of time.
For construction you can do the same fold and seam method or you can get fancy and add sleeves. Like actual set-in sleeves which sounds complicated but it’s really just – okay so you work your rectangle, then you crochet two separate sleeve pieces (just tubes basically), and you seam them into the armhole openings. I’m not gonna lie this takes longer and you have to do some measuring but it looks more polished.
Adding Sleeves Properly
If you want sleeves measure your armhole opening and your upper arm circumference. The sleeve needs to fit into the armhole so you make a tube that’s slightly smaller than your arm measurement because it’ll stretch. I usually make mine about 10-12 inches around and then taper down to 8-9 inches at the wrist.
Work the sleeve in the round starting from the shoulder end. You can decrease evenly as you go down toward the wrist – like every 5th or 6th round work a decrease round. Then you pin it into the armhole and seam it with a whip stitch or single crochet seam.
The most annoying part of this whole process is definitely the seaming because you have to make it look even and my tension is never consistent when I’m seaming. I’ve tried mattress stitch and whip stitch and honestly just doing a slip stitch seam works fine.
Stitch Patterns That Work Well
Like I said double crochet is my go-to but here’s other ones that look good:
- Granny stitch (clusters of 3 dc) – very drapey and uses less yarn
- V stitch – creates a nice lacy effect without being too holey
- Moss stitch – alternating sc and ch1 spaces, lays flat really well
- Shell stitch – classic and pretty, works great for boleros
- Half double crochet – middle ground between sc and dc, good texture
I tried doing a pineapple lace pattern once and it was pretty but way too complicated for something I was gonna wear casually. Save the fancy stitches for shawls or whatever.
Gauge Matters More Than You Think
I used to skip gauge swatches completely but then I made a wrap that ended up being like 8 inches longer than I planned because my tension was looser than the pattern called for. Now I at least check my stitch count over 4 inches before I commit to a whole project.
If your gauge is off you can go up or down a hook size. Like if you’re getting more stitches per inch than the pattern says use a bigger hook. Fewer stitches use a smaller hook. Basic stuff but easy to forget when you just wanna start making the thing.
Finishing Touches
Edging makes such a difference I can’t even – like the same shrug with no edging looks homemade in a bad way but add a simple border and suddenly it looks intentional. I usually do 2-3 rounds of single crochet around all the edges including the armholes and front opening.
For closures you can add:
- A button and loop at the center front
- Ribbon ties sewn into the side seams
- A decorative pin or brooch
- Crochet ties made from chains
- Nothing – just let it hang open
I prefer just letting it hang open honestly because then you don’t have to worry about placement and it’s more versatile. You can wear it different ways.
Sizing Adjustments
The nice thing about the rectangle method is it’s super easy to adjust sizing. Bigger person needs a bigger rectangle. That’s it. I’ve made these for friends who are plus size and it’s just a matter of adding more foundation chains and maybe working a few more rows for width.
For boleros if you have a larger bust you might want to add a couple inches to the width so it doesn’t pull across your chest. I learned this the hard way making one for my sister – it fit everywhere else but was tight across the front so I had to add a panel.
Common Problems I’ve Run Into
The armholes end up too small – this happens when you seam too much of the top edge. Just seam less like 5-6 inches instead of 8. You can always add more seaming if it’s too loose but it’s hard to take it out neatly.
The whole thing twists weird – usually means your foundation chain was twisted when you started or your tension is uneven. Not much you can do except block it aggressively or start over.
It slides off your shoulders – the armholes are too big or the whole rectangle is too wide. You can add elastic to the armhole seams or just make it smaller next time.
The yarn splits constantly – wrong hook size usually or the yarn itself is just bad quality. I had this happen with some acrylic blend from the dollar store and wanted to throw the whole project across the room. Sometimes it’s worth spending a few extra dollars on decent yarn.
Blocking Your Finished Shrug
I don’t always block my projects but shrugs really benefit from it. Get it damp (not soaking wet), pin it out to the right dimensions on a blocking mat or towels, and let it dry. This evens out your stitches and helps with drape.
For the teal bolero I mentioned earlier I blocked it and it made the puff stitches pop so much more. The whole thing looked more professional. Just don’t stretch it too much while blocking or it’ll grow and then you have a shrug that’s too big.
Yarn Amounts You’ll Actually Need
For a basic bolero in worsted weight I usually use 400-600 yards depending on size. Wraps take more like 800-1000 yards or even more if you want it really long and drapey. Always buy an extra skein because dye lots vary and you don’t wanna run out.
I ran out of yarn on a project once and thought I could just use a different dye lot of the same color and you could totally tell. It was slightly different and looked weird. Had to rip out like 10 rows and redo it with yarn I ordered online that took a week to arrive.
Sport weight uses a bit less yardage, bulky uses more. Just check the pattern if you’re following one or do the math based on your gauge swatch and dimensions.
When to Follow a Pattern vs Wing It
Honestly for basic shrugs you don’t need a pattern. Just understand the rectangle concept and go for it. I’ve made probably 6 or 7 without following anything written down. But if you want something with specific shaping or a complicated stitch pattern then yeah find a pattern.
Ravelry has tons of free patterns and you can filter by difficulty and yarn weight. I found a really nice cocoon shrug pattern there that I made in like winter 2023 or maybe early 2024 – anyway it had this waterfall front that looked complicated but was actually just strategic decreasing.
The thing about winging it is you gotta be okay with it not being perfect. My first rectangle shrug was lopsided because I didn’t count my stitches and just eyeballed it. Still wore it though and nobody noticed but me.
