
May
okay so ruffle edges
Right so you want to add a ruffle edge to your crochet thing. I did this on a baby blanket back in spring 2022 and honestly it transformed the whole piece from kinda boring to actually really nice looking. My sister was pregnant and I wanted to make something that didn’t look completely homemade in that sad way you know?
The basic concept is you’re gonna add way more stitches than the edge actually has space for, which forces the fabric to bunch up and create that ruffled effect. It’s not complicated but there’s definitely a rhythm to it.
what you actually need
Obviously yarn and a hook. I used Red Heart Super Saver for that baby blanket because it’s cheap and washable and honestly babies destroy everything anyway. The color was that Tea Leaf green which looked really pretty against the white body of the blanket. You want your hook to match whatever yarn weight you’re using – I think I used a 5mm hook for that worsted weight yarn but honestly just use whatever feels right.
You need your finished project obviously. The edge needs to be relatively even – if you’ve got weird tension issues all over the place the ruffle is gonna look wonky. Ask me how I know.
the foundation round
So first thing, you’re probably gonna want to do a foundation round of single crochet all the way around your piece. This evens everything out and gives you a consistent base to work from. Join your yarn wherever you want the ruffle to start – I usually pick a corner that’s gonna be less visible just in case my join looks messy.
Chain 1 and then single crochet evenly around the entire edge. In the corners you’ll want to do 3 sc in the same stitch so it doesn’t pull weird. The goal here is just to create a nice even row of stitches. Don’t increase randomly in the middle of sides or your ruffle will have weird bumps.
When you get back to where you started, slip stitch to join. This foundation round is honestly the most important part even though it’s not the actual ruffle yet.
making the actual ruffle happen
Okay so here’s where it gets fun. Chain 1 or 2 depending on how loose you want it, then you’re going to work multiple stitches into each stitch from the previous round. The ratio is what creates different ruffle effects.
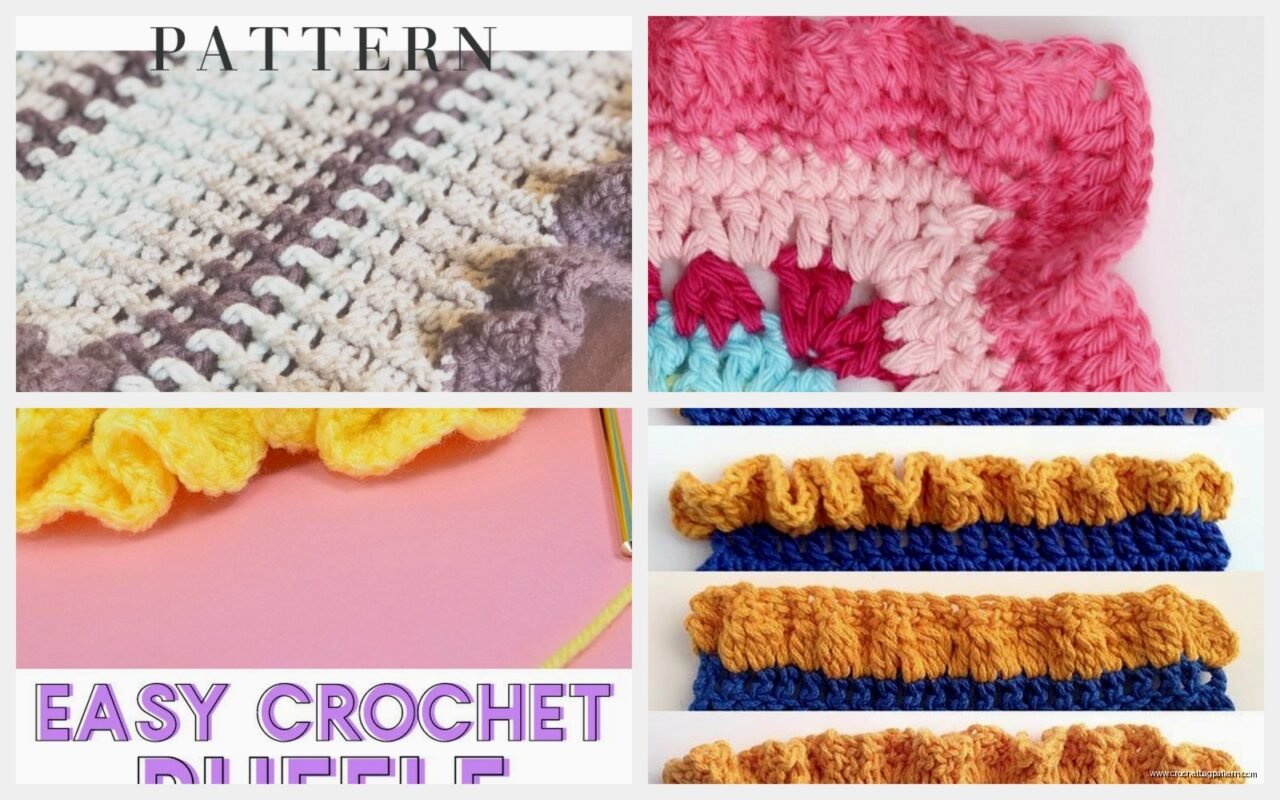
For a subtle ruffle I do 2 stitches in each stitch – so like 2 half double crochet in each single crochet from the foundation round. This gives you a gentle wave effect that’s pretty and not too overwhelming.
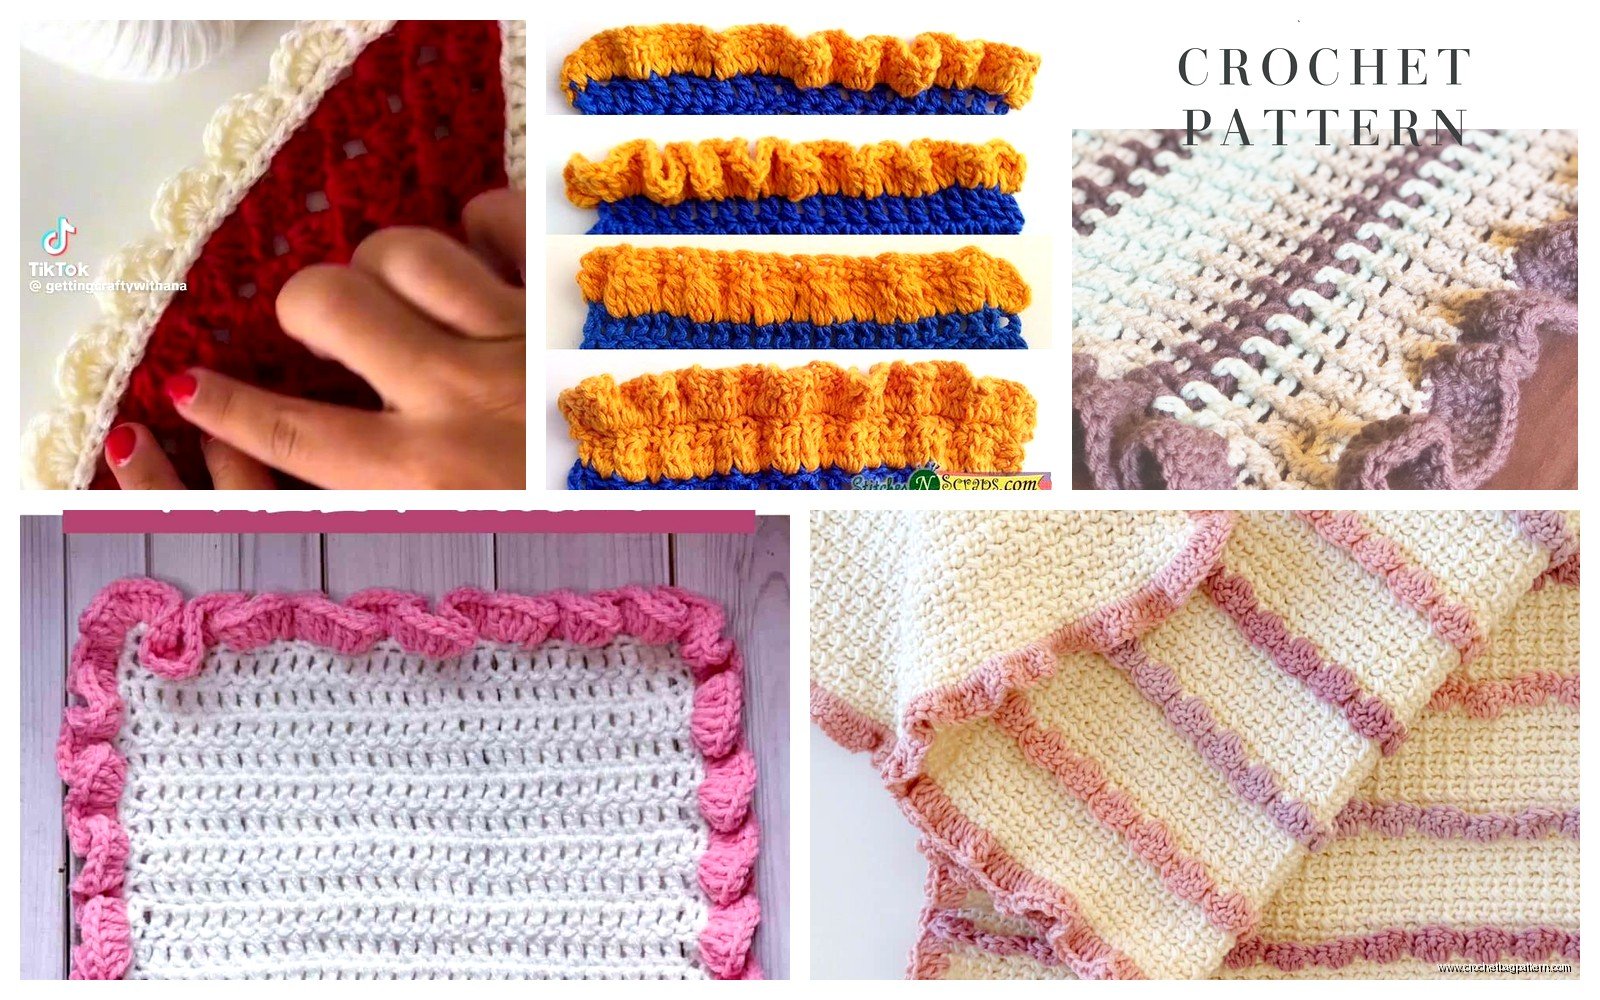
For a more dramatic ruffle you can do 3 or even 4 stitches in each stitch. I did 3 hdc in each stitch for that baby blanket and it was perfect – really full and ruffly without being like… clown costume territory.
The stitch you choose matters too. Single crochet ruffles are tighter and more controlled. Half double crochet is my favorite because it has good body but still flows nicely. Double crochet creates a really loose floppy ruffle that can look amazing on the right project but sometimes it’s too much.
working around corners
Corners are annoying I’m not gonna lie. This was the thing that drove me crazy about the whole process – you’re already increasing in every stitch and then you hit a corner and have to increase even more and it can get bulky fast.
What I do is work the same ratio into the corner stitches but maybe add one extra. So if I’m doing 3 hdc in each stitch normally, I’ll do 4 or 5 in the actual corner stitch. It helps the ruffle turn the corner smoothly instead of bunching up weird or pulling flat.
You kinda have to feel it out honestly. If the corner is laying flat and not ruffling, add more stitches next time. If it’s getting too bulky and folding over itself, do fewer increases at the corner.
different ruffle variations
So that’s the basic method but there’s a bunch of ways to change it up. I made a scarf last summer – like July 2024 when it was way too hot to be thinking about scarves but whatever – and I did this cool variation where the ruffle got progressively bigger.
Started with 2 sc in each stitch for the first ruffle round. Then did another round where I put 2 hdc in each of THOSE stitches. So the ruffle kept building on itself and got really full and dimensional. Used Caron Simply Soft in that Persimmon color and my cat kept attacking it while I was working because the ruffle moved when I crocheted I guess.
the shell ruffle
This is a prettier variation that takes a bit more concentration. Instead of just working multiple stitches in each stitch, you work shells. Skip a stitch, then work 5 or 7 dc in the next stitch, skip a stitch, single crochet in the next stitch. Repeat that pattern around.
The shells create these fan shapes that overlap and look really fancy. I did this on a circular mandala thing with Bernat Blanket yarn once and it looked way more complicated than it actually was. People thought I was some kind of expert but really it’s just skipping stitches and making shells.
You have to make sure your stitch count on the foundation round is divisible by 4 for this to work out evenly, or you’ll end up with a weird partial shell at the end that doesn’t match.
picot ruffle edge
Another option is adding picots to your ruffle. Work your increases like normal – say 3 hdc in each stitch – but then every few stitches add a picot. Chain 3 and slip stitch back into the base of the chain to make a little bump.
This adds texture to the ruffle and makes it look more… I dunno, vintage? Delicate? I used this technique on a table runner with some Aunt Lydia’s crochet thread and it looked really nice. Very grandma-core but in a good way.
troubleshooting common problems
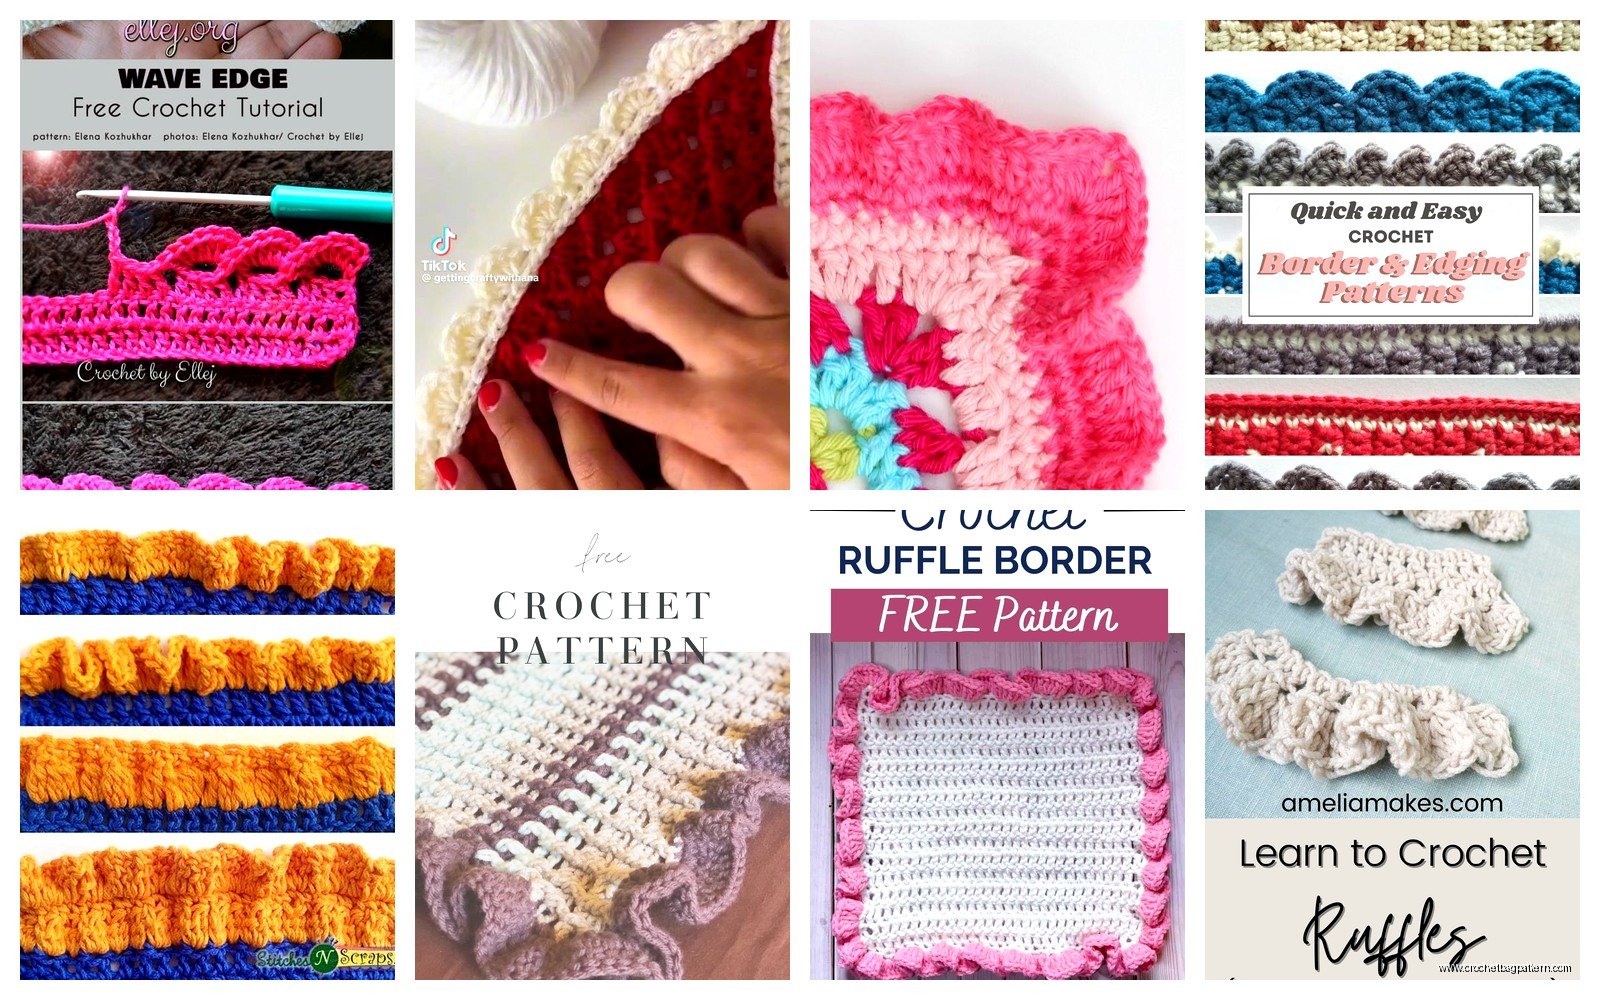
If your ruffle is looking flat and sad instead of actually ruffled, you’re not increasing enough. Add more stitches per stitch – go from 2 to 3, or from 3 to 4. The fabric needs to be forced to bunch up.
If your ruffle is getting super bunched and almost folding back on itself, you’re increasing too much. Drop down – do 2 stitches instead of 3, or use a smaller stitch like single crochet instead of double crochet.
Weird waves or bumps in random places usually means your foundation round wasn’t even. You probably increased in the middle of a side somewhere or your tension was off. You can try to fix it by skipping stitches in the ruffle round where it’s too full, but honestly it’s better to just rip back and redo the foundation round properly.
tension stuff
Keep your tension consistent when you’re working the ruffle. If you crochet tight normally, you might need to go up a hook size for the ruffle so it has room to actually ruffle. If you crochet loose you might need to go down a size or the ruffle will be too floppy.
I learned this the hard way on a washcloth set I made with Lily Sugar’n Cream cotton yarn – the first one I kept my normal tension and the ruffle barely showed up. Had to redo it with a bigger hook and then it looked how I wanted.
multi-round ruffles
You can stack ruffles for a really dramatic effect. Do your foundation round, then do a ruffle round with like 2 hdc in each stitch. Then do ANOTHER round where you put 2 or 3 stitches in each stitch of the first ruffle round.
This creates layers and makes the ruffle really full and fancy looking. It uses a lot more yarn obviously but the effect is pretty cool. I did this on the edge of a circular baby blanket and it looked like a flower when you laid it flat.
The thing to watch out for is weight – multiple ruffle rounds can get heavy and pull on your project. Works fine for blankets or table runners that will lay flat, but on something like a garment edge it might drag weird.
color changes in ruffles
Changing colors between ruffle rounds looks really striking. Do your foundation round in the main color, then switch to a contrast color for the ruffle. Or do the first ruffle round in one color and the second ruffle round in another color if you’re doing multiple rounds.
I made this ridiculous blanket while I was watching the entire run of Breaking Bad – needed something to do with my hands during the tense parts – and I alternated between cream and sage green on the ruffle edges. Used I Love This Yarn from Hobby Lobby which is actually pretty decent for the price.
When you change colors, just finish your last stitch of the previous color, then pull through with the new color on that final yarn over. Fasten off the old color and weave in the end later. Don’t carry yarn up through the ruffle because it’ll show through all those open spaces.
finishing the ruffle
When you get back to where you started the ruffle, slip stitch to join. Fasten off and weave in your ends. The join might look a little obvious depending on your stitches – sometimes I’ll undo the last stitch or two and try to blend the join better, like working the last few stitches into the beginning stitches instead of just slip stitching.
Block your finished piece if the yarn can handle it. This really helps the ruffle open up and show its full shape. I usually just wet block – get it damp, shape it how I want it, and let it dry flat. Steam blocking works too if you’re careful not to flatten the ruffle completely.
yarn choice matters
Some yarns ruffle better than others. Cotton has good stitch definition so the ruffle shows up clearly – that’s why it works great for washcloths and kitchen stuff. Acrylic is fine, maybe a bit limp depending on the brand but Red Heart and Caron both work well.
Fuzzy yarn like Red Heart With Love or anything with a halo can hide the ruffle detail a bit. Still looks nice but the individual stitches blur together. Might be what you want for a softer look or might be annoying if you want crisp definition.
I tried doing a ruffle with some cheap scratchy acrylic once and it was so stiff the ruffle just stuck straight out instead of draping nicely. Ended up ripping it out and using better yarn because it looked ridiculous.
practical applications
Ruffles work on basically any edge. Blankets obviously – baby blankets especially look good with a simple ruffle border. Dishcloths and washcloths get more interesting with a ruffle edge. Scarves, shawls, the edges of cardigans or sweaters.
I put a ruffle around the bottom of a crochet skirt once and it actually helped with the shaping – the ruffle flared out naturally which is what you want on a skirt anyway. Used Lion Brand Jeans yarn for that which has a nice drape.
You can even do ruffles on smaller stuff like coasters or the edge of a hat. Just scale everything down – maybe just 2 sc in each stitch for a subtle effect on something small.
when not to use ruffles
Ruffles aren’t always the answer. They add bulk so if you’re trying to keep something flat and smooth, skip the ruffle. They also can look too fussy on masculine projects – not saying guys can’t have ruffles but like… a hunting-themed afghan probably doesn’t need a frilly edge.
Heavy projects don’t always need ruffles either because they add more weight. A thick winter blanket made with bulky yarn might be too much with a big ruffle around it.
And honestly sometimes a simple edge just looks better. Not everything needs embellishment. I’ve definitely added ruffles to things that would’ve looked nicer with just a basic single crochet border but I got carried away.
Anyway that’s basically how you do ruffle edges. Start with an even foundation round, increase way more than normal to force the fabric to bunch up, adjust your ratio depending on how dramatic you want it. Corners need extra increases, keep your tension consistent, and don’t be afraid to rip it out if it looks wrong because it’s better to redo it than to finish something you don’t actually like.
