
Jun
Getting Started With Rose Patterns
So the thing about crochet roses is there’s like a million different ways to make them and honestly I’ve tried maybe fifteen different patterns over the years. The first one I actually finished that didn’t look like a sad blob was back in spring 2022 when I was stuck at home with a cold and binge-watching this terrible reality show about people flipping houses. Just sat there with some Red Heart Super Saver in that cherry red color and worked through it.
The basic concept is you’re either gonna make a flat spiral kind of thing or you’re making petals separately and attaching them. Most beginner patterns go with the spiral method because it’s faster and you don’t have to sew anything which is honestly a relief.
Flat Spiral Roses
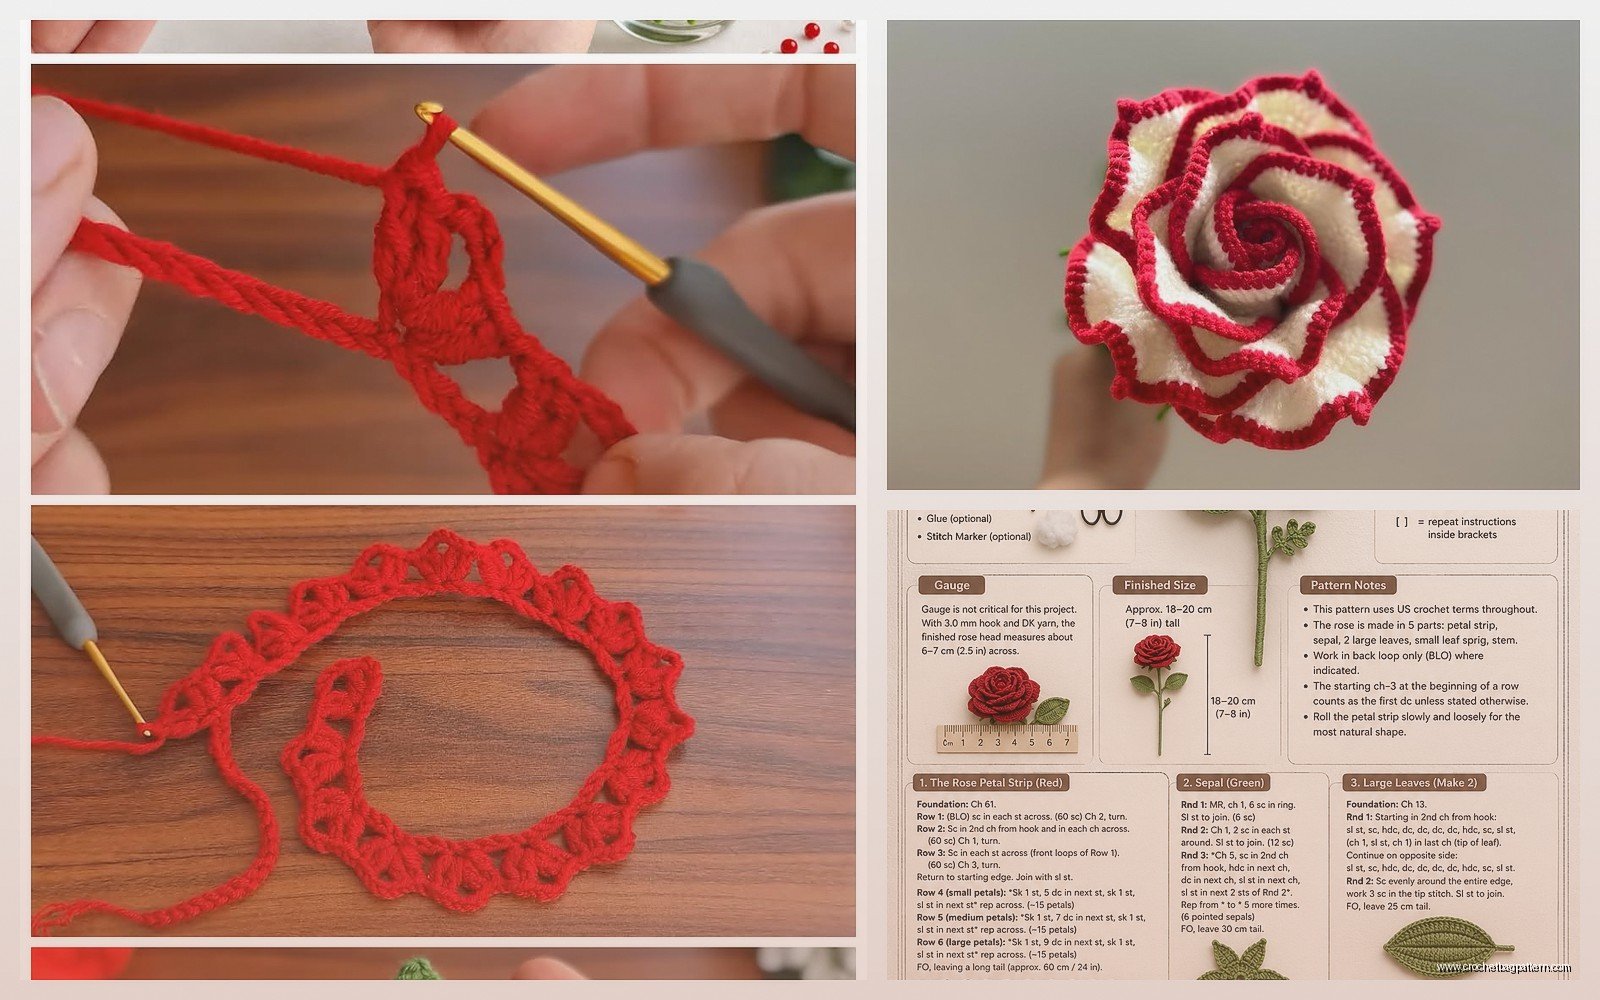
This is where you start with a foundation chain and then you work increases along one edge to make it ruffle up. The more you increase, the more dramatic the ruffle gets, and when you roll it up it looks like rose petals. Kind of.
You’ll chain like 25-40 stitches depending on how big you want the rose. Then you work back along that chain doing increases every stitch or every other stitch. I usually do: chain 30, then in each chain do (sc, hdc, dc, hdc, sc) or sometimes just (hdc, dc, hdc) if I want it less bulky. The pattern doesn’t matter as much as you think it does, just make sure one edge is way bigger than the other.
What really annoyed me about this method though is that the center always wants to pop up and look weird unless you really secure it well. You gotta stitch through the base multiple times and even then sometimes it just decides to be difficult. I’ve had roses that looked perfect and then three days later the center is sticking up like a little fabric volcano.
When you’re done with the strip, you roll it from one end and stitch the bottom as you go. Start tight in the center and let it get looser as you spiral outward. If you roll it too tight the whole way through it looks like a rose bud which is fine if that’s what you want but most people want it more open.
Layered Petal Method
This one takes longer but looks more realistic if you actually care about that. You make individual petals in different sizes and layer them.
For small petals I usually do: chain 4, join to make a ring, then (chain 2, 3 dc in ring, chain 2, slip stitch in ring) and that makes one petal. Repeat that 5 times around the ring. That’s your center.
Then for the next layer you make bigger petals. I work them into the back loops or into the spaces behind the first layer. Chain 3, do 5 dc, chain 3, slip stitch. Make like 5-7 of those. The numbers are honestly flexible, I never count that carefully.
If you want a third layer go even bigger. Chain 4, do 7-9 dc, chain 4, slip stitch. At this point you’re just winging it based on how full you want the rose to look.
I made a bunch of these in summer 2024 for my friend’s wedding stuff and used Lily Sugar’n Cream because she wanted cotton flowers that could get wet if it rained. Worked up nice but my hands were so tired after making like twenty of them. My cat kept stealing the small ones and batting them under the couch too which was super helpful.
Yarn Choices Actually Matter Here
So you’d think yarn is yarn but roses show texture more than like a basic scarf or whatever. I’ve used a bunch of different brands and they all give different looks.
Red Heart Super Saver is cheap and works fine but it’s got that slight sheen that makes roses look kinda plastic-y. Not bad, just not natural looking. Good for craft projects where you’re gluing them to wreaths or whatever. The color selection is huge though which is nice.
Caron Simply Soft is better if you want something that looks more delicate. It drapes nicer so the petals don’t stick out all stiff. I used the “Orchid” color once and it made really pretty lavender roses. Softer to work with too, doesn’t hurt your hands as much.
For cotton I usually grab Lily Sugar’n Cream or Bernat Handicrafter Cotton. Both work fine, cotton just gives you that matte finish and the roses hold their shape really well. Doesn’t stretch out over time like acrylic sometimes does.
Wool would probably be nice but I’ve never used it for roses because it seems like a waste of expensive yarn for something decorative. Although I bet the texture would be interesting with something like a wool blend.
The weight matters too obviously. Sport weight or DK weight works best for medium-sized roses. Worsted weight makes bigger chunkier roses that are good for like statement pieces or if you’re making a bouquet where you need them to stand out from across the room. Thread weight or fingering weight makes tiny delicate roses but honestly my eyes can’t handle that anymore, the stitches are too small and—I tried it once with some random thread I had and gave up after two petals.
Hook Sizes and Tension
I usually go down a hook size from whatever the yarn label recommends because you want tight stitches for roses. Loose stitches make the petals look floppy and you can see through them which ruins the effect.
For worsted weight I use an H hook (5mm) or even a G hook (4mm) sometimes. For sport weight a E or F hook. My tension is naturally pretty tight anyway so you might need to adjust.
The thing is you want the fabric to be stiff enough to hold shape but not so stiff that it won’t curve at all. It’s a balance and honestly you just gotta make a few practice ones to figure out what works with your tension and your yarn combination.
Different Rose Styles You Can Try
There’s the basic spiral rose I already talked about but there’s also the “Irish rose” which is more dimensional. That one you make a center circle and then work rounds of petals that stick up and out. Makes a really full poufy rose that’s good for corsages or hair clips.
For Irish roses you start with a magic ring, chain 3 (counts as dc), make 11 more dc in the ring. Join and pull the ring tight. Then you make petals by doing (slip stitch, chain 3, 4 dc, chain 3, slip stitch) into each dc around. That’s your first layer. For the second layer you chain behind the first petals and make bigger petals into those chains. Keep going until it looks rose-like.
There’s also cabbage roses which are flatter and have more defined petal layers. Those you make separate rounds that you stack and stitch together. Takes forever but looks really clean and geometric.
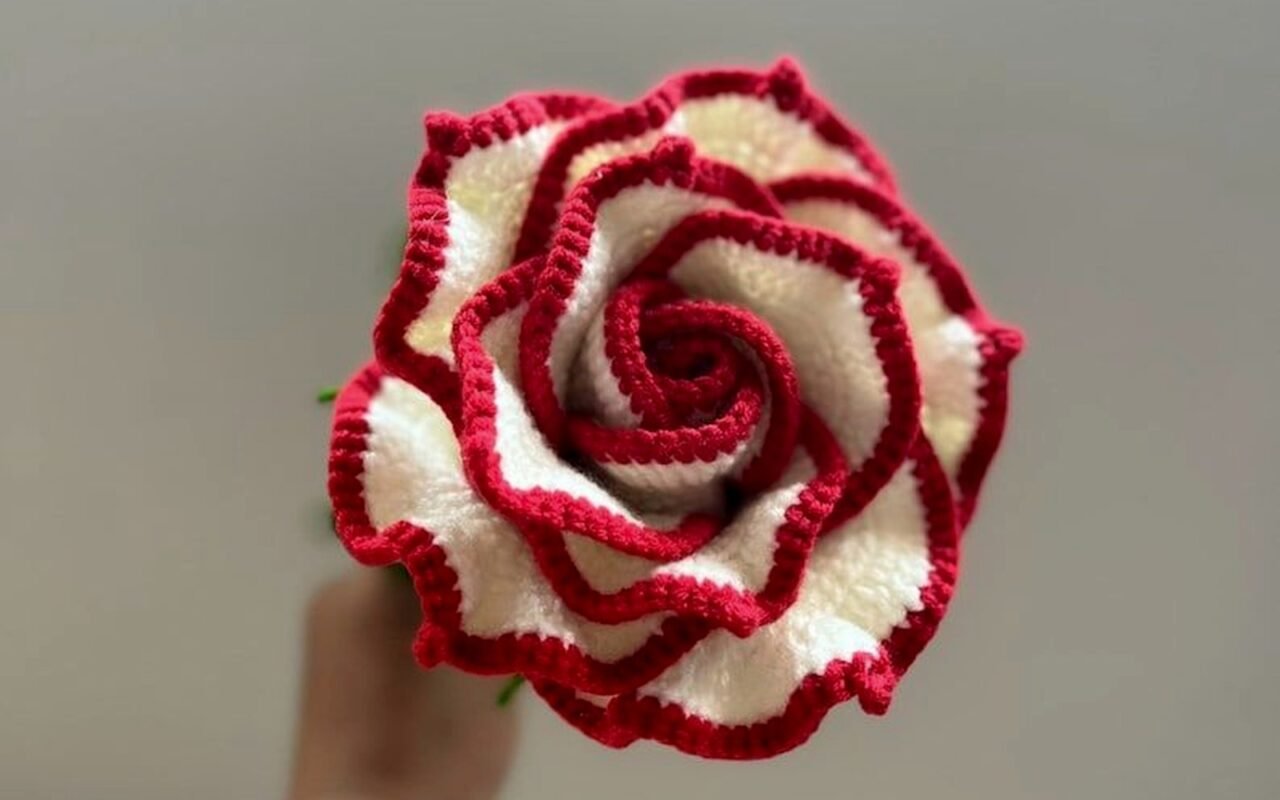
Then there’s the ruffle rose which is basically the spiral method but you go crazy with the increases so it’s super frilly. Good for decorative stuff where you want maximum drama.
Adding Leaves and Stems
Most rose patterns don’t include leaves but you’re probably gonna want them if you’re making a bouquet or anything that’s supposed to look like an actual flower.
Basic leaf: chain 12, then starting in second chain from hook do: sc, hdc, dc, dc, dc, dc, dc, hdc, sc, and then 3 sc in the last chain to work around the other side. Work back up the other side with the same stitch pattern. Join and fasten off. That gives you a pointy leaf shape.
You can add texture by working in back loops only for part of it or by doing some surface chain stitches down the middle to make a vein.
For stems I either use floral wire wrapped with green yarn or I crochet a tube using slip stitches in a spiral. The crochet tube method: chain 4, join, then just slip stitch in a spiral around and around until it’s as long as you want. Stuff it with wire or a pipe cleaner if you want it to be poseable.
Actually covering floral wire with yarn is easier than making a tube though. Just hold the yarn against the wire and wrap it tight, securing with a dot of glue at each end.
Construction Tips That Actually Help
When you’re rolling up a spiral rose, use sewing thread not yarn to secure it. Yarn is too bulky and you can see the stitches. Regular thread in a matching color disappears way better.
If you’re making layered petal roses, starch them after. Like actual fabric starch spray. Makes them hold shape so much better and they look more professional. I learned this by accident when I was making flowers for a craft fair and spilled some spray starch near them and noticed the one that got hit with it looked way better than the others.
Hot glue is your friend for attaching roses to things. Trying to sew them onto headbands or clips is annoying and takes forever. Just glue them and be done with it.
If you’re making a bouquet, wrap all your stems together with floral tape before you arrange them. Way easier than trying to arrange them while holding everything.
Color Combinations
Obviously you can make roses in any color but some combinations look better than others. Traditional red, pink, white, yellow are all good. I made coral colored ones once with Caron Simply Soft in “Mango” and they were really pretty.
Two-tone roses are cool if you switch colors partway through. Start with a darker color for the center and switch to lighter for outer petals, or vice versa. You can also hold two strands together of slightly different shades which gives a variegated look.
Ombre roses are trendy right now but require ombre yarn obviously. Red Heart Ombre was on sale once so I grabbed some and made roses that faded from burgundy to pink. Looked good but the color changes didn’t always line up where I wanted them.
What To Actually Do With Crochet Roses
So you’ve made roses, now what. I’ve used them for:
- Hair clips and headbands – just glue to a clip base
- Brooches – attach a pin back
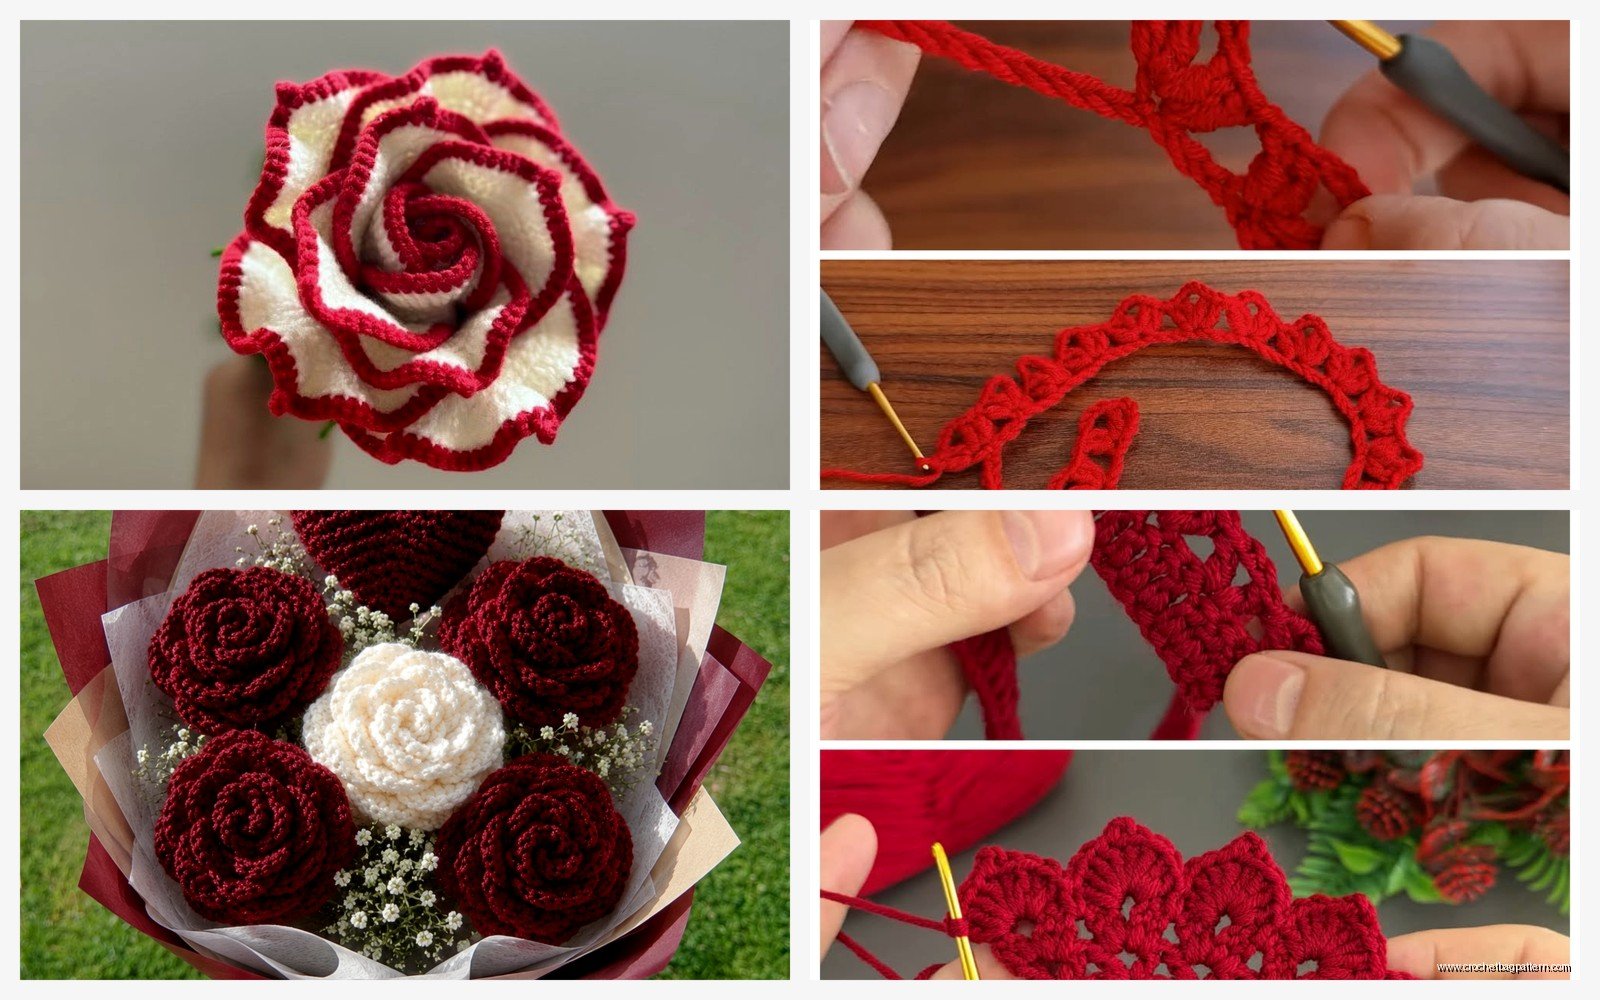
- Bouquets for weddings or decoration
- Wreaths – hot glue them to a foam or grapevine wreath base
- Gift toppers instead of bows
- Embellishments on bags or hats
- Curtain tiebacks – make big ones and attach to ribbon
- Napkin rings for fancy dinners
The wedding bouquet thing is popular but make sure whoever’s carrying it knows it’s gonna be heavier than real flowers. I made a full bouquet once and it probably weighed two pounds. Looked great in photos though.
Sizing Considerations
Small roses (1-2 inches) are good for jewelry and small embellishments. Use sport weight or DK yarn.
Medium roses (2-4 inches) work for most projects. Worsted weight yarn is perfect.
Large roses (4+ inches) are statement pieces. Use worsted weight with a bigger hook or hold two strands together.
The foundation chain length controls size more than anything else. A 20-chain spiral makes a small tight rose, a 50-chain makes a huge loose one.
Troubleshooting Common Problems
If your rose won’t stay rolled up, you didn’t stitch it enough at the base. Go back and really secure that center with multiple passes of thread.
If the petals are too floppy, your tension is too loose or you need to go down a hook size. Could also just need starch.
If it looks lumpy instead of smooth, you might be increasing too much or not enough. The ruffle needs to be consistent.
If the center sticks up (which I already complained about), flatten it while you’re stitching the base and put a few stitches right through the center point to anchor it down. Sometimes I literally just squash it flat and stitch through all the layers at once which probably isn’t the “right” way but it works.
If your layered petal rose looks flat, you didn’t make enough size variation between layers. The outer petals need to be noticeably bigger than the inner ones.
Color bleeding can happen with cheap yarn if the roses get wet. Test your yarn first if it matters. Red Heart has bled on me before with dark colors.
The roses I made in 2022 when I had that cold all turned out slightly different sizes even though I used the same pattern because I wasn’t paying attention and my chain counts were off. Didn’t really matter for what I was using them for but it would’ve been obvious in a bouquet situation where they’re all together. So count your chains if consistency matters I guess.
