
May
okay so bavarian crochet squares
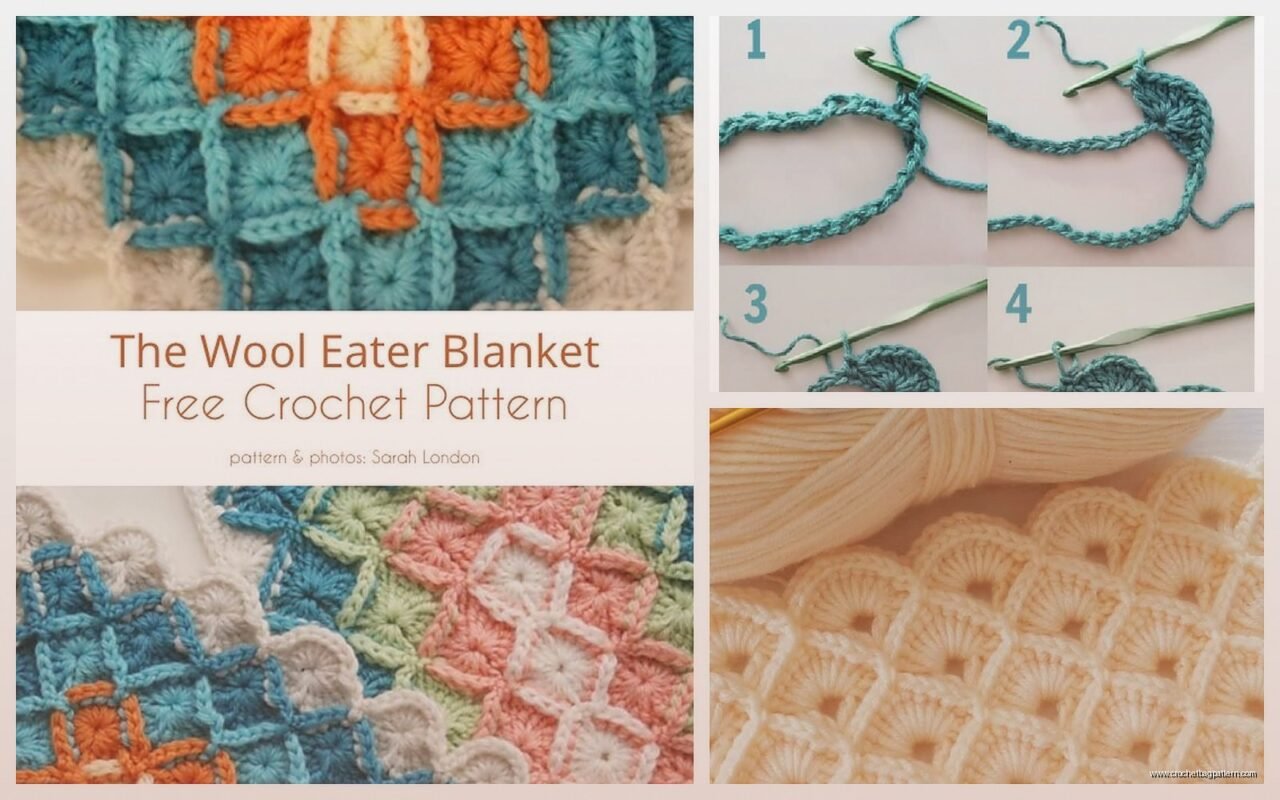
I made one of these back in spring 2022 when I was supposed to be cleaning out my closet but obviously that didn’t happen. The Bavarian stitch is basically this chunky textured square that looks way more complicated than it actually is, which is honestly the best kind of project because people think you’re some crochet genius but really you’re just doing the same thing over and over.
So the whole thing works in rounds. You start with a center and then build outward in these puff stitch clusters that create this really puffy 3D texture. It’s gonna eat up yarn though, just warning you now.
what you actually need
You need worsted weight yarn, and I used Red Heart Super Saver for mine because it was what I had sitting around. I think it was the “Soft White” color but honestly it might’ve been “Aran” I don’t remember. The pattern works with any yarn weight but if you use something thinner you’ll get a smaller square and if you use chunky yarn you’ll get a massive one.
Hook size depends on your yarn but I used a 5.5mm hook. Some people go up to 6mm for a looser fabric. You also need scissors and a yarn needle for weaving in ends later which is the worst part but whatever.
starting the center
You start with a magic circle or you can chain 4 and slip stitch to form a ring if you hate magic circles. I always do magic circle because it’s tighter and doesn’t leave that weird hole in the middle.
Chain 3 (this counts as your first dc), then you’re doing 15 more double crochets into the ring. So 16 total dc stitches. Pull the magic circle tight, slip stitch to the top of your starting chain 3. You should have this little flat circle now.
round 2 is where it gets textured
This is where the puff stitches come in and honestly this is what makes it Bavarian crochet instead of just a regular granny square or something. A puff stitch is basically where you pull up loops multiple times in the same stitch before finishing it off, creates that puffy bumpy texture.
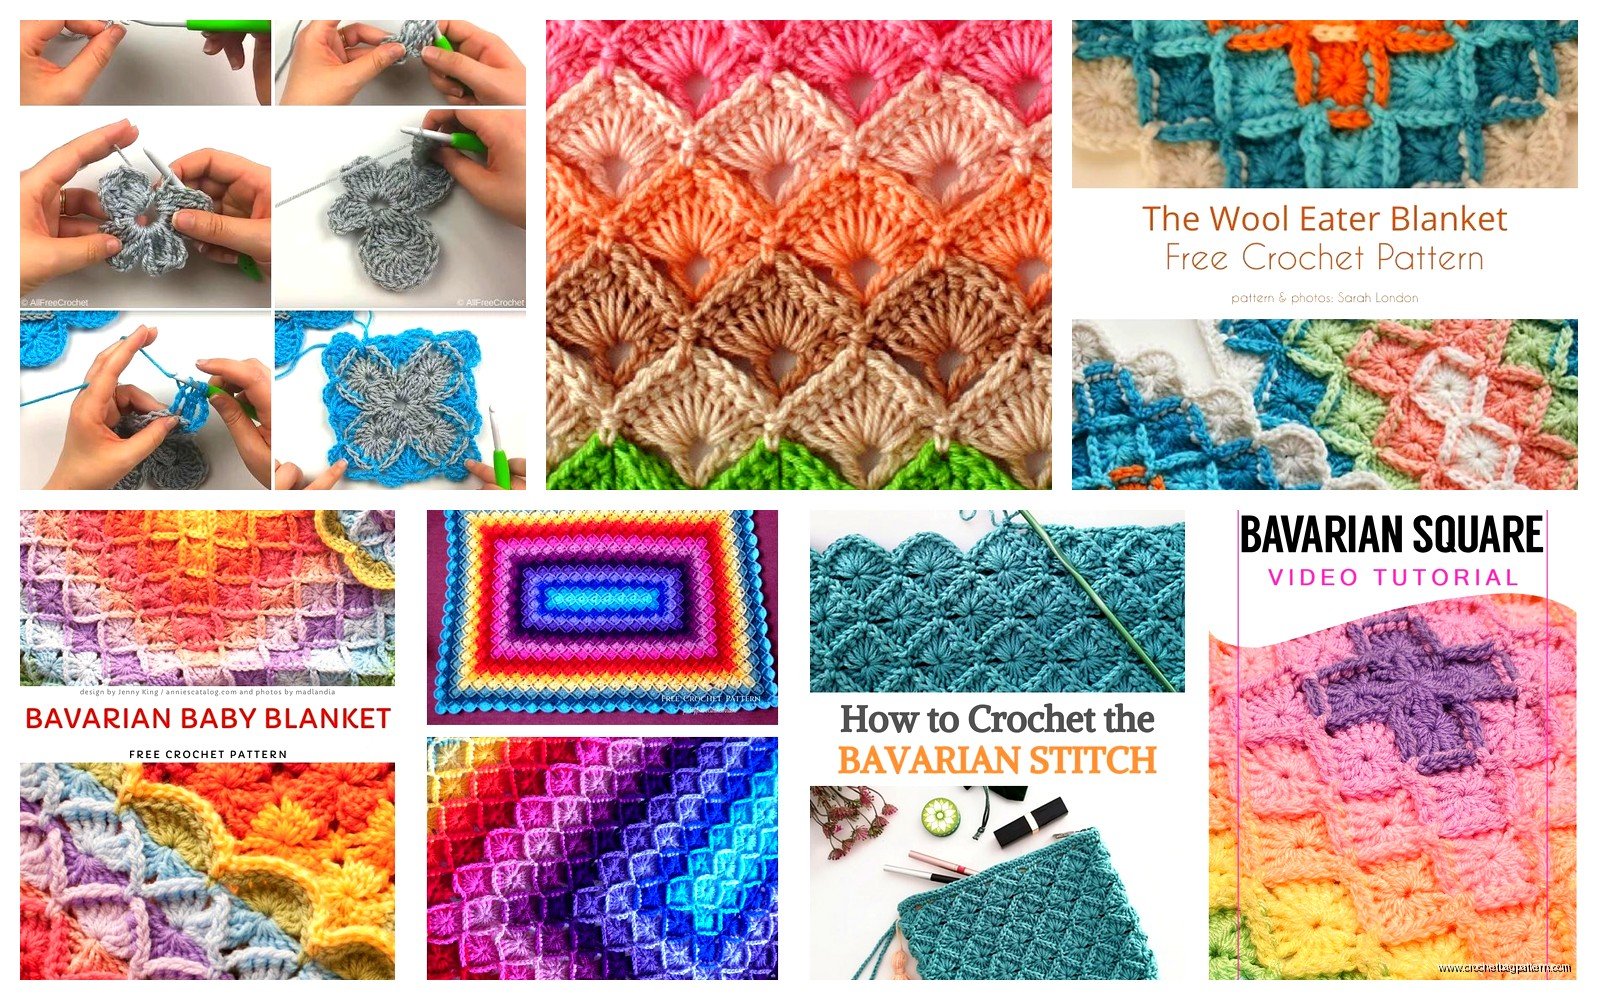
Chain 3 again (counts as dc). Now you’re making your first puff stitch cluster. To make a puff stitch you yarn over, insert hook into the same stitch, pull up a loop (you should have 3 loops on hook), yarn over again, insert into SAME stitch, pull up another loop (now 5 loops on hook), do this one more time so you have 7 loops on your hook. Then yarn over and pull through all 7 loops. Chain 1 to close it.
That’s one puff stitch. You’re gonna be doing a lot of these.
After your first puff stitch, chain 2, then dc in the next stitch from round 1. Then you make another puff stitch in that same stitch. This creates the corner. Chain 2, skip one stitch from round 1, then do (dc, puff stitch, dc) in the next stitch. Keep going around doing this pattern – you’ll have 4 corners total.
The thing that annoyed me SO MUCH about this pattern is keeping track of where your corners are supposed to be. I kept losing count and having to rip back because I’d end up with 5 corners or 3 corners and the square would get all wonky.
building the square outward
Round 3 and beyond is where you just keep repeating the same concept but adding more puff stitch clusters along the sides. My cat kept trying to attack the working yarn during this part which didn’t help with my concentration at all.
For round 3, slip stitch to the chain-2 corner space. Chain 3 (counts as dc), make a puff stitch in that same corner space, chain 2, then dc and another puff stitch in the same corner space. That’s your corner done.
Along the side, you’re working into the chain-2 spaces from the previous round. Chain 1, then do (dc, puff stitch, dc) into the next chain-2 space. Continue until you reach the next corner, then repeat the corner pattern.
the pattern breakdown
Corners: (dc, puff, ch 2, dc, puff) all in the corner space
Sides: (dc, puff, dc) in each chain space, with ch 1 between clusters
Every round you’ll add one more cluster along each side. So round 3 has 1 cluster per side, round 4 has 2 clusters per side, round 5 has 3 clusters, etc. You keep going until your square is whatever size you want.
yarn amounts and gauge
This stitch is a yarn hog. Like seriously it uses probably 30-40% more yarn than a regular granny square the same size because of all those puff stitches. I ran out of my Red Heart halfway through and had to switch to some Caron Simply Soft I had in a similar color and you could totally tell where I switched because the texture was slightly different even though both were worsted weight.
If you’re planning a blanket made of these squares, buy more yarn than you think you need. I’d say for a 6-inch square you need roughly 50-60 yards depending on how tight you crochet.
tension stuff
Your puff stitches need to be consistent or the square will cup or ruffle. When you’re pulling up those loops, try to make them all the same height. I tend to pull them up to about the height of a double crochet but some people go taller for really dramatic puffs.
If your square is cupping (edges curling up), your puff stitches are too tight. If it’s ruffling (edges waving around), they’re too loose or you’re accidentally adding stitches.
joining squares together
If you’re making multiple squares to join into a blanket or whatever, you can slip stitch them together or whip stitch them. I prefer slip stitching because it’s faster and I hate weaving in ends with a yarn needle, even though slip stitching creates a slightly raised seam.
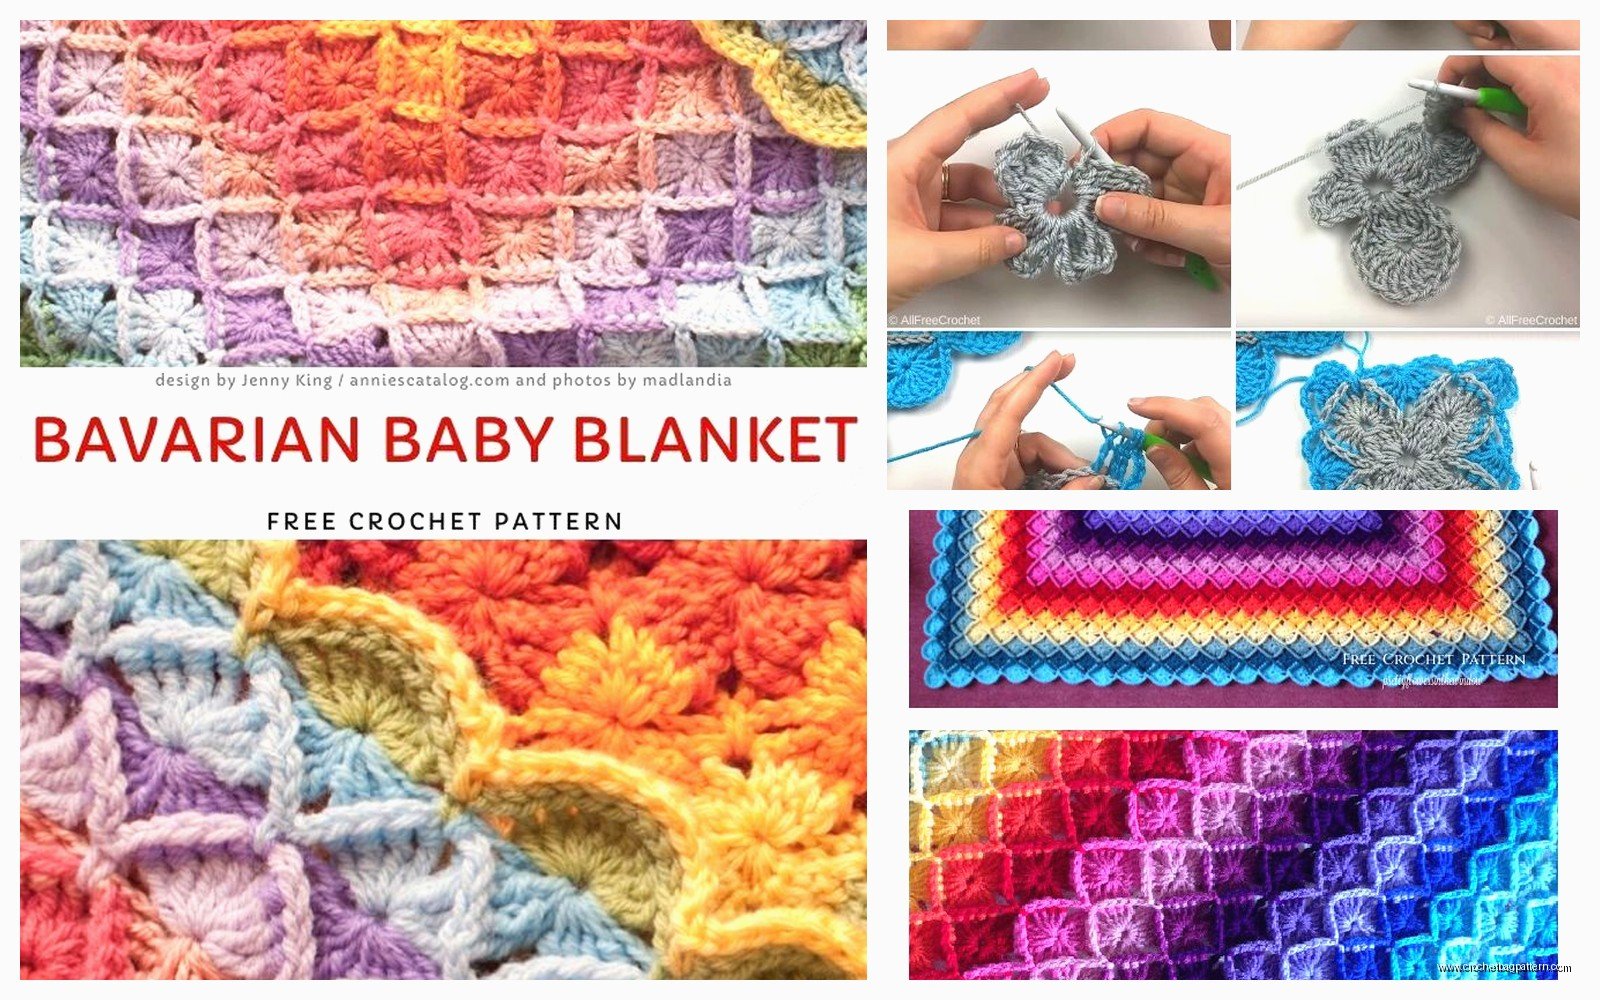
You can also do a join-as-you-go method where you connect squares during the last round but I’ve never bothered with that because I like to finish all my squares first and then lay them out to see the arrangement before committing to joining them.
color changes
This pattern looks really cool with color changes. You can do each round in a different color for a rainbow effect, or alternate rounds, or do corners in one color and sides in another. When I made mine in 2022 I was watching that show Severance and not really paying attention so I just stuck with one color because I knew I’d mess up color changes.
If you do change colors, change at the slip stitch join at the end of each round. Finish the slip stitch with the new color instead of the old color. You’ll have a million ends to weave in though which is why I usually don’t do it unless I’m feeling really motivated.
common problems
The biggest problem people have is their puff stitches being uneven. It takes practice to get them all the same size. Don’t stress about it too much on your first square, it’ll still look textured and interesting even if they’re not perfect.
Another issue is accidentally working into the wrong stitch. You should be working into chain spaces, not into the actual puff stitches from the previous round. The puff stitches are just there creating texture, you’re building the structure with the dc stitches and chain spaces.
If you lose count of your rounds, you can usually figure out where you are by counting the clusters along one side. Each side should have the same number of clusters, and that number should be one less than your current round number. So on round 5, each side has 4 clusters.
blocking these things
Because of all the texture, these squares benefit from blocking more than regular flat crochet. I just pin mine out on a blocking mat, spray with water, and let them dry. The puff stitches will relax a bit and the square will flatten out and look more even.
If you don’t block them and try to join them into a blanket, you might have trouble getting them to lie flat together because the texture makes them naturally kind of sculptural and three-dimensional.
variations on the basic pattern
Some people do smaller puff stitches with only 2 or 3 yarn overs instead of 3. This uses less yarn and creates a subtler texture but honestly then it doesn’t look as distinctively Bavarian anymore, it just looks like a textured square.
You can also substitute bobble stitches for puff stitches if you want an even puffier look. Bobbles are similar but you complete each dc almost all the way before starting the next one, whereas puff stitches you’re pulling up all the loops first. Bobbles stand out more dramatically but they’re also more of a pain to make.
There’s also a rectangular version where you just don’t increase evenly on all sides, you add more clusters on two opposite sides to make it longer. I haven’t tried that but I’ve seen pictures and it looks good for table runners or whatever.
what to actually make with these
Obviously blankets are the main thing. Baby blankets work great because the texture is interesting for babies to touch and the squares are quick to make so you don’t get bored before finishing.
I’ve seen people make pillows by doing two squares and sewing them together with stuffing inside. Potholders if you use cotton yarn. Coasters if you make tiny ones with thread or thin yarn.
You could probably make a bag by joining squares and adding handles but I feel like the texture would catch on everything and get messed up pretty quick.
the actual round-by-round if you want it written out
Round 1: Magic circle, ch 3, 15 dc in ring, join with sl st to top of ch 3 (16 dc)
Round 2: Ch 3, puff st in same st, ch 2, (dc, puff st, dc) in next st, *ch 2, skip 1 st, (dc, puff st, dc) in next st, ch 2, (dc, puff st, dc) in next st*, repeat around, join
Wait no that’s not quite right, let me think…
Actually for round 2 you’re making 4 corners and that’s it. So it’s: Ch 3, puff in same st, ch 2, dc and puff in same st (first corner made), *ch 2, skip 3 sts, (dc, puff, ch 2, dc, puff) in next st*, repeat 3 more times for the other corners, join.
Round 3: Sl st to corner ch-2 space, ch 3, puff, ch 2, dc and puff in same corner space, *ch 1, (dc, puff, dc) in next ch-2 space, ch 1, (dc, puff, ch 2, dc, puff) in corner space*, repeat around, join
Round 4 and beyond: Same as round 3 but you’ll have more (dc, puff, dc) clusters along the sides. Just keep adding one more cluster per side each round.
Honestly the written pattern is kind of confusing which is why I learned this by watching someone do it on YouTube first and then just winging it from memory. Once you get the concept of corners vs sides it’s pretty intuitive.
final random tips
Use stitch markers for your corners if you keep losing track. Just mark that corner chain-2 space at the beginning of each round and you’ll always know where you are.
Don’t pull your slip stitch joins too tight or your square will get warped.
If you’re gonna make a whole blanket of these, make all your squares first before joining any of them so you can measure and make sure they’re all the same size. My first few squares were bigger than my later ones because my tension got tighter as I got more comfortable with the pattern.
The puff stitches look more defined if you use a yarn with some loft to it. Acrylic works great. Cotton tends to make flatter puffs that don’t stand out as much but some people prefer that look.
You can make these squares any size but I think 6-8 inches works best for blankets. Smaller than that and they’re fiddly to join, bigger than that and they take forever to finish and you lose motivation.
