
Jun
Getting Started with the Body
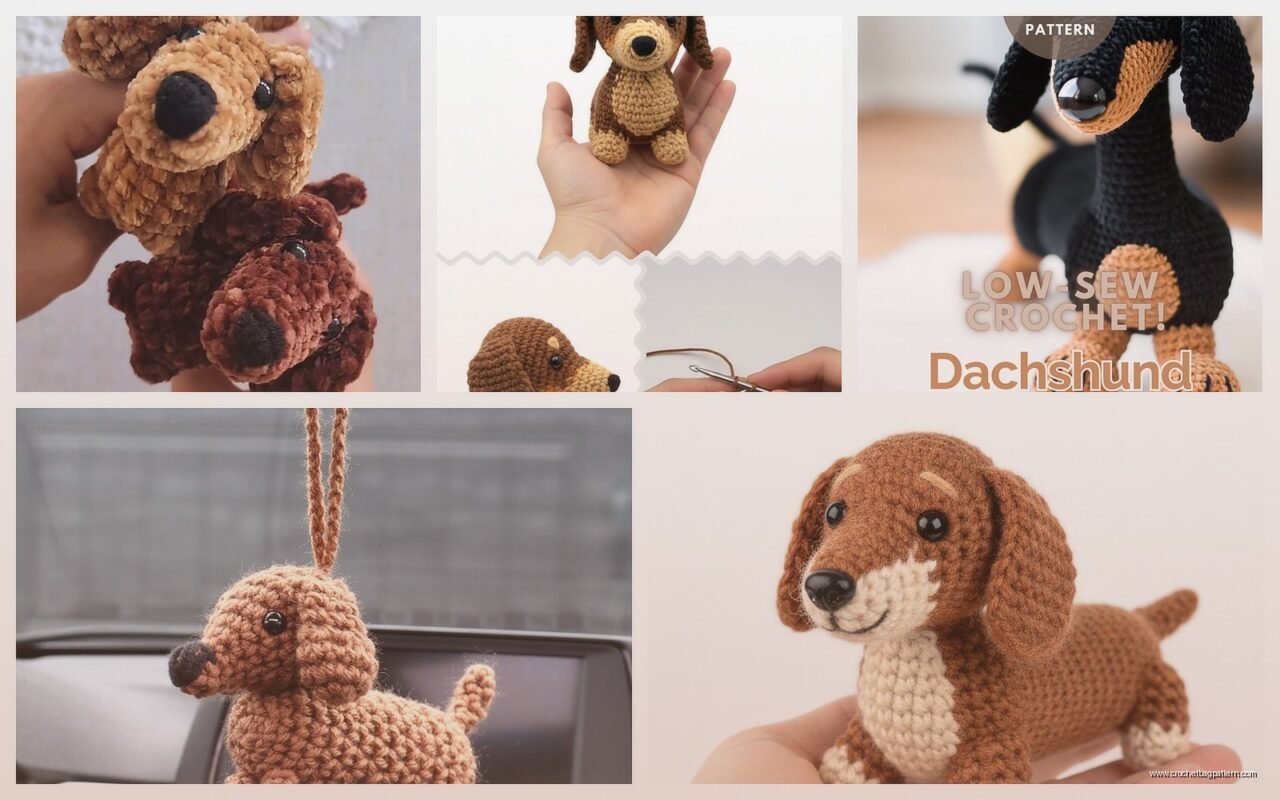
So the dachshund body is basically just a long tube and honestly that’s what makes it easier than some other amigurumi patterns. You start with a magic ring and work in continuous rounds – no joining, just spiral around and around. I made one of these back in spring 2022 when I was binge-watching all of Stranger Things season 4 and it was actually perfect because you don’t have to think too much once you get going.
For the body you’re gonna want to use a 3.5mm or 4mm hook depending on how tight you crochet. I used Red Heart Super Saver in Cafe Latte for the brown parts because it was like $3 and I had a coupon. Some people get all fancy with the Japanese yarn or whatever but honestly the cheap acrylic works fine for a stuffed dog.
Start with 6 single crochets in your magic ring. Then you increase every other round until you get to about 18 or 24 stitches around – depends how chunky you want your wiener dog. The body should be worked for like 30-40 rounds straight with no increases or decreases. That’s the annoying part actually, just going round and round and round for what feels like forever. I kept losing count and having to start over because I’d get distracted.
The Legs Are Weird
Okay so dachshund legs are stubby right? You make four little legs separately and they’re basically tiny tubes. Magic ring again, 6 sc, then maybe increase to 9 or 12 stitches for like 6-8 rounds. The front legs can be slightly longer than the back ones or you can make them all the same, doesn’t really matter that much.
What annoyed me SO MUCH was attaching the legs to the body in a way that looked natural. Like they’re supposed to stick out sideways but also angle down a bit? I ended up just sewing them on with a yarn needle and hoping for the best. Some patterns tell you to crochet them directly onto the body but that seemed more complicated and I was already committed to my method.
Stuff the legs before you attach them but not too firmly or they’ll be too stiff. You want them to have a little squish. I used polyfil stuffing from Walmart, the big bag that lasts forever.
Head and Snout Situation
The head is where it starts looking like an actual dachshund instead of just a brown blob. You make it similar to the body – start with a magic ring, increase up to maybe 24-30 stitches depending on how big you want the head compared to the body. Work straight for several rounds to create that elongated head shape.
Then here’s the thing about the snout – you can either make it as part of the head by doing some strategic decreasing, or make it separately and attach it. I did it separately because that seemed easier to control. Just a small cylinder, maybe 12 stitches around for 5-6 rounds. Stuff it lightly and sew it onto the front of the head.
My cat kept trying to steal the stuffing while I was working on this part, it was so annoying. She thought it was a toy for her I guess.
Ears Are Actually the Fun Part
Dachshund ears are long and floppy and honestly they’re what makes the whole thing recognizable as a dachshund. You can make them oval-shaped or more rounded, doesn’t matter much. I did mine by chaining like 8 or 10, then single crocheting around the chain in an oval shape, increasing at the ends to make it rounded.
Work maybe 3-4 rounds around the oval until they’re the right size. They should hang down past where the neck would be. Don’t stuff the ears – they need to be flat and floppy. Sew them on the sides of the head, positioned kind of far back, not right on top like some dogs.
You could use a slightly darker brown for the ears if you want that two-toned look some dachshunds have. I’ve seen people use Caron Simply Soft in Chocolate for this and it looks pretty good next to the lighter brown body.
Tail and Assembly
The tail is just a tiny cone basically. Start with 6 sc in a magic ring, work straight for a few rounds, maybe decrease slightly toward the end so it tapers. Don’t make it too long or it looks weird – dachshunds have medium-length tails, not those super long thin ones like some breeds have or… wait, I’m thinking of what breed has the really long tail? Whatever, you know what I mean.
For assembly you gotta think about proportions. The head attaches to one end of the body tube obviously. Position it so the snout points slightly downward for that classic dachshund look. The legs go underneath – front legs maybe a third of the way down the body from the head, back legs maybe two-thirds down. This gives you that long stretched-out wiener dog shape.
I used a tapestry needle and the same yarn color to sew everything together. Go through the body and the piece you’re attaching multiple times in different spots so it’s really secure. Nothing worse than a leg falling off your amigurumi.
Face Details
For the eyes you can use safety eyes – I used 8mm or 9mm black safety eyes and positioned them on either side of the head, above where the snout attaches. Some people embroider eyes with black yarn but I think safety eyes look better and they’re easier.
The nose is just a little triangle embroidered at the end of the snout with black yarn. You can also add a little mouth line if you want by embroidering a curved line down from the nose and then splitting it into a Y shape. Makes it look like the dog is smiling kind of.
Some patterns include a little tongue hanging out which is cute but optional. Just a small pink oval crocheted separately and sewn into the mouth area.
Yarn Choices and Color Variations
Red Heart Super Saver works fine like I said but if you want something softer, Bernat Blanket yarn makes a really cuddly version, though you’d need a bigger hook, like 6mm or bigger. The stitches are less defined so it looks more plush-toy-like instead of having that visible crochet texture.
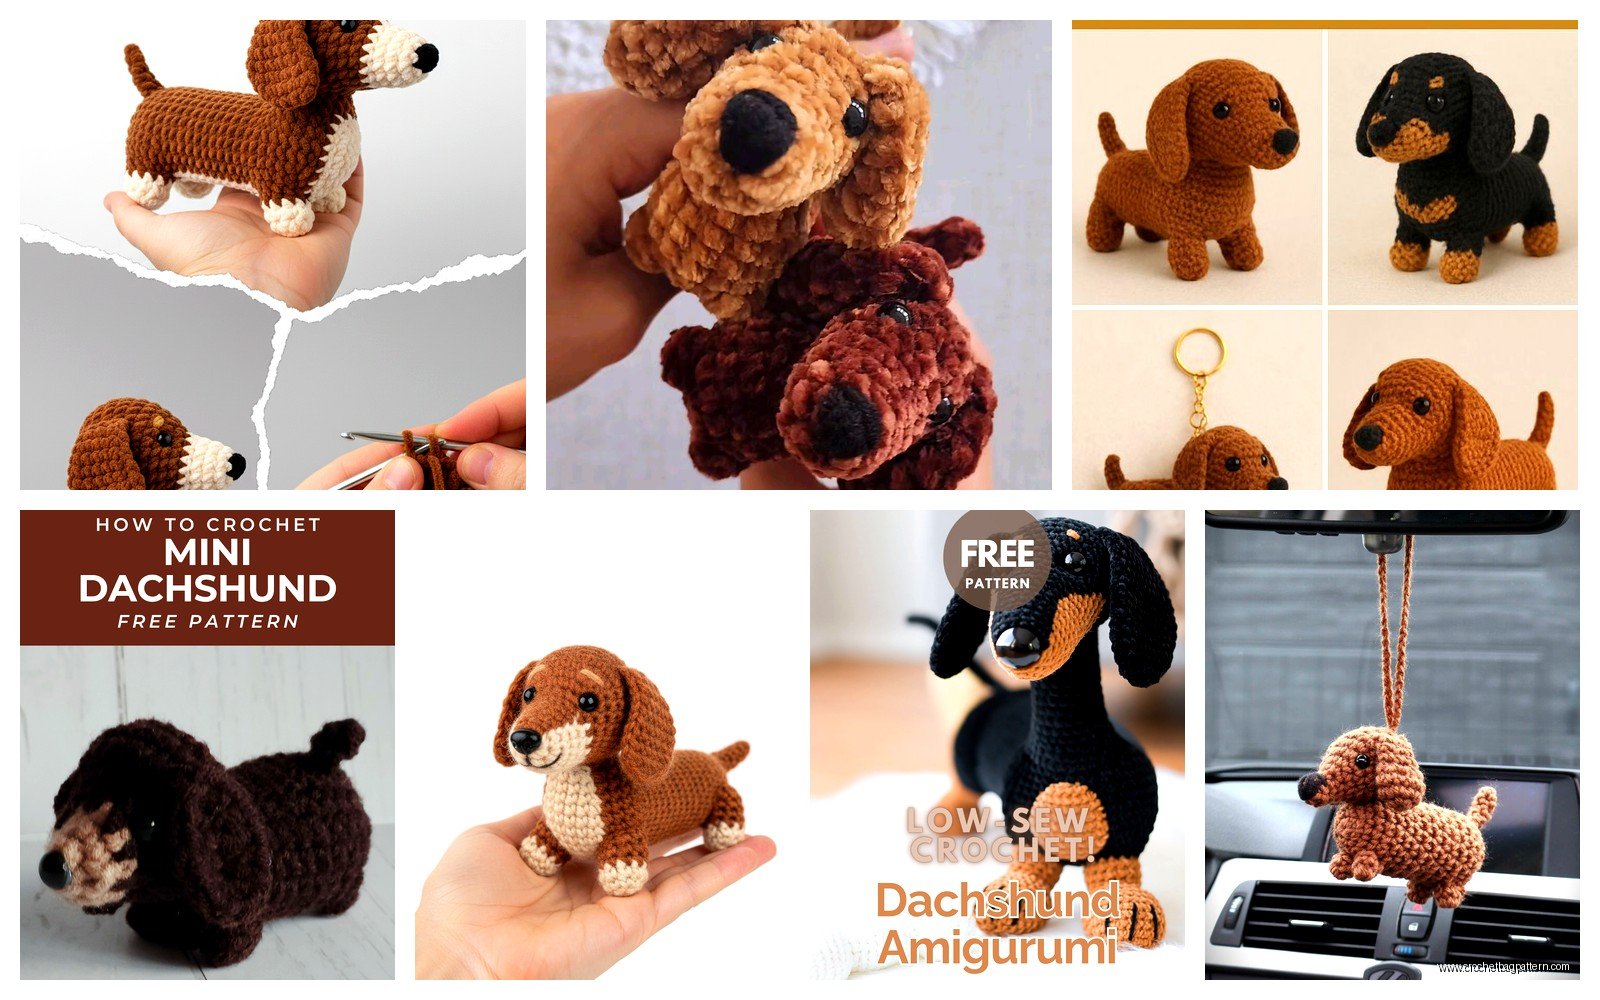
For a black and tan dachshund you could use black for the body and ears, then tan or beige for the snout, chest area, and little dots above the eyes. Lion Brand Vanna’s Choice has good colors for this – their Black and Honey are pretty accurate to actual dachshund coloring.
Wire-haired dachshunds are harder to replicate but you could try using a fuzzy or eyelash yarn for the body. I haven’t tried this myself but I’ve seen pictures and it looks pretty good if you can deal with working with fuzzy yarn, which is kind of a pain.
Size Considerations
The size of your finished dachshund depends on your hook size and yarn weight. With worsted weight yarn and a 4mm hook, you’ll get a dog that’s maybe 8-10 inches long. If you want something tiny for a keychain, use thread and a 1.5mm hook, but that’s gonna take forever and your eyes will hurt.
For a big floor pillow type thing, use bulky yarn or hold two strands together with a 6mm or bigger hook. I haven’t done this but it seems like it would work in theory.
Common Problems
The body tube twisting while you work – this happens because you’re working in a spiral. Just untwist it occasionally and it’ll be fine once it’s stuffed.
Running out of yarn halfway through – always buy more than you think you need. A standard dachshund in worsted weight probably takes about 200-300 yards total, maybe more if you’re making a big one.
Legs pointing the wrong direction – this is just trial and error when you’re sewing them on. Position them before you sew completely and see how it looks. The front legs should angle slightly forward, back legs slightly back.
Lumpy stuffing – you gotta pull apart the polyfil into small pieces before stuffing it in. Don’t just shove big clumps in there or you’ll see all the lumps through the stitches.
Optional Accessories
You can make a little collar by chaining a length that fits around the neck and doing one round of single crochet. Add a tiny buckle charm or just sew the ends together. I’ve seen people make little sweaters too which is cute but seems like a lot of extra work.
A leash is just a long chain with single crochet worked back along it. You could attach a lobster clasp to make it actually clip onto the collar.
Some people make little hot dog bun pillows for their crochet dachshunds which is hilarious honestly. Just two tan ovals sewn together partway with the dog nestled inside.
Pattern Variations
You can make a sitting dachshund instead of a lying-down one by positioning the back legs differently and making them slightly longer. The body would angle upward instead of being horizontal.
Puppy versions just use fewer rounds for everything so it’s proportionally smaller and rounder. Bigger eyes help with the puppy look too.
Long-haired dachshunds need longer fur around the ears and tail – you could add fringe by pulling loops through the stitches and cutting them, or by using a fuzzy yarn for those specific parts.
I’ve seen people make dachshunds in weird colors like purple or rainbow striped which isn’t realistic but looks fun if that’s your thing.
Finishing Touches
Weave in all your ends really well – there’s gonna be a lot of them from starting and stopping different pieces. I use a tapestry needle and weave them through the inside of the piece back and forth a few times, then trim close to the work.
If you want to get fancy you can brush out the yarn slightly with a pet brush to give it a softer, fluffier look. This works better with wool or cotton yarn than acrylic.
Some people add a little white patch on the chest with embroidery or by crocheting a small white piece and sewing it on. Just depends how detailed you wanna get.
The whole project takes maybe 4-6 hours if you’re working steadily, longer if you’re watching TV and getting distracted like I usually am. It’s a good mindless project once you get the pattern down and you’re just working those endless body rounds.
