
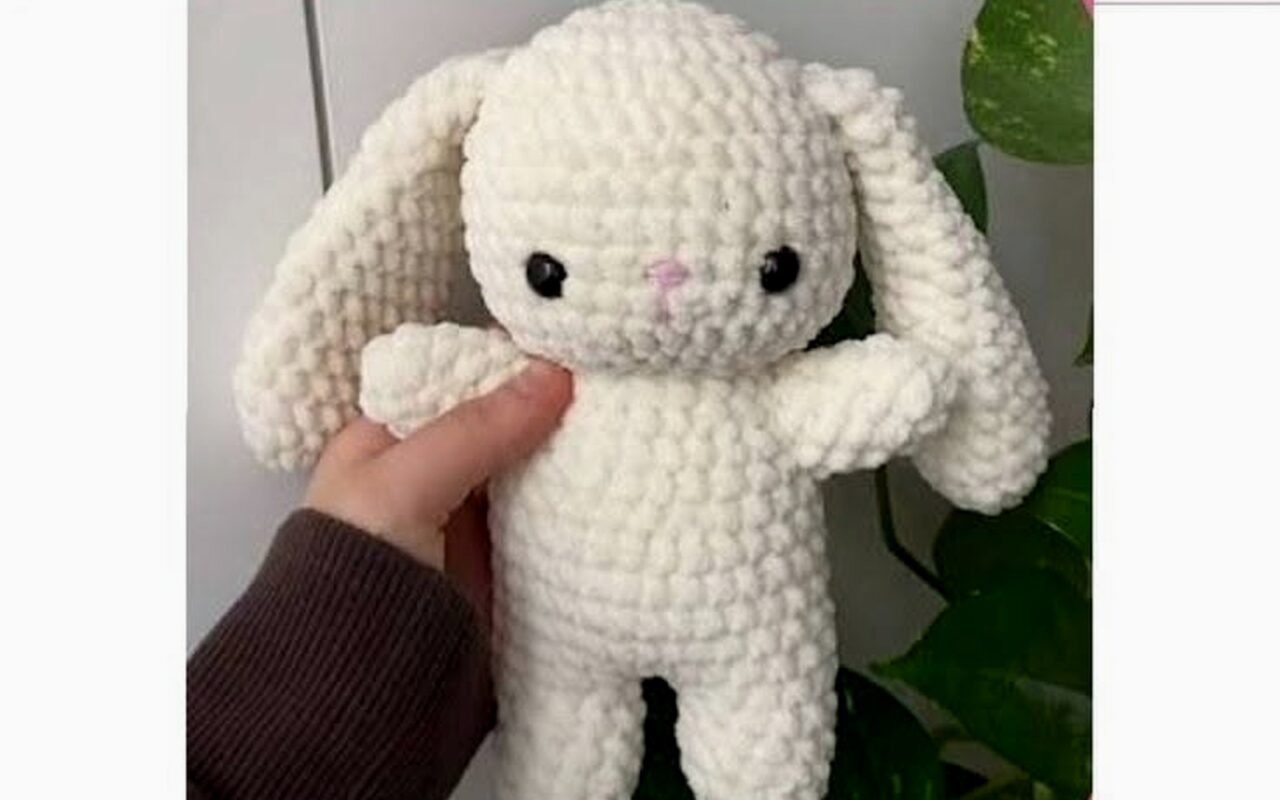
Jun
okay so bunny patterns are actually way easier than they look
I made my first bunny back in spring 2022 when I was stuck at home with a cold and honestly it turned out kinda lopsided but whatever, the basic idea is you’re making like 6 or 7 separate pieces and then sewing them together. The body is just an oval basically, the head is a sphere, ears are long flat pieces, arms and legs are little tubes, and then there’s the tail which is literally just a pompom.
So you’re gonna need some yarn first obviously. I used Hobby Lobby’s I Love This Yarn in like cream or off-white for that first one, then later I tried Red Heart Super Saver which was fine but a bit stiff? The Hobby Lobby stuff was actually softer for a bunny. You want worsted weight yarn usually, not the super chunky stuff or the thread-thin stuff. And get a crochet hook that matches—like a 4mm or 5mm depending on how tight you crochet.
the magic ring situation
Most bunny patterns start with a magic ring which I know sounds fancy but it’s just a way to start crocheting in the round without having a hole in the middle. You wrap the yarn around your fingers twice, pull through, chain one, then work your first round of single crochets into that ring. Then you pull the tail tight and boom, no hole. Took me like fifteen tries to figure this out the first time because YouTube videos kept showing it from weird angles.
For the head you usually start with 6 single crochets in the magic ring. Then each round you increase—so round 2 is 12 stitches (you do 2 sc in each stitch), round 3 is 18 stitches (sc, inc repeated), round 4 is 24 stitches (sc, sc, inc repeated). You keep going til you hit like 42 or 48 stitches depending on how big you want the head.
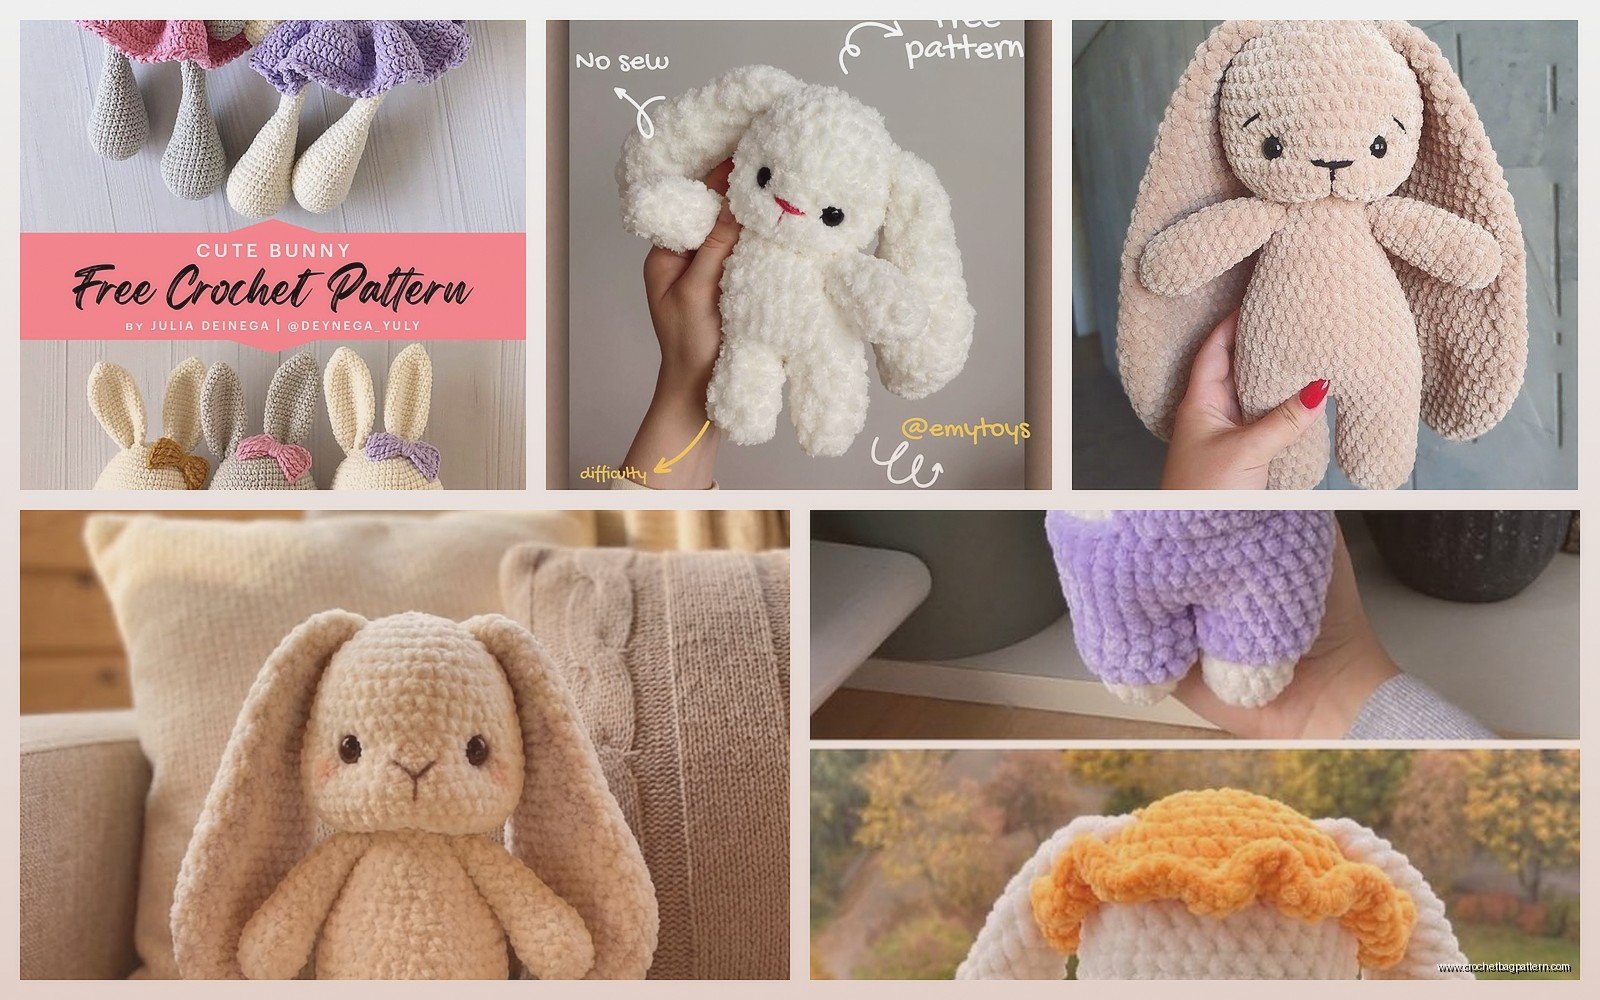
the body part
The body is similar but you make it more oval shaped. Start the same way with a magic ring and increases, get it up to maybe 36 or 42 stitches, then work straight rounds without increasing for a while to make it taller. Then you decrease at the bottom the same way you increased at the top—instead of putting 2 stitches in one, you put 2 stitches together (invisible decrease is better, you go through the front loops only of two stitches then yarn over and pull through).
One thing that really annoyed me was stuffing these things because you gotta stuff them WHILE you’re still crocheting the decreases, and the opening gets smaller and smaller, and you’re trying to shove polyfil in there with like a chopstick or whatever and it just… ugh. Get the polyfil stuffing, not the beads or whatever. I tried cotton stuffing once thinking it’d be more natural or something but it got lumpy.
ears are weird
Bunny ears are flat usually, not stuffed. You can make them floppy or standing up. For floppy ears you just crochet a long oval shape—start with a chain of like 12 or 15, then single crochet around the chain in a spiral basically. You’ll do increases at the ends to curve around. Work back and forth or in rounds depending on the pattern.
For standing ears you might need to put wire in them? I never bothered with that honestly. Just made floppy-eared bunnies every time.
The ears get sewn onto the head later. You want them kinda on the sides/top, not straight up like horns unless you’re going for a weird look. Pin them first before sewing to see how they look.
arms and legs and the annoying part
Arms and legs are basically the same—little tubes. Start with magic ring, maybe 6 stitches, increase to 9 or 12 for the paw/foot part, then work straight for the length. Some patterns have you decrease a bit where the “wrist” or “ankle” would be to make it look more realistic but honestly you can skip that.
I made a bunny in summer 2024 for my neighbor’s kid and I tried to do the feet with like three toes each which was so fiddly and unnecessary. Just make simple feet. Nobody cares.
You stuff the legs lightly—don’t pack them super tight or they’ll stick out weird. Arms barely need stuffing at all, maybe just at the paw end.
assembly is where it gets real
Okay so now you have all these pieces and you gotta sew them together. Use the same color yarn as your bunny and a yarn needle. Start with attaching the head to the body—I usually sew around the neck area in a circle, going through both pieces. Make sure the head is centered and not tilted unless you want a quirky bunny I guess.
Then position the arms on the sides of the body. You can sew them straight down at the sides or angle them forward like the bunny’s reaching for something. I sewed them on the sides for my first one and it looked like it was permanently shrugging which was actually kinda cute.
Legs go on the bottom front of the body. If you’re making a sitting bunny, position them so the feet face forward. If it’s gonna stand, attach them underneath pointing down. Pin everything first seriously, because once you sew it on it’s annoying to redo.
the face is gonna make or break it
This is the part where your bunny either looks adorable or haunted. For eyes you can use safety eyes (the plastic ones with the washer backs—you poke them through and snap the washer on the inside before you close up the head), or you can embroider eyes with black yarn, or use buttons if it’s not for a baby.
Safety eyes are easier honestly. Get like 9mm or 12mm ones. Position them first by just poking them through to see where they look good—usually between rounds 12 and 15 of the head, with like 6 or 7 stitches between them. Once you’re happy, push them all the way through and snap on the washers.
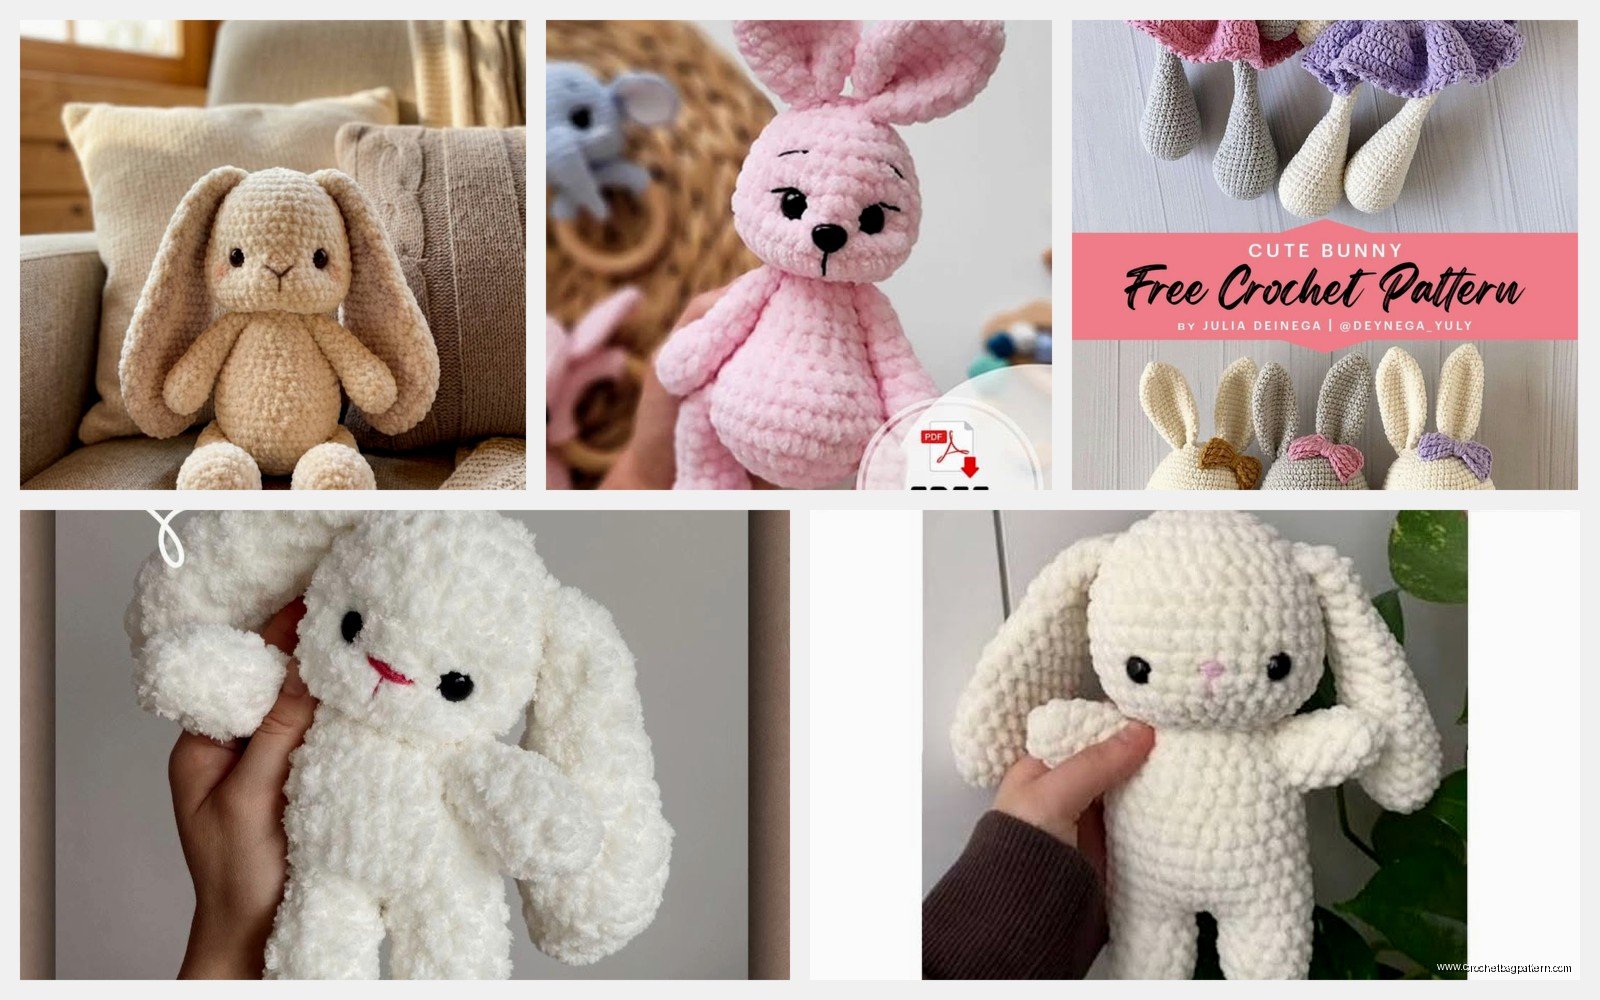
For the nose, use pink or black yarn and embroider a little triangle or Y-shape between and below the eyes. Then you can add a mouth line going down and curving up on the sides for a smile. My cat knocked my first bunny off the table while I was doing this and I had to redo the nose twice.
the tail is the easiest part thank god
Just make a pompom. Wrap yarn around your fingers like 50 times, tie it tight in the middle, cut the loops, trim it into a ball shape. Sew it onto the back of the body at the bottom. Done.
Some people make crocheted tails by doing like a magic ring with a bunch of increases to make a little ball but the pompom is faster and looks fluffier.
actual pattern numbers if you want them
Okay so here’s roughly what I do, this is for a bunny that ends up like 8 or 9 inches tall:
Head:
- Rnd 1: 6 sc in magic ring
- Rnd 2: inc in each st (12)
- Rnd 3: (sc, inc) repeat (18)
- Rnd 4: (2 sc, inc) repeat (24)
- Rnd 5: (3 sc, inc) repeat (30)
- Rnd 6: (4 sc, inc) repeat (36)
- Rnd 7: (5 sc, inc) repeat (42)
- Rnds 8-14: sc in each st (42)
- Rnd 15: (5 sc, dec) repeat (36)
- Rnd 16: (4 sc, dec) repeat (30)
- Add eyes and nose here before closing
- Rnd 17: (3 sc, dec) repeat (24)
- Stuff firmly
- Rnd 18: (2 sc, dec) repeat (18)
- Rnd 19: (sc, dec) repeat (12)
- Rnd 20: dec around (6)
- Close up and weave in end
Body:
- Rnds 1-6: Same as head up to 36 stitches
- Rnds 7-14: sc in each st (36)
- Rnd 15: (4 sc, dec) repeat (30)
- Rnd 16: (3 sc, dec) repeat (24)
- Stuff
- Rnd 17: (2 sc, dec) repeat (18)
- Rnd 18: (sc, dec) repeat (12)
- Close up
Ears (make 2):
- Chain 12
- Starting in 2nd ch from hook, sc 10, 3 sc in last ch
- Working on other side of chain, sc 10, inc in last st
- Continue around in spiral, working sc in each st for like 3 more rounds
- Fasten off, leave long tail for sewing
Arms (make 2):
- Rnd 1: 6 sc in magic ring
- Rnd 2: inc in each (12)
- Rnds 3-8: sc in each st (12)
- Stuff lightly, fasten off
Legs (make 2):
- Rnd 1: 6 sc in magic ring
- Rnd 2: inc in each (12)
- Rnds 3-10: sc in each st (12)
- Stuff lightly, fasten off
yarn choices matter more than you’d think
I tried making a bunny with Lion Brand Homespun once because I thought the fuzzy texture would be cute but oh my god you cannot see your stitches AT ALL with that yarn. Terrible idea. Stick with smooth yarn. Red Heart Super Saver works fine, it’s cheap and comes in every color. Hobby Lobby’s I Love This Yarn is softer. Bernat Premium is nice too if you wanna spend a bit more.
For a really soft bunny, try Bernat Blanket yarn with a bigger hook (like 6mm or 7mm) but then you gotta adjust all the numbers because your stitches will be bigger. I did this once and just… winged it? Added more rounds, fewer stitches per round, whatever looked right.
colors and variations
White or cream is classic bunny but you can obviously do any color. I made a gray one that looked pretty good. Pink is cute. I saw someone online do a black one with a white tail which was cool. You could do stripes or color blocking too—like different color ears or feet.
For a more realistic bunny you could use two colors and do the belly/face in a lighter color but that means more weaving in ends and I’m usually too lazy for that.
troubleshooting stuff that goes wrong
If your bunny is leaning or wonky, it’s probably the stuffing. Either not enough or too much or unevenly distributed. You can actually open up a seam and adjust the stuffing after the fact if you need to.
If the head is too heavy and flops forward, you didn’t attach it securely enough. Sew around the neck area like twice to reinforce it.
If the limbs are floppy and won’t stay in position… well, they’re gonna be floppy unless you wire them or use joint pieces which is a whole other thing. I just accept floppy limbs honestly.
Gaps between stitches happen if you’re crocheting too loosely. Try going down a hook size or just pulling your stitches tighter. You don’t want to see the stuffing through the gaps.
how long does this take
Depends how fast you crochet and if you’re watching TV or whatever. I can make all the pieces in like 3-4 hours if I’m focused. Assembly and face take another hour or so. So maybe 5 hours total? Could be more if you’re new to amigurumi or less if you’re quick.
I was watching that baking show—the British one, you know which—while making the summer 2024 bunny and I kept messing up my stitch count because I’d get distracted. Had to redo one leg because I somehow ended up with 15 stitches instead of 12 and didn’t notice until it was way too big.
random tips I learned the hard way
Count your stitches every round especially in the beginning. Use a stitch marker (or just a piece of different color yarn) to mark the start of each round so you know where you are.
Weave in ends as you go instead of leaving them all til the end. Future you will thank present you.
If you’re giving this to a kid, make sure those safety eyes are REALLY snapped on tight. Pull on them to test. Or just embroider eyes to be safe.
Don’t make the ears too long or they’ll be annoying. Like I made one bunny with ears that were probably 8 inches each and they just flopped everywhere and got in the way. Keep them proportional.
You can add other details if you want—like a little crocheted flower to put on the ear, or a ribbon bow around the neck, or a little vest or dress. But the basic bunny is cute enough on its own.
what if I don’t wanna follow a pattern exactly
Then don’t? Once you understand the basic structure—sphere for head, oval for body, tubes for limbs—you can just make it up as you go. Need a bigger bunny? Do more increase rounds and more straight rounds. Want a fatter bunny? Increase to more stitches. Want a thinner bunny? Stop increasing earlier.
The nice thing about amigurumi is it’s pretty forgiving. Like nobody’s gonna measure your bunny and tell you it’s wrong. If it looks like a bunny, it’s a bunny.
I’ve made probably like eight or nine bunnies at this point and they all look slightly different and that’s fine. Some have longer ears, some have bigger heads, whatever. They’re all cute in their own weird way.
Just start with the head, see how it goes, and keep making pieces til you have enough to assemble a bunny. Worst case scenario you end up with a lumpy bunny and you learn what not to do next time. Best case you make something adorable and people ask you to make them one too which is flattering but also now you gotta make more bunnies.
