
May
okay so cat amigurumi patterns are honestly pretty straightforward once you get the basic shape down but like there’s def some stuff that’ll trip you up if you’re not paying attention
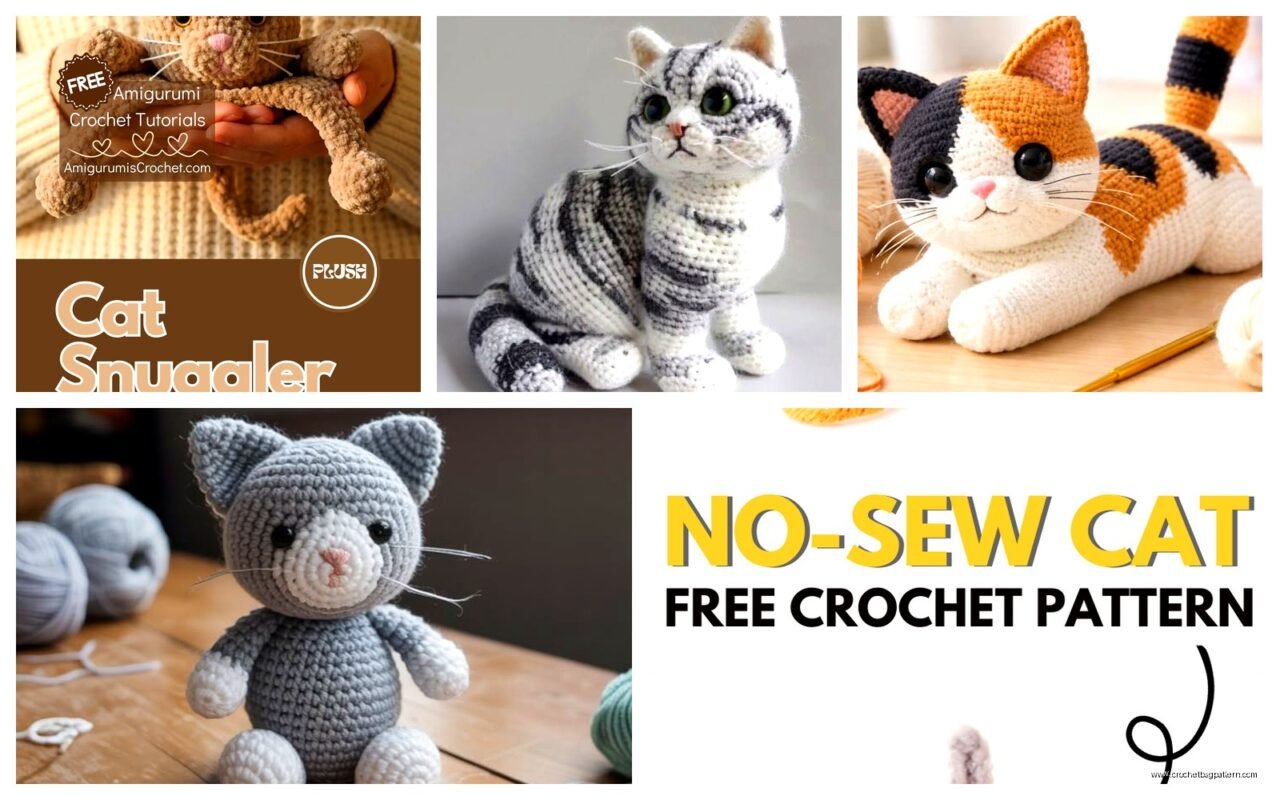
I made this grey tabby cat back in spring 2022 and honestly I was just sitting on my couch binge-watching some cooking competition show I can’t even remember which one and decided I wanted to make something that actually looked like a cat instead of those weird blob creatures that sometimes happen with amigurumi. The thing that drove me absolutely insane was the ears because they’re small and fiddly and you gotta sew them on at the exact right angle or your cat looks like a bat or something
Basic Shape Structure
So most cat patterns work with the same basic components right? You’ve got the head, body, legs (four of them obviously), tail, ears, and sometimes a muzzle piece if you want it to look more realistic. The body is usually just an oval or egg shape and you can make it in one piece with the head or separate them depending on what look you’re going for
I typically start with the head because it’s the most important part and if the head looks wrong the whole thing looks off. You start with a magic ring which yeah I know some people hate magic rings but honestly just learn it because it makes everything look so much cleaner than starting with chain 2 and working into the first chain
For a basic head you’re gonna do something like:
- Round 1: 6 sc in magic ring
- Round 2: inc in each st (12)
- Round 3: sc, inc around (18)
- Round 4: 2 sc, inc around (24)
- Keep increasing until you get to like 36-42 stitches depending how big you want it
Then you work even for several rounds to build up the height of the head before you start decreasing. The decreasing part is basically the same pattern in reverse
Yarn Choices That Actually Matter
I’ve used a bunch of different yarns for these and honestly it makes a bigger difference than you’d think. That grey cat I made in 2022 I used Hobby Lobby’s I Love This Yarn in like charcoal or something and it worked fine but it was a little splitty which was annoying when you’re trying to crochet tight stitches for amigurumi
Red Heart Super Saver is cheap and works but it’s kinda stiff so your cats end up feeling less cuddly and more like… structured? If that makes sense. But the color range is huge so if you want a specific cat color you can probably find it
Bernat Blanket yarn is way too thick for detailed amigurumi but I’ve seen people make chunky cats with it that turn out cute in a different way. You’d need like a 6mm or bigger hook though
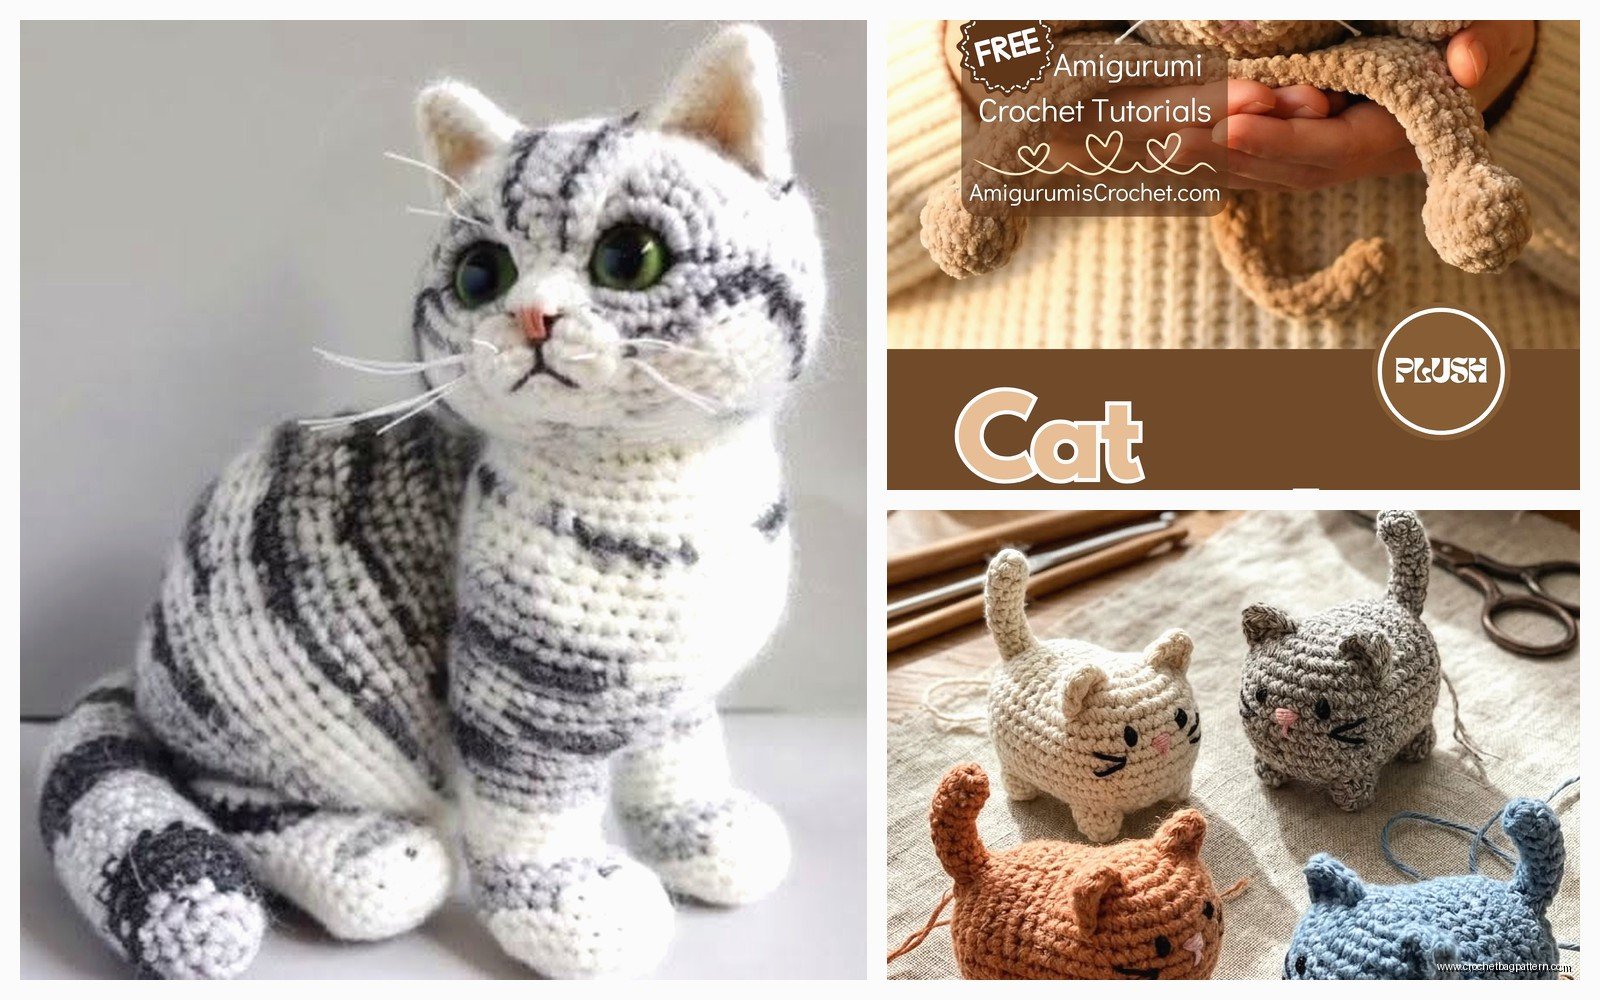
My favorite is probably Lion Brand Pound of Love or Caron Simply Soft because they’re soft enough to feel nice but still have good stitch definition so you can actually see what you’re doing. Simply Soft comes in this really good orange-ginger color if you’re making a tabby cat
The Legs and Stability Issues
okay so here’s where it gets annoying – cat legs are skinny and if you stuff them too much they look like sausages but if you don’t stuff them enough the cat can’t stand up properly. I usually do legs that are like 12 stitches around max and I stuff them pretty firmly at the paw end but then lighter as I go up
Some patterns have you make the legs and body all in one piece by making four legs and then joining them together and continuing up into the body. This actually works pretty well for stability but the joining round is always weird and you have to pay attention to where you’re putting your stitches or you’ll end up with gaps
The other option is making four separate legs and sewing them on which gives you more control over positioning but also like… sewing on four legs takes forever and my dog kept trying to steal the legs while I was working because she thought they were toys
Ears Are The Worst Part
I mentioned this already but seriously the ears are so fiddly. Cat ears are triangular and pointed and small and you usually make them flat not stuffed. The pattern is usually something like starting with a chain of 4 or 5 and then working in rows that decrease at the edges to form a triangle
But then positioning them is a whole thing because cat ears don’t sit on top of the head like bear ears they’re more to the sides and angled out slightly and if you get it wrong your cat looks derpy. Which honestly sometimes derpy is fine if that’s the vibe you’re going for but if you’re trying to make it look like an actual cat you gotta be careful
I pin them in place with regular pins before I sew them and take a photo to see how it looks because sometimes what looks good in your hands looks weird in a photo and that helps you catch it before you’ve committed
Face Details and Safety Eyes
Most patterns use safety eyes which you install before you finish stuffing the head because they have a washer that goes on the inside and you can’t get it in there once the head is closed up. I usually use 9mm or 10mm eyes for a cat that’s about 8-10 inches tall
The placement is crucial and here’s what I learned the hard way – cat eyes should be pretty far apart and slightly angled not straight forward like human eyes. I put them about 6-8 stitches apart depending on the head size and like 2-3 rounds down from where I started decreasing for the top of the head
For the nose you can embroider it with black or pink yarn or use a little triangle of felt. I usually just embroider because I’m too lazy to cut felt and also my embroidery is messy anyway so it doesn’t really matter if it’s perfect. The nose goes centered between the eyes and then you can add a little mouth line going down and then out to the sides in a Y shape
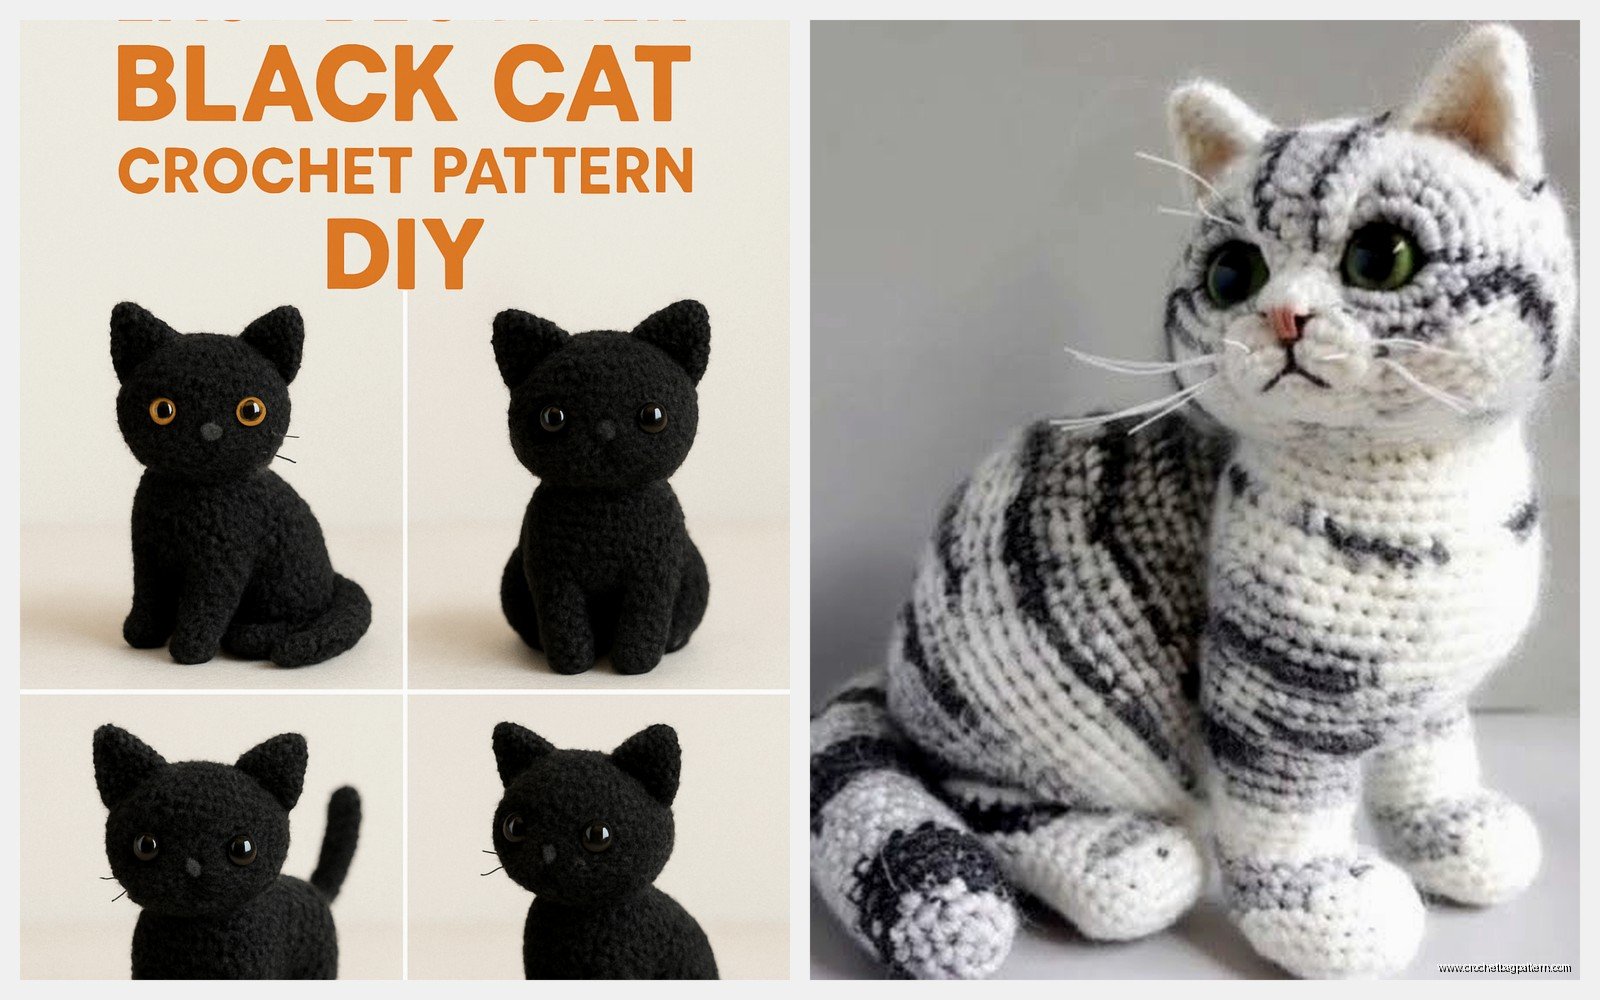
Some people add a whole separate muzzle piece that’s like a little white oval you sew onto the face but I think that only looks good on certain styles of cats not all of them
Tail Proportions
Tails are easier than legs because they can be whatever length you want and they don’t have to support weight. I usually make them about the same length as the body or slightly longer. You start with the same number of stitches as the legs maybe like 10-14 stitches around and you can either keep it the same width all the way or taper it slightly at the tip
Stuff it lightly not firm because a floppy tail looks more natural than a stiff one. You can even leave the last inch or two unstuffed so it really flops at the end
The tail positioning matters too – it should attach pretty low on the back of the body not up high on the back. Like if the cat is sitting the tail should come out from basically where the butt would be not from the middle of the back
Stripe Patterns for Tabbies
If you want to make a tabby cat with stripes you have a couple options. You can carry yarn and switch colors every few stitches but this is tedious and you end up with a lot of ends to weave in which I hate doing. Or you can make the whole cat in one color and embroider stripes on after with a yarn needle which is what I usually do because I’m gonna be honest I’m not patient enough for color changes in amigurumi
For embroidered stripes just use a darker shade of whatever your base color is and make little horizontal lines across the head and down the back. They don’t have to be perfect because real cat stripes aren’t perfectly symmetrical anyway
Stuffing Distribution
This is something I didn’t think about much when I first started but it actually makes a big difference in how the finished cat looks and feels. You want the head stuffed pretty firmly so it holds its shape and the features don’t sink in. The body can be a bit softer but still firm enough that it doesn’t collapse
I use polyfil stuffing usually just whatever brand is cheapest at the craft store because I honestly can’t tell the difference between brands. Some people use wool roving or fabric scraps but polyfil is easier to work with and you can really pack it in there or keep it light depending on what you need
The annoying thing about stuffing is getting it even throughout the piece because it wants to clump up and you have to keep pushing it around with like a chopstick or the end of your crochet hook to get it into all the corners especially in the legs
Sitting vs Standing Poses
You can position your cat sitting or standing and this affects how you construct it. For a sitting cat the back legs are bent and positioned under the body and the front legs are straight. You might want to make the back legs slightly bigger than the front legs for this
For a standing cat all four legs are the same and straight and honestly this is harder to get stable because the cat wants to tip over unless you position the legs just right. I usually do sitting cats because they’re easier and also cuter in my opinion
You can also do a lying down cat where the legs are barely there just little bumps on the sides of the body and the cat is basically a loaf shape. This is actually the easiest version if you’re just starting out because there’s less assembly required
Assembly Order That Makes Sense
okay so when you’ve got all your pieces made you gotta put them together and there’s definitely an order that makes this easier. I do:
- Attach the head to the body first (if they’re separate pieces)
- Add the legs – back legs first then front legs
- Attach the tail
- Sew on the ears
- Add any other details like a collar or bow or whatever
The reason for this order is that you want the major structural pieces attached before you do the fiddly detail stuff because you’ll be handling the cat a lot during assembly and you don’t want to accidentally mess up ears that you already sewed on perfectly
I use the same yarn I crocheted with for sewing pieces together because then the seams blend in better. Use a yarn needle and whip stitch or ladder stitch around the edges of each piece. Ladder stitch is more invisible but whip stitch is faster and honestly once you’ve got the piece positioned nobody is looking that closely at your seams
Common Problems and Fixes
The head being too heavy and making the cat fall forward – this happens if you made the head way bigger than the body or if you didn’t stuff the body firmly enough. You can fix it by adding more stuffing to the body or repositioning the legs further forward to balance it better
Wonky decreases making the top of the head lumpy – this happens when you’re not placing your decreases evenly around. Make sure you’re staggering them in each round not putting them all in the same spot. If it’s already done you can kind of massage the stuffing around to make it less obvious or just accept that handmade things have character
Ears falling forward or backward instead of staying upright – use more stitches when you’re sewing them on like really anchor them down and maybe put a couple stitches through the base of the ear into the head not just around the edges
Pattern Sources
You can find free cat amigurumi patterns all over the internet on sites like Ravelry or blogs or Pinterest. Some are better written than others though so like read through the whole thing before you start to make sure it makes sense
Paid patterns are usually more detailed and have better photos or video tutorials included. I’ve bought a few from Etsy and they’re usually like $3-7 which isn’t bad if you’re gonna make multiple cats and want really clear instructions
You can also kind of improvise once you understand the basic structure like I don’t follow patterns exactly anymore I just know that I need X number of increases to get to the right head size and then I work even for however many rounds looks right and then decrease back down
Hooks and Tension
For amigurumi you want to use a smaller hook than you’d normally use for that yarn weight because you need tight stitches so the stuffing doesn’t show through. If you’re using worsted weight yarn (which is what most patterns call for) you probably want a 3.5mm or 4mm hook even though the yarn label might say to use 5mm
Your tension matters a lot because if you crochet loosely you’ll have gaps and if you crochet too tightly your hands will hurt and the fabric will be stiff. I tend to crochet pretty tightly naturally so I sometimes go up a half size in the hook to compensate
The other thing is keeping your tension consistent throughout the project because if you crochet tighter on some parts and looser on others it’ll show in the finished piece. This is hard when you’re working on something over multiple days or when you’re tired vs when you’re fresh
Making It Look Like A Specific Cat
If you’re trying to replicate someone’s actual pet cat the main things are getting the color right and the markings. Take good photos of the cat from multiple angles so you can see where the white patches are or how the stripes go or whatever
For color matching bring your phone with a photo to the yarn store because yarn colors look different in different lighting and you want to match it as close as possible. You might need to use multiple colors like a white belly with a grey back or whatever
You can also add details like a collar which is just a chain that you wrap around the neck and sew the ends together maybe add a little bell charm. Or if the cat has long fur you can brush out the yarn with a wire brush to make it fuzzy though this works better with acrylic yarn than cotton
I tried making one that looked like my neighbor’s calico cat once and honestly calico is hard because the patches are so random. I ended up just doing rough color blocks in orange black and white and it looked okay but not exactly like the real cat because getting those irregular patches to look natural is like… way harder than stripes
anyway that’s most of what I’ve figured out about making crochet cats – the main thing is just starting and making one even if it’s not perfect because you learn so much more from actually doing it than from reading about it and your second one will be way better than your first one
