
Mar
Getting Started With Bulky Yarn Beanies
So last February I was sitting there watching this terrible reality show about people flipping houses and I decided I needed a chunky hat because mine from Target was falling apart. The thing about bulky yarn hats is they work up SO fast compared to regular weight yarn, like you can finish one in maybe two hours if you’re not constantly getting distracted by your phone or whatever.
I grabbed this Lion Brand Wool-Ease Thick & Quick in like a grey color because it was on sale at Michaels and honestly that yarn is pretty reliable for beginners. You can also use Bernat Blanket yarn which is SUPER chunky but sometimes it splits when you’re working with it which is annoying. Cascade Ecological Wool is nice if you want something less acrylic-y but it’s pricier and you gotta be okay with the scratchy factor.
What Hook Size You Actually Need
Most bulky yarn patterns will tell you to use like a 9mm or 10mm hook. I usually go with a 9mm (N hook in US sizing) because I crochet pretty loose naturally and if you go too big the stitches get all wonky and you can see through them. But honestly just check the yarn label because it’ll tell you the recommended hook size and then you can adjust from there based on how tight or loose you work.
One thing that really annoyed me about making these hats is that bulky yarn shows EVERY mistake. Like if you miss a stitch or your tension is off even slightly, it’s super obvious because the stitches are so big. With thin yarn you can kind of hide little errors but not with this stuff.
Basic Pattern Structure
Most chunky beanies follow the same basic construction. You’re either working in the round from the top down, or you’re making a flat rectangle and seaming it, or you’re doing bottom-up in rounds. I prefer bottom-up because it’s easier to try on as you go and you don’t have to do math about head circumference or…
Okay so here’s what I do: Chain about 40-44 stitches depending on how stretchy your yarn is and how big the person’s head is. Join with a slip stitch to make a circle, being careful not to twist the chain. Then you just work half double crochet in the round for like 7-8 inches until it looks hat-shaped. That’s literally it for the most basic version.

The Foundation Round
When you’re starting that first round after your foundation chain, make sure you’re not pulling too tight because bulky yarn doesn’t have as much give as thinner yarn. I usually chain 2 at the beginning of each round (doesn’t count as a stitch) and then work a half double crochet in each chain around. When you get back to the beginning, slip stitch to the first hdc, not to the chain-2.
You can use single crochet instead if you want a tighter fabric but honestly hdc works up faster and has nice drape. Double crochet gets too loose and floppy for a hat in my opinion.
Working The Body
Just keep going around and around. I don’t use a stitch marker because with bulky yarn it’s pretty easy to see where your rounds start and end, but if you’re the type who loses track easily then yeah throw one in there. My cat kept trying to steal my stitch markers anyway so I gave up on them.
For a standard adult beanie you want about 7 inches of height total, maybe 8 if you want it slouchy. For a fitted beanie that sits right on your head, stop at 6.5 inches. Kids hats are obviously shorter, like 5-6 inches depending on age.
The annoying thing is that different bulky yarns have different amounts of stretch so sometimes you think you’ve made enough rounds and then you try it on and it’s either too short or too long. I usually try it on every inch or so just to check.
Stitch Patterns You Can Use
Basic half double crochet works fine but if you want texture you can try:
- Front post and back post stitches for ribbing – this looks really professional
- Puff stitches but honestly these eat up SO much yarn
- V-stitch which is just dc, chain 1, dc in the same stitch
- Moss stitch alternating sc and chains
I made one with the front post/back post ribbing pattern in spring 2022 using some Red Heart Grande yarn and it actually turned out really nice. The ribbing makes it stretchy so it fits more head sizes. You just alternate front post hdc and back post hdc around, which sounds complicated but once you get the hang of it it’s pretty mindless.
Finishing The Top
So you’ve worked your tube of fabric and now you need to close the top. Some people decrease gradually like you would with a normal weight yarn but honestly with bulky yarn I find that makes a weird pointy top. What I do is just cut the yarn leaving like a 20 inch tail, thread it through a yarn needle, and weave it through the last round of stitches.
Pull it tight to cinch the top closed. Then weave the end through a few stitches on the inside to secure it and trim. Done. Takes like two minutes.
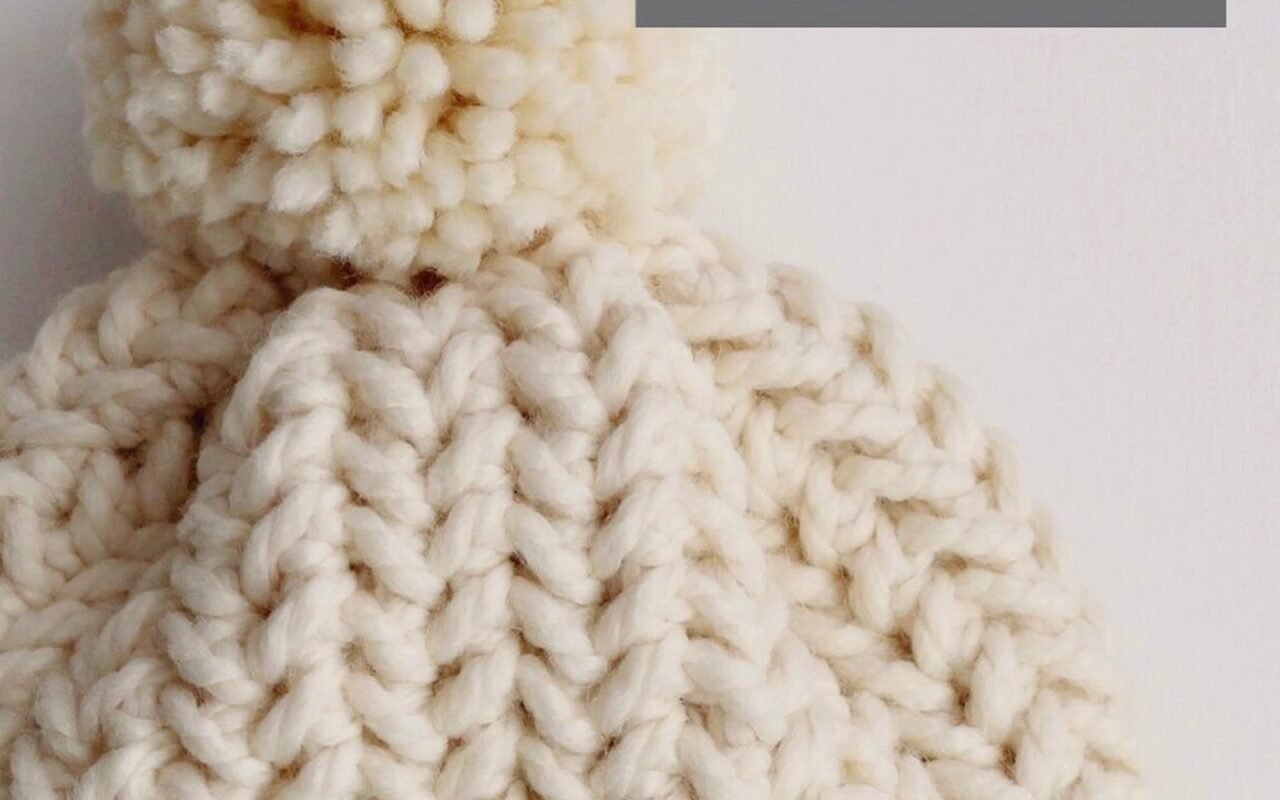
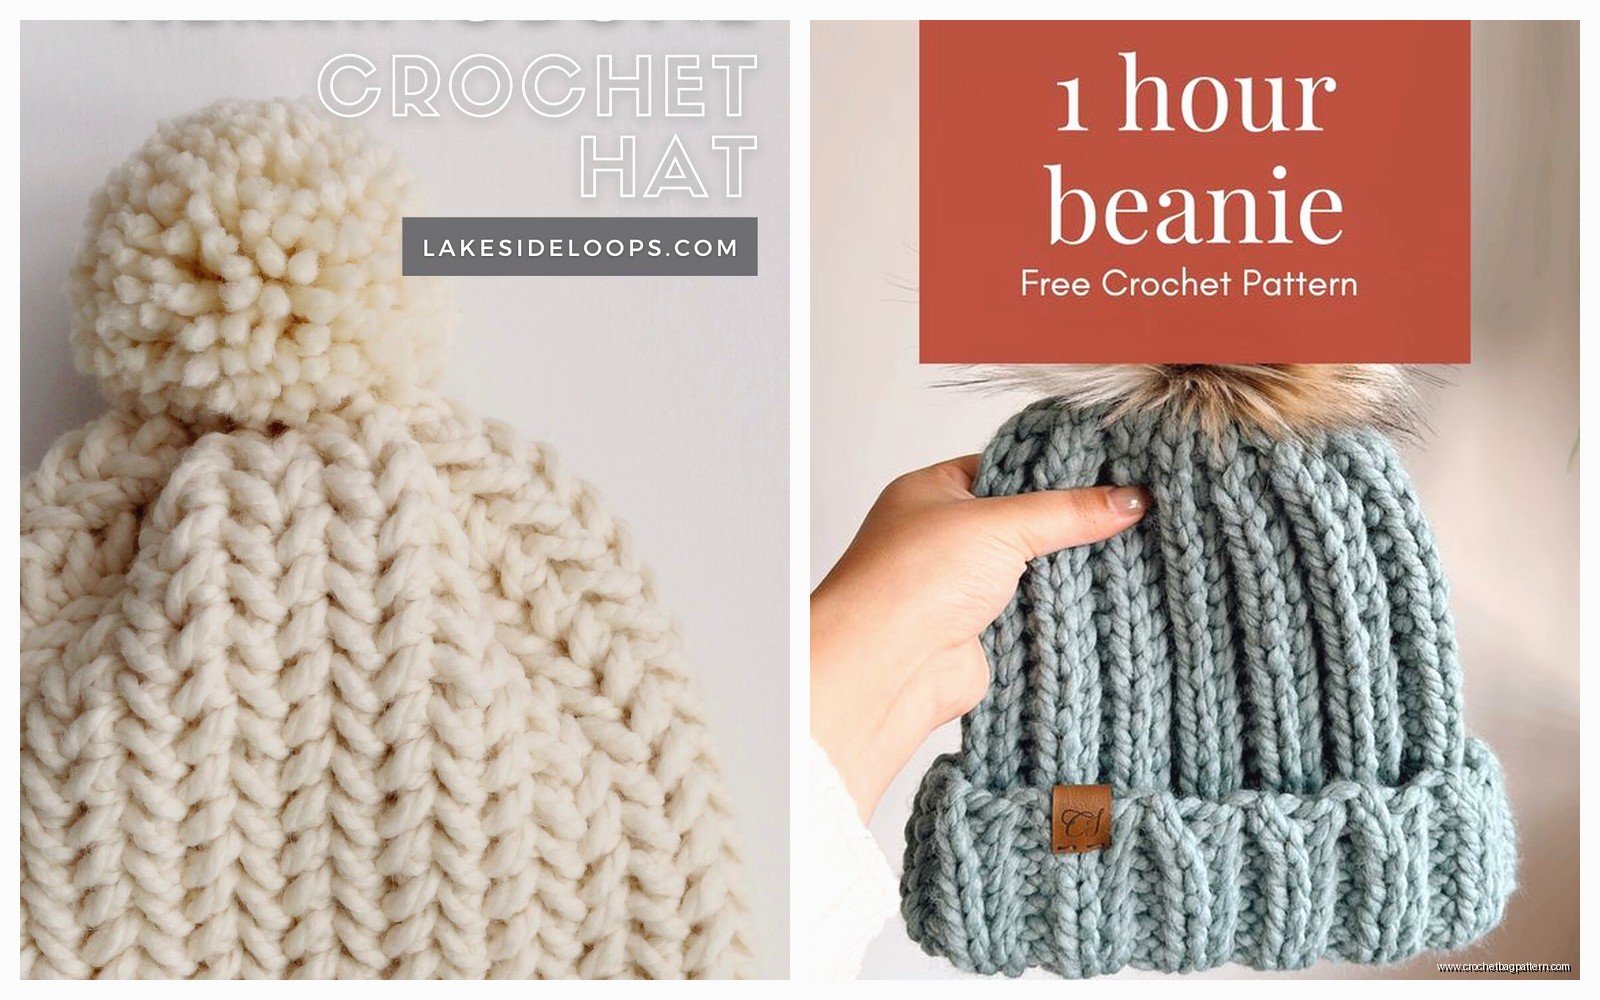
If you WANT a pom pom you can make one or buy one of those faux fur ones from the craft store. I made one with a pom pom using Lion Brand Hometown USA in February 2024 and the pom pom kept flopping over because it was too heavy for the bulky yarn fabric. So maybe go with a smaller lighter pom pom or skip it entirely.
The Brim Situation
You can add a folded brim by just working a few extra inches at the beginning and folding it up. I usually do this by working 2-3 inches in ribbing (the front post back post thing) and then switching to regular hdc for the body. The ribbing part folds up naturally and looks more finished.
Or you can do a rolled brim by working in single crochet for the first inch – it’ll want to roll up on its own. Or no brim at all, just start with hdc and call it good.
Yarn Amounts And Colors
One skein of bulky yarn is usually enough for an adult hat. Lion Brand Thick & Quick comes in like 106 yard skeins and that’s plenty. Bernat Blanket is 220 yards per skein so you could probably make two hats from one skein if you don’t mess up.
I tried making one with this fancy hand-dyed bulky yarn I got at a local yarn shop last summer and it was gorgeous but it cost like $28 for one skein which seemed excessive for a hat. But it was really soft merino wool and didn’t have that acrylic squeaky feeling.
Color-wise, neutral colors are easier to wear obviously but I made a bright turquoise one that I actually wear a lot. Variegated yarns can look cool or really chaotic depending on the color changes – I used Red Heart Soft Essentials in some purple variegated color and it was okay but the pooling was weird.
Tension Problems
The thing that annoyed me most when I was making my first chunky hat was keeping even tension. Because the yarn is so thick, if you pull one stitch tighter than the others it’s SUPER noticeable. And your hand gets tired faster because you’re working with a big hook and thick yarn.
I had to take breaks every 20 minutes or so because my hand would cramp up. Also bulky yarn is heavier so after a while your project gets heavy and awkward to hold.
If your tension is all over the place, just practice with cheaper yarn first. Hobby Lobby’s I Love This Yarn in bulky weight is like $5 a skein and it’s fine for practicing. Not the softest but whatever.
Sizing For Different People
Adult average head is about 22-23 inches around. So if you chain 44 stitches with bulky yarn and your gauge is about 2 stitches per inch, that’s 22 inches which should fit most adults. But everyone’s gauge is different so you gotta measure.
For kids maybe 18-20 inches around depending on age. Babies are like 14-16 inches. I made one for my friend’s baby last year and had to remake it because I made it too big – baby heads are smaller than you think.
The nice thing about hats is they’re stretchy so you have some wiggle room. If you’re off by an inch or two it’ll probably still fit fine.
Yarn Substitutions
If a pattern calls for a specific bulky yarn you can usually substitute any other bulky weight yarn. Just check the weight category on the label – bulky is category 5, super bulky is category 6. You can use super bulky but you might need fewer stitches in your foundation chain.
I’ve used Wool-Ease Thick & Quick, Bernat Blanket, Hometown USA, Loops & Threads Cozy Wool (from Michaels), and some random brand from Walmart that I can’t remember the name of. They all worked fine. The acrylic ones are easier to care for because you can just throw them in the washing machine, the wool ones are warmer but need hand washing usually.
Common Mistakes
Making the hat too short is probably the most common thing. You think it looks long enough but then you try it on and it barely covers your ears. Just keep going until it looks almost too long, the yarn will compress a bit when you wear it.
Another thing is accidentally adding or losing stitches as you go around. With thin yarn this isn’t as obvious but with bulky yarn your hat will start getting wider or narrower and look weird. Count your stitches every few rounds if you’re prone to this.
Also not weaving in ends properly. Bulky yarn ends are THICK so you really gotta secure them well or they’ll work loose. I weave them through like 4-5 stitches in different directions before cutting.
Making It More Interesting
If you’re bored of basic beanies you can add stuff. Buttons on the side, embroidery, stripes in different colors. I made one with two colors of Bernat Blanket alternating every two rows and it looked cool but changing colors that often was kinda tedious.
You can also make ear flaps by working back and forth in rows on each side after you finish the main hat body. Or add a brim that flips up. There’s patterns online for messy bun hats where you leave a hole at the top for a ponytail, those work with bulky yarn too.
Animal ears are cute for kids hats – just make little triangles and sew them on top. I haven’t tried this myself but I’ve seen patterns for it.
When Bulky Yarn Doesn’t Work
Sometimes bulky yarn is just not the right choice. If you want a really fitted hat or something with intricate colorwork, thinner yarn is better. Bulky yarn hats are always gonna be a little chunky and slouchy looking.
Also if you live somewhere really warm you probably don’t need a bulky yarn hat. They’re WARM. Like I made one in July just because I was bored and then realized I wouldn’t wear it until November at the earliest.
And some people just don’t like the look of big chunky stitches. That’s fine, you can make the same hat pattern with worsted weight yarn and a smaller hook, it’ll just take longer.
Washing And Care
Acrylic bulky yarn you can machine wash on gentle and tumble dry low. It might get a little fuzzy but it’ll be fine. Wool needs to be hand washed in cool water or it’ll felt and shrink. I learned this the hard way with a hat I made – threw it in the washer and it came out doll-sized.
If your hat gets stretched out you can wet it and reshape it and let it dry flat. Sometimes hats get loose after wearing them a bunch because the yarn relaxes.
Store them flat or hanging up, don’t fold them or they’ll get crease marks that are hard to get out with bulky yarn.
Time And Cost Breakdown
A basic chunky beanie takes me about 2 hours start to finish if I’m not watching TV or getting distracted. Could probably do it in 90 minutes if you’re focused. That’s way faster than a regular yarn hat which might take 4-5 hours.
Cost-wise, one skein of bulky yarn is usually $5-8 on sale, maybe $10-12 regular price. So these are cheap projects. Good for making gifts or trying new patterns without investing a ton of money or time.
If you mess up you can just frog it and start over, you’re only out like an hour of work instead of a whole weekend.