
May
okay so the diamond stitch
basically I learned this one summer 2022 when I was stuck inside because my cat had just had surgery and I needed to keep her from jumping around too much. spent like three weeks on the couch with her and figured I’d actually try something beyond basic scarves for once.
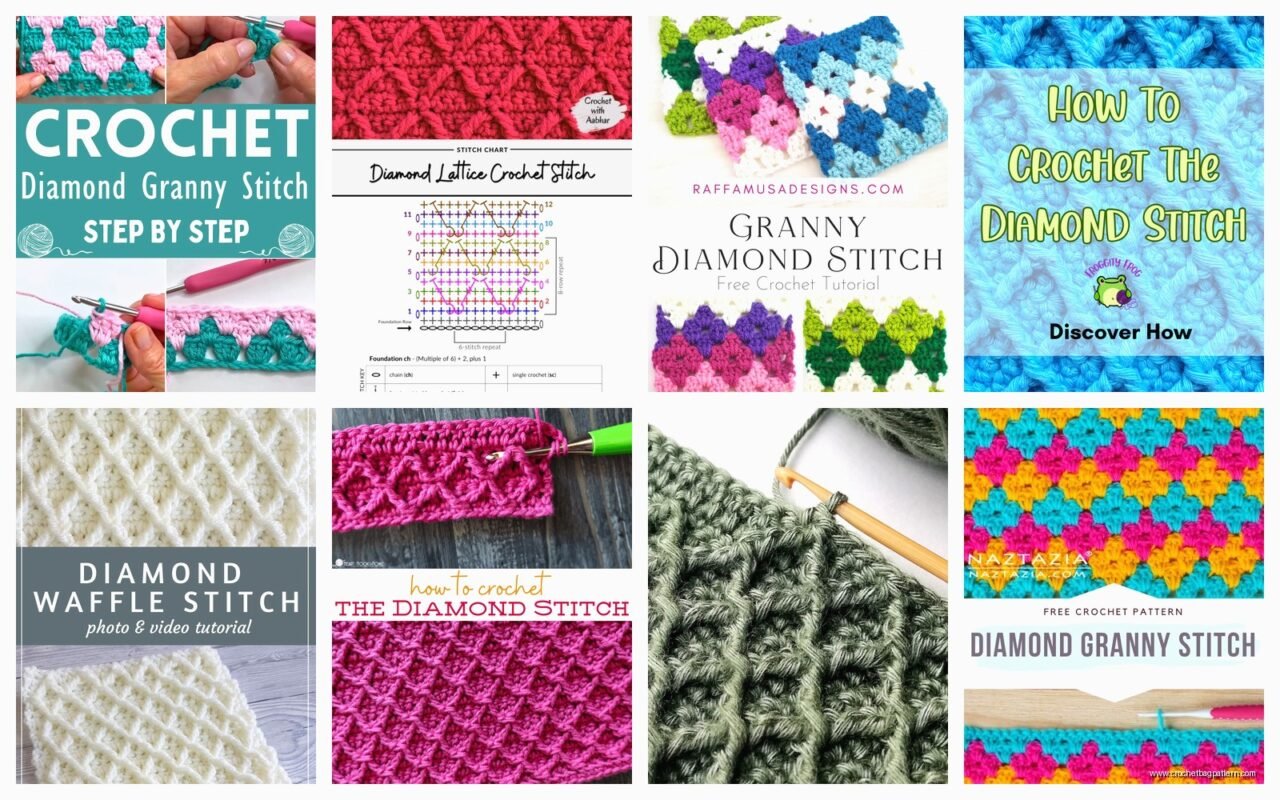
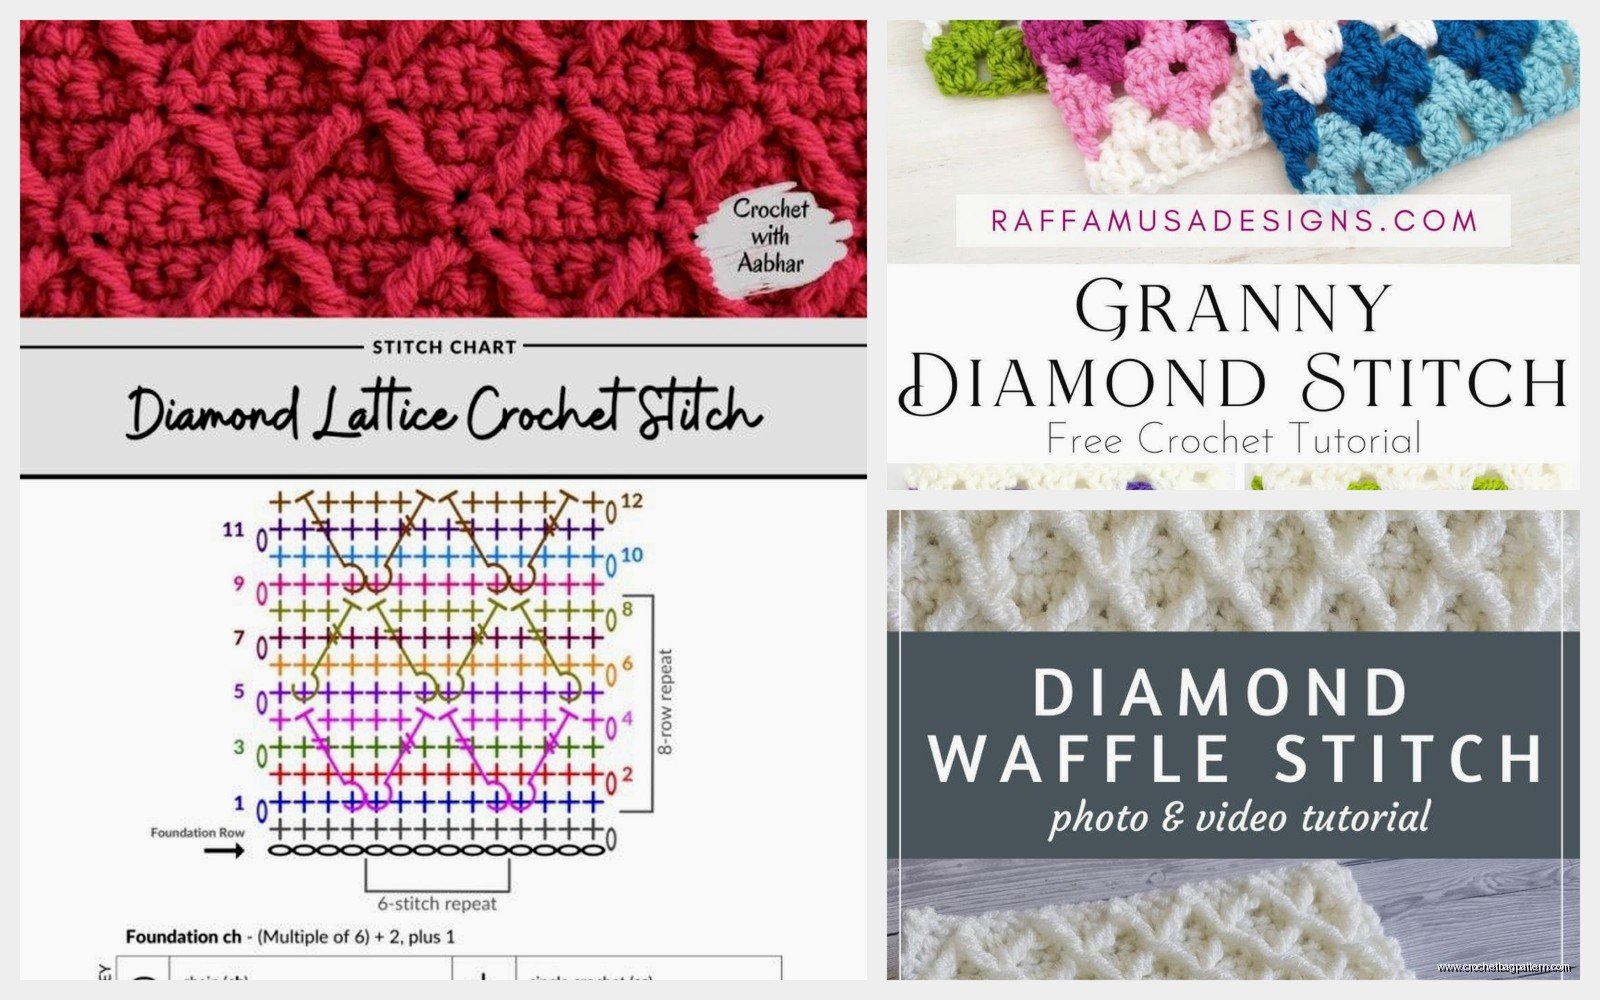
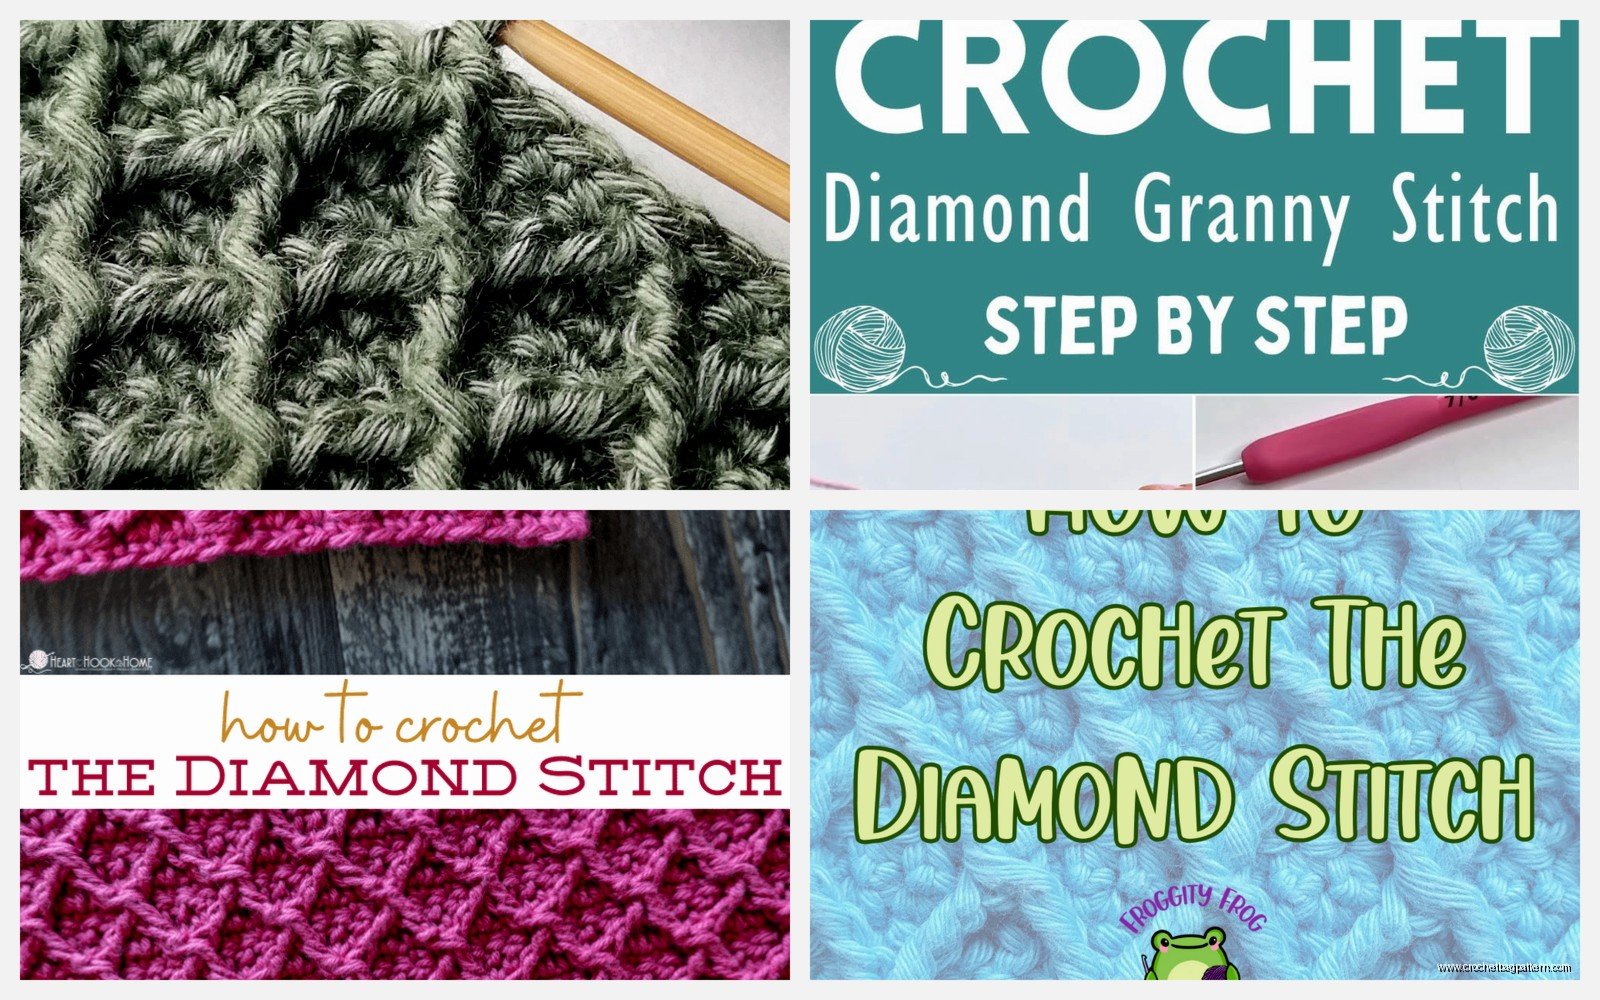
the diamond stitch is this textured thing where you’re creating raised diamond shapes across your fabric. it’s not actually that complicated once you get the rhythm but the first time you do it you’re gonna be counting stitches like your life depends on it trust me.
what you actually need
so for yarn I used Lion Brand Wool-Ease that first time because it was what I had laying around. the texture shows up better with a solid color though, not variegated. I tried it later with some Red Heart Super Saver in that burgundy color and honestly it looked better because you could actually SEE the diamonds. with super busy yarn the whole point kinda disappears.
hook size depends on your yarn obviously but I usually go with whatever the label says or maybe one size up. the pattern creates enough texture that you don’t want it too tight or it gets stiff and weird.
the basic concept before we get into it
the diamond shape happens because you’re doing front post and back post stitches in a specific arrangement. if you don’t know what those are yet you should probably learn those first because trying to explain the diamond stitch AND post stitches at the same time is just gonna be confusing for everyone involved.
front post means you’re going around the post of the stitch from the front. back post means you’re going around from the back. this makes some stitches stick out toward you and some recede away from you which creates the raised diamond effect.
how to actually do it
okay so you need a foundation chain that’s a multiple of 8 plus 3. so like 19 stitches, or 27, or 35, whatever. I usually just make a chain until it looks about the width I want and then add or subtract to get the right multiple because math is not my strong point at 10pm.
row 1
this is your base row and it’s just double crochet across. dc in the 4th chain from hook and then dc in each chain across. this row is basically just setting up your posts for the next row.
row 2
chain 3 (counts as first dc), then you start the pattern:
FPdc around next 3 stitches, BPdc around next stitch, FPdc around next 3 stitches, BPdc around next stitch.
repeat that across. the front posts are creating the sides of your diamonds and that single back post in the middle is gonna be the center point basically.
row 3
chain 3, then: FPdc around next 2 stitches, BPdc around next stitch, FPdc around next stitch, BPdc around next stitch, FPdc around next 2 stitches, BPdc around next stitch.
see what’s happening? you’re moving those back post stitches so they’re getting closer together. the diamond is starting to form.
row 4
chain 3, FPdc around next stitch, BPdc around next stitch, FPdc around next 3 stitches, BPdc around next stitch, FPdc around next stitch, BPdc around next stitch.
now the back posts are even closer and your diamond is almost complete at the top.
row 5
chain 3, BPdc around next stitch, FPdc around next 5 stitches, BPdc around next 2 stitches.
this is like the peak of the diamond where it comes to a point at the top.
row 6
now you’re gonna work back down to create the bottom half. chain 3, FPdc around next stitch, BPdc around next stitch, FPdc around next 3 stitches, BPdc around next stitch, FPdc around next stitch, BPdc around next stitch.
yeah this is the same as row 4. you’re basically mirroring back down.
row 7
same as row 3. chain 3, FPdc around next 2 stitches, BPdc around next stitch, FPdc around next stitch, BPdc around next stitch, FPdc around next 2 stitches, BPdc around next stitch.
row 8
same as row 2. chain 3, FPdc around next 3 stitches, BPdc around next stitch, FPdc around next 3 stitches, BPdc around next stitch.
and then you repeat rows 2-8 for the pattern. each repeat creates another row of diamonds.
the thing that drove me absolutely crazy
okay so the most annoying part of this whole pattern is that it’s really easy to lose your place. like you’re looking at your work and you’re like wait am I on row 4 or row 6 because they’re similar but not the same and if you mess it up your diamond gets all wonky and lopsided.
I started keeping a little piece of paper next to me with tally marks for which row I was on but then my cat knocked over my water bottle one time and the paper got soaked and I lost track anyway. now I just… I don’t know I try to pay attention but honestly sometimes I still mess up and have to frog back a row or two.
also the front post and back post stitches can be hard on your hands if you’re doing a big project. they require more hand movement than regular stitches and I definitely felt it in my wrist after like two hours of working on a blanket. had to take breaks which I’m not usually good at because once I get going I just wanna keep going.
tips that actually helped me
so when you’re doing the FPdc and BPdc you really gotta make sure you’re going around the RIGHT stitch. it’s easy to accidentally skip one or go around the wrong one especially when you’re tired or watching TV or whatever. I was watching this show about people renovating old houses and definitely messed up several times because I wasn’t paying attention.
using stitch markers can help at the beginning and end of each 8-stitch repeat. just mark where each diamond section starts so you know you’re in the right place.
tension matters more with this pattern than with regular dc. if your tension is all over the place your diamonds are gonna look weird and uneven. some will be puffy and some will be flat and it just looks off.
yarn choices that worked for me
like I said Lion Brand Wool-Ease was my first attempt. it worked fine but it’s got that slight texture to it already so the diamonds weren’t super crisp.
Red Heart Super Saver actually worked great. I know people complain about it being scratchy but for something like a throw pillow cover or a bag where it’s not against your skin constantly it’s perfect. plus it’s cheap so if you mess up you’re not out a ton of money.
I also tried Caron Simply Soft once and that was probably my favorite. the diamonds looked really defined and it was actually soft enough for a baby blanket I made for my friend. used the light blue color and it turned out really nice.
haven’t tried it with cotton yet but I imagine something like Lily Sugar’n Cream would work if you wanted like a dishcloth or something? seems like it would be sturdy enough.
what works with this pattern
blankets are the obvious choice. the texture is interesting enough that a solid color blanket doesn’t look boring. I made a lap blanket in like a charcoal grey and it actually looks pretty sophisticated for something I made while sitting on my couch in pajamas.
pillow covers are good too. you get that nice textured look without having to make something huge. plus you can practice the pattern on something small before committing to a full blanket.
I’ve seen people make bags with it but I feel like the texture might catch on stuff? haven’t tried it myself so maybe it’s fine but seems like it could be annoying.
scarves could work but honestly it seems like a lot of effort for a scarf when you could just do a simpler stitch. but if you want a really textured scarf then go for it I guess.
modifications you can do
you can make the diamonds bigger by adding more stitches to your repeat. instead of 8 stitches you could do 10 or 12. you’d have to adjust the pattern accordingly but the concept is the same – you’re just spreading out those post stitches over more space.
you can also play with color changes. if you change colors every 8 rows you get diamonds in different colors which looks kinda cool. I did this with like three shades of blue once and it had this ombre effect that was… actually it was okay but I’m not sure I’d do it again because weaving in all those ends was a pain.
some people do just the diamond outline in one color and the background in another but that requires carrying yarn and I’ve never been good at that so I can’t really help you there.
troubleshooting common problems
if your diamonds are leaning to one side you’re probably not doing your post stitches consistently. make sure you’re always going around the post in the same direction and with the same tension.
if you can’t see the diamond pattern at all your tension might be too loose. the post stitches need to actually stick out and recede enough to create that dimensional effect. try going down a hook size maybe?
if your work is curling that’s normal with post stitch patterns. they naturally want to curl toward the back post side. you can block it when you’re done or just accept that it’s gonna have some curl to it. I usually just block it if it’s something that needs to lay flat.
losing count of your rows is just gonna happen. I’ve accepted this. keep a row counter or paper nearby or just get good at looking at your work and figuring out which row you’re on based on where the back posts are. after you’ve done it enough times you can kinda tell just by looking.
how long does it take
depends on your speed obviously but it’s definitely slower than regular double crochet. all those post stitches take more time. a baby blanket took me maybe 15-20 hours? spread out over like two weeks because I wasn’t working on it constantly.
the lap blanket I made was probably 30+ hours because it was bigger and I kept getting distracted and messing up.
smaller projects like pillow covers maybe 5-6 hours for a 16 inch square.
is it worth learning
I mean yeah if you want something more interesting than flat fabric. the texture is nice and it’s not SO complicated that you’ll want to throw your project across the room. it’s like intermediate level I guess? if you can do basic stitches and you’ve done front post and back post before then you can do this.
it’s satisfying when you get into the rhythm and you can just see the diamonds forming. that first time when I finally got it right and could see the actual diamond shape I was like oh okay this is actually cool.
but it’s not like life-changing or anything. it’s just a textured stitch pattern. there are harder ones and easier ones and this one falls somewhere in the middle.
the main thing is just keeping track of where you are in the pattern and being consistent with your post stitches. if you can do that you’re fine. if you’re like me and you get distracted easily then maybe keep your phone away or pause your show when you’re counting stitches because otherwise you’re gonna be frogging rows and getting annoyed.
anyway that’s pretty much it. start with a small project to practice, use a solid color yarn so you can actually see what you’re doing, and don’t stress too much if it takes a few tries to get the hang of it. I definitely made some wonky looking diamonds at first before I figured out the right tension and rhythm.
