
Jun
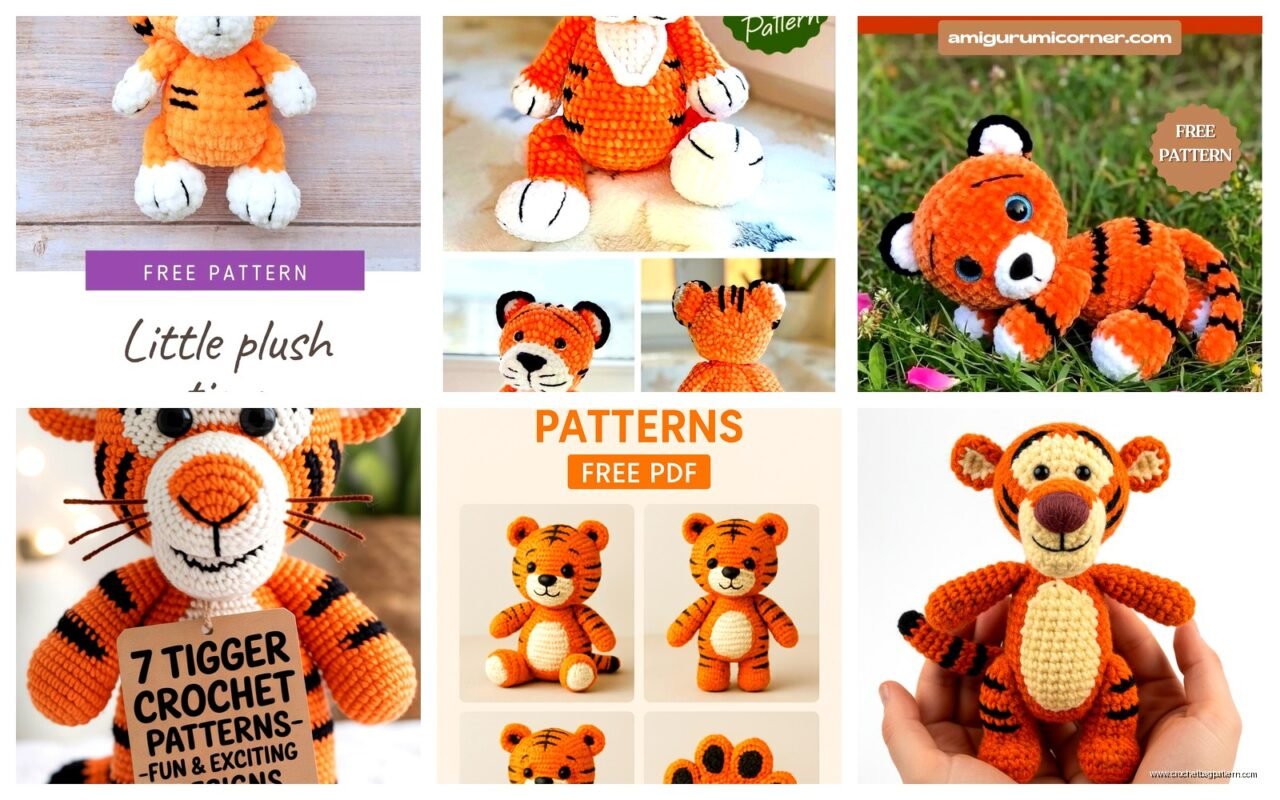
okay so tiger amigurumi
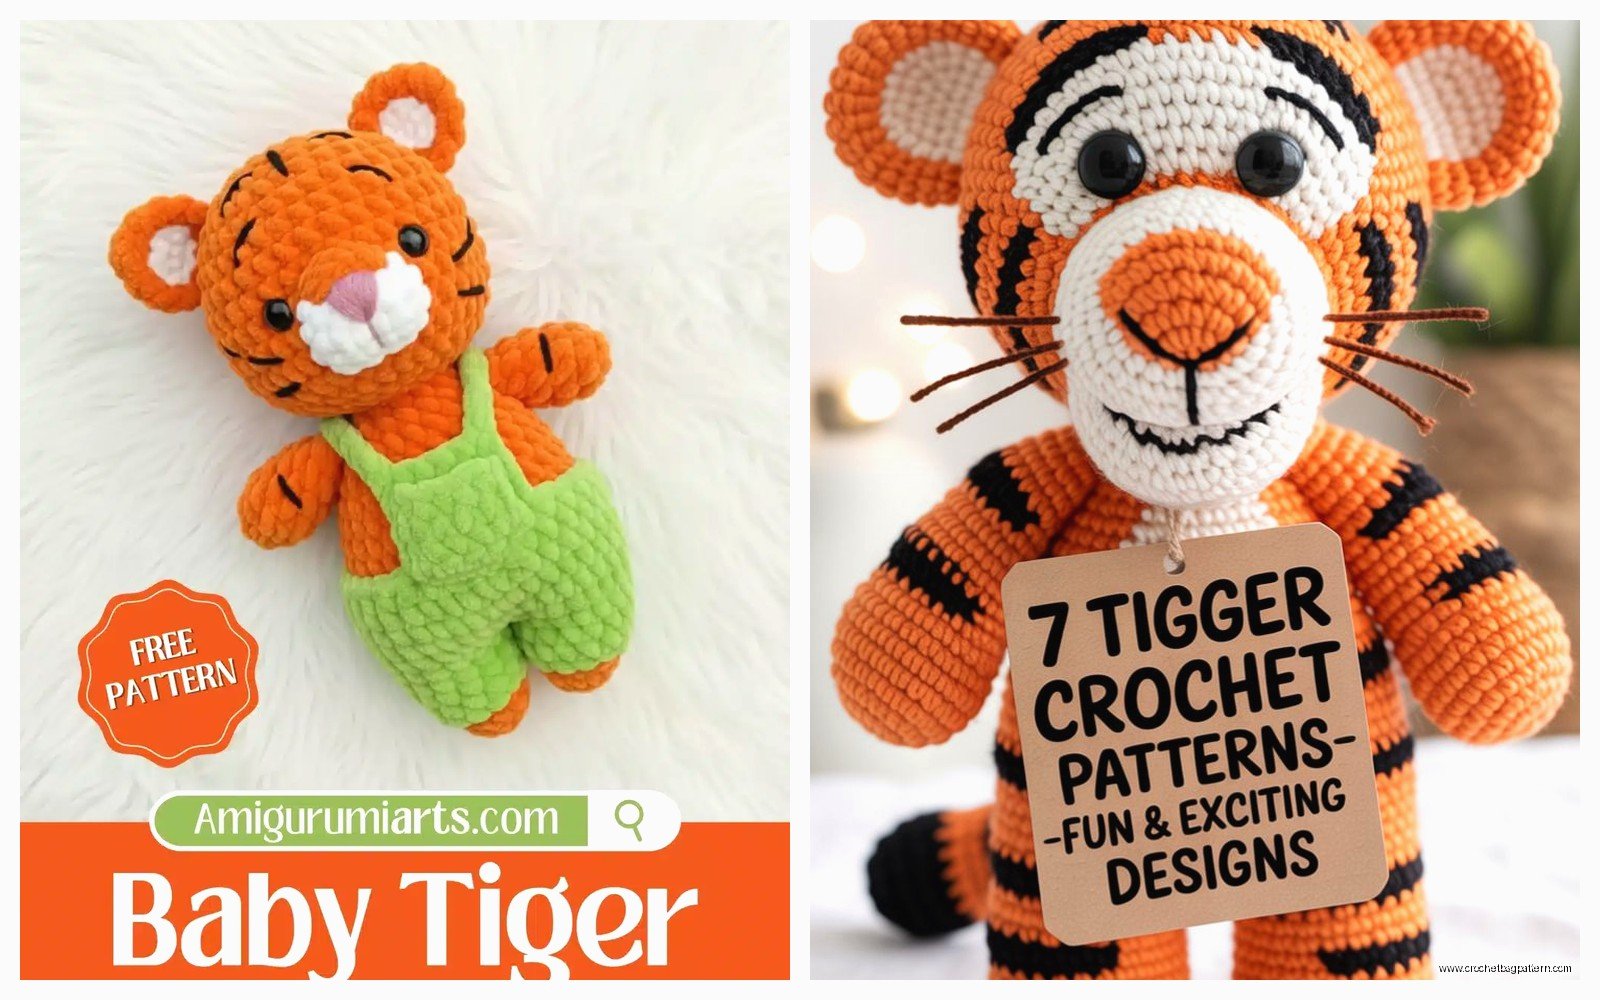
So you want to make a tiger right? I made one back in spring 2022 when I was basically living on my couch watching old episodes of The Office for the millionth time and needed something to do with my hands. The whole process took me like three weeks because I kept messing up the stripes and having to redo sections.
First thing – you’re gonna need orange yarn obviously. I used Red Heart Super Saver in Pumpkin which isn’t quite the right orange if we’re being honest, it’s a bit too bright, but it works. You also need black for the stripes and white or cream for the belly and face details. I think I used Caron Simply Soft in white because I had it lying around from another project. The Red Heart is acrylic and kinda squeaky when you work with it but it’s cheap and you need a lot of yarn for a big cat.
Size and Gauge Stuff
The thing about making a tiger amigurumi is you gotta decide how big you want it. Like, are we talking small enough to fit in your hand or like pillow-sized? I made mine about 14 inches long from nose to butt, not counting the tail. Used a 4mm hook with the worsted weight yarn. If you want it bigger just use a chunkier yarn and bigger hook, but then you’ll need more stuffing and the whole thing gets heavier.
Don’t stress too much about gauge honestly. Amigurumi is pretty forgiving as long as your stitches are tight enough that the stuffing doesn’t show through. I crochet kinda loose naturally so I went down a hook size from what the yarn label suggested.
Starting With The Body
I always start with the body because it’s the biggest part and if I’m gonna give up on a project it’ll be early on, not after I’ve already made ten pieces. The body is basically a big oval shape – you start with a magic ring and work in continuous rounds, increasing until you get to the widest part, then working even for a while, then decreasing.
For a tiger you’re doing stripes which is where it gets annoying. You have two options: carry the yarn or cut and rejoin. I tried carrying the black yarn inside the body while working orange rounds and honestly it was such a pain, you could see little shadows of the black through the orange stitches and it looked messy. So I ended up cutting and weaving in like a million ends which was – actually that was the most annoying part of the whole project, all those ends.
The stripe pattern isn’t even regular like on a zebra or whatever. Tigers have these irregular vertical stripes that are thicker in some places. I looked at pictures online and tried to map out where stripes should go but honestly I just kind of winged it and did black rounds every 3-4 orange rounds, varying it so it didn’t look too uniform.
Stuffing As You Go
Don’t wait until the end to stuff the body. You want to stuff it when you’re about three-quarters done with the decreases because trying to stuff through a tiny hole is impossible. I use polyfil stuffing, whatever brand is at the craft store. Some people swear by wool stuffing or plastic pellets for weight but polyfil is fine.
Pack it in there pretty firm. A floppy tiger looks sad. You want it to hold its shape but not be so overstuffed that the stitches spread apart. My cat kept trying to sit on the tiger body while I was working on it which didn’t help.
The Head
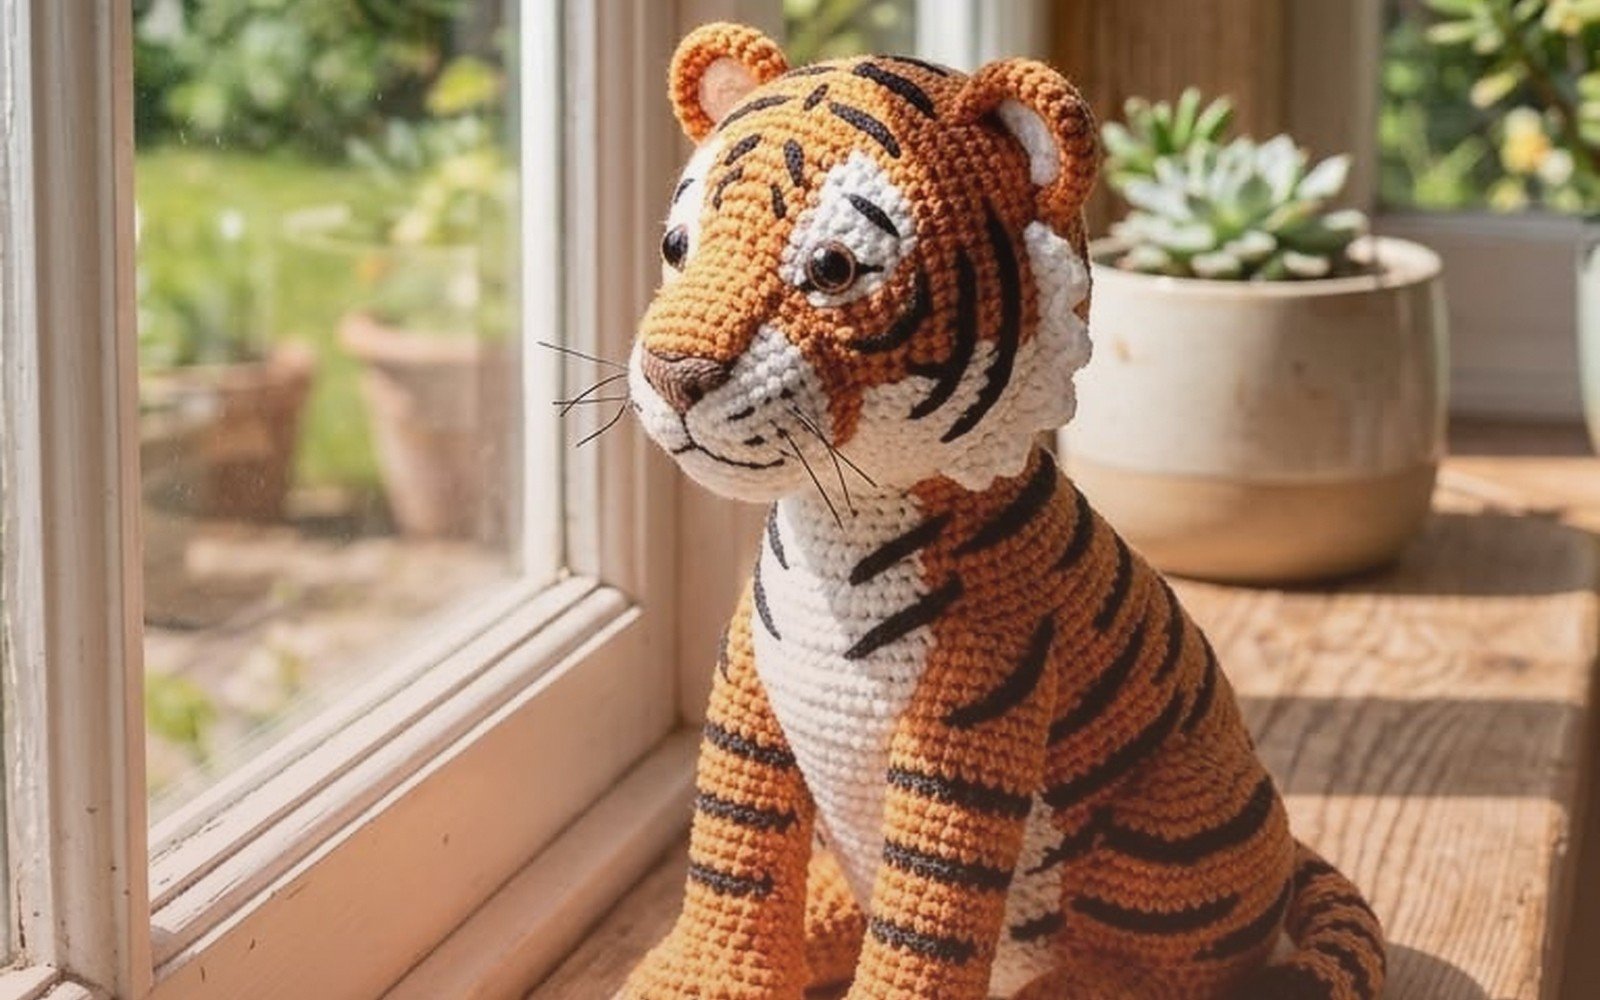
The head is similar construction to the body but rounder. Start with magic ring, increase to make a sphere shape. The thing with tiger heads is they have this broad face with the white muzzle area and the stripes come down from the top of the head.
I made the whole head in orange first, then added white patches for the cheeks and muzzle area by surface crocheting or just sewing on white pieces. You could also do colorwork while crocheting the head but switching colors every few stitches in the round is tedious and your tension gets weird.
For the muzzle I crocheted two small white oval pieces and sewed them onto the front of the head where the cheeks would be. Then a smaller white piece for the actual muzzle part under the nose. The nose is just a little triangle of black yarn, I embroidered it on with regular sewing stitches basically.
Eyes and Expression
Safety eyes are your friend here. I used 12mm black safety eyes and positioned them pretty wide apart because tigers have that wide face. You gotta put the safety eyes in before you finish stuffing the head completely because the backs go on the inside and you can’t reach in there once it’s all stuffed and closed up.
Some patterns have you embroider eyes but I think safety eyes look better for a realistic tiger. Although “realistic” is relative when you’re making a stuffed animal I guess. You could also use buttons if you’re not giving this to a small kid.
The expression depends on eye placement honestly. I put mine slightly angled down toward the muzzle which made the tiger look kind of sleepy or gentle. If you want it to look more alert put them straight on or angled slightly up.
Ears Are Easier Than You Think
Tiger ears are small and rounded. I made mine with orange on the back and white inside. Just two small circles basically, maybe like 8-10 rounds each, then folded them slightly and sewed them onto the top corners of the head. Position them before you sew them on permanently because ear placement changes the whole look – too far apart looks goofy, too close together looks like a bear or something.
Add little black tufts on the tips if you want to be fancy but I skipped that part.
Legs Are Repetitive But Whatever
You need four legs obviously. I made them all the same size which is maybe not anatomically correct since front legs might be different from back legs on a real tiger but who’s checking. Each leg is a cylinder – start with the paw in black or dark gray, then switch to orange and work up the leg, adding stripes as you go.
The paws can have little toe details if you want. I just did a few stitches in black yarn to suggest toes but didn’t go crazy with it. You could make individual toe beans with white yarn if you’re feeling ambitious.
Stuff each leg firmly especially the paw part so they can support the weight of the body. I made my legs about 5 inches long which was proportional to the body size. Attach them to the body with a yarn needle and really strong stitching, going through the leg and body multiple times. If they’re not attached securely the whole tiger will be floppy and won’t stand up.
Positioning The Legs
You can position the tiger standing, sitting, or lying down depending on how you attach the legs. I did mine in a sitting position with the back legs kind of tucked under and the front legs straight. To do this you angle the back legs when you sew them on and maybe bend them slightly if you didn’t stuff them too firm.
For a standing tiger all four legs point straight down and you need to really make sure they’re even or it’ll tip over. I’ve seen people use wire armature inside the legs for poseable limbs but that seems complicated and also the wire might poke through eventually.
Tail Is Long And Annoying
Tiger tail should be pretty long, like almost as long as the body. It’s just a long tube that tapers slightly toward the end. Orange with black stripes, black tip. I made mine probably 12 inches long and added stripes by doing a few rounds of black every inch or so.
The tail kept curling while I worked on it which was annoying. You can block it or just accept that it’s gonna curve slightly. Stuff it but not super firm or it’ll stick straight out like a pipe cleaner. You want it to have some drape to it.
Attach the tail to the back end of the body, positioned kind of high up on the rump area not low like on the underside. Sew it on really well because if a kid plays with this the tail is the first thing that’s getting yanked.
Adding Stripes After The Fact
If you didn’t do stripes while crocheting the pieces you can add them after with surface crochet or embroidery. Surface crochet is where you insert your hook through a stitch, yarn over with black yarn, pull through, move to the next stitch and repeat. It creates a line of chain stitches on the surface.
I added a few extra stripes this way on the head where I wanted more detail. It’s easier than trying to do colorwork in the round but it doesn’t look quite as integrated as working the colors in as you go.
You could also just use a black marker honestly which feels like cheating but I’ve seen people do it and it looks fine from a distance.
Face Details
Almost forgot about whiskers. I used black embroidery thread and pulled it through the muzzle area, knotted it on the inside, trimmed it to length. Six whiskers total, three on each side. You could use fishing line for stiffer whiskers that stick out more.
Some people add little white highlights above the eyes or on the muzzle with embroidery. I didn’t bother but it does make the face more expressive if that’s what you’re going for.
Assembly Is Where It Comes Together
Once you have all the pieces it’s assembly time. I laid everything out first to figure out positioning. Head attaches to the front of the body – sew it on with the same color yarn as the neck area so the stitches blend in. Go around multiple times for strength.
The legs I already mentioned. Make sure if you’re doing a sitting or lying position that the tiger actually balances and doesn’t tip over. I had to reposition one front leg because the weight was off and it kept falling forward.
Tail goes on last usually. At this point you’re probably sick of weaving in ends but there’s gonna be more because every piece has a starting tail and ending tail of yarn plus all the color changes.
Yarn Amounts
I used probably like two and a half skeins of the orange, half a skein of black, and less than half a skein of white. That’s for a medium-sized tiger around 14 inches. If you’re making a bigger one obviously you need more. It’s better to have extra yarn than to run out partway through and have to try to match the dye lot.
Red Heart Super Saver comes in those big skeins so two skeins of orange was actually more than I needed but I used the leftovers for other stuff later.
Time Investment
This isn’t a quick project. Even crocheting pretty steadily it took me like three weeks of evening work. If you’re faster than me maybe two weeks. The body alone took several days because of all the stripe color changes and the constant weaving in of ends.
The most tedious part was honestly the finishing – sewing all the pieces together, weaving in all those ends, getting the expression right on the face. The actual crocheting of rounds is mindless and relaxing once you get into the rhythm.
Pattern Notes
I didn’t follow a specific pattern for mine, just kind of made it up based on basic amigurumi sphere and cylinder shapes. But if you want a pattern there are tons on Etsy and Ravelry. Some are better written than others. Look for ones with lots of photos showing each step.
The basic construction is pretty universal though – body is an oval, head is a sphere, legs and tail are cylinders, ears are small circles. Once you understand that structure you can adjust sizing and details however you want.
If you’ve made other amigurumi animals before a tiger isn’t much harder, it’s just the stripes that add extra steps. If this is your first amigurumi project maybe start with something simpler like a solid-color animal to get the hang of the techniques first, but honestly you could probably figure it out as you go.
What I’d Do Differently
If I made another one I’d probably use a different orange yarn, something less squeaky and maybe a more natural orange color. Like Lion Brand Vanna’s Choice in Rust or something with more depth to the color. The bright pumpkin orange looked kinda cartoonish.
I might also try doing the stripes with intarsia or planned pooling techniques instead of just switching colors every few rounds. That would give more control over the stripe pattern and make it look less random. But that’s also way more complicated so maybe not.
The other thing is I’d use a bigger hook for the body to make it work up faster. The tight stitches are good for structure but it took forever. A slightly looser gauge would probably be fine and save time.
Anyway that’s basically how you make a tiger amigurumi. It’s not complicated just time-consuming. You’re gonna have sore hands from all the single crochet stitches and you’re gonna be weaving in ends for what feels like hours but the finished thing looks pretty cool sitting on a shelf or whatever. Mine is on my bookshelf now looking slightly derpy but in a charming way.