
Jun
Making the Squirtle Body
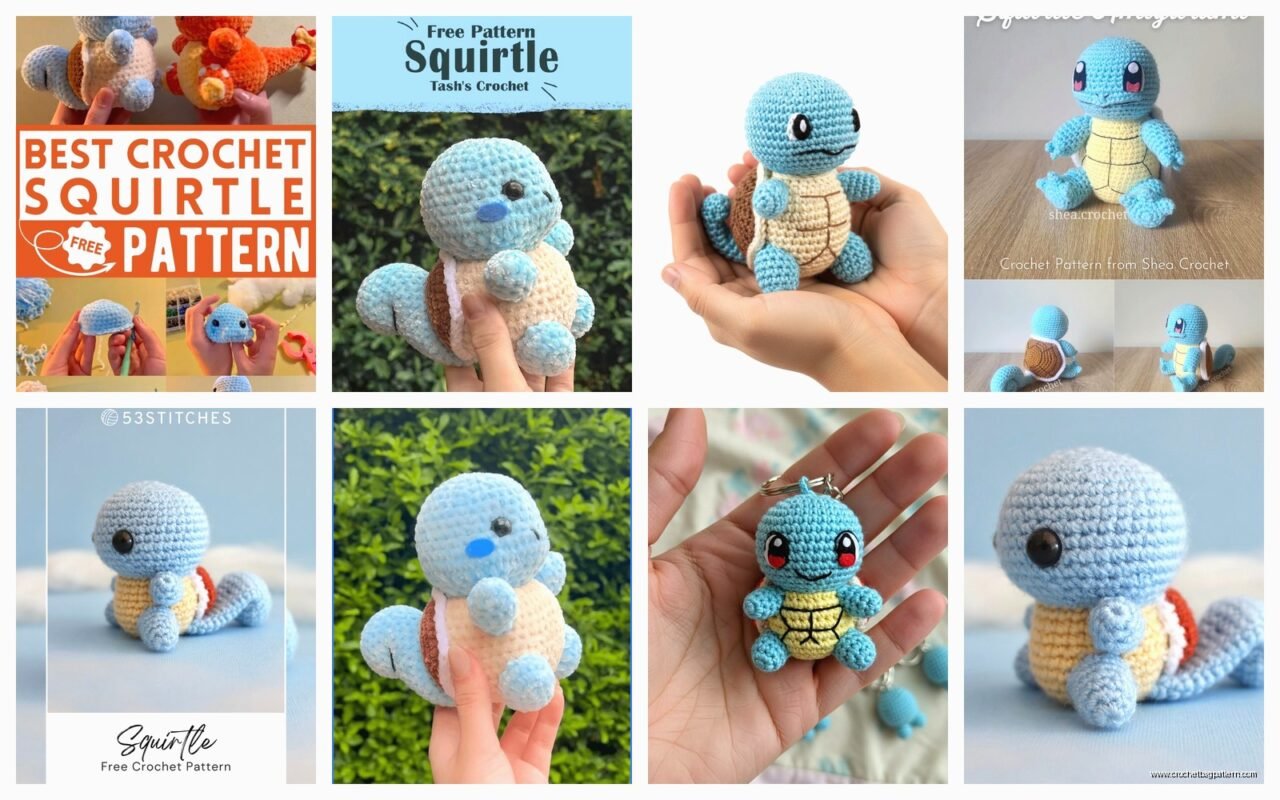
So I made my first Squirtle back in spring 2022 when I was binge-watching The Office for like the third time and honestly the body is where you wanna start because it’s the biggest piece and if you mess this up everything else looks weird. You’re gonna need some blue yarn – I used Red Heart Super Saver in that bright turquoise color, I think it was called Turqua or something? The label wore off. But anyway start with a magic ring which if you don’t know how to do just YouTube it real quick because explaining it in text is impossible.
Start with 6 single crochets in the magic ring. Then you’re increasing every round for like the first 6-7 rounds. So round 2 is 2 sc in each stitch around (12 stitches total), round 3 is *1 sc, 2 sc in next stitch* repeat (18 stitches), round 4 is *2 sc, increase* and you keep going with that pattern. I usually go up to about 42-48 stitches depending on how chubby I want the Squirtle to look.
Once you hit your maximum width you just crochet even – meaning no increases or decreases – for like 10-12 rounds. This creates the main cylinder of the body. The thing that really annoyed me was keeping track of where each round started because I kept losing my stitch marker and had to use a random piece of different colored yarn which kept falling out.
Decreasing and Stuffing
After you’ve got enough height on the body you start decreasing the same way you increased but in reverse. So if your last increase round was something like *6 sc, increase* then your first decrease round would be *6 sc, decrease*. You gotta stuff as you go though – don’t wait until the hole gets too small or you’ll be trying to shove polyfil through a tiny opening and it’s just frustrating.
I use Poly-Fil brand stuffing from Walmart usually, nothing fancy. Pack it pretty firm especially if you want the Squirtle to stand up on its own. My cat kept trying to steal the stuffing while I was working on this which was… distracting.
The Shell Pattern
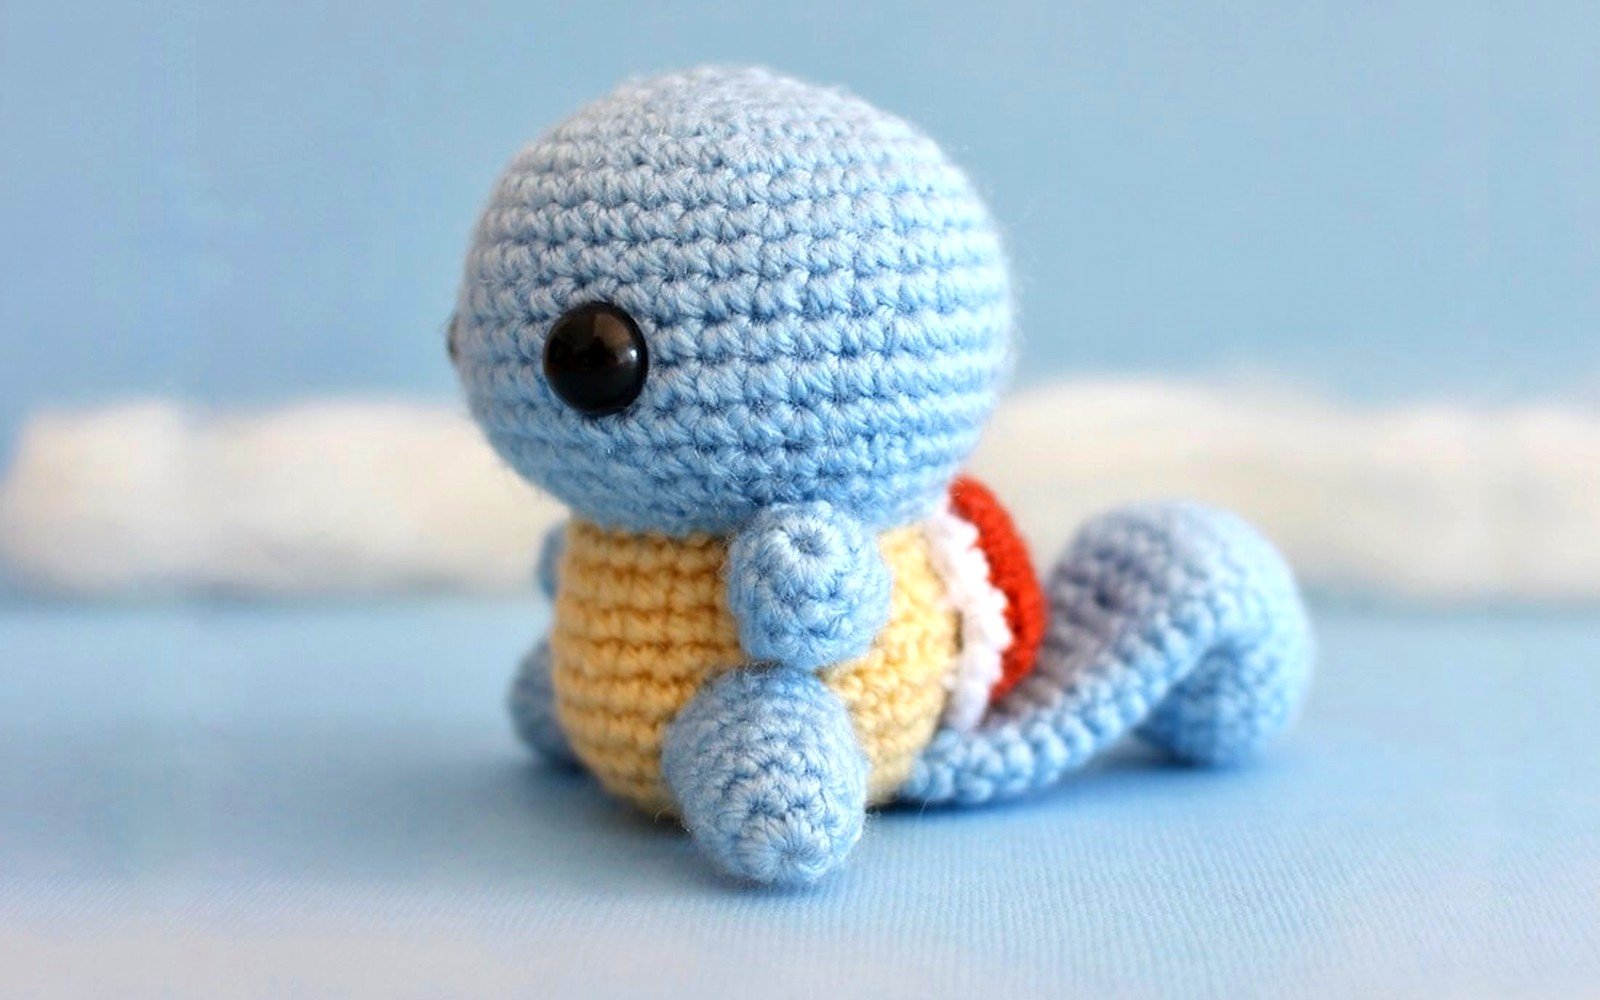
Okay so the shell is the most recognizable part obviously. You need a separate piece that you’re gonna attach to the back. I switched to a tan or beige color – I think I used Caron Simply Soft in Bone? That yarn is really nice to work with actually, way softer than Red Heart.
Make another magic ring but this time you’re creating more of a dome shape. Start with 6 sc in the ring, then increase pretty aggressively for the first few rounds. The shell should curve outward and then flatten a bit on the edges. I did something like: Round 1: 6 sc, Round 2: 12 sc (increase in each), Round 3: 18 sc, Round 4: 24 sc, then worked even for 2-3 rounds, then did a round with increases spaced out to create that turtle shell ridge effect.
For the ridge pattern on the shell you can either crochet ridges directly onto it by doing front post double crochets in a swirl pattern, or you can be lazy like me and just embroider lines on later with brown yarn. The embroidery method is honestly easier and looks fine unless you’re like entering a competition or whatever.
Arms and Legs
The limbs are pretty straightforward but you need four of them obviously. Start each one with a magic ring, 6 sc, then increase to 12 in the next round. For the arms I worked even at 12 stitches for about 6-7 rounds. Don’t stuff them too much – you want them to be a little floppy so they can pose.
The legs are similar but shorter and stubbier. Same beginning but maybe only 4-5 rounds of working even. One thing I learned is that if you make the legs too long the Squirtle tips forward because the shell adds weight to the back, so keep them short.
I attached all the limbs using yarn and a tapestry needle, sewing them on pretty securely. You can position them however you want – I did mine with the arms out to the sides and legs forward so it looks like he’s sitting. Some people do all four limbs pointing down which looks more like he’s standing but then he doesn’t really… he tips over a lot.
The Tail Situation
The tail is supposed to be that curly wave thing which is honestly the most recognizable part after the shell. This was tricky and I had to redo it twice. You’re making a spiral basically.
Start with a chain of like 15-20 stitches depending on how big your Squirtle is. Then you work back along the chain but you’re increasing strategically to make it curl. I did something like 1 sc in first chain, 2 sc in next, 1 sc, 2 sc, and kept that pattern going. The increases make it naturally curl into that wave shape.
Another method is to make a flat spiral by working in rounds with lots of increases on one side, which creates a tighter curl. Honestly both methods work and it depends on what look you’re going for – the chain method gives you more of a loose wave, the spiral method is tighter and curlier.
Attach it to the back of the body, kind of low and centered. You want it to stick out and curl upward.
Head and Face Details
The head is basically the same process as the body but smaller. Magic ring with 6 sc, increase rounds up to maybe 30-36 stitches depending on proportion, work even for several rounds, then decrease. I made the head slightly oval shaped by working more rounds on one side before decreasing which gives it that Pokemon look instead of just being a perfect sphere.
Stuff the head firmly and attach it to the body. I sewed mine on pretty securely because you don’t want the head flopping around.
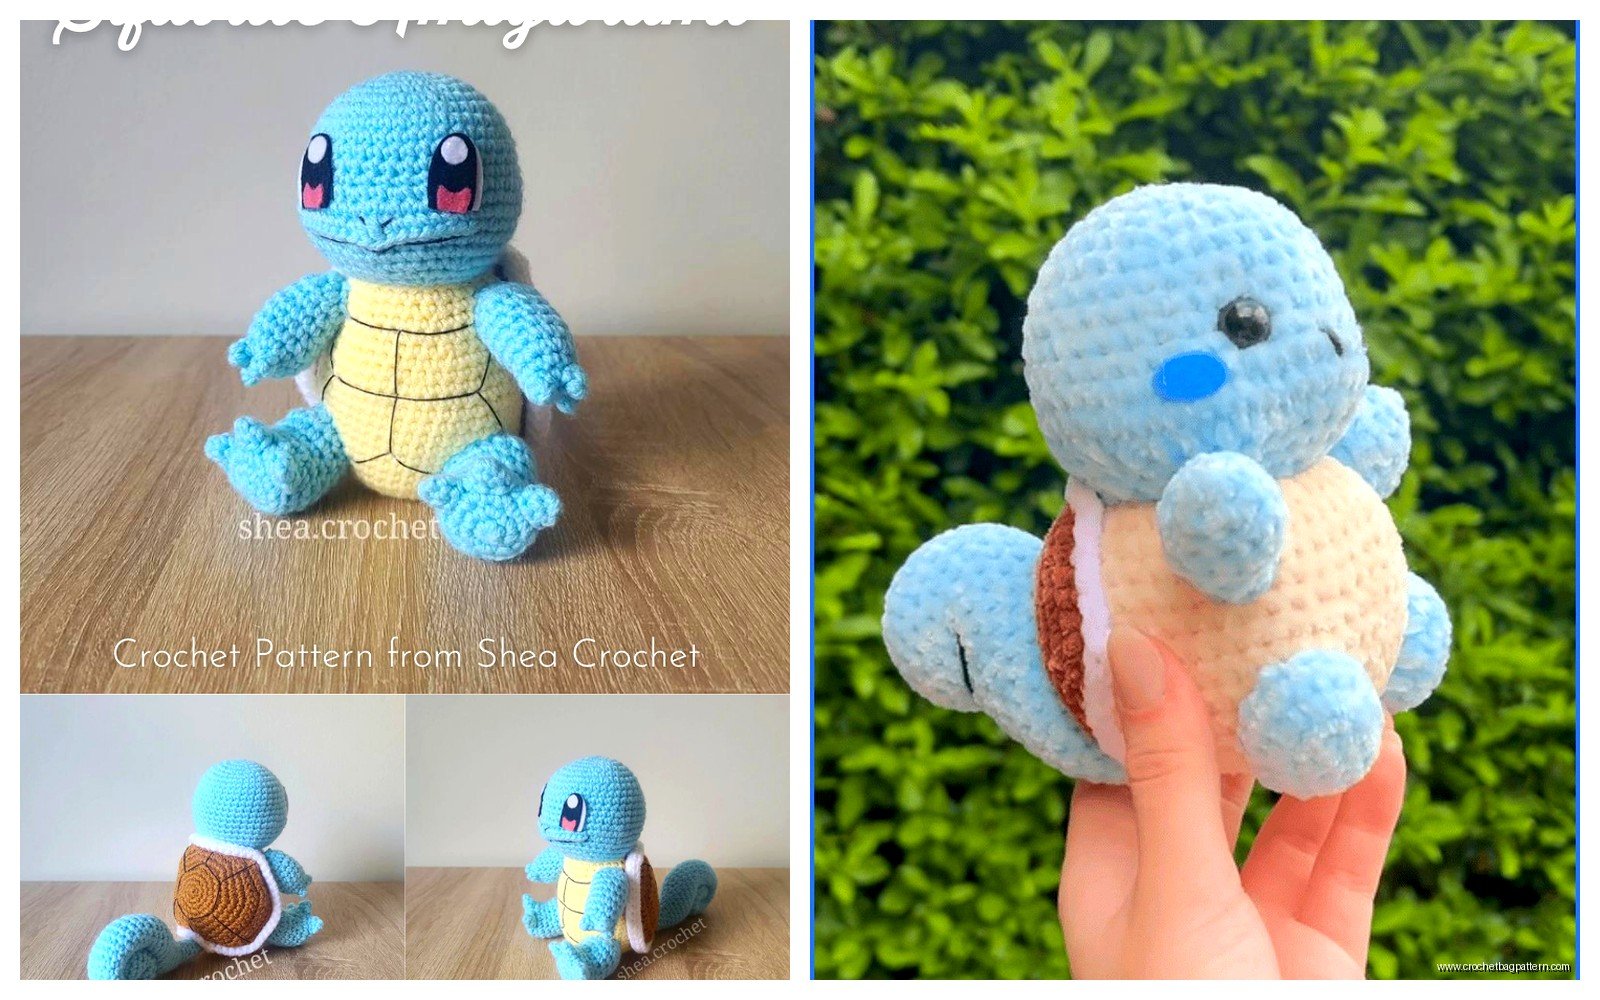
For the eyes you can either use safety eyes which you can get on Amazon – I think I used 12mm black safety eyes – or you can embroider them or use felt. Safety eyes are easiest but you have to put them in before you close up the head completely because they lock from the inside.
The white part of the eye is just a little circle of white felt that I glued behind the safety eye before inserting it. Some patterns tell you to crochet tiny white circles but that seems like overkill when felt works fine and nobody can tell the difference.
The Squirtle Squad Sunglasses Optional Thing
If you wanna make the Squirtle Squad version with the sunglasses you can cut them out of black craft foam or felt. Just make two connected circles with temples going back. I didn’t do this on my first one but I made another one later as a gift and added the sunglasses which actually looked pretty cool.
Color Changes and Details
For the belly you need to add a cream or light yellow oval to the front of the body. I crocheted a flat oval shape – start with a chain of like 8 stitches, then sc around the entire chain including working 3 sc in the end stitch to turn the corner, continue down the other side of the chain, 3 sc in the other end stitch to turn that corner, then continue increasing around the edge for 2-3 more rounds until it’s the size you want.
Sew or glue this onto the front of the body before you attach the head. It should cover most of the front chest area.
The nostrils are just two tiny dots of white embroidery or you can use French knots if you know how to do those. Place them on either side of the snout area near the top of the head.
Assembly Tips
When you’re attaching everything use the same color yarn as the piece you’re attaching so the stitches blend in. So use blue yarn to attach blue limbs to the blue body, tan yarn to attach the tan shell, etc.
I found it helpful to pin everything in place first with regular sewing pins before actually sewing it on because otherwise you might sew something on crooked and then you gotta rip it out and start over which is annoying. The shell especially needs to be centered properly on the back or it looks weird.
Make sure the limbs are all at roughly the same position height-wise so the Squirtle doesn’t look lopsided. I eyeball it mostly but you could measure if you’re really particular about that stuff.
Yarn Weight and Hook Size
I used worsted weight yarn (size 4) for everything and a 3.5mm hook which is smaller than the yarn recommends but that’s what you want for amigurumi so you get a tight fabric and the stuffing doesn’t show through. Some people use even smaller hooks like 3mm but then my hands cramp up.
If you use a different yarn weight everything will turn out a different size obviously. Sport weight with a smaller hook would give you a mini Squirtle, bulky weight would make a huge one. I’ve seen people make giant versions with blanket yarn and like an 8mm hook which is kind of ridiculous but also cute.
Common Problems I Ran Into
The biggest issue was getting the proportions right between the head, body, and limbs. My first attempt the head was way too small and it looked more like a blue blob with a tiny turtle head than an actual Squirtle. I ended up making the head bigger on my second try.
Also the tail kept falling off because I didn’t sew it on securely enough the first time. Make sure you’re sewing through multiple stitches and pulling tight.
The shell wanted to curl up at the edges instead of staying flat against the body. I fixed this by blocking it – just wet it, pinned it flat to a blocking board (or a towel on a piece of cardboard), and let it dry overnight. After that it laid flat much better.
Finishing Touches
You can add a little blush to the cheeks with actual makeup blush or chalk pastels if you want that cute look. I didn’t bother but I’ve seen it done and it does look nice.
Some people add wire to the tail and limbs so they can pose them but that seems complicated and also potentially pokey if the wire pokes through. I just left mine soft.
If you’re giving it as a gift make sure all the pieces are really securely attached especially if it’s for a kid because you don’t want limbs falling off. Go over each attachment point twice with your needle.
The whole thing probably took me like 6-7 hours total spread over a few days? The body and head are the most time consuming parts, the limbs and tail are pretty quick once you get going. It’s a good project for watching TV or listening to podcasts because once you get the rhythm of increasing and decreasing you don’t really have to think about it too much.
