
Jun
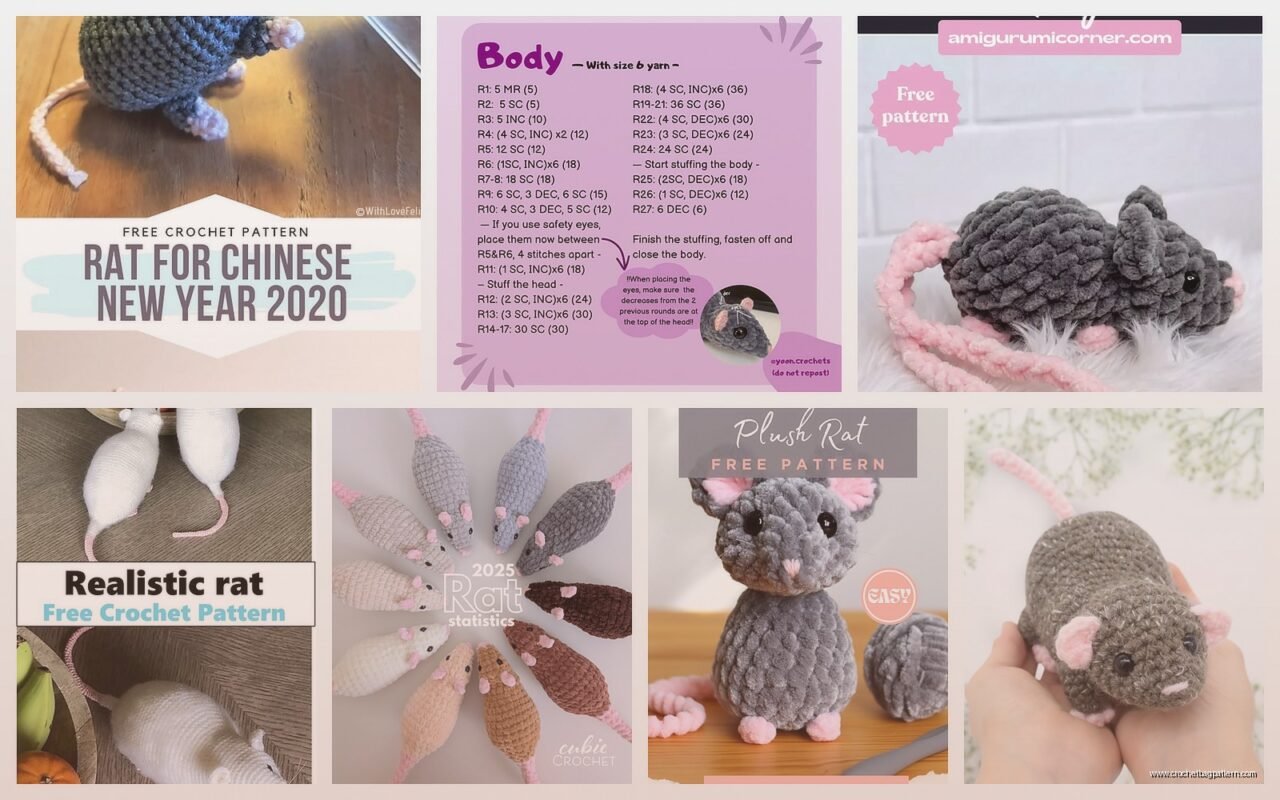
Starting With The Body
okay so rats are actually way easier than you’d think for amigurumi because they’re basically just tubes with ears and a tail. I made my first one back in spring 2022 when I was binge-watching that weird true crime thing on Netflix and needed something to do with my hands that wasn’t stress-eating.
You’re gonna start with a magic ring. If you don’t know how to do that just look it up real quick because explaining it in text is annoying and there’s like fifty videos. Start with 6 single crochets in the ring, pull it tight. Then you increase every other stitch for round 2, so that’s 9 stitches total. Round 3 you do *sc 1, inc* around which gets you to 12 stitches.
For the body you want it kinda egg-shaped? So keep increasing but not as aggressively. I usually do:
- Round 4: *sc 2, inc* around = 16 stitches
- Round 5: *sc 3, inc* around = 20 stitches
- Round 6: *sc 4, inc* around = 24 stitches
- Rounds 7-14: just sc around, no increases
The thing that really annoyed me was stuffing it evenly because rats need to look smooth and if you stuff them lumpy they look like they have tumors which is just sad. Use small bits of polyfil at a time, seriously.
The Head Part
So you don’t finish off the body, you just keep going and shape the head. This is where it gets slightly weird because you need the head to be smaller than the body but still round.
Round 15: *sc 2, dec* around = 18 stitches
Round 16: *sc 1, dec* around = 12 stitches
Round 17-20: sc around for 4 rounds
Round 21: *sc 1, inc* around = 18 stitches
Round 22-24: sc around
Then you start decreasing for the snout. Round 25: *sc 1, dec* around = 12 stitches. Keep going with decreases until you can close it up. Stuff the head before you close it completely obviously.
I used Red Heart Super Saver in “Soft White” for my first rat because that’s what I had laying around. It’s acrylic so it’s not fancy but honestly for practice rats it’s fine and it’s like $3 a skein. Later I made one with Lily Sugar’n Cream in grey which looked more realistic but felt kinda stiff.
Ears Are Weirdly Important
The ears make or break whether it looks like a rat or just some weird blob creature. Rat ears are big and round and kinda thin-looking.
Make two of these:
Magic ring with 6 sc
Round 2: inc in each stitch = 12 stitches
Round 3: *sc 1, inc* around = 18 stitches
Fasten off and leave a long tail for sewing
Don’t stuff the ears. They should be flat. Pinch the bottom together a little when you sew them on so they have that cupped shape. Position them kinda on the sides of the head, not on top like a teddy bear. My dog kept trying to steal my first rat while I was making it which was— anyway rats have side ears basically.
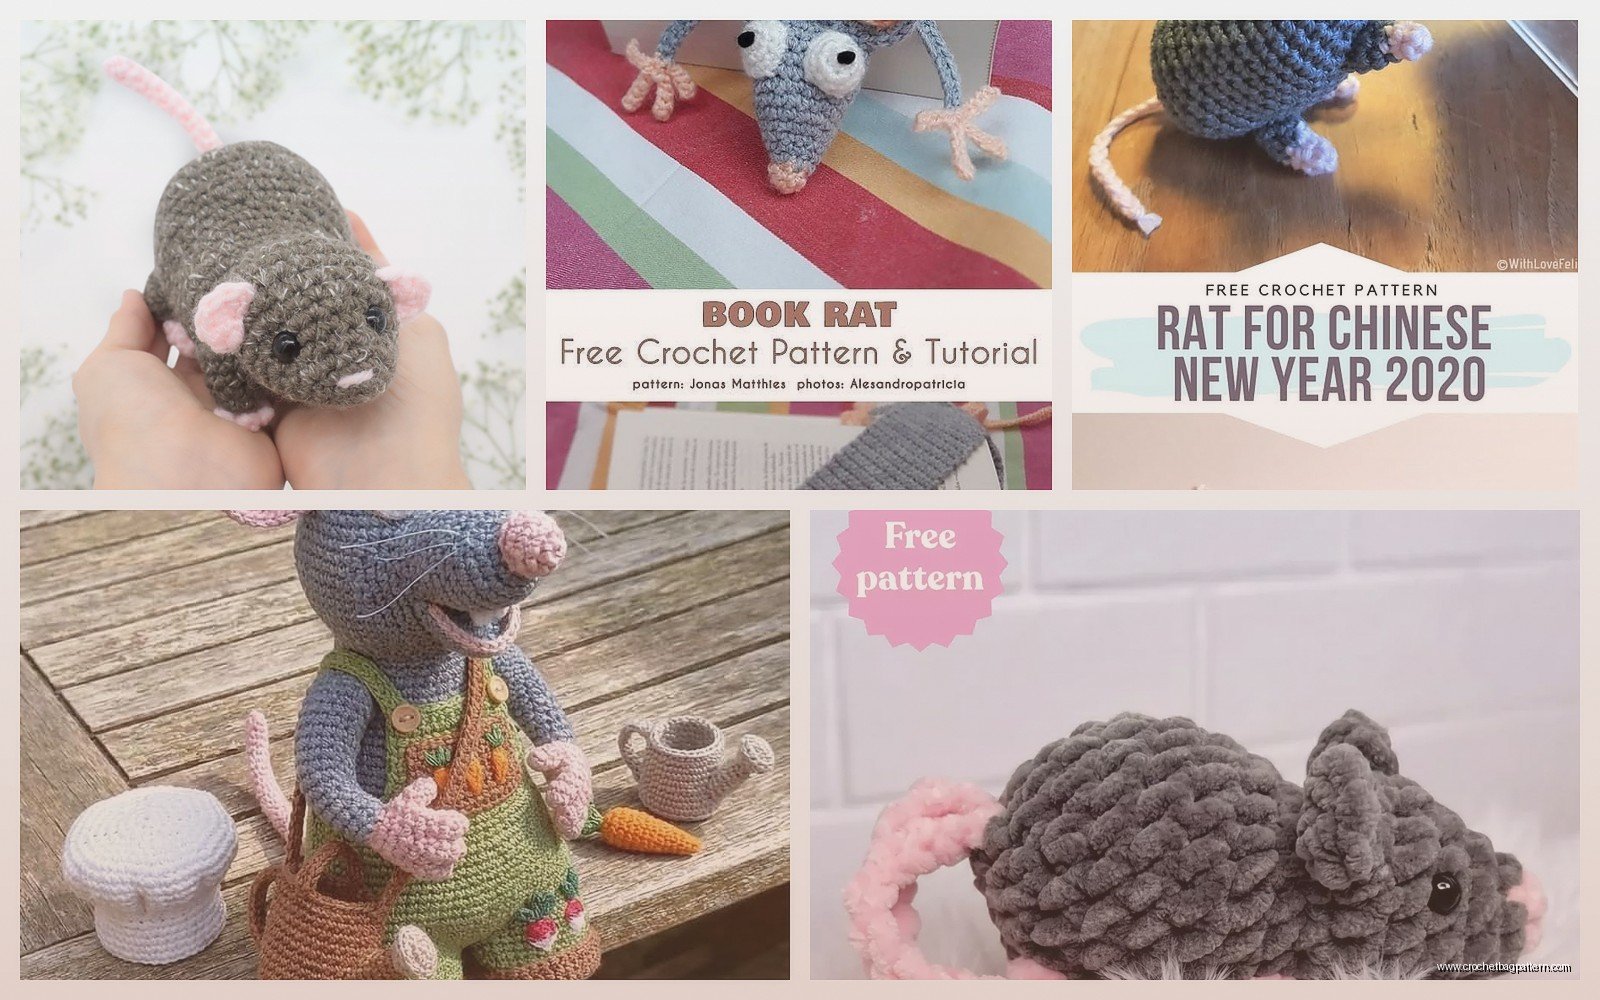
Pin them first before sewing because if you get them uneven it looks really stupid and you’ll have to redo it. I learned that the hard way.
Arms and Legs
These are basically the same pattern just different lengths. For the arms:
Magic ring with 5 sc
Round 2-8: sc around (7 rounds total)
Fasten off, leave tail for sewing
Don’t stuff them or maybe stuff them just a tiny bit at the top. They should be kinda floppy. Sew them onto the sides of the body below where the head starts.
Legs are almost the same but you want them slightly thicker:
Magic ring with 6 sc
Round 2-10: sc around (9 rounds total)
Fasten off
Stuff these just a little bit more than the arms so the rat can sit up if you position it right. Attach them to the bottom of the body.
The Tail Is Actually The Hardest Part
This drove me crazy because rat tails are long and thin and getting them to not be all wonky is genuinely difficult. Some people use pipe cleaners which I tried once with that spring 2022 rat and it looked okay but felt weird.
What worked better for me: chain like 40-50 stitches depending on how long you want it. Then slip stitch back down the chain. It makes a thin cord. You can also single crochet back if you want it slightly thicker but I think slip stitch looks more tail-like.
Alternative method is to make a tube: magic ring with 4 sc, then just sc around for like 30 rounds. This takes forever though and honestly the chain method is fine.
Attach it to the butt end of the body. Sew it on really securely because it’s gonna get pulled on probably. You can curve it when you’re sewing it on to give it that natural rat tail curve.
Face Details
For eyes I just used black safety eyes, 6mm size works pretty well. Place them on the head before you stuff it completely because you need to access the inside to secure the backs. Put them kinda far apart and low on the face, not up high.
For the nose you can either embroider a little pink triangle with embroidery floss or you can make a tiny crochet nose. I usually just embroider it because it’s faster. Use pink or black thread and make a small triangle shape right at the tip of the snout.
Some people add whiskers using fishing line or embroidery floss. I tried this with Caron Simply Soft yarn in “Grey Heather” for a grey rat I made and the whiskers looked cute but they got all bent after like a day so… up to you.
Yarn Choices That Worked For Me
I’ve tried a bunch of different yarns for rats over time. Red Heart Super Saver is the cheapest option and comes in every color. The “Warm Brown” color looks good for brown rats, “Grey Heather” for grey obviously. “Black” is too stark sometimes so I actually prefer “Charcoal” if you’re going for a dark rat.
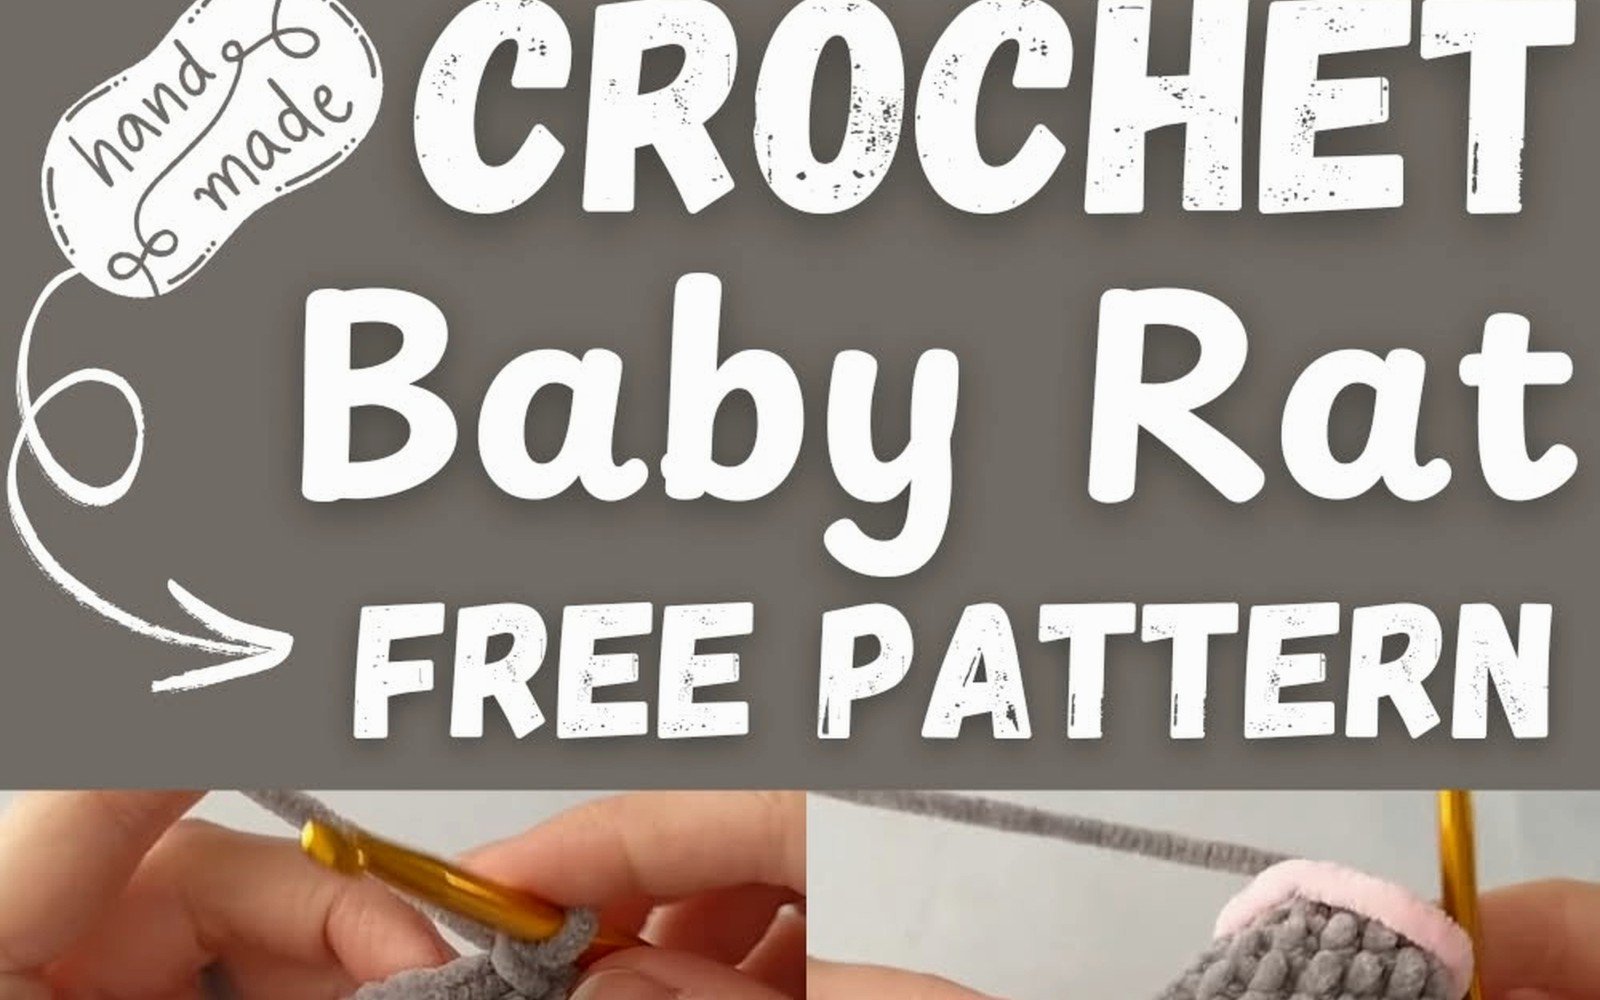
Bernat Blanket yarn makes a really chunky fluffy rat which is kinda funny looking but also cute in a weird way. Not realistic at all though.
I Love This Yarn from Hobby Lobby (I know, I know) actually has really nice colors and it’s soft. Their “Cream” color is good for fancy rats with the lighter coloring.
Paintbox Yarns Cotton DK if you want something that’s not acrylic but it’s more expensive and honestly for a rat I don’t think it matters that much.
Hook Size Stuff
I usually use a 3.5mm hook with worsted weight yarn. If you go bigger the stitches get too loose and the stuffing shows through which looks bad. Smaller hook = tighter stitches = better looking amigurumi basically.
Some people use even smaller hooks like 3mm or 2.75mm for really tight stitches but then my hand cramps up so I don’t bother.
Color Variations You Can Try
Solid color rats are easiest obviously. But if you wanna get fancy you can do a white body with a grey or brown head and back, that’s called a “hooded” pattern in actual rat fancy terminology.
Make the body in white and then when you start the head switch to your second color. For the back you’d need to switch colors partway through the body rounds which is more annoying but doable.
You could also make specific spots by crocheting small circles in a different color and sewing them onto the body after. I did this once and it looked okay but kinda appliqué-ish.
Common Problems I Had
The neck area looking weird where the body meets the head. This happens if you don’t decrease smoothly enough. Make sure you’re counting your stitches because if you accidentally skip one or add one the whole shape gets wonky.
Pointy snout instead of a rounded one. This means you decreased too fast at the end. Do it more gradually or add an extra round or two before the final decreases.
Floppy body that won’t sit up. You didn’t stuff it enough. Really pack that stuffing in there, like more than you think you need.
Ears falling off. This happened to me twice and it’s because I didn’t sew them on securely enough. Go around the base of the ear multiple times with your yarn needle and maybe even go through to the other side of the head for extra security.
Size Adjustments
If you want a bigger rat just use thicker yarn and a bigger hook. Bulky yarn with a 5mm or 6mm hook will give you like a hand-sized rat. If you want a tiny one use thread and a steel hook but that’s gonna take forever and also my eyes are not that good anymore so.
You can also just add more rounds to the body section to make it longer. Or add more increase rounds at the beginning to make it fatter. The basic shape is pretty forgiving.
What To Do With Finished Rats
I gave my first one to my friend who has actual pet rats and she put it in their cage and apparently they tried to groom it which was cute. Made a few more and just kept them on my shelf for a while until I got bored of them.
They’re good beginner amigurumi projects because the shape is simple and if it looks a little weird you can just say it’s a stylized rat. Nobody knows exactly what proportions a crochet rat should have anyway.
You could make a bunch in different colors and give them as gifts to people who like rats or rodents in general. Or make really tiny ones for keychains if you use thin yarn.
Pattern Modifications I’ve Tried
Adding little hands with fingers instead of just tube arms – I did this by making 3 tiny chains off the end of the arm for fingers. Looked okay but kinda creepy actually.
Making the tail with wire inside so you could pose it – worked pretty well but you need to be careful about the wire poking through. Wrap it in a little bit of yarn first before you crochet around it.
Longer body for a more realistic rat shape – added like 5 extra rounds to the body section and it did look more rat-proportioned but then the head looked too small so I had to make that bigger too.
Different ear shapes – tried making pointed ears once by decreasing at the top of the ear but then it just looked like a mouse so that didn’t work.
Stitch Markers Are Your Friend
Seriously use a stitch marker to mark the beginning of your rounds especially on the body and head. It’s really easy to lose track of where you are and then you end up with uneven shaping. I just use a piece of different colored yarn as a marker because I always lose the actual stitch markers.
When you’re doing the decreases for the head especially you need to know where each round starts or you’ll end up with a lumpy mess.
Finishing Touches
Weave in all your ends really well because nothing’s worse than a tail coming off after you gave it to someone. I use a yarn needle and weave through multiple stitches in different directions so it’s really secure.
You can brush out the yarn a little with a pet brush if you used acrylic to make it look slightly fuzzy and more realistic. Don’t do this with cotton yarn though it doesn’t work the same way.
Some people add a little pink belly by embroidering or sewing on a piece of pink felt. I think that’s cute but also extra work so usually I skip it.
If you really wanna get detailed you could embroider little toes on the feet with black thread but at that point you’re spending like an hour on tiny details that most people won’t even notice so.
