
Jun
okay so raccoons are actually easier than you’d think
I made my first raccoon back in spring 2022 when I was binge-watching that weird documentary series about cults and just needed something to do with my hands. The pattern itself isn’t complicated but there’s this one thing about the tail stripes that drove me absolutely nuts and I’ll get to that in a minute.
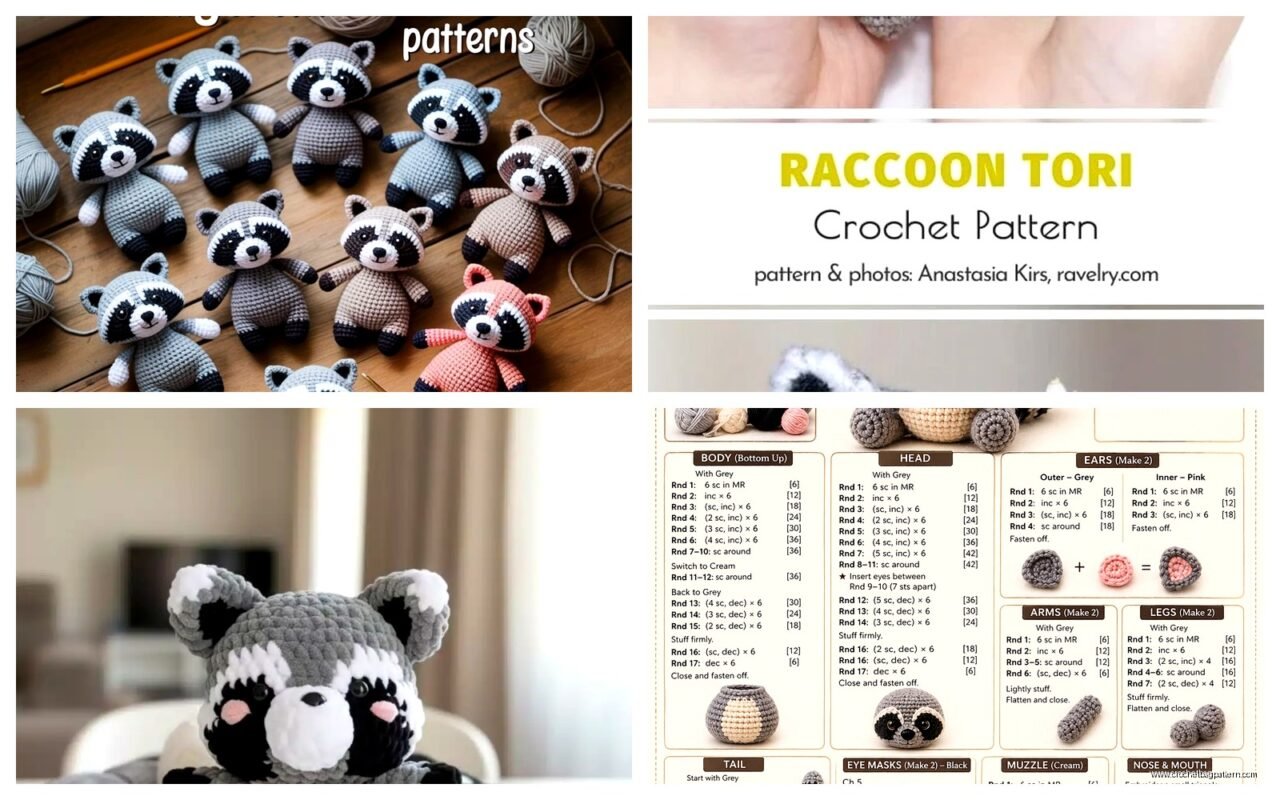
So basically you’re gonna start with the head like you do with most amigurumi. I used Lily Sugar’n Cream in grey for the body parts because it was what I had lying around and honestly it worked fine even though people get all precious about yarn weight for amigurumi. The magic ring is your friend here – start with 6 single crochets in the ring, then you’re increasing every round until you get to like round 6 or 7 depending on how big you want the head.
the head situation
For a raccoon you need that distinctive mask shape which means you’re either gonna embroider it on after or do some color changes mid-project. I did embroidery because switching colors in the middle of rounds is just… it’s a whole thing with all the ends you gotta weave in later. Used black embroidery floss from the craft store, nothing fancy.
The increases go like this: round 1 is 6 sc, round 2 is increase in every stitch so you get 12, round 3 is sc increase repeat so 18, round 4 is sc sc increase repeat for 24. Keep going until you hit around 36-42 stitches depending on your tension. I crochet pretty tight so I usually go to 42.
Then you work even for like 8-10 rounds with no increases or decreases. This gives you that round head shape. My cat knocked over my stitch marker container in the middle of this and I lost track of what round I was on so pro tip: write it down or use your phone notes or something.
stuffing and the snout
Before you start decreasing you gotta think about the snout. Some patterns have you make a separate piece but honestly I just kind of sculpt it with extra stuffing and a few strategic stitches pulled tight. The decreasing is basically the increasing in reverse – you’re doing invisible decreases if you want it to look neat or just regular sc2tog if you don’t care that much.
I use Poly-fil stuffing, the cheap stuff in the big bag from Walmart. Works totally fine. Stuff as you go once the opening gets small enough that it’s annoying to get your hand in there. Don’t understuff or your raccoon will look sad and deflated.
body and limbs
The body is basically the same concept as the head but more oval shaped. Start the same way with a magic ring, increase up to your desired width which for me was usually around 30-36 stitches, then work even for longer than you did the head. Like maybe 15-20 rounds to get that body length.
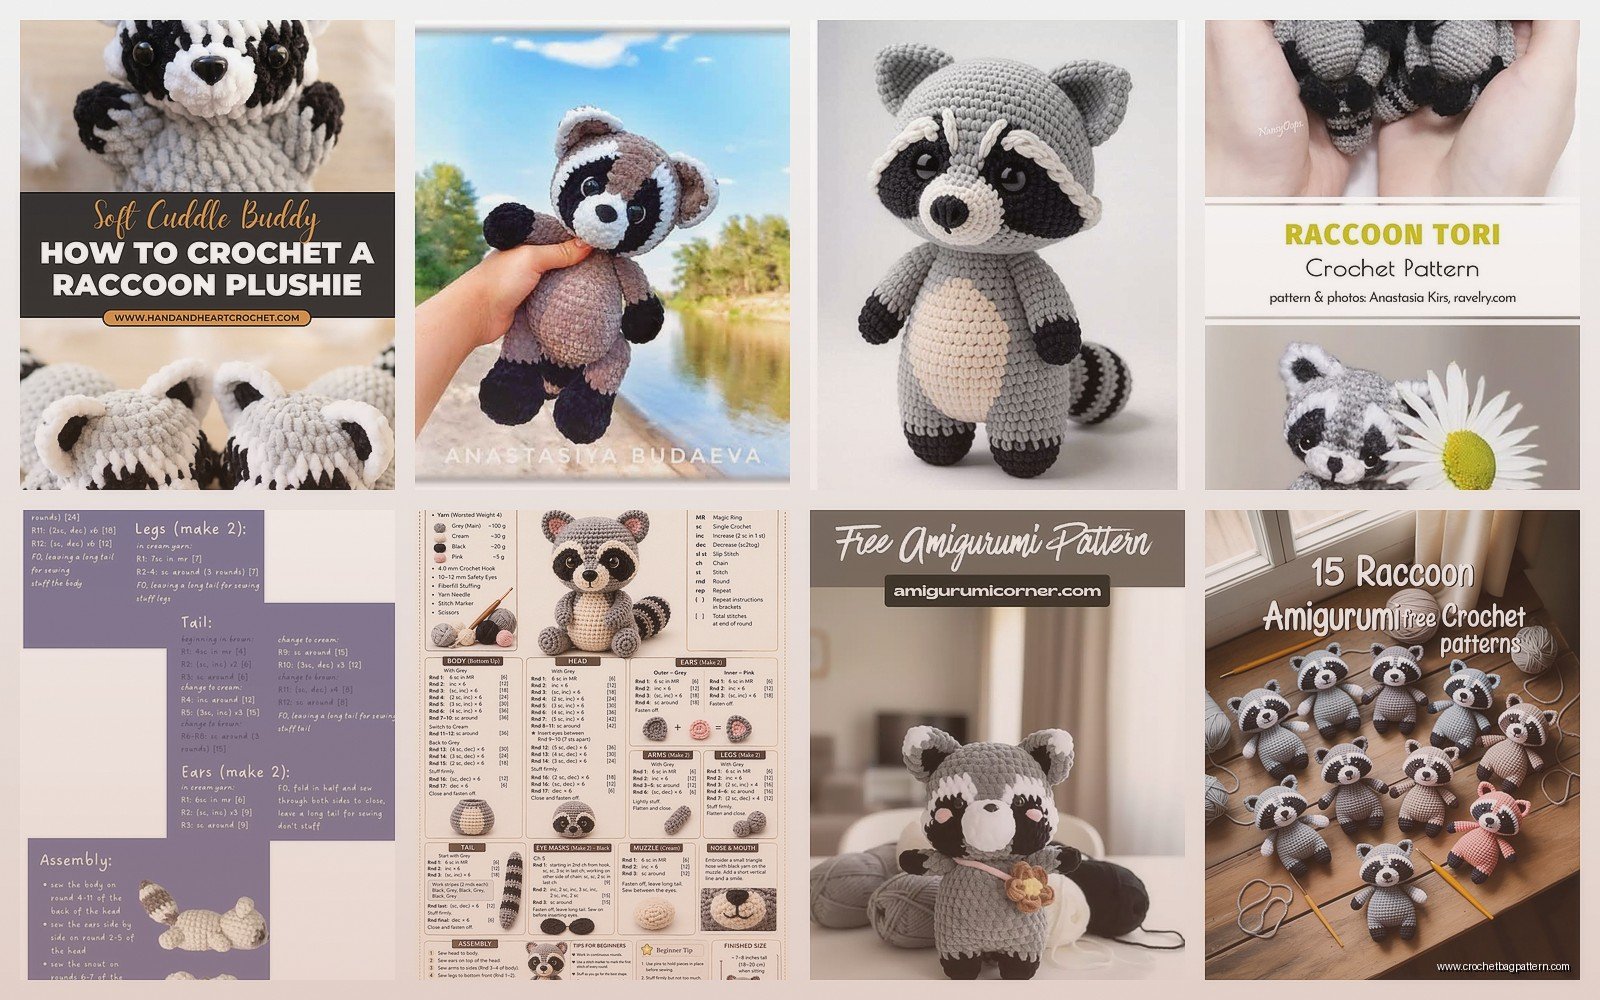
For the arms and legs I used Red Heart Super Saver in Grey Heather because I had a huge skein of it and also it’s sturdy. Amigurumi with cheap acrylic actually holds up better than the fancy stuff when you’re making toys that might get played with or washed. The limbs are basically tubes – magic ring with 6 sc, increase to 12, then work even for however long you want the limbs.
I usually make the back legs slightly thicker than the front ones because that’s more… anatomically correct I guess? Not that amigurumi is ever really accurate but whatever. So for back legs I’d go up to 15 or 18 stitches around, front legs stay at 12.
the tail problem that annoyed me
Okay so here’s the thing that made me want to throw the whole project across the room. The tail stripes. You want those distinctive raccoon stripes right? Which means color changes. But doing color changes in a tube that you’re also trying to stuff is genuinely annoying. The yarn ends are all inside where you’re trying to shove stuffing, and if you don’t weave them in as you go they get all tangled with the Poly-fil.
I tried doing the tail flat and then seaming it up the back but that looked bad. The visible seam ruined the stripe effect. So you kinda have to just deal with working in the round and doing the color changes and stopping every few rounds to weave in ends before you forget where they are.
For the stripes I alternated between the grey and Black from – I think it was Caron Simply Soft? Maybe? Something that was on sale. Do like 4 rounds grey, 3 rounds black, 4 rounds grey, 3 rounds black or whatever pattern you want. The tail should be pretty substantial, like start with 12 stitches around and keep it that width for most of the length, then decrease at the tip.
ears and assembly
Ears are quick at least. You can do them flat which is what I do – chain 6, turn, sc across, turn, sc2tog, sc 2, sc2tog, turn, sc2tog twice, fasten off. Makes a little triangle ear shape. Make two obviously. I didn’t add any pink inside or anything, just kept them grey.
Assembly is where you can really mess things up or make it look decent depending on how much patience you have left. I use yarn and a tapestry needle to sew everything on, not hot glue even though that’s faster. The glue shows through lighter colored yarn and also it gets crunchy.
Pin everything in place first with regular pins or those pearl head pins. Get the arms and legs positioned where they look balanced – I usually do the legs pretty far apart so it can sit, and the arms either at the sides or positioned like it’s holding something. The head should be sewn on pretty securely because that’s gonna be a stress point if anyone picks it up.
the face details
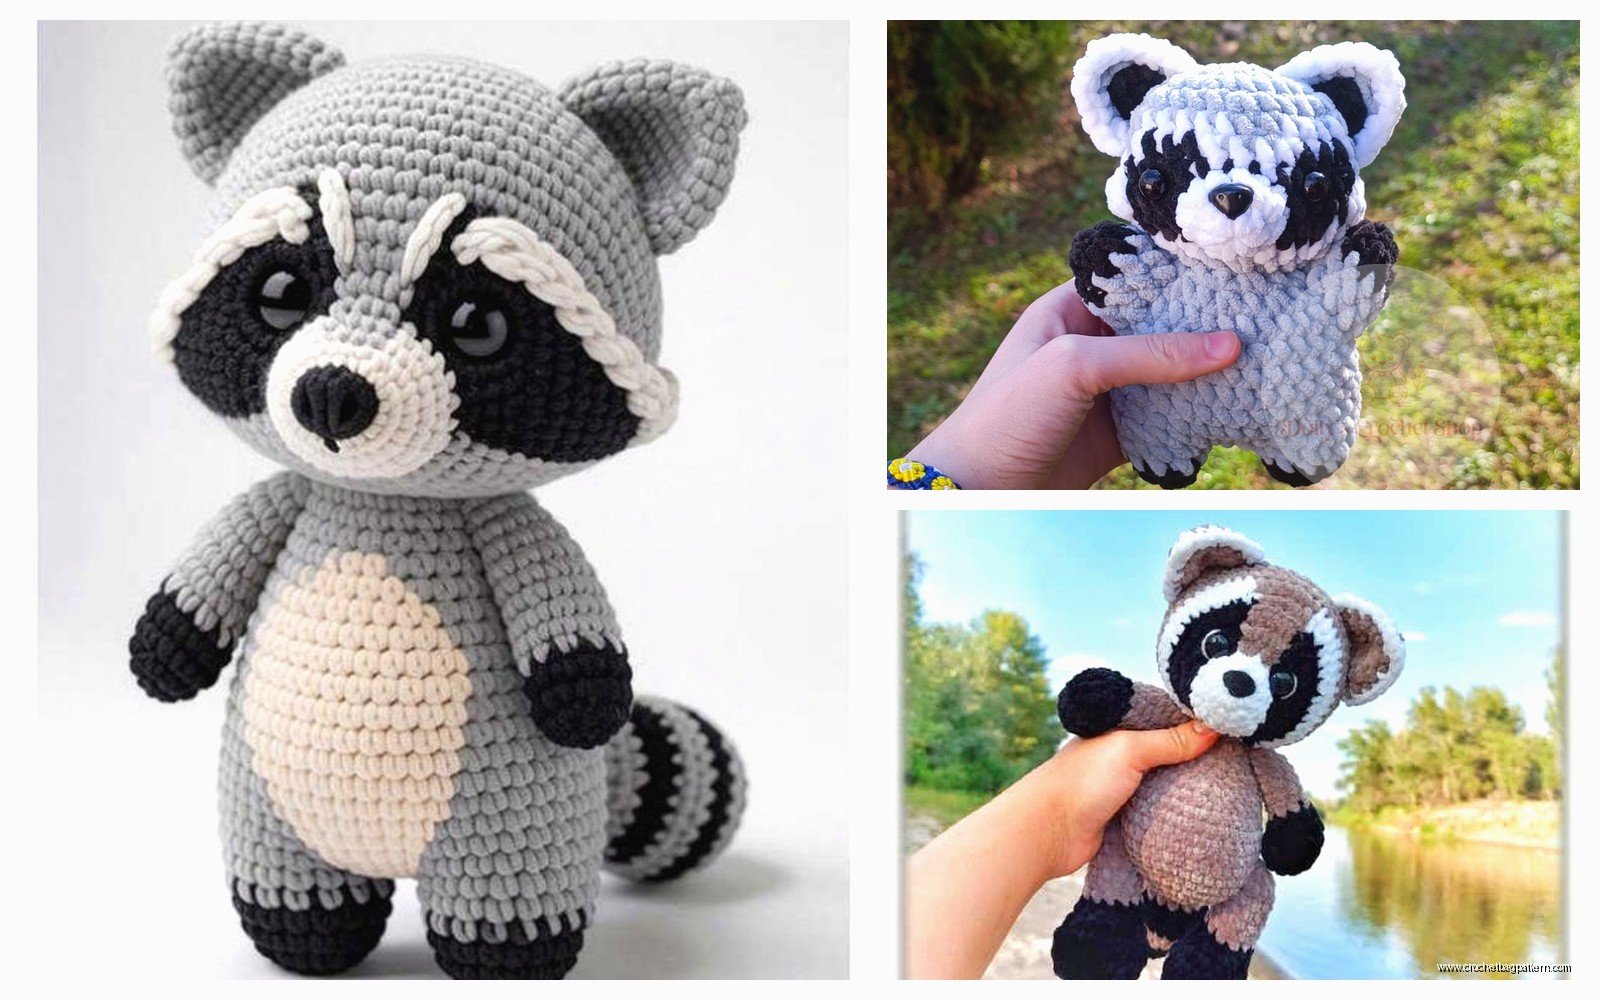
For the eyes I used 9mm safety eyes in black. You put these in before you close up the head completely because the backs need to snap on from the inside. Position them pretty close together above where the snout will be. The mask embroidery goes around the eyes – I did a black oval shape around each eye with the embroidery floss, then connected them across the bridge of the snout area.
The nose is either a small triangle of black embroidery or you can use a tiny bit of black yarn and make a few stitches. I’ve done both ways and honestly can’t tell much difference in the final look.
Some people add whiskers with fishing line or embroidery floss but I skip that because they get pulled out anyway if it’s actually being used as a toy.
yarn amounts and gauge stuff
I never really measured exactly how much yarn I used but probably like 100-150 yards of the main grey color for a raccoon that’s about 8 inches tall? The black for the mask and tail stripes is way less, maybe 40 yards. This is with worsted weight yarn and a 3.5mm hook which is smaller than the yarn label recommends but that’s how you get tight stitches that don’t show the stuffing through.
If you use a bigger hook your raccoon will be bigger and floppier. Smaller hook means tighter fabric but also more work because you’re making more stitches to cover the same amount of… okay I’m getting off track.
The gauge doesn’t matter that much for amigurumi since you’re not making clothing that has to fit, but your tension does matter for getting that solid fabric that doesn’t have gaps. If you can see through your stitches when you hold it up to the light, go down a hook size.
variations I’ve tried
I made one raccoon with Bernat Blanket yarn and a 6mm hook once and it turned out huge and kind of floppy but really soft. Used it as a pillow basically. The stitches were harder to see with the chenille texture though so I wouldn’t recommend that if you’re still getting comfortable with amigurumi.
You can also make the raccoon standing on all fours instead of sitting if you position the legs differently and make the body more horizontal. That’s actually easier for assembly because you’re not trying to get it to balance in a sitting position.
Adding a little vest or bandana is cute if you want to dress it up. Just a simple rectangle of contrasting color wrapped around the neck or a tiny crocheted vest. I made one with a red bandana using some scrap Red Heart.
common problems
If your raccoon is leaning to one side it’s probably because the stuffing isn’t distributed evenly or one leg is attached higher than the other. You can try adding more stuffing to the lower side or just accept that it’s got character.
Lumpy stuffing shows through the stitches – this happens when you stuff too much at once in big chunks. Pull the Poly-fil apart into smaller wisps before you shove it in. Takes longer but looks way better.
The head flopping around means you didn’t sew it on with enough stitches or didn’t pull them tight enough. Go around the neck seam at least twice with your yarn to really secure it. You can also put a cardboard disc inside the neck area before closing it up for extra stability.
Color changes leaving gaps – this is just part of working with multiple colors. Pull your stitches tight when you switch colors and weave the ends in really well. The gaps usually close up when you stuff it anyway.
what I’d do differently
If I made another one now I’d probably use a pattern that has the tail attached at an angle so it curves up instead of just sticking straight out. Makes it look more lively. Also maybe embroider some claws on the paws with white or cream colored floss.
I’d definitely not use black for the stripes on the tail if I’m using black for the mask because then you’re carrying around this one skein for two different parts and the ends get all mixed up. Maybe dark brown for the stripes would work better.
The other thing is I’d make the ears just slightly bigger. Mine always come out looking a bit small for the head proportions but I never remember to adjust until I’m already done.
Overall though raccoons are a good intermediate amigurumi project – not as simple as a ball with ears but not as complicated as something with lots of small pieces or complex shaping. Takes maybe 6-8 hours total if you’re working casually and watching TV or whatever. Mine took longer because I kept getting distracted by the cult documentary and having to recount stitches.
