
Jun
Getting Started With The Actual Pug Shape
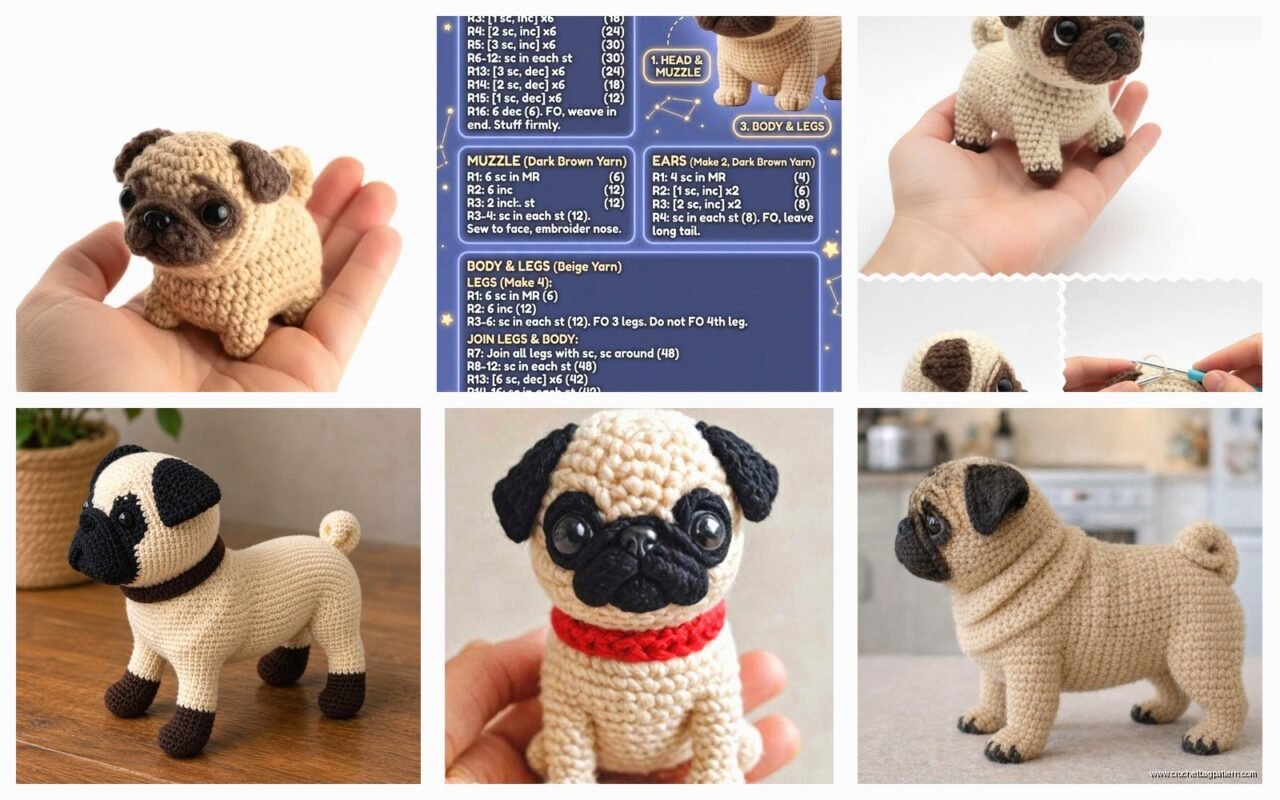
So the head is basically where you’re gonna spend most of your time because pugs have that super flat face and it’s weirdly tricky to get right. I made my first pug amigurumi in spring 2022 when I was stuck at home with nothing to do and honestly the face frustrated me so much I almost gave up twice.
You want to start with a magic ring, about 6 single crochets to begin. Then you’re increasing pretty rapidly because pug heads are round and chunky. I used Lily Sugar’n Cream in the tan color for the body – not the fancy stuff, just regular cotton yarn from the craft store. The increases go like: round 2 do 12 stitches (increase in each), round 3 do 18 (sc, inc around), round 4 do 24, and keep going until you hit about 42 or 48 stitches depending on how big you want the head.
The thing that annoyed me SO much was getting the muzzle to sit flat against the face properly. Like you make this separate piece and you’re supposed to attach it but it kept looking lumpy or lopsided no matter what I did. I probably ripped it out and reattached it four times before I just accepted it wasn’t going to be perfect.
The Muzzle Is Its Own Beast
For the muzzle you need black or very dark brown yarn. I think I used Red Heart Super Saver in black because I had it lying around. Start with another magic ring but this time you only want it to get to about 18-24 stitches max. It’s a flat circle basically. You do maybe 3 or 4 rounds of increases then stop.
Here’s where it gets specific – you need to stuff the head pretty firmly BEFORE you attach the muzzle. If you wait until after, you can’t get your hand in there properly and it’ll be all saggy looking. Once the head is stuffed, pin the muzzle where you think it should go. Pugs have their muzzles pretty low and centered, almost like smooshed down toward the bottom third of the face.
When you’re sewing it on, use black thread or yarn and go around the edges. I found that doing a whip stitch worked better than trying to crochet it on because you get more control. Just make sure you’re catching both the muzzle edge and the head fabric with each stitch. It’s tedious but if you rush it you’ll definitely notice.
Eyes and Face Details
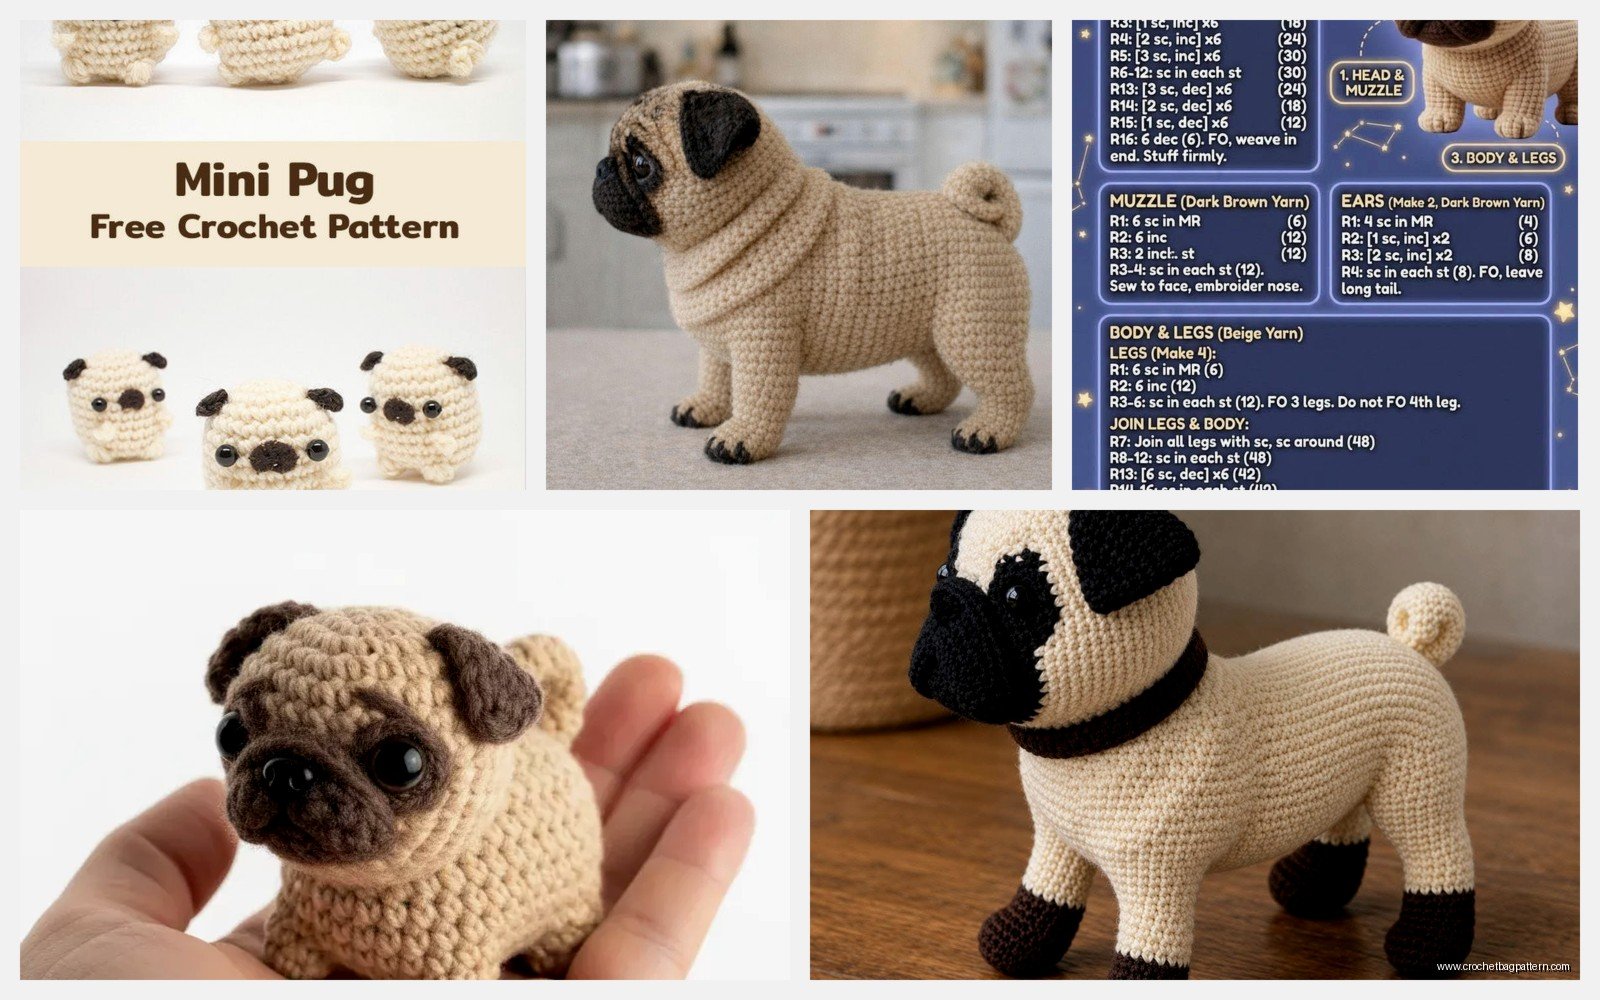
Safety eyes are basically required here unless you’re making this for yourself and don’t care about safety standards. I used 12mm black safety eyes and positioned them pretty far apart – wider than you’d think actually. Pugs have that wide-set eye thing going on. Put them in BEFORE you finish stuffing the head completely because once those washers are on the back you can’t adjust.
The wrinkles are optional but they make it actually look like a pug instead of just a generic dog. I used the same tan yarn and just did some surface stitching across the forehead area. Make like 2 or 3 curved lines above the muzzle. Don’t overthink it, they don’t have to be symmetrical. Real pug wrinkles aren’t symmetrical anyway.
Body Construction
The body is honestly the easiest part which is nice after dealing with that face. You’re making basically an oval cylinder shape. Start the same way with a magic ring, 6 sc, then increase up to about 36 or 42 stitches depending on how chubby you want your pug. Work straight (no increases or decreases) for like 10-12 rounds to get the length.
Then you decrease back down gradually. I usually do it over 4-5 rounds so it’s not too sudden. The body should be slightly smaller at the neck end where it’ll attach to the head. Stuff it firmly but not rock-hard. You want it to have some squish.
One thing I learned the hard way – attach the head to the body BEFORE you sew on any legs or the tail because you need to be able to hold the body easily while you’re working. I tried doing the legs first once and it was so awkward trying to maneuver everything.
Legs Are Repetitive But Quick
You need four legs obviously. They’re all the same pattern which is nice because once you figure out the first one you just repeat it three more times. Each leg starts with black yarn for the paw. Magic ring with 6 sc, increase to 12, then work straight for 2 rounds.
Switch to your tan body color and continue straight for about 8-10 more rounds depending on how long you want the legs. Pugs have pretty short stocky legs so don’t make them too long or it’ll look wrong. Stuff each leg as you go – not super tight, just enough so they hold their shape.
When you’re attaching them to the body, position the front legs kind of toward the front underside, angled slightly forward. The back legs go more to the sides. I usually pin all four legs where I think they should go, then stand the pug up to see if it looks balanced before I actually sew them on. This saves you from having a wonky pug that tips over.
That Curly Tail Though
The tail is what really makes it read as a pug. It’s gotta curl. I make a simple chain of like 12-15 stitches, then sc back down the chain. But here’s the trick – as you’re working back down, kind of twist the piece as you go so it naturally wants to curl. Then when you attach it to the body, position it so it curls up and over toward the back.
Attach the tail pretty high up on the back end, not down low. Pug tails sit high. I was watching The Great British Bake Off while I was sewing on the tail for my first pug and I wasn’t really paying attention and put it way too low and had to redo it.
Ears Are Surprisingly Important
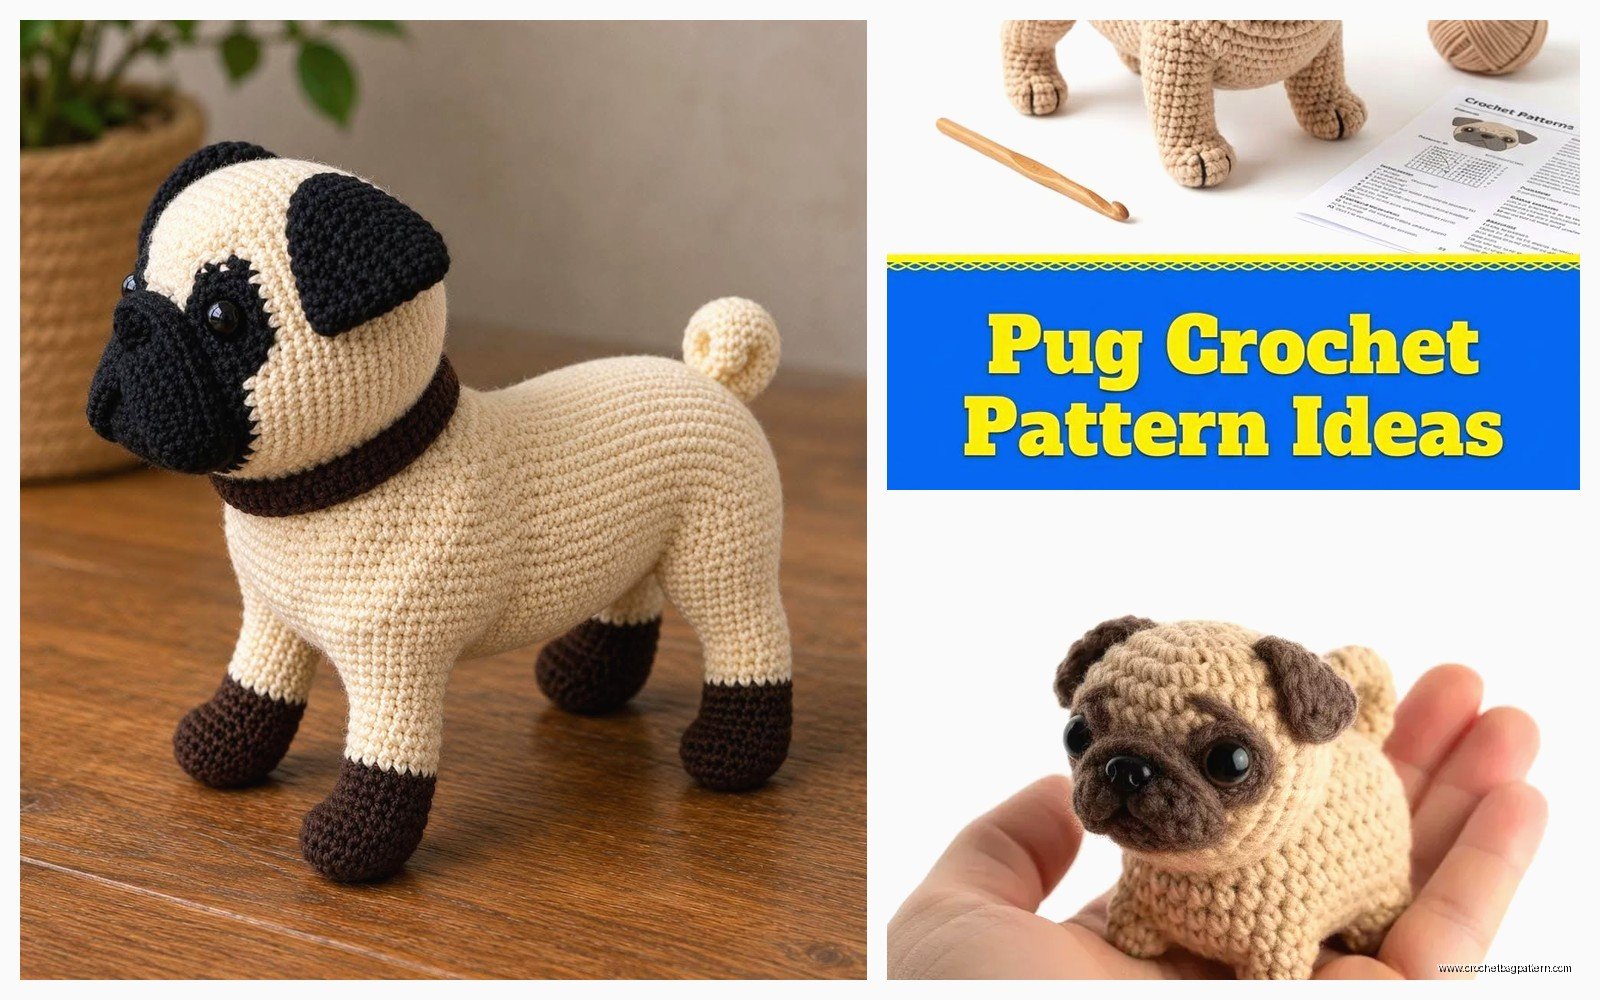
Okay so pug ears are floppy and dark. You make them with black yarn, just a flat triangle basically. I do mine by chaining like 8, then working back and forth in rows, decreasing on each side every row until you’re down to one stitch. Make two of these.
The positioning matters more than you’d think. They sit on the sides of the head, kind of toward the back, and they should flop forward. When you’re sewing them on, only attach the top edge – the narrow part – to the head. Let the rest hang loose so they actually look floppy. If you attach them too far forward they’ll cover the eyes which looks weird.
Some people do rose ears vs button ears and honestly I can’t tell the difference once they’re on the amigurumi so just do whatever looks right to you.
Color Variations and Yarn Choices
Most pugs are fawn colored which is that tan/beige situation, but you can also do black pugs which are actually easier because you don’t have to worry about the muzzle standing out as much. For fawn pugs I’ve used Caron Simply Soft in Bone or Bernat Super Value in Taupe. Both worked fine.
If you’re doing a black pug, literally just use black yarn for everything except maybe the eyes need to be a different color since you can’t really see black on black. Some people do white around the eyes for black pugs but I haven’t tried that yet.
The yarn weight matters. I use worsted weight (size 4) for most of mine with a 3.5mm or 4mm hook. If you go bigger you’ll have gaps and the stuffing shows through which looks bad. If you go smaller your hands will hurt and it takes forever. Worsted is the sweet spot.
Stuffing Tips That Actually Matter
Use polyfil or polyester stuffing, not cotton or fabric scraps. The cheap stuff from the craft store is fine, you don’t need premium stuffing. But here’s what I learned – stuff in small amounts and push it into the corners and edges as you go. If you just shove big wads in there it gets lumpy.
For the head especially, really pack it in there because if the head is too soft it’ll flop around on the body and look sad. The body can be a bit softer but still firm enough to hold shape. The legs should be the least stuffed – just enough so they’re not flat but they can still bend a little.
My cat kept trying to steal the stuffing while I was working on my second pug which was super annoying because she’d pull little bits of it all over the apartment.
Assembly Order Actually Matters
Do it in this order or you’ll make it harder on yourself: stuff and close the head, attach muzzle, add eyes and nose embroidery, make and attach ears, stuff and close body, attach head to body, make and attach all four legs, attach tail. If you try to do it in a different order you’ll be fighting with pieces that are in the way.
When you’re sewing pieces together, use the same color yarn as the piece you’re attaching and go around at least twice for security. These things get handled a lot if you’re giving them as gifts and you don’t want a leg falling off.
Optional Details
You can add a collar if you want. I just chain enough to go around the neck, then sc back down and sew it on. Some people add little charm beads for a tag which is cute. You could also make a tiny leash but that seems like overkill to me.
Some patterns include a tongue hanging out which honestly looks kind of weird on such a small amigurumi but if you want to do it just make a tiny oval of pink yarn and sew it peeking out from the muzzle area.
I’ve seen people add glasses or hats but at that point you’re getting into dress-up territory and – wait actually that might be cute for a specific person who likes that stuff but for a general pug I’d skip it.
Common Problems I’ve Run Into
The head being too big or too small for the body is super common. You want the head to be bigger than you think, pugs are like 40% head. If your head looks too small, add a few more rounds before you start decreasing.
Floppy neck syndrome where the head won’t stay up – this means you didn’t stuff firmly enough OR you need to use a few extra stitches when attaching to really secure it. Sometimes I’ll go around the neck join three times instead of two.
Legs pointing weird directions – this is a pinning issue, just take more time to position them before you commit to sewing.
The muzzle looking like a tumor instead of a muzzle – yeah this one still gets me sometimes, you just gotta fiddle with the placement and make sure it’s centered and low enough.
Time Investment
Your first pug will probably take like 6-8 hours total if you’re working casually. Maybe spread over a few days. Once you’ve done one, the next ones go faster, maybe 4-5 hours. The head and muzzle are the most time-consuming parts. Everything else is pretty quick.
I made one as a gift for my friend’s birthday in summer 2024 and I think I did it over a weekend, couple hours each day while watching TV. It’s not a quick project but it’s not like a blanket that takes months either.
Variations and Modifications
You can make them smaller or bigger by changing yarn weight and hook size. Sport weight yarn with a 3mm hook makes a tiny palm-sized pug. Bulky yarn with a 6mm hook makes a huge one but honestly that seems like a waste of yarn.
Different poses are possible – you could make it sitting instead of standing by adjusting the leg positions and making the back legs bent. Or lying down which would mean making the legs flat and positioning everything differently but I haven’t actually tried that.
Some people make the wrinkles more dramatic by actually crocheting raised ridges into the face instead of just embroidering them but that seems complicated for not much payoff.
