
Jun
okay so kawaii crochet stuff
Right so you wanna make those super cute japanese amigurumi things. I made this little octopus last summer, like August 2024 I think, while binge-watching The Bear and honestly it kept me from spiraling about some work stuff. The patterns look way more intimidating than they actually are once you figure out the basic structure.
First thing is you gotta understand that kawaii amigurumi is basically just working in the round with increases and decreases to make sphere shapes. Most of the time you’re making a ball for the head, maybe a slightly bigger ball for the body, and then whatever appendages. The “kawaii” part comes from the proportions being really specific – like giant heads, tiny bodies, simple facial features placed really precisely.
yarn situation
So for yarn I’ve used Red Heart Super Saver a bunch because it’s cheap and you can find it everywhere, but honestly it’s kind of squeaky? Like the texture isn’t my favorite for these projects. Lily Sugar’n Cream works great if you want something with more structure, but it’s cotton so it doesn’t have the same softness. My favorite for amigurumi is actually Paintbox Yarns Simply DK or sometimes I use Hobbii’s Friends Cotton – that one’s really nice and comes in like a million colors which matters when you’re trying to get that perfect pastel pink or mint green.
You want a yarn that doesn’t split easily because you’ll be working tight stitches and going through the same spots multiple times when you’re sewing pieces together. Also get one that’s consistent in thickness because nothing’s more annoying than having lumpy texture on what’s supposed to be a smooth little character.
the actual technique stuff
Most patterns use a magic ring to start. You make this adjustable loop and work your first round into it, then pull it tight so there’s no hole in the center. I literally watched like fifteen youtube videos before I got this right because written instructions made no sense to me. You could also just chain 2 and work into the first chain but you’ll have a tiny hole which honestly on small projects nobody notices.
The basic pattern structure goes like this – start with 6 single crochets in the magic ring. Round 2 you increase in every stitch so you have 12. Round 3 you do single crochet then increase, repeat around so you get 18. Round 4 is SC, SC, increase around for 24. You’re basically adding 6 stitches every round until you get to whatever size you need.
Then you work even rounds with no increases to build up the height. When you want to start closing up the sphere you do the opposite – decreases instead of increases. SC2tog or invisible decrease if you want it to look cleaner.
what annoyed me
The thing that drives me absolutely crazy is counting stitches. Like I’ll be going along fine and then suddenly I’m supposed to have 42 stitches but I count and get 44 or 39 and then I have to figure out where I messed up. Some people use stitch markers religiously but I always forget to move them or I move them to the wrong spot. I’ve started just… accepting that sometimes I’m off by one or two and it usually doesn’t matter that much on the final piece? But patterns act like if you’re off by a single stitch the whole thing will collapse.
Also sewing the pieces together at the end is way harder than the actual crocheting. Getting the arms positioned symmetrically, making sure the head doesn’t look crooked – that stuff takes forever and there’s not really a trick to it you just gotta eyeball it and pin everything first.
specific kawaii elements
The face is everything on these. You can crochet a technically perfect bunny but if the face placement is off it looks weird instead of cute. The eyes need to be pretty far apart usually, and positioned lower than you’d think – like closer to the middle of the head than the top. I use safety eyes mostly, the black ones in 6mm or 8mm depending on the size of the project.
For the mouth you can embroider it with black embroidery floss. The classic kawaii mouth is either a simple straight line, a tiny “w” shape, or a little curved smile. Don’t make it too big or too high up on the face. Sometimes I add little blush circles with pink embroidery floss or even just regular blush makeup which sounds weird but actually works.
Colors matter too for the aesthetic – you want pastels mostly or really saturated bright colors. That middle range of like… medium blue or regular yellow doesn’t read as kawaii the same way baby blue or sunshine yellow does. Also white is used a lot for contrast, like white bellies on colored animals or white accents.
common shapes you’ll make
Once you can make a sphere you can make most things. An egg shape is just a sphere where you work more even rounds in the middle before decreasing. A cylinder is increases until you hit your width then all even rounds then bind off without decreases. A cone is gradual decreases all the way down.
For something like a bear you’d make a sphere head, egg body, four little cylinders for legs, two smaller cylinders for arms, two tiny spheres for ears, and maybe a little cone for a snout. Then assemble. A lot of kawaii patterns skip the snout and just have flat faces which is easier.
My cat kept trying to steal the yarn while I was making that octopus last summer which – anyway, tentacles are just long cylinders that you can stuff lightly or leave flat. You usually make them in a spiral without joining rounds so you don’t have a visible seam.
stuffing
Use polyfil stuffing, the kind that comes in a big bag at craft stores. Don’t overstuff or it’ll stretch your stitches and you’ll see the stuffing through the gaps. But don’t understuff either or it’ll be floppy and sad looking. You want it firm but still a little squishy.
Stuff as you go when you’re making the body and head, don’t wait until the end or you won’t be able to get it in there properly. For limbs you can stuff them before attaching or sometimes I’ll attach them flat if they’re meant to be more floppy.
Some people use plastic pellets in the bottom to give weight which makes the piece sit better. I’ve done this a few times and it’s nice but not necessary. You can also use dried beans or rice but those can get gross if the item ever gets wet.
reading japanese patterns
If you want authentic kawaii patterns you’ll probably end up looking at japanese pattern books or websites. Even if they’re translated the terminology can be confusing. “Single crochet” in US terms is “double crochet” in UK/japanese terms. A “slip stitch” might be called a “chain stitch” or just abbreviated differently.
Japanese patterns also use charts a lot which honestly once you learn to read them are way clearer than written instructions. Each symbol represents a stitch type and you can see the shape forming visually. There’s usually a key showing what each symbol means.
Some good pattern designers to look for are Ami Amour, Little Bear Crochets, and there’s this one japanese designer whose name I’m blanking on but they make really detailed food items that are super cute. A lot of free patterns are on Ravelry too if you search for “kawaii” or “amigurumi” though quality varies a lot.
common characters
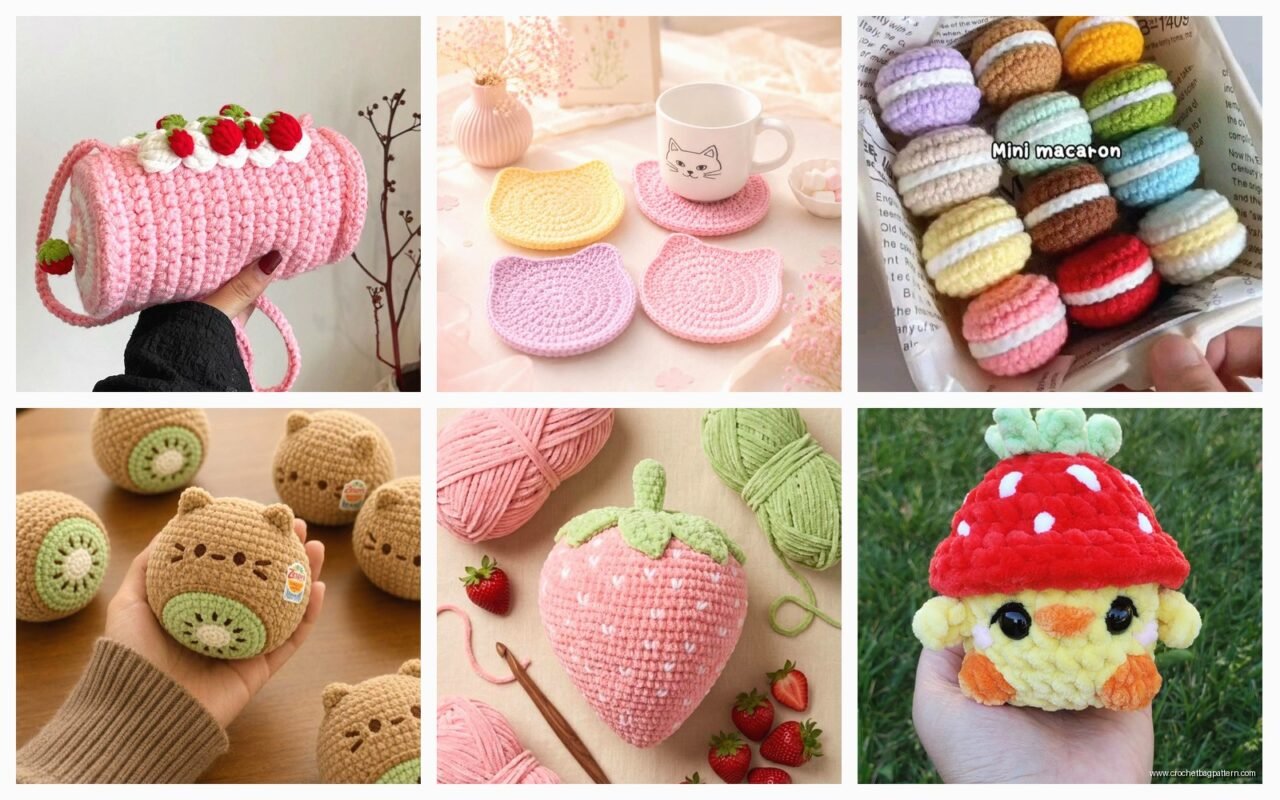
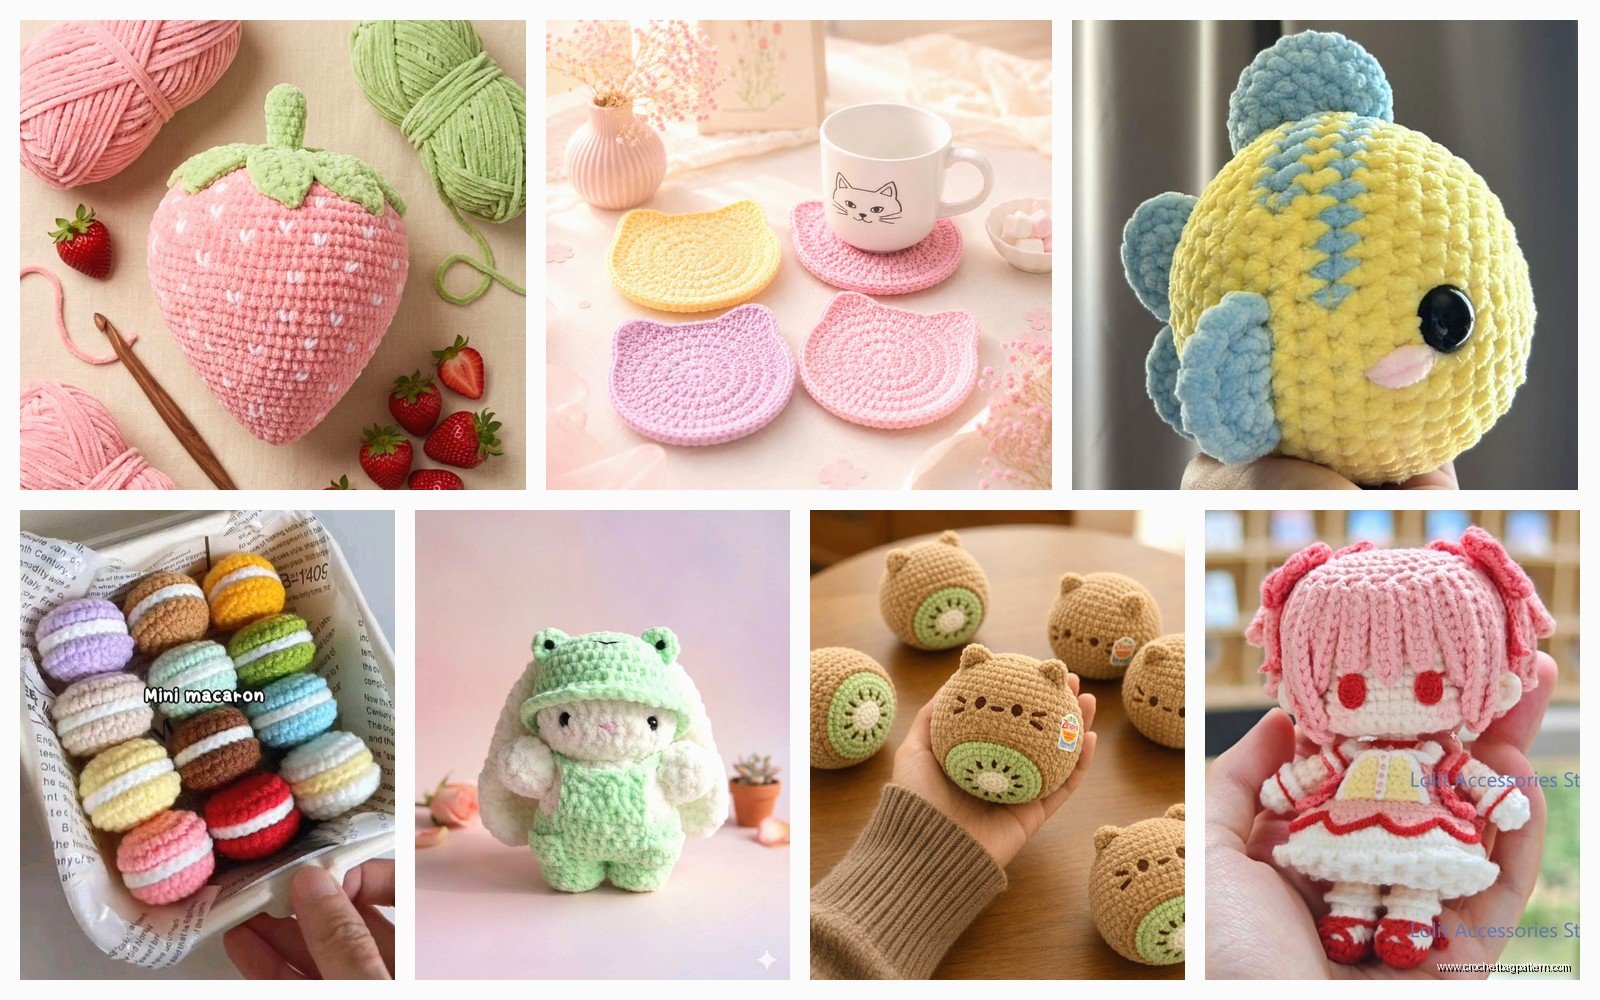
Popular things to make are animals with simplified features – bears, bunnies, cats, dogs, pandas. Food items like strawberries, sushi, boba tea. Little objects like cacti in pots, mushrooms, clouds with faces. Basically anything you can put a simple face on and make round.
The technique is the same for all of them you just adjust proportions. A bunny has long ears, a bear has round ears, a cat has triangle ears. The body structure is identical.
troubleshooting stuff
If your piece is coming out lopsided you’re probably pulling your tension tighter on one side without realizing it. Try to keep consistent tension throughout. If you see gaps between stitches either your tension is too loose or you need to go down a hook size. Most amigurumi is worked with a smaller hook than the yarn label recommends to get that tight fabric.
I usually use a 3.5mm or 4mm hook with DK weight yarn even though the label says 4.5mm. With worsted weight I’ll use a 4mm or 4.5mm instead of the recommended 5mm or 5.5mm.
If your sphere isn’t round enough you might need more increase rounds at the beginning or you’re decreasing too fast at the end. The rate of increase and decrease determines the final shape so sometimes you gotta adjust the pattern based on how it’s looking.
assembly tips that actually help
Pin everything with straight pins before you sew. Position all the pieces, walk away, come back and look at it fresh to see if anything looks off. Take a photo because sometimes things that look fine in person look wonky in photos and you’ll notice it.
Use the same yarn you crocheted with for sewing pieces together. Thread it on a tapestry needle and use a whip stitch or ladder stitch around the edge where pieces connect. Go around twice for security especially on limbs that might get tugged.
For attaching safety eyes, position them first with the head lightly stuffed so you can see how they’ll look. Mark the spots with pins. Take the stuffing out, push the eyes through, put the backs on from inside, then stuff fully and close up. If you try to put safety eyes in after stuffing it’s gonna be really difficult and you might crack the eye shaft.
alternatives to safety eyes
You can embroider eyes with black yarn – either French knots or satin stitch circles. Felt circles glued on work too. Buttons if it’s not for a small kid. I’ve used tiny beads sewn on securely which gives a different look, more shiny.
For that classic kawaii look the eyes should be pretty simple, just solid black circles usually. Sometimes there’s a white highlight dot added with fabric paint or embroidery but not always.
variations and customization
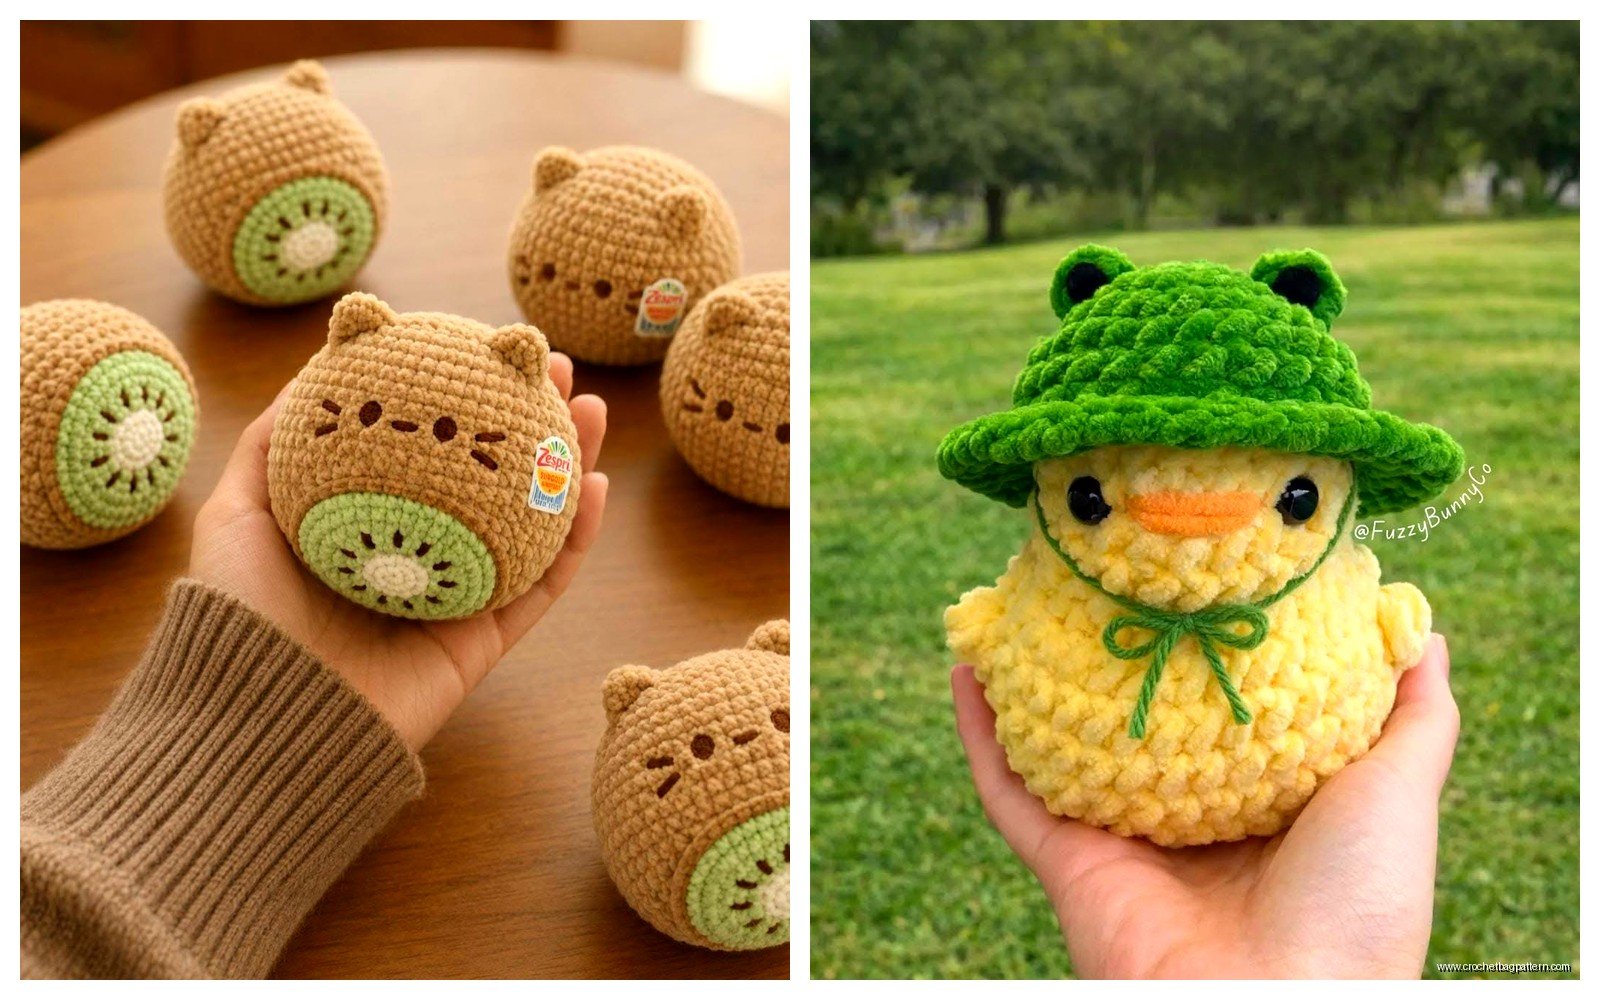
Once you’ve made a basic pattern you can customize like crazy. Change colors obviously. Add stripes or spots with color changes. Make different expressions – closed eyes for sleeping characters, X eyes for dizzy characters, heart eyes, star eyes whatever. Add accessories like tiny scarves or hats or bows.
You can make the same base pattern bigger or smaller just by using different yarn weights and hook sizes. That octopus I made in summer was with DK yarn but I’ve seen people make the same pattern huge with bulky yarn or tiny with thread and a 1mm hook.
Food items are really fun to customize – you can make a strawberry just red or add white seeds embroidered on. Make a donut and add sprinkles with tiny french knots in different colors. Do a boba tea and make the cup striped or add a little straw sticking out.
resources worth checking out
PlanetJune has really good tutorials on techniques even though her patterns aren’t specifically kawaii styled. She explains invisible decrease really well and has good tips on color changing. The blog Amigurumi Today has free patterns that are hit or miss but some are really good starting points.
YouTube is honestly better than written patterns when you’re learning because you can see exactly how the hook moves and where stitches go. Channels like Clubcrochet and Hooked by Robin have good amigurumi tutorials.
If you’re gonna buy a pattern book, “Amigurumi World” or “Creepy Cute Crochet” are both good even though the second one is more halloween themed. They teach the basic construction methods that apply to any amigurumi.
For japanese pattern books you might need to hunt on Etsy or eBay but there are tons translated to english now. Just make sure it specifies translated before you buy unless you can read japanese obviously.
time investment
A small simple character might take 2-3 hours total if you’re working steadily. More complex ones with lots of pieces or details can be 6-8 hours or more. That octopus took me probably 5 hours spread across a few days because eight tentacles is… a lot of the same thing over and over.
The crocheting itself goes pretty fast once you’re comfortable with the technique. It’s the assembly and finishing that eats up time. Weaving in all the yarn ends, sewing everything together neatly, getting the face positioned right – that’s the tedious part.
But it’s also kind of meditative? Like you don’t have to think too hard once you get into the rhythm of it. Good for doing while watching TV or listening to podcasts or whatever.
