
Jun
Getting Started with the Hippo Body
So the body is basically just a big oval and you’re gonna start with a magic ring. I made my first hippo in summer 2022 while my sister was visiting and she kept asking why I was making “a lumpy potato” which honestly wasn’t wrong at that stage. You start with 6 sc in the magic ring, then increase every stitch for round 2 so you get 12 stitches. Round 3 you do the standard increase pattern – sc, inc around to get 18. Keep going with this pattern until you hit about 48-54 stitches depending on how chunky you want your hippo.
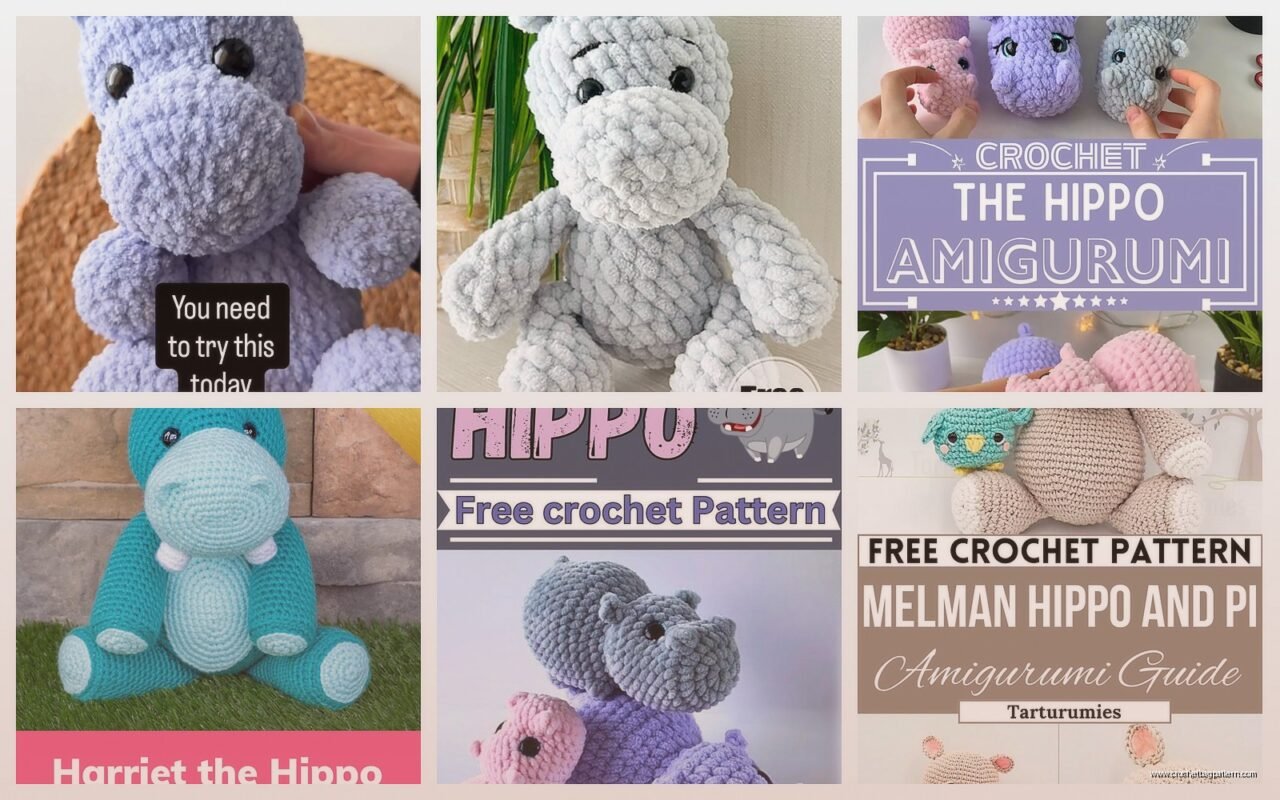
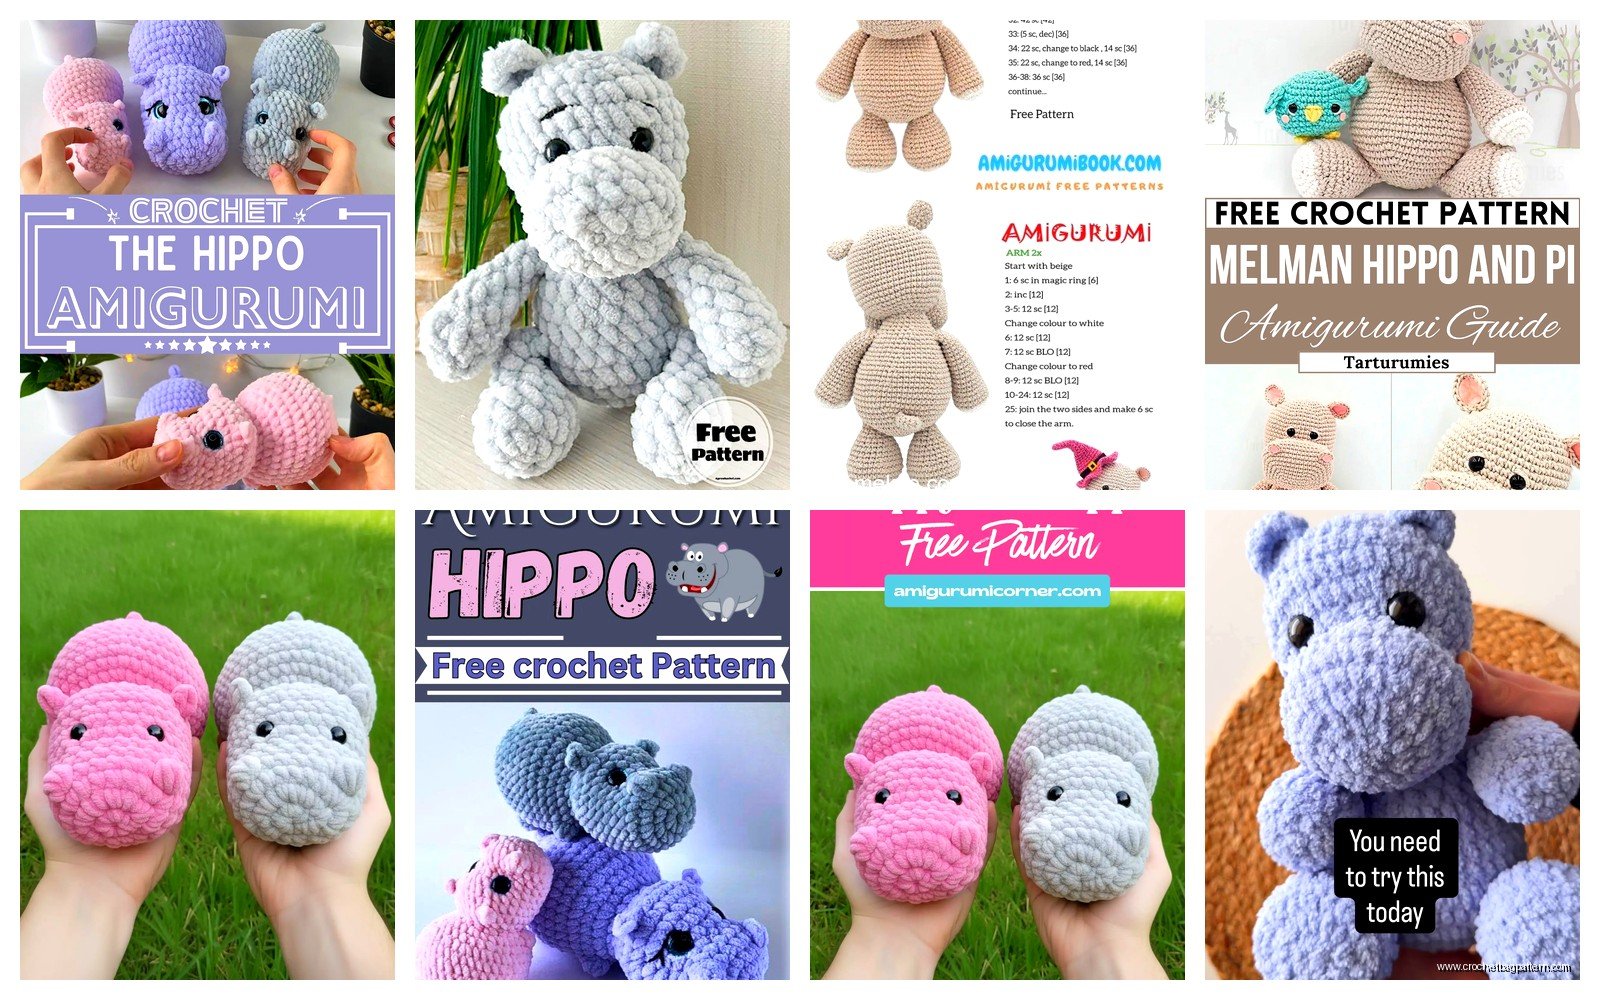
I used Red Heart Super Saver in Grey Heather for that first one because it was cheap and I wasn’t sure if I’d even finish it. The thing that really annoyed me was stuffing the body later because you need SO much stuffing and it never looks smooth enough. Like you keep adding more and it still has weird flat spots.
Working the Body Length
Once you get to your desired width you just work even – no increases or decreases – for maybe 15-20 rounds. This creates the barrel shape of the hippo body. The exact number depends on if you want a chubby hippo or a longer one. I usually do around 18 rounds of straight sc but sometimes I lose count and just eyeball it honestly.
You’ll want to start decreasing after that. Same pattern as increasing but backwards – dec, sc, dec, sc around. Do this gradually over maybe 8-10 rounds. Don’t decrease too fast or you’ll get a cone shape instead of a rounded butt end. Start stuffing while you can still get your hand in there because trying to stuff through a tiny opening is the worst.
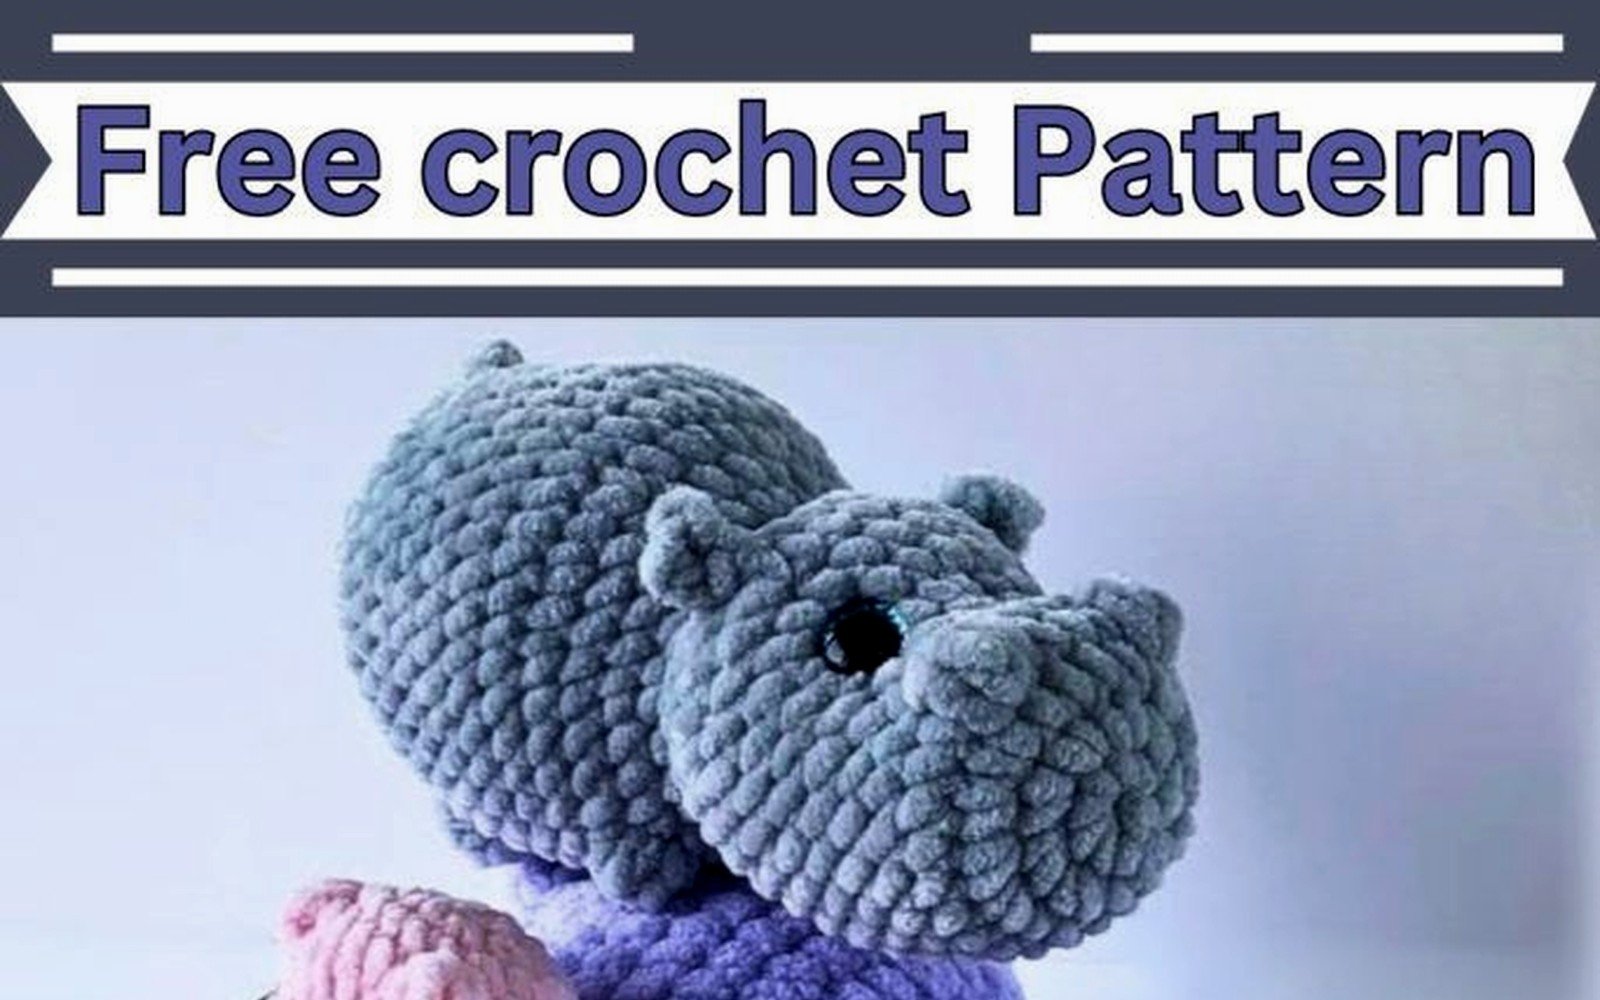
The Head Shape
The head is similar to the body but smaller and you need to think about where the snout is gonna go. Start same way – magic ring with 6 sc, increase to 12, then 18, then 24, then 30. I usually stop at 36 stitches for the head width. Work even for about 10 rounds.
Here’s where it gets specific – you need to make the snout area. Some patterns have you crochet the snout separately but I just do short rows on one side of the head. You basically work back and forth on like 12 stitches for about 4 rows to create a little bump. Then you continue around the whole head again. It’s hard to explain without showing you but basically you’re just not working all the way around for a few rows.
When I made one in spring 2023 I tried using Bernat Blanket yarn because I thought it would be cute and soft but it was actually too thick and you couldn’t see the stitch definition at all. Looked more like a blob than a hippo. Stick with worsted weight – I like Caron Simply Soft or even the cheap stuff from Walmart works fine.
Those Stubby Little Legs
Hippo legs are basically just short cylinders. Magic ring with 6 sc, increase to 12 sc, then work even for about 8-10 rounds. You want them stubby because hippos have those thick stumpy legs. Make four of these obviously.
The annoying part is attaching them so the hippo actually stands up. I usually stuff them pretty firm and then sew them onto the body with the hippo laying on its side. Position them so there’s two front legs and two back legs and make sure they’re even or your hippo will look drunk. I use the same yarn as the body and just do a whip stitch all the way around each leg where it meets the body. Go around twice for security.
My cat kept attacking the legs while I was trying to attach them on that spring 2023 hippo and I had to lock myself in the bedroom to finish it.
Ears That Actually Look Like Hippo Ears
Okay so hippo ears are small and round and sit on top of the head. Chain 6, then work back down the chain doing sc in each stitch. When you get to the end do 3 sc in the last chain to round the corner, then sc back up the other side of the chain. You’ll have this little oval shape. Do one more round of sc around the whole thing.
Make two of these and sew them onto the top of the head. They should be pretty close together – hippo ears aren’t on the sides like some animals they’re more on top. I fold the bottom edge of each ear slightly when I’m sewing it on so it has a bit of dimension and isn’t just flat against the head.
Eyes and Nostrils
Safety eyes are the easiest option – I use 12mm or 15mm black safety eyes. Position them on the upper part of the head before you finish stuffing and closing it up. They should be pretty far apart and slightly on top of the head rather than on the sides because hippos have eyes on the top of their heads for when they’re in water.
For nostrils you can either embroider them with black yarn or use small buttons. I usually just do french knots with black embroidery floss because buttons can look weird. Make two nostrils on the snout area – they should be pretty prominent because hippo noses are one of their main features.
The mouth is optional but I sometimes do a simple line with backstitch using pink or dark grey embroidery floss. Just a curved line under the snout area. Don’t make it too smiley or it looks cartoonish unless that’s what you’re going for.
That Weird Little Tail
Hippos have these tiny rope-like tails that are honestly kind of funny looking. Chain about 8-10, then sc back down the chain. Leave a long tail for sewing. Attach it to the back end of the body right at the top of the butt area. It should stick out and look a bit silly honestly.
Some people skip the tail but I think it adds character. On my summer 2022 hippo I forgot the tail entirely and didn’t realize until I’d already given it to my niece so… that hippo is tail-less forever I guess.
Color Choices and Yarn Weight
Most people do grey hippos but you can honestly do any color. I’ve seen pink ones, blue ones, even rainbow ones. For realistic looking hippos stick with grey or greyish-brown. That Red Heart Super Saver in Grey Heather is good, or Caron Simply Soft in Grey or Taupe works nice. I tried Hobby Lobby’s I Love This Yarn once in a purple color and it worked fine – cheaper than the name brands.
Use worsted weight yarn with a 3.5mm or 4mm hook. Some patterns say 3.5mm but I find 4mm gives a slightly looser fabric that’s easier to stuff smoothly. You don’t want the stitches so tight that the stuffing shows through but you also don’t want them so loose that you have gaps.
For stuffing I just use whatever polyester fiberfill is cheapest. The fancy stuff isn’t worth it for amigurumi honestly. You need probably like two handfuls for the body and one handful for the head plus a bit for the legs.
Assembly Order That Makes Sense
Do the body first and stuff it completely. Then the head – stuff it but leave the opening for now because you need to attach the ears and eyes first. Add the safety eyes, sew on the ears, embroider the nostrils and mouth if you’re doing that. Then finish stuffing the head and close it up.
Sew the head onto the body – I position it so the snout is pointing slightly upward because that’s more hippo-like. Use lots of stitches to attach it securely because the head is heavy and you don’t want it flopping around or falling off.
Then do all four legs and attach them. Make sure the hippo can actually sit or stand depending on how you position them. I usually do a sitting hippo because it’s cuter and more stable.
Add the tail last because it’s easy to forget and also because it’s the least important part structurally.
Common Problems I’ve Had
The biggest issue is lumpy stuffing. You really gotta take your time and add small bits of stuffing at a time, pushing it into the corners and smoothing it as you go. If you just shove a big wad of stuffing in there it will look terrible and bumpy.
Another thing is the legs not being even. I’ve made hippos where one leg was like half an inch shorter than the others and it looked so stupid tilting to one side. Count your rounds carefully on the legs and make sure they’re all identical.
The head attachment is tricky too – if you don’t sew it on straight the hippo will look like it’s perpetually looking to the left or right. Pin it in place first with straight pins before you start sewing.
Getting the snout shape right takes practice. My first attempt the snout was basically non-existent and it looked more like a manatee or something. You need to make sure those short rows really create a visible bump on the face.
Sizing Variations
You can make a tiny hippo with sport weight yarn and a smaller hook, or a giant one with bulky yarn and a bigger hook. The pattern stays basically the same you just adjust the yarn weight and hook size. I made a tiny keychain hippo once with crochet thread and a 2mm hook and it took forever but was really cute.
For a baby-sized hippo use worsted weight like I described. For a bigger huggable hippo use two strands of worsted held together or switch to Bernat Blanket or another bulky yarn with a 6mm hook. Just keep the same stitch counts and round numbers – the yarn weight determines the final size.
Embellishments Nobody Asks For But Are Fun
I made one hippo wearing a little crocheted bow tie once which was ridiculous but cute. You can also do a flower crown, a scarf, a tiny hat – whatever. Some people add eyelashes with embroidery which makes them look more feminine if that’s your thing.
You could also do different expressions by changing the eye placement and mouth shape. Wide-set eyes with a big smile looks friendly and dopey. Close-set eyes with no mouth looks more serious and realistic.
I was watching The Great British Baking Show while making my most recent hippo in November 2024 and I kept getting distracted during the technical challenges and losing count of my stitches so that one has some weird wonky rounds where I definitely messed up the stitch count but it still turned out okay.
Time Investment
A basic hippo takes me maybe 4-6 hours total if I’m watching TV and not rushing. The body takes the longest – probably 2 hours. Head is maybe an hour. Legs are quick, maybe 15 minutes each. Assembly is another hour or so depending on how fussy you are about getting everything positioned perfectly.
If you’re a beginner add more time – maybe 8-10 hours total. Once you’ve made a few you get faster and don’t have to think about it as much.
Pattern Notes Nobody Tells You
You don’t need to follow a pattern exactly. Like if a pattern says 48 stitches for the body but you want a fatter hippo just do 54 or 60. If it says 10 rounds of even stitches but your hippo looks too short add more rounds. Amigurumi is pretty forgiving – it’s not like garment crochet where gauge really matters.
Mark your rounds with a stitch marker or piece of yarn in a different color. It’s so easy to lose track of where you are especially on the body where you’re doing round after round of the same stitch.
Weave in ends as you go or you’ll have a million yarn tails to deal with at the end and it’s the worst. I usually weave them in after finishing each piece before moving to the next one.
The magic ring intimidates people but it’s really not that hard – there’s a million YouTube videos showing how to do it. If you really hate it you can just chain 2 and work your starting stitches into the second chain from hook but the magic ring looks cleaner.