
Jun
Getting Started with the Gengar Thing
So I made one of these last summer around July 2024 when it was stupidly hot and I was binge-watching The Bear in my apartment with the AC cranked up. The whole Gengar amigurumi thing is actually not as complicated as you’d think even though he’s got that chubby ghost body and the spiky back situation going on.
First off you’re gonna need purple yarn obviously. I used Red Heart Super Saver in Perfect Plum because it was like $3 at Walmart and honestly it worked fine. Some people get all fancy with the Japanese yarn or whatever but Gengar’s a chunky ghost so the slightly rough texture of acrylic actually works. You’ll also need some white or cream for the eyes and teeth, black for the pupils and mouth details. I think I used Lily Sugar’n Cream in white because that’s what I had lying around from making dishcloths.
The hook size matters more than people tell you. I used a 3.5mm hook with the Red Heart yarn which gave me pretty tight stitches. You don’t want gaps because the stuffing shows through and it looks weird on a character that’s supposed to be this solid ghost creature. If you use a bigger hook the whole thing gets floppy and trust me that annoyed the hell out of me on my first attempt where I used a 5mm hook and he looked like a deflated balloon.
The Body Shape
Gengar’s body is basically a fat oval or egg shape. You start with a magic ring which I know some people hate but just deal with it because it makes the bottom look cleaner. Start with 6 single crochet in the magic ring, then you’re increasing every round for probably like 6-8 rounds depending on how big you want him.
The pattern I sort of followed had you increasing until you hit about 54 stitches around but honestly I eyeballed it. You want it round and fat. Once you get to the widest part you work even for maybe 10-12 rounds without increasing or decreasing. This makes the middle chubby part of his body.
Then you start decreasing but here’s the thing – you decrease slower than you increased. This gives him that bottom-heavy ghost look instead of making him a perfect sphere. I decreased every other round at first, then every round toward the top. Before you close it up completely you gotta stuff it and stuff it FIRM. Like way firmer than you think. I used Poly-Fil stuffing from JoAnn’s and my cat kept trying to attack the bag every time I opened it which was annoying.
Those Stupid Spikes on His Back
Okay so the spikes. This was the part that annoyed me the most because they’re not hard they’re just tedious and you need to make like what, five or six of them? They’re basically little triangular cone shapes.
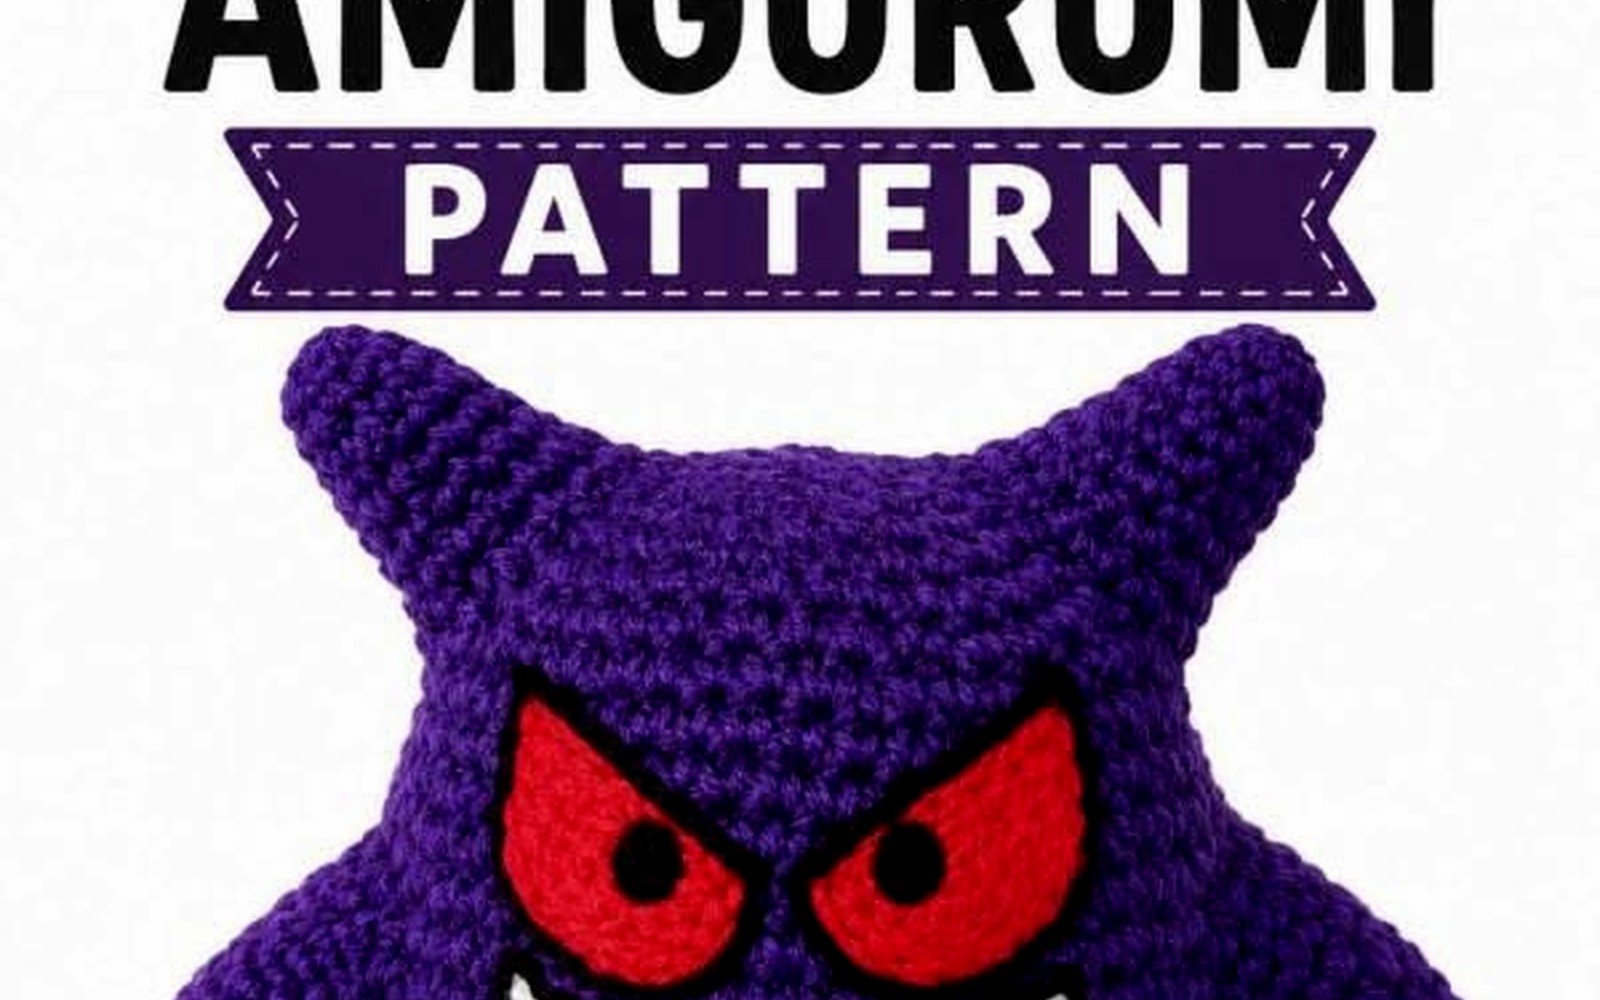
You make each spike separately by chaining 4 or 5, then working back down the chain with slip stitches or single crochet to make a flat triangle. Then you fold it in half and seam the edges to make it 3D. Some patterns tell you to make them in the round but that seemed like overkill for something so small.
The annoying part is attaching them to the body in a way that looks intentional and not like you just slapped them on randomly. I pinned mine first with regular sewing pins to figure out the spacing. They should go down the center of his back in a line from his head area to about halfway down his body. Sew them on with purple yarn using a yarn needle and try to make your stitches invisible by going through the base of each spike into the body stitches.
Arms and Legs Situation
Gengar has these stubby little arms and legs that are basically the same construction. They’re short fat tubes. For each limb start with a magic ring again, 6 sc, then increase to 12 in the next round. Work even for maybe 4-6 rounds depending on how long you want them. The legs are slightly thicker than the arms.
You can stuff these lightly or not at all honestly. I stuffed mine just a tiny bit at the top where they attach to the body but left the ends kind of flat. Some people add wire inside to pose them but that seems like… I don’t know, for a amigurumi that’s just gonna sit on a shelf it’s probably not necessary.
For the hands you can either leave them as rounded nubs or if you’re feeling ambitious you can add three little finger points. I did the fingers by just doing 3 chain stitches and slip stitching back down three times around the end of each arm. It’s not perfect but it reads as fingers from a distance.
Attach the arms to the sides of the body about 2/3 up from the bottom. The legs go on the bottom obviously but position them so he can sit flat. I sewed mine on with regular sewing thread in purple because yarn was too bulky for the small attachment points.
The Face Makes or Breaks It
The eyes are big white ovals with black pupils and that red glint thing Gengar has. I crocheted flat white ovals by chaining 6, then working around the chain to make an oval shape. You increase on the short ends and work even on the long sides. Make two of these.
For the pupils I just used black felt circles because crocheting circles that small is annoying and felt is easier. Glue them onto the white ovals with fabric glue. The red glint is also felt, just tiny red triangles or circles positioned on the upper right of each pupil usually.
The mouth is this big creepy grin which is honestly what makes Gengar recognizable. You can embroider it with black yarn using backstitch or you can do what I did and cut a mouth shape from black felt. The mouth is wide, goes almost across his whole face, and curves up in that mischievous smile. He’s got visible teeth which are white triangles. I cut like 6-8 small white felt triangles and glued them along the top of the mouth opening.
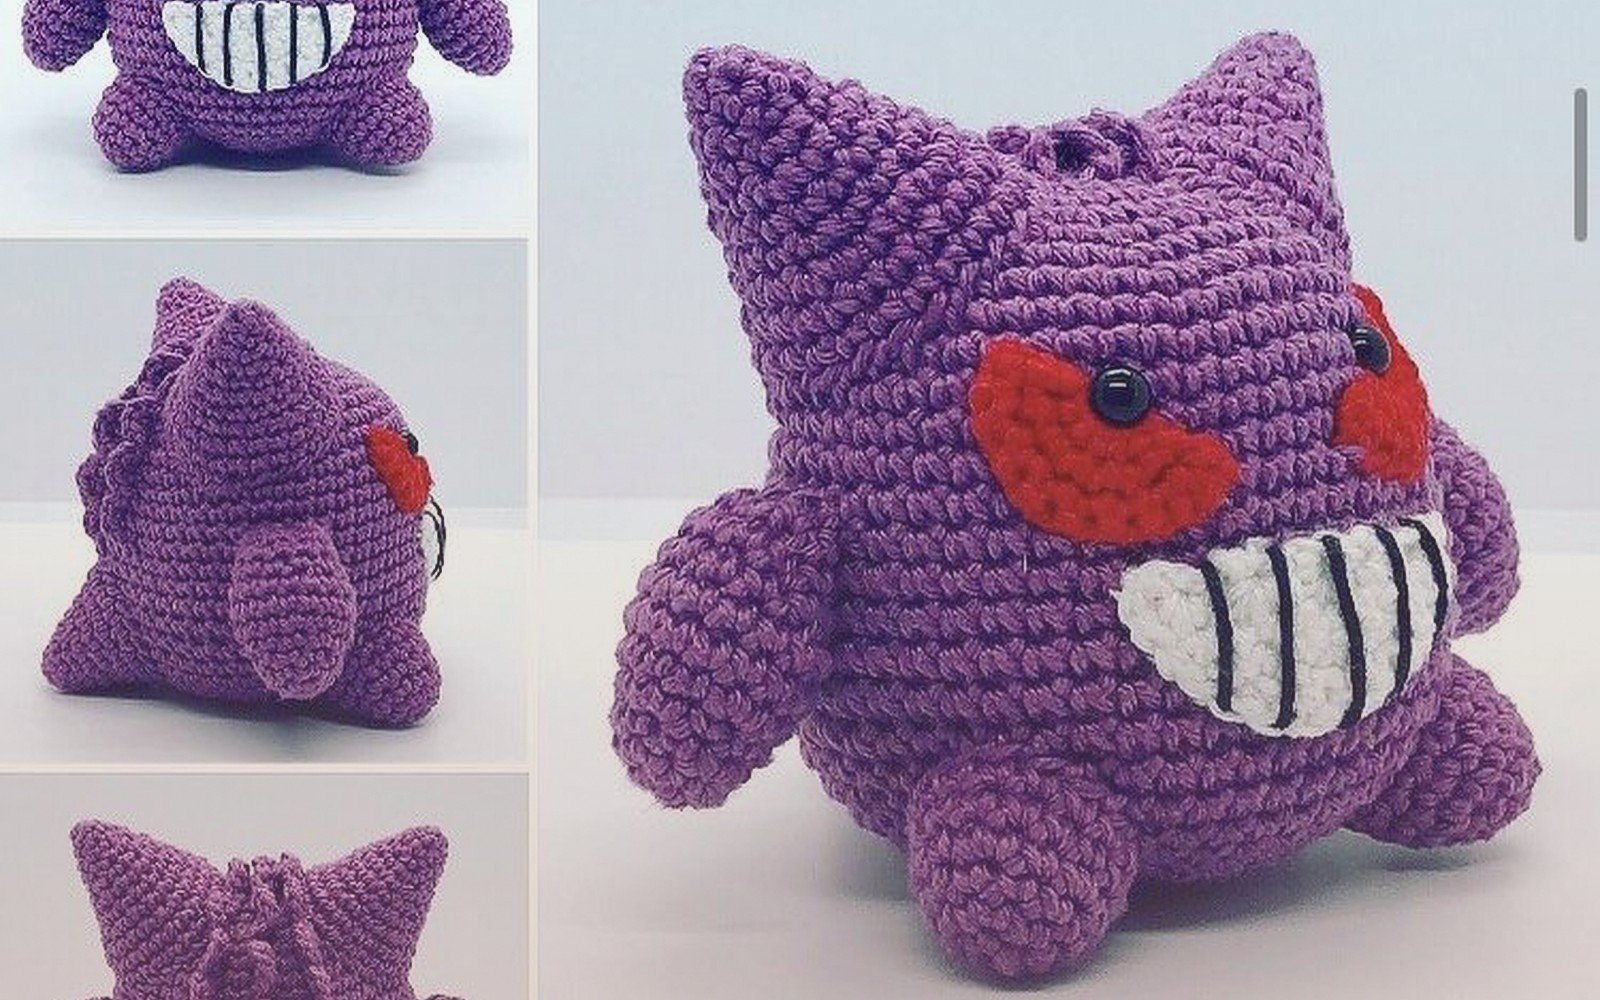
Position the eyes on the upper part of the body/head (since Gengar doesn’t really have a separate head it’s all one shape). The mouth goes below the eyes. Pin everything first, walk away, come back and look at it before you commit to gluing or sewing. I’ve messed this up before by putting the eyes too close together and he looked cross-eyed.
The Ears I Guess They’re Ears
Gengar has those pointy ear things on the sides of his head. These are small triangles similar to the back spikes but positioned horizontally. Chain 6, work back with single crochet decreasing to make a triangle, fold and seam. Make two.
Attach these to the sides of his head at about the same level as the eyes or slightly above. They should point outward and slightly up. I found that sewing them at a slight angle looks better than straight horizontal.
Feet Details
Some people add little felt pads to the bottom of the feet in a lighter purple or pink. I didn’t bother with this but if you want to it’s just oval shapes glued or sewn to the bottom of each leg. It adds a nice detail if you’re planning to give it as a gift or something.
Yarn Amounts and Planning
For a Gengar that’s about 8-10 inches tall you’ll need maybe one full skein of the purple yarn if you’re using Red Heart Super Saver or similar worsted weight. The white and black are minimal, like maybe 10-20 yards each? I used scraps I had.
If you want to make a bigger one just use a thicker yarn and bigger hook but keep the same basic construction. I’ve seen people make huge ones with Bernat Blanket yarn which is that super bulky chenille stuff and they turn out really squishy and huggable.
One thing about gauge – don’t worry too much about it matching a specific pattern. Amigurumi is pretty forgiving as long as your stitches are tight enough that stuffing doesn’t show. If your Gengar ends up rounder or skinnier than the pictures it doesn’t really matter as long as the proportions look generally right.
Assembly Order That Worked for Me
I found it easier to do things in this order: make the body first and stuff it, then make all the limbs and spikes but don’t attach yet, make the face pieces, attach the face first, then add limbs, then spikes last, then ears. This way you can see how the face looks and position everything else around it.
The face really is the most important part because that’s what makes it read as Gengar and not just a purple blob with spikes. Take your time with the eye and mouth placement.
Common Problems I Had
The first time I made one the decreases at the top were too fast and his head looked pointed instead of rounded. Had to frog it back and redo those rounds with slower decreasing.
The spikes falling over or looking floppy – this happens if you don’t sew them on securely enough or if you make them too tall and thin. Shorter stubbier spikes actually look better and stay upright.
Lumpy stuffing showing through – this means your stitches aren’t tight enough or you’re using too big of a hook. Also make sure you’re using actual polyfil stuffing and not like… cotton balls or fabric scraps because those create lumps.
The whole thing being lopsided – this usually happens during assembly if you attach limbs at different heights or angles. Use pins first and measure.
Variations People Do
Some people make shiny Gengar which is white instead of purple with blue accents. Same pattern just different colors. You could use Red Heart Super Saver in White and maybe a light blue for the spikes and inner ears.
Mega Gengar has extra spikes and that weird third eye on his forehead plus different coloring. I haven’t tried this version but you’d basically add more spikes on the sides of his body and make a yellow felt circle for the forehead eye.
Baby Gengar or Gastly forms – Gastly is just a ball with a face so that’s actually easier than regular Gengar. Just make a sphere, add the face, done. No limbs or spikes needed.
Random Tips That Might Help
Use stitch markers especially when you’re doing the body rounds. It’s easy to lose track of where your round starts and ends up with one stitch off which throws everything off.
When sewing pieces onto the body use a length of yarn about 18-24 inches. Longer than that and it tangles, shorter and you run out before you’re done securing it.
If you’re giving this as a gift maybe skip the wire in limbs and small felt pieces that could be choking hazards if it’s for a little kid. You can embroider everything instead which is safer.
The magic ring technique – if you really can’t get it to work just chain 2 and work 6 sc in the first chain. It leaves a small hole in the center but you can sew it closed later or hide it with how you stuff it.
For the smile you can use a backstitch with black embroidery floss instead of yarn if you want a thinner cleaner line. Regular yarn is thicker and gives it a more cartoonish look which honestly works fine for Gengar.
How Long It Takes
The body takes maybe 2-3 hours if you’re not rushing. All the little pieces – limbs, spikes, ears, face parts – probably another 2-3 hours total. Assembly is maybe an hour or more depending on how fussy you are about placement. So you’re looking at like 6-8 hours total spread across a few days probably.
I made mine over a weekend while watching TV so I wasn’t tracking time carefully but it definitely wasn’t a quick project. Not super slow either though compared to like a blanket or sweater.
What Yarn Actually Feels Best
Red Heart Super Saver works and it’s cheap but it’s got that squeaky acrylic feel. If you want something softer Caron Simply Soft is nice and still affordable, comes in a good purple color too. I used that for a second Gengar I made as a gift and it was noticeably softer.
Some people use velvet yarn like Bernat Velvet or Himalaya Dolphin Baby which gives it a plush texture. Haven’t tried this myself but I’ve seen photos and it looks really nice and cuddly. The spikes might be harder to make stand up with velvet yarn though since it’s so soft.
For the face details if you’re not using felt, embroidery floss works better than yarn for small details. DMC embroidery floss in black and white is like a dollar per skein and you barely use any.
The stuffing brand honestly doesn’t matter much. Poly-Fil is fine, Fairfield is fine, the generic craft store brand is fine. Just make sure it’s actual polyfil and not foam beads or something weird.
