
May
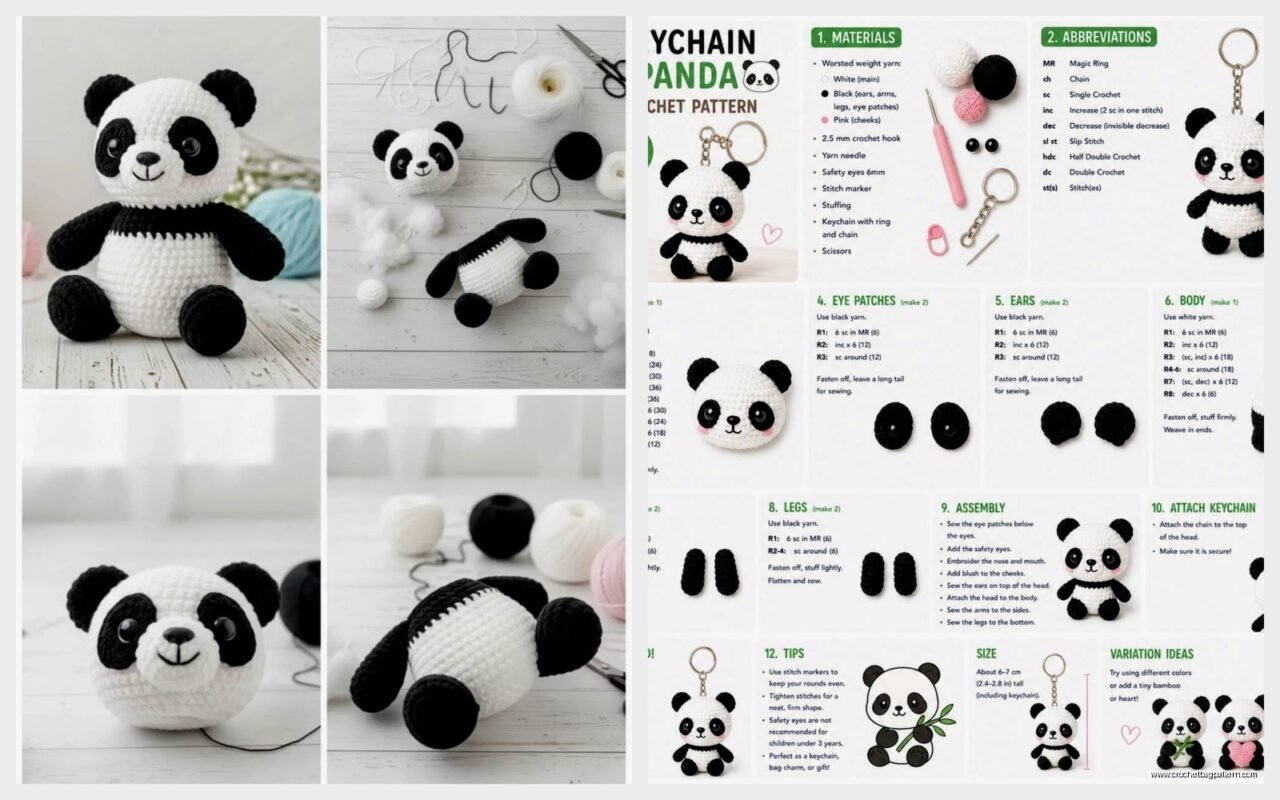
okay so panda amigurumi
so you wanna make a panda bear and honestly they’re probably one of the easier amigurumi projects once you get past the whole “where do the black patches go exactly” thing. I made one back in spring 2022 when I was basically living on my couch binging Succession and needed something to do with my hands that wasn’t doomscrolling.
the basic deal with any amigurumi is you’re working in continuous rounds, no joining unless the pattern specifically says to. for a panda you’re gonna need white yarn for the body and head, black for the ears, arms, legs, and eye patches. I used Hobbii Amigo XL for mine because I had it lying around but honestly Red Heart Super Saver works totally fine too. some people swear by Paintbox Yarns Cotton Aran but like… it’s a stuffed animal, doesn’t need to be fancy.
what you actually need
here’s your supply list and I’m not gonna be cute about it:
- worsted weight yarn in white and black (maybe 100g of white, 50g of black)
- crochet hook size E/3.5mm or F/3.75mm depending on how tight you crochet
- stuffing – polyfil, whatever’s at the craft store
- safety eyes 10mm or 12mm (or you can embroider eyes if you’re giving this to a baby)
- yarn needle for sewing pieces together
- stitch marker because you WILL lose track of where your rounds start
the thing that annoyed me most about making the panda was definitely attaching the eye patches. they never looked symmetrical and I kept taking them off and repositioning them like four times before I just gave up and accepted that my panda looked slightly confused.
starting with the head
you start with a magic ring. if you don’t know how to do a magic ring just youtube it, way easier to watch than read instructions. start with 6 single crochet in the ring.
round 2 is gonna be increases all around so you end up with 12 stitches. round 3 you do sc, inc repeated so that’s 18 stitches. round 4 is sc in 2, inc around for 24 stitches. you see the pattern right? each round you’re adding one more single crochet before the increase.
keep going:
- round 5: sc 3, inc (30 stitches)
- round 6: sc 4, inc (36 stitches)
- round 7: sc 5, inc (42 stitches)
then you work even (no increases or decreases) for like 8-10 rounds depending on how big you want the head. my dog kept trying to steal my yarn ball during this part which was super helpful obviously.
when you get to where you want to start closing up the head, you gotta put in the safety eyes first. this is important because once you start decreasing and stuffing, you can’t get your hand in there anymore. place them around rounds 14-15, about 8-9 stitches apart. but also depends on your tension and— anyway just eyeball it honestly.
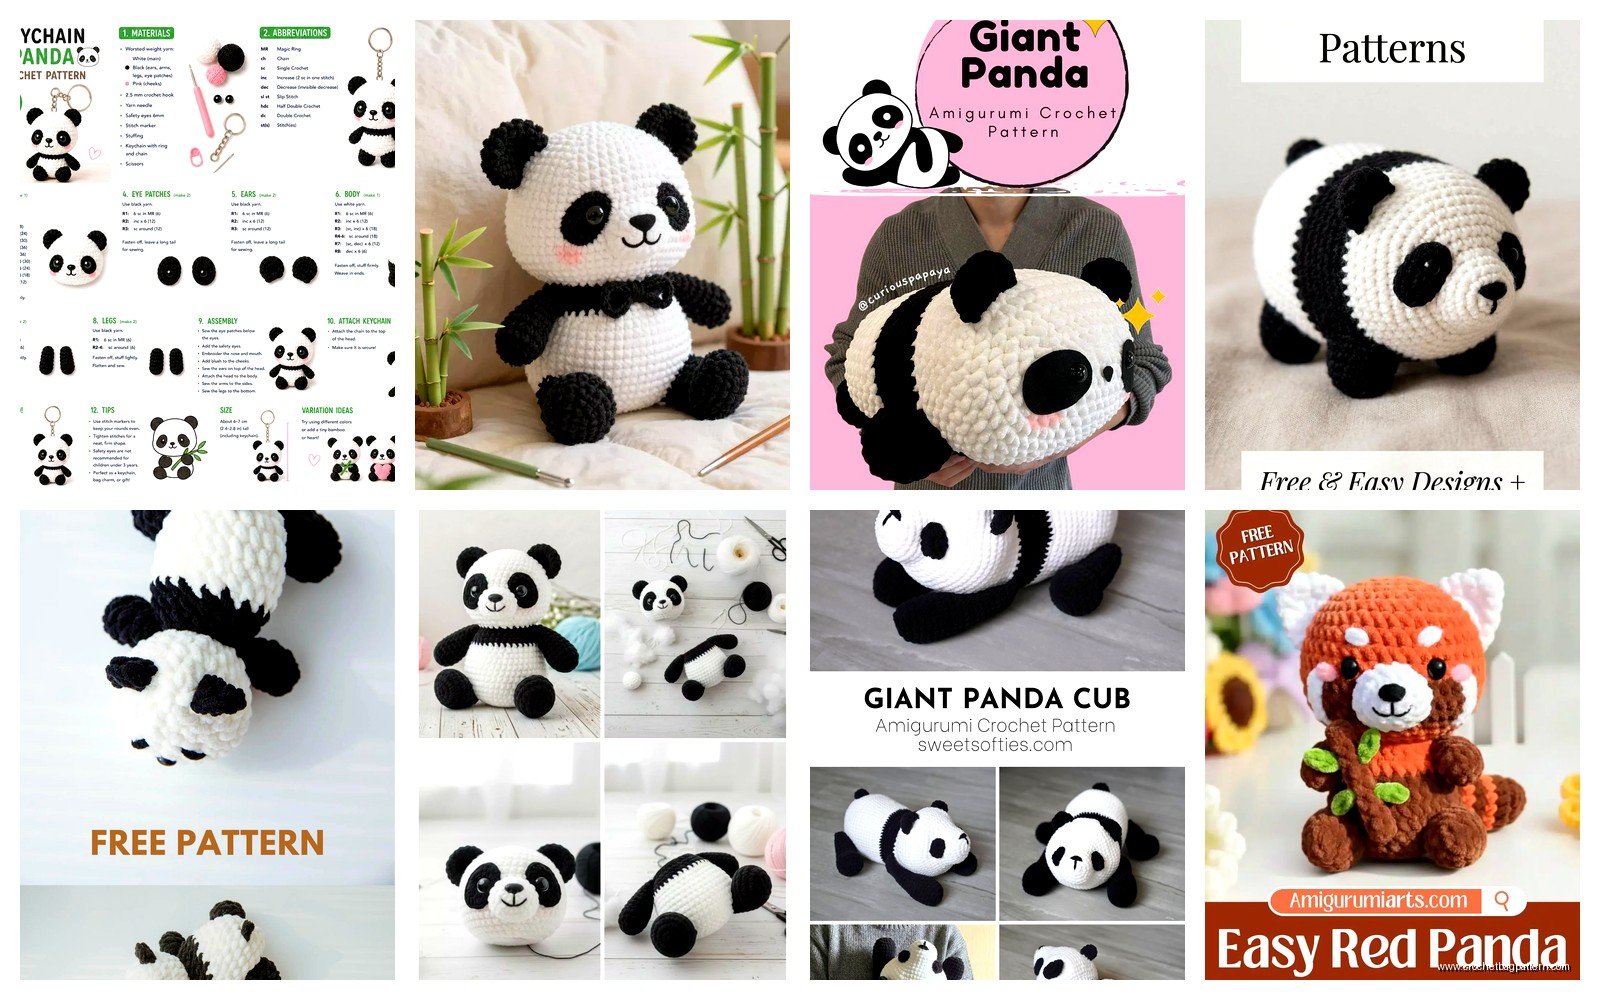
the eye patches
okay so the eye patches. with black yarn, make a magic ring with 6 sc. then do a round of increases (12 stitches). then sc, inc around (18 stitches). some patterns say to do one more round but I think that makes them too big unless you’re making a really large panda.
leave a long tail for sewing. you’re gonna position these around the safety eyes, kind of oval-shaped going up toward where the ears will be. this is the part where I got annoyed because there’s no exact science to it. you just gotta pin them and look at it and move them and look again.
finishing the head
back to the head – start your decreases. same principle as increases but backwards:
- sc 5, dec
- sc 4, dec
- sc 3, dec
and so on. stuff the head firmly as you go. you want it pretty packed so it holds its shape. when you get down to like 12 stitches left, stuff it really full, then finish decreasing and close it off.
body time
the body is basically the same concept as the head but you make it more oval shaped. start with magic ring, 6 sc, then increase rounds up to about 48 stitches if you want a chunky panda (which you do because pandas are round).
I increased up to 48 over like 8 rounds, then worked even for about 12-15 rounds. the body should be a bit longer than the head. then decrease back down. you don’t have to decrease as much at the bottom because you want it to sit flat.
stuff it as you go, same as the head. I used Lion Brand Pound of Love for a different panda I made in summer 2024 and it worked fine, held up to a lot of squishing from my friend’s toddler.
arms and legs
these are pretty straightforward. for arms with black yarn:
magic ring with 6 sc, then inc all around (12), then work even for 4 rounds. switch to white yarn (just drop the black and pick up white, you can weave in the end later) and continue for another 8-10 rounds. don’t stuff the arms super full, you want them a little floppy. stuff the black part (the paw) more than the white part.
legs are similar but you make the black foot part bigger. magic ring 6, inc to 12, then sc inc around to 18. work even for 5-6 rounds in black, then switch to white and work even for another 6 rounds or so. stuff the feet firmly so the panda can stand… well sort of stand, amigurumi aren’t great at standing but you know.
ears
ears are the easiest part honestly. with black yarn, magic ring with 6 sc, inc all around (12), then sc inc around (18). work even for 2 rounds. that’s it. make two obviously. don’t stuff them.
you sew these onto the head kind of on the sides/top, positioned behind where the eye patches are. fold them slightly when you sew them on so they have a little curve to them.
assembly which is the tedious part
okay so now you have all these pieces and you gotta put them together. I always sew the head to the body first. position it so the panda is looking slightly up, not straight ahead – it looks cuter that way. use white yarn and whip stitch all the way around, going through both the head and body. make sure it’s secure because this is the main connection point.
then sew on the arms at the sides of the body, around where the neck meets the body. angle them slightly forward. sew on the legs at the bottom front of the body. you can position them so the panda is sitting or standing, whatever you prefer.
sew the ears onto the head. sew the eye patches around the safety eyes if you haven’t already – I usually do this before attaching the head to the body because it’s easier to work with.
the face details
with black yarn, embroider a nose and mouth. the nose is basically a triangle or an upside down triangle, just do a bunch of horizontal stitches close together. the mouth is like a Y shape or a curved line going down from the nose and then splitting into a smile… or you can skip the mouth entirely honestly, some pandas look better without it.
some people add pink cheeks with blush or embroidery but I never do that because it seems too cutesy and also I always forget.
random tips that might help
if your tension is really loose, go down a hook size. amigurumi needs to be tight enough that the stuffing doesn’t show through. you should barely be able to see between stitches.
when sewing pieces on, go around twice. I learned this the hard way when an arm fell off a bear I made for my nephew. just go around the whole thing twice with your whip stitch.
you can make the panda bigger or smaller by using different weight yarn and adjusting your hook size. I made a tiny one with sport weight yarn and a 2.5mm hook once and it was like palm-sized.
if you mess up the count on a round, it’s usually not gonna ruin the whole thing. amigurumi is pretty forgiving. just add or skip a stitch to get back on track.
the white yarn shows dirt really easily so if this is for a kid, maybe consider cream or light gray instead of pure white. or just accept that it’s gonna get gross eventually.
variations you can do
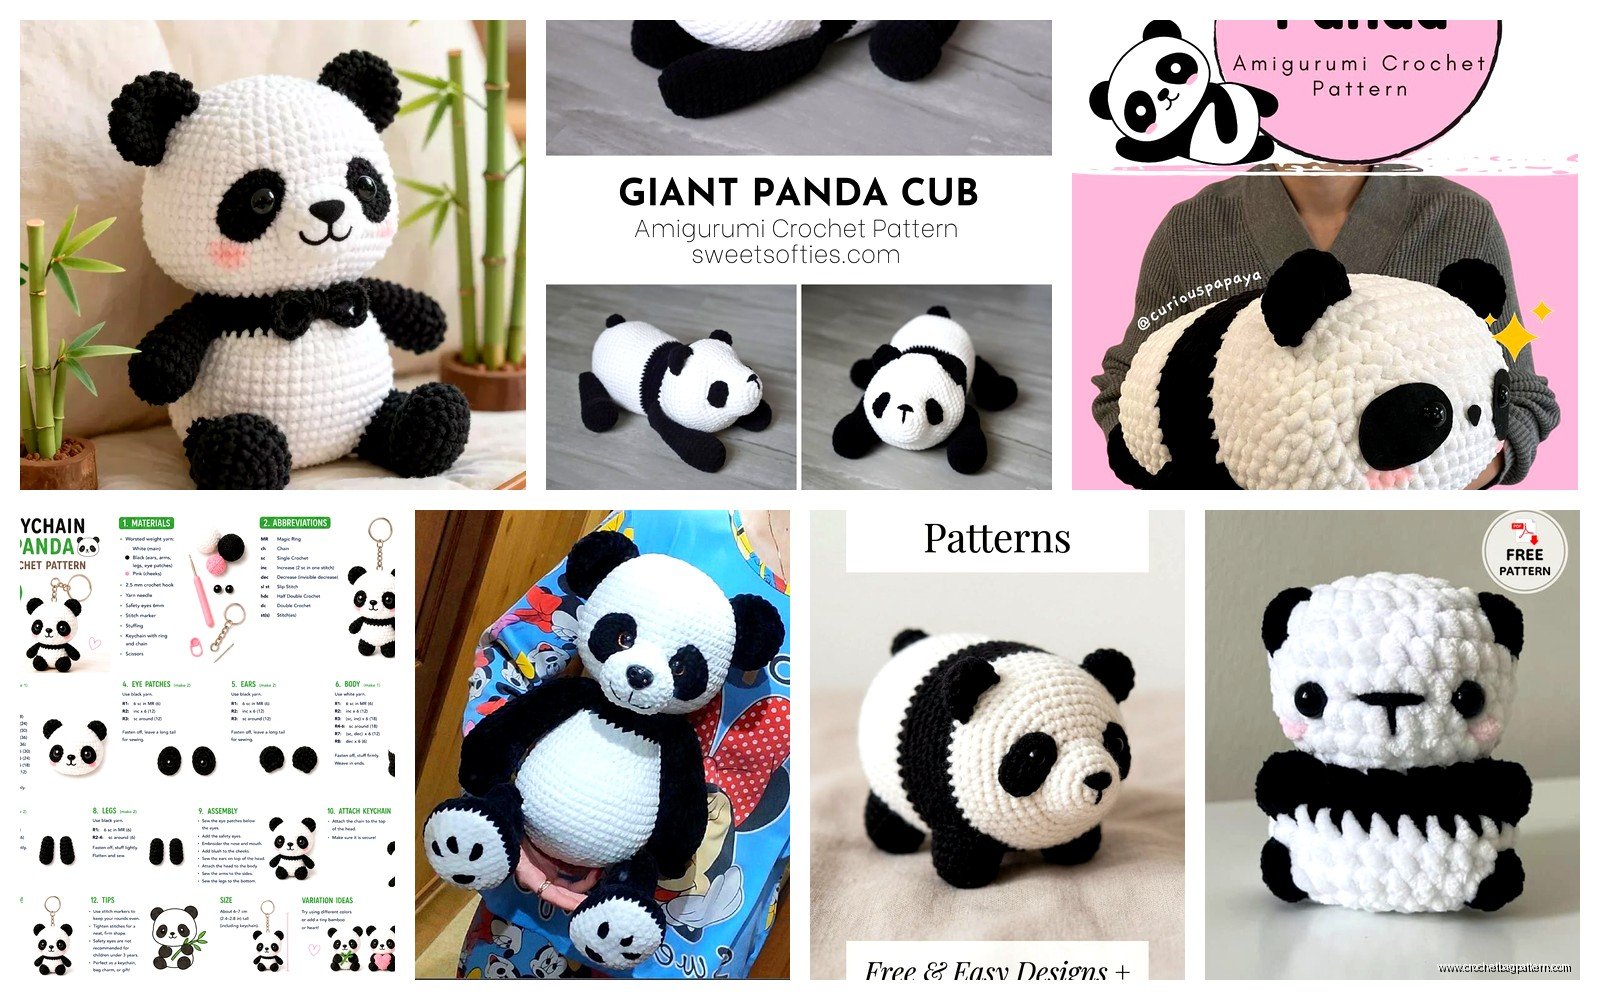
you can make a red panda by using reddish brown instead of white and black, and making the tail striped and bushier. the face is a bit different too with the white markings but same basic structure.
some people add a little tail to regular pandas but like… pandas barely have tails so I usually skip it or just make a tiny white pompom.
you could make the panda holding bamboo which is just a green cylinder with some texture stitches, pretty easy addition.
if you wanna make it more cartoonish you can make the head bigger in proportion to the body. just add more increase rounds and more even rounds before decreasing.
troubleshooting stuff
if your panda looks lumpy, you probably didn’t stuff it evenly. you gotta really push the stuffing into all the parts, especially around where pieces connect.
if the arms or legs are twisting, you didn’t sew them on straight. it happens. you can either take them off and redo it or just call it character and move on.
if you can see stuffing through the stitches, your tension is too loose or you’re using too big of a hook for your yarn weight.
if the eye patches look weird, they probably just need to be repositioned. don’t be afraid to take them off and try again. I literally did this four times on mine and I mentioned that already but seriously it’s the most annoying part.
when you’re decreasing, make sure you’re actually going through both loops of the stitches you’re combining. invisible decrease is neater but regular decrease works fine too, just leaves a slightly more visible line.
using a stitch marker seriously helps. I just use a piece of different colored yarn looped through the first stitch of each round. move it up as you go. otherwise you’ll lose track and have to count all your stitches which is the worst.
some patterns say to join rounds with a slip stitch but for amigurumi I never do that unless it’s specifically for a reason like changing colors in a visible way. continuous spiral is the way to go for smooth shapes.
if your magic ring has a hole in the center, you didn’t pull the tail tight enough at the start. you can usually fix this by weaving the tail through the center stitches a few times when you’re finishing.
Bernat Blanket yarn makes HUGE amigurumi if you’re into that, need like a 9mm hook though and your hand will cramp. but could be fun for a giant floor panda I guess.
anyway that’s basically it for making a panda amigurumi, it’s not complicated once you get the hang of working in rounds and the increases/decreases. just takes time and patience for sewing everything together neatly.
