
May
Getting Started With Crochet Rugs
So the first thing about making rugs is you’re gonna need way more yarn than you think. Like, seriously. I made this round rug back in spring 2022 when my apartment had these terrible cold floors and I kept stepping on them in the morning and hating my life. Thought I could knock it out in a weekend with maybe 4 skeins of bulky yarn. Ended up needing like 12.
The best free patterns honestly come from YouTube or random blogs where people just explain what they did. I don’t really follow written patterns that well because all those abbreviations make my brain hurt. But if you want actual written ones, Ravelry has thousands of free rug patterns. You just gotta filter by “free” and “rug” and you’ll find everything from simple circles to those fancy mandala floor mats.
Yarn Choices That Actually Work
Here’s what I’ve used and what actually held up:
- Bernat Blanket yarn – this is thick and works up fast but it’s SO expensive for a rug. I used it for a bathroom mat and it was soft but honestly kind of a waste of money
- Lily Sugar’n Cream cotton yarn – people use this doubled or tripled. It’s cheap, comes in tons of colors, and you can throw it in the washing machine which is crucial for rugs
- Red Heart Super Saver – I know people hate on this yarn but for rugs? It’s perfect. Cheap, durable, and if your rug gets gross you’re not crying over wasted money
- Wool-Ease Thick & Quick – used this for a bedroom rug and it was nice and cushy but my cat immediately claimed it as her bed so…
Cotton is really your best bet for durability. The acrylic stuff can get matted down in high-traffic areas but it works fine for beside the bed or bathroom situations.
Hook Sizes and Why They Matter More Than Usual
You want a tight stitch for rugs otherwise they get all floppy and weird. I usually go down a hook size or two from what the yarn label recommends. So if the yarn says use a 10mm hook, I’ll use an 8mm or even 6.5mm depending on how stiff I want it.
The tighter your stitches, the more the rug will lay flat and not bunch up. But also the tighter your stitches, the more your hand is gonna cramp up. That’s just the reality of it. I made a rectangular rug during summer 2024 while binge-watching all of The Bear and my right hand was basically a claw by episode 6.
Basic Rug Shapes and How to Make Them
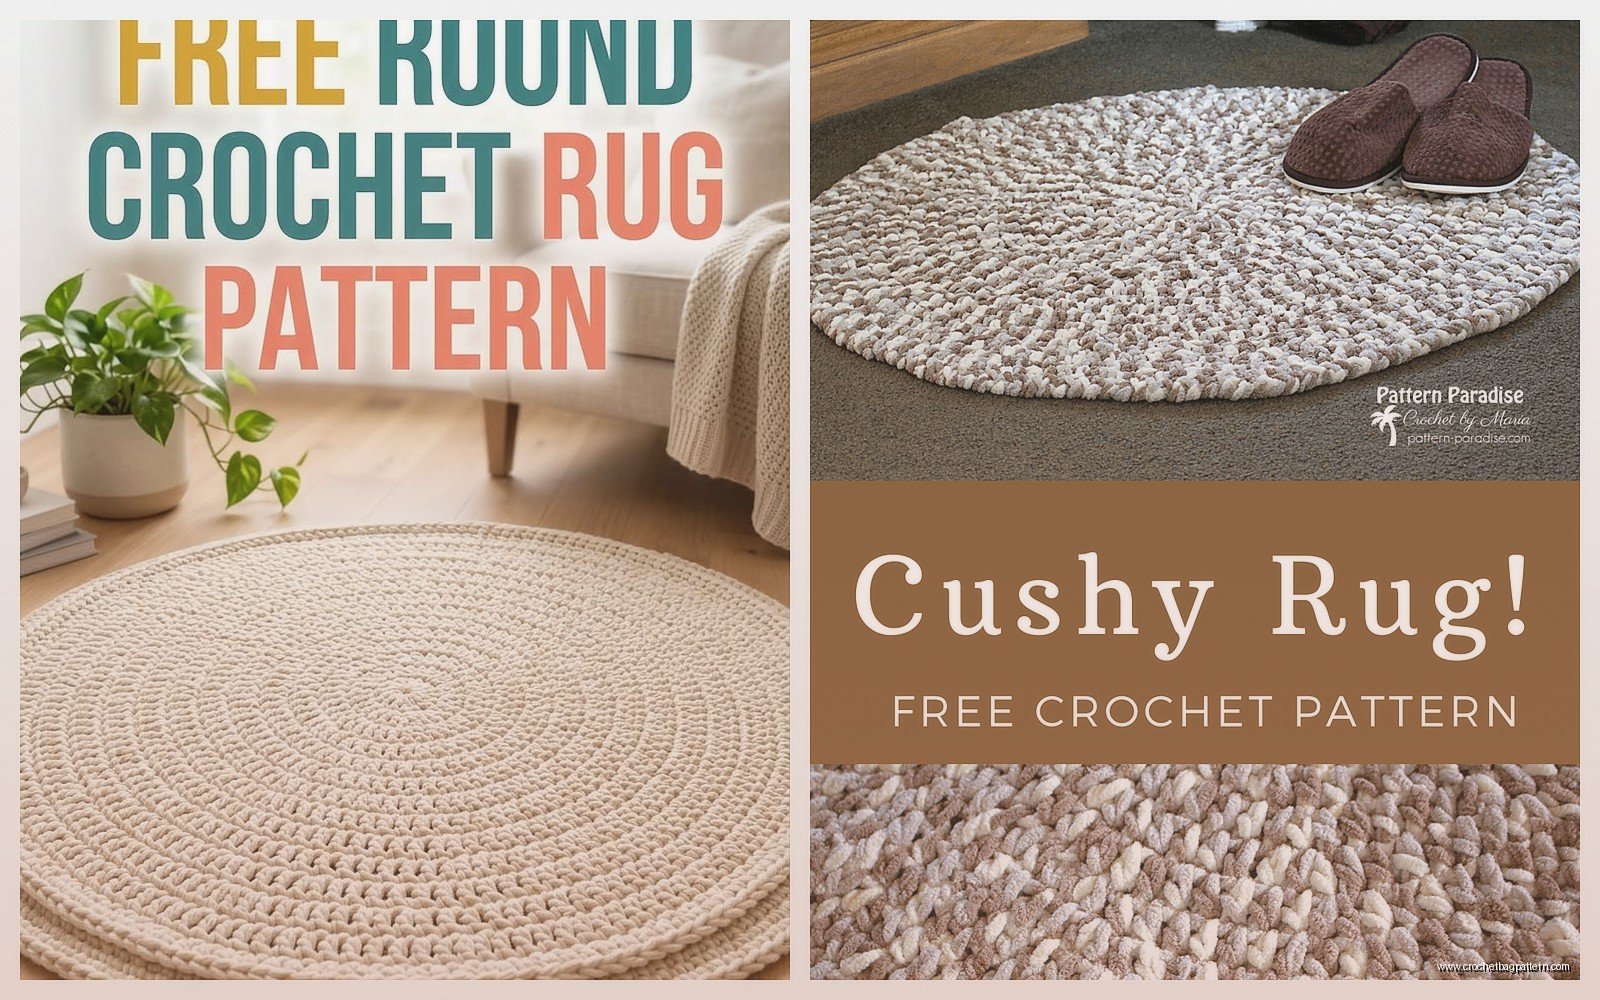
Round Rugs
These start with a magic ring or chain 4 and slip stitch to form a ring. Then you just keep increasing in a spiral or in rounds. The basic formula is:
- Round 1: 8-12 single crochet in the ring
- Round 2: 2 sc in each stitch around
- Round 3: *sc in next st, 2 sc in next st* repeat around
- Round 4: *sc in next 2 sts, 2 sc in next st* repeat around
You just keep adding one more single crochet between increases as you go. The annoying thing is keeping track of where you are if you’re not using stitch markers. I always think I’ll remember and then I’m like wait is this round 14 or 15 and nothing lays flat properly.
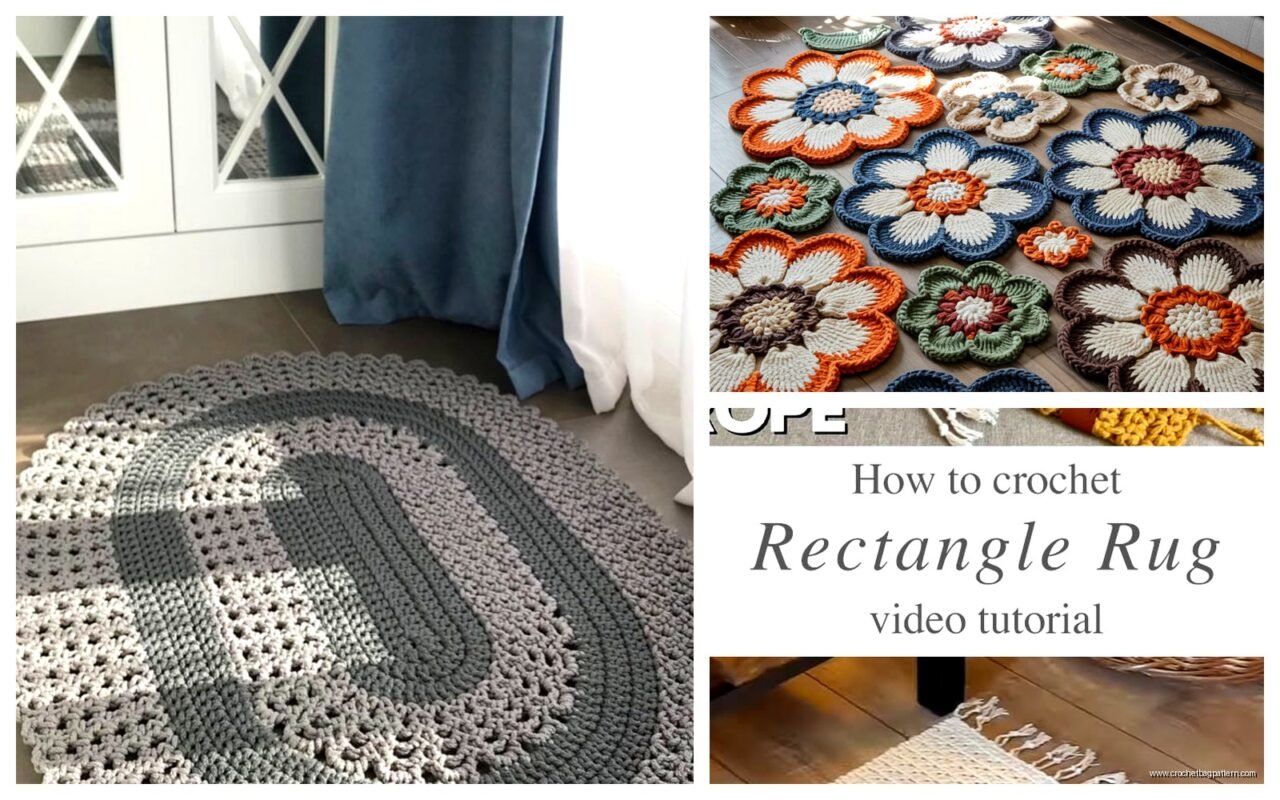
Rectangular or Oval Rugs
These start with a foundation chain. For a rectangle you literally just chain however long you want it, then single crochet back and forth in rows until it’s as wide as you want. Easiest thing ever but also kind of boring?
Ovals are similar but you work around the foundation chain – down one side, then around the end, back up the other side, around that end. It creates this racetrack shape that’s good for in front of sinks or beds.
Square Rugs
You can make these from the center out using a granny square pattern just supersized. Or you can do corner-to-corner which creates a diagonal texture. I’ve only done one square rug and honestly the corners wanted to curl up no matter what I did. Had to block it really aggressively with like 47 pins.
The Actual Stitches People Use
Most rug patterns use single crochet because it’s dense and tight. Half double crochet works too if you want a bit more drape but still sturdy. I wouldn’t go higher than that – double crochet makes the rug too holey and things catch on it.
Some patterns use special stitches like:
- Suzette stitch – creates a bumpy texture that feels nice underfoot
- Moss stitch – alternating sc and chain stitches, looks more interesting than plain sc
- Waffle stitch – very textured, very thick, uses a lot of yarn
- Bobble or popcorn stitches – these create raised bumps which honestly seems like a tripping hazard but people do it
I usually stick with plain single crochet in the back loop only. It creates these horizontal ridges that look more finished than regular sc.
Working With Multiple Strands
If you’re using thinner yarn like that Lily Sugar’n Cream I mentioned, you’re probably gonna want to hold 2 or 3 strands together. This is where things get messy. The strands tangle, they twist around each other, one strand runs out before the others.
What works better is winding multiple strands together into one big ball before you start. Use a ball winder if you have one, or just do it by hand while watching TV. It takes forever but saves you so much frustration later.
Or you can buy the actual bulky weight yarn and just use one strand but then you’re spending like $8-10 per skein instead of $2-3.
How Much Yarn You Actually Need
This depends on size obviously but here’s what I’ve used:
- Small bathroom mat (20×30 inches): about 400-500 yards of bulky weight or 1200-1500 yards of worsted held double
- Medium round rug (30 inches diameter): around 800-1000 yards bulky or like 2400+ yards worsted doubled
- Large living room rug (4×6 feet): I don’t even know, I gave up partway through because it was taking actual months
Always buy more than you think. Running out of yarn when you’re 90% done and the dye lot is discontinued is the worst feeling.
The Thing That Really Annoyed Me
The edges. The freaking edges of rugs. They curl, they wave, they do everything except lay flat. You increase too much and it ruffles. You don’t increase enough and it cups. Finding that perfect balance is maddening.
For round rugs, the standard increasing pattern doesn’t always work depending on your yarn weight and tension. Sometimes you need to skip an increase round. Sometimes you need an extra increase. You just have to keep laying it flat and checking.
I frogged the edge of that spring 2022 rug literally four times before it would lay properly. Four times. That’s like 6 hours of work just undone.
Finishing and Making It Actually Usable
Once you finish crocheting, you’re not done. The rug needs to be blocked so it holds its shape. For cotton rugs I just wet them completely, squeeze out excess water, and lay them flat to dry. Pin down the edges if they’re being weird.
For acrylic rugs, steam blocking works better. Hover your iron on steam setting above the rug (don’t touch it directly) and let the steam relax the fibers. Then pin and let cool.
The Slip Factor
Crocheted rugs slide around on hard floors like nobody’s business. You need either:
- A rug pad underneath – these grippy mesh things from Target or wherever
- That rubber shelf liner stuff cut to size
- Fabric glue or puffy paint dots on the bottom (I tried this and it works okay but looks messy)
- Sew or glue a non-slip fabric to the entire back
I just use the cheap rug pads because I’m lazy. They’re like $8 and you can trim them to fit.
Washing These Things
Cotton rugs can go in the washing machine on gentle cycle, cold water. I put mine in a pillowcase or mesh laundry bag first so they don’t get stretched out. Air dry flat.
Acrylic rugs can technically be machine washed too but they pill like crazy. I usually just spot clean them or take them outside and shake them really hard.
Wool rugs need to be hand washed or they’ll felt and shrink. I don’t make wool rugs for this exact reason – too much maintenance.
Free Pattern Resources That Don’t Suck
Okay so actual websites and places to find patterns:
YouTube channels: Just search “crochet rug tutorial” and you’ll find hundreds. Bella Coco has some good ones. So does Jayda InStitches. I like video tutorials better than written because you can see exactly what they’re doing with increases and stuff.
Ravelry: Like I said earlier, filter for free rug patterns. Read the project notes from other people who made them – they’ll tell you what went wrong or what they changed.
Pinterest: Every pin leads to a blog post with a pattern. Quality varies wildly. Some are great detailed tutorials, some are just like “make a circle and keep going until it’s big enough” which isn’t super helpful.
MakeMeStitches, Sewrella, The Spruce Crafts: These craft blogs have free patterns that are usually tested and clearly written. They want you to come back to their site so they actually make sure the patterns work.
Colorwork and Stripes
Changing colors in rugs is the same as any other crochet project but you end up with a million yarn tails to weave in. I made a striped rug once – never again. So many ends.
If you’re doing stripes, carry the unused color up the side instead of cutting it each time. Just crochet over it as you work back. Saves you from weaving in quite as many ends though you’ll still have a bunch.
Color blocking works better than stripes in my opinion. Like making a solid center and then adding rounds of different colors. Or doing a granny square style with color changes in the rounds.
Weird Shapes and Novelty Rugs
People make rugs shaped like cats, flowers, clouds, all kinds of stuff. These usually involve a lot of increasing and decreasing in specific spots to create the shape. They’re more advanced than basic geometric rugs.
I tried to make a cloud-shaped rug once and gave up because getting the bumpy edges to look right was… I don’t even know, it just looked like a blob. Ended up frogging it and making a regular oval instead.
Using Up Scrap Yarn
Rugs are actually great for this if you don’t care about having a cohesive color scheme. You can just randomly change colors whenever you run out and create a scrappy multi-colored situation. Some people plan this out with a color scheme, I just grab whatever’s next in my stash.
The random scrap approach works better with round or square rugs where you’re working in rounds – the color changes become concentric circles which looks intentional even if it’s not.
Time Investment Reality Check
A small bathroom mat takes me maybe 3-5 hours. A medium sized rug is more like 15-20 hours. A large rug is an actual weeks-long project if you work on it a couple hours a day.
Your hands will get tired. Your wrists might hurt. Take breaks. I know that sounds obvious but when you’re in the zone trying to finish a rug it’s easy to just keep going until your hand is completely cramped up.
That summer 2024 rug I mentioned? I tried to finish it in one weekend because I was home alone and had nothing else to do. Bad idea. My hand hurt for like three days after.
Is It Actually Worth Making Rugs
Depends on what you want. If you want a cheap rug, just buy one from Target. If you want a specific size, color, or style that you can’t find in stores, then yeah making one makes sense.
The cost of yarn for a medium rug is probably $20-40 depending on what you use. You can buy a machine-made rug for that price. But it won’t be custom and it won’t have that handmade texture.
I make rugs because I like having something to do with my hands while watching TV and I like being able to say I made the thing on my floor. Also I can make them the exact size to fit specific spaces which you can’t really do with store bought.
Just don’t expect it to be quick or easy. Rugs are a commitment. But once you get in a rhythm with the stitches it’s pretty mindless work and kind of meditative I guess? Or at least it keeps your hands busy so you don’t scroll on your phone for three hours straight.
