
May
Getting Started With Bag Patterns When You Don’t Really Follow Patterns
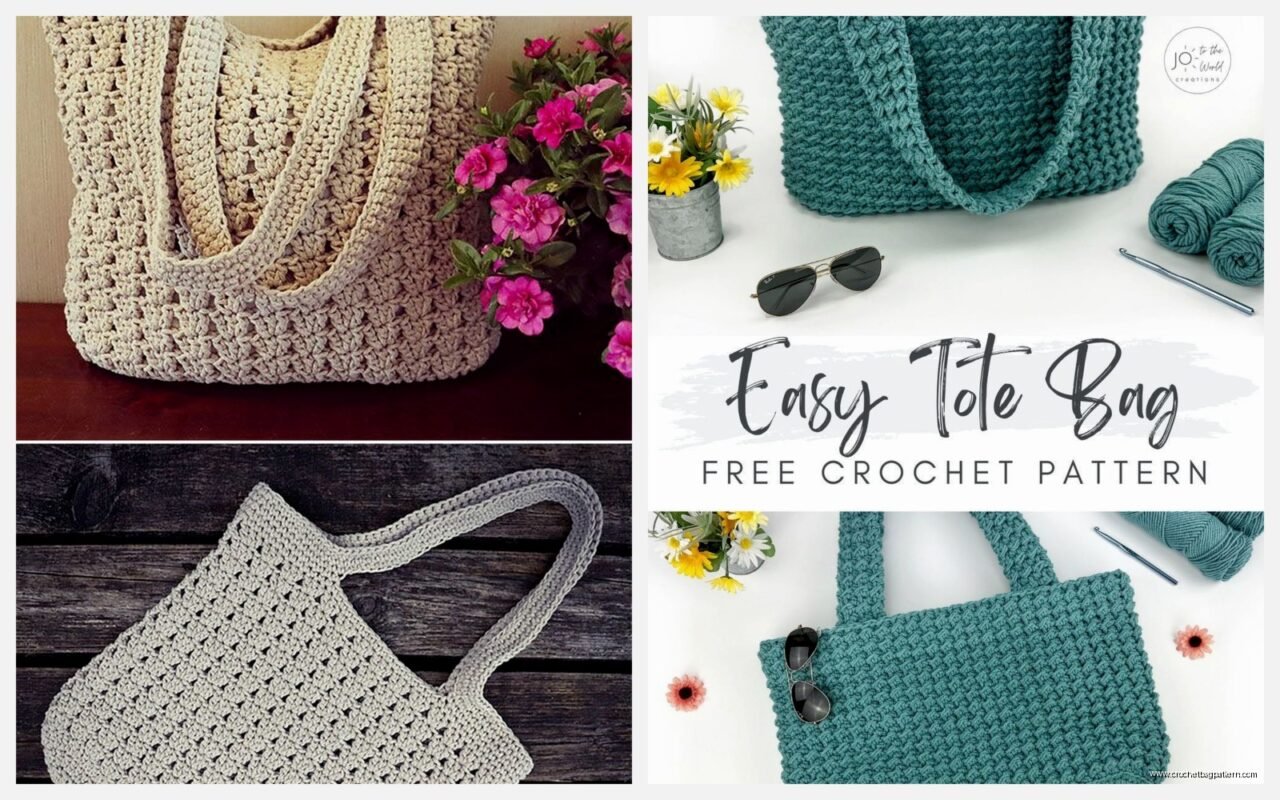
So here’s the thing about crochet bag patterns – most of them online are actually way more complicated than they need to be. I made this tote bag last summer, August 2024 I think, when my cat kept knocking over my regular canvas bag and I just got fed up with buying new ones. Figured I’d make something sturdier.
The free patterns you find are gonna fall into basically three categories: the super simple rectangle bags, the round bottom bags, and those weird shaped ones that look cool in photos but are impossible to actually use. Start with rectangles. I know everyone wants the fancy round bottom tote but trust me on this.
What Yarn Actually Works
Forget what the pattern says half the time. I used Lily Sugar’n Cream for my first bag because it was cheap and I had like six balls of it sitting around. It’s cotton, it’s sturdy, and if you mess up nobody’s gonna notice because the texture hides everything. The pattern called for some fancy mercerized whatever but honestly that’s just marketing.
For bigger totes I’ve used Red Heart Super Saver which people are snobby about but it WORKS and it’s like $3 a skein. The bag holds up. That’s what matters. I also tried Bernat Maker Home Dec once and it was actually really nice – thick enough that you don’t need to line the bag unless you’re carrying around leaky pens or whatever.
The annoying thing about bag patterns is they never tell you how much the finished bag is gonna stretch. Cotton stretches different than acrylic and if you’re making a market tote and you fill it with groceries, that cute 12-inch bag becomes a 16-inch saggy mess real fast.
Basic Rectangle Tote Pattern (Sort Of)
You don’t even really need a written pattern for this. Chain like 40 or 50 stitches depending on how wide you want it. I usually do 45 because that feels right for a medium bag. Then just single crochet back and forth until it’s as long as you want. Fold it in half and seam up the sides. Done. That’s a bag.
The handles are where people get weird about it. Some patterns want you to chain a million stitches and do one row of single crochet. That makes thin floppy handles that dig into your shoulder. Instead do this: chain maybe 60 stitches (test it over your shoulder first), then do THREE rows of single crochet. Way sturdier. Attach them by weaving through the top edge of the bag or just sewing them on with regular thread. Nobody’s checking your construction methods.
Round Bottom Bags If You Really Want To
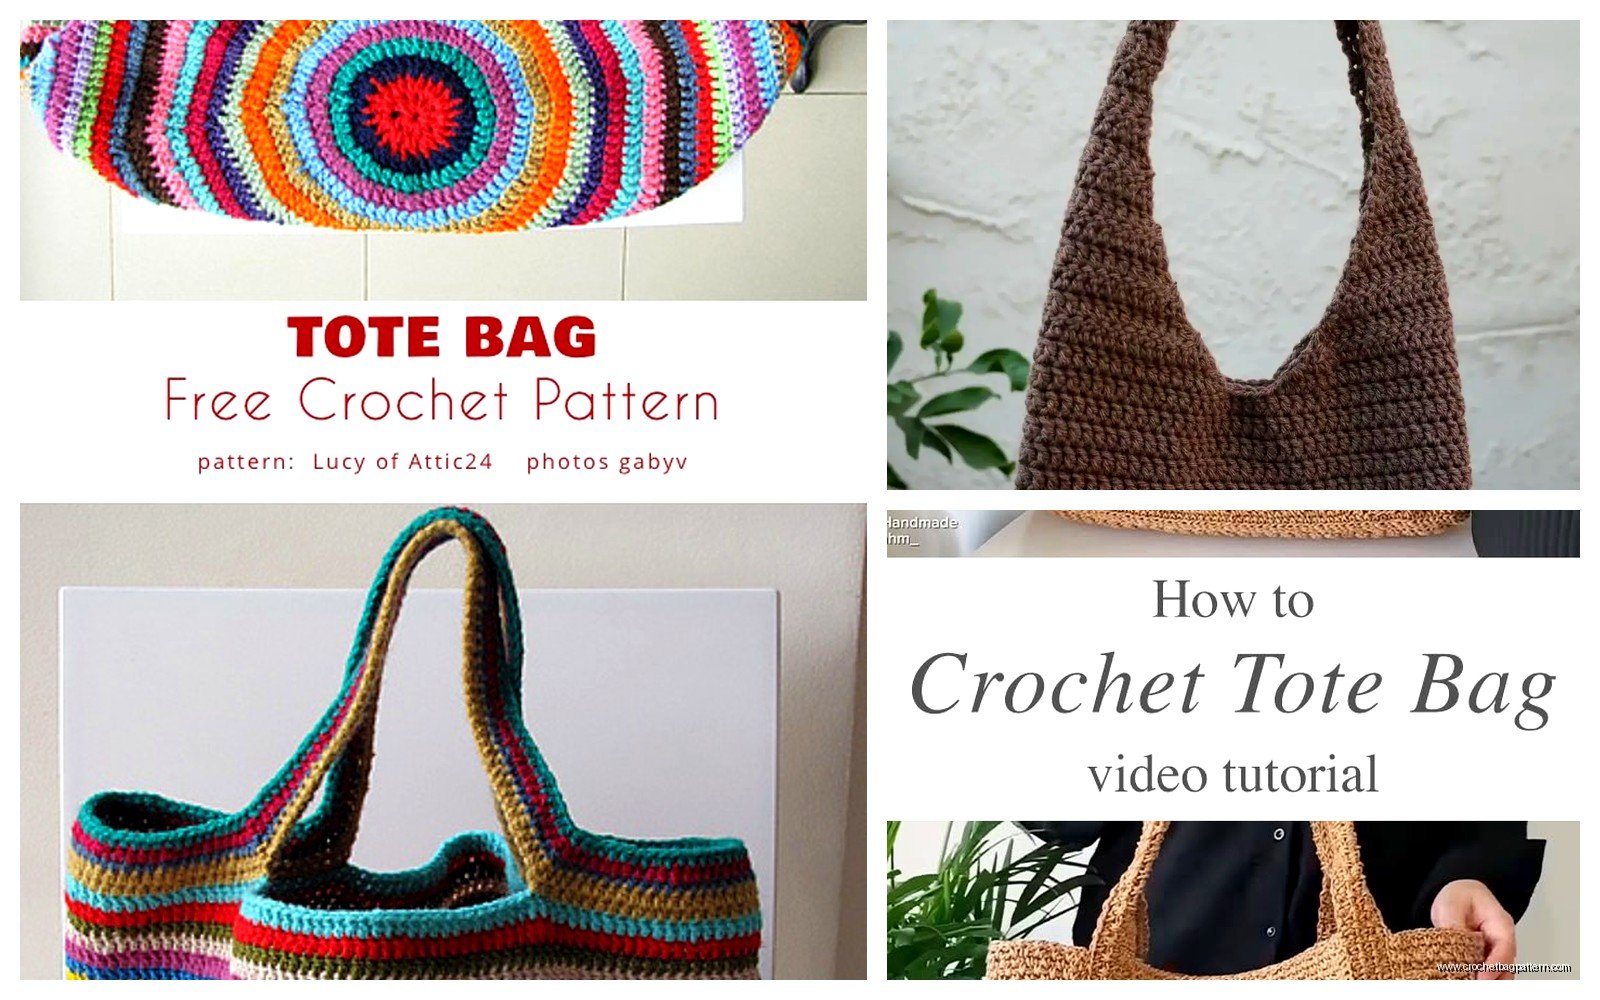
Okay so spring 2022 I decided I wanted a proper purse shape with the round bottom. I was watching that baking show, the British one, can’t remember which season, and just crocheting along following this free pattern from some blog that doesn’t exist anymore I think.
Round bottom bags start with a magic circle or chain 4 and join situation. Then you increase every round until the circle is as wide as you want the bag base. The pattern will say something like “increase 6 stitches evenly around each round” which sounds clear but you’re gonna end up with a wavy hexagon thing if you always increase in the same spots. Move your increases around.
Here’s what really annoyed me about that whole project – the pattern didn’t mention that when you start going up the sides, you need to mark where your round begins or you’ll end up with a spiral situation. I got like 15 rounds up the side before I realized my “seam” was spiraling around the bag and it looked totally weird. Had to frog the whole thing and start over with a stitch marker.
Going Up The Sides
Once your base is the right size, you stop increasing and just crochet in every stitch around and around. Most patterns want you to do this in continuous rounds which is fine but join with a slip stitch at the end of each round if you want a cleaner look. Your choice really.
For a purse I usually go up about 8 or 9 inches. For a tote maybe 12 inches. You can do all single crochet which takes forever but is very sturdy, or half double crochet which goes faster but might be a bit looser depending on your tension.
Some patterns throw in texture stitches here – bobbles or shells or whatever. That’s fine if you want it but it doesn’t make the bag more functional, just takes longer and uses more yarn.
Handles and Straps That Don’t Suck
This is where I see people mess up constantly. The pattern will say “chain 100 for strap” and you do it and then the strap is either way too long or too short and also it’s stretchy and weird.
Better method: decide if you want shoulder straps or hand handles first. For shoulder straps I literally measure from where I want it to attach on one side, over my shoulder, down to the other attachment point. Add maybe 2 inches for seaming. THEN figure out how many chains that is with your specific yarn.
For thick sturdy straps, chain your length, then do 3-4 rows of single crochet back and forth. For rounder straps you can do a long tube – chain 6, join, then single crochet around and around forever until it’s long enough. The tube method looks more professional but takes longer and uses more yarn obviously.
Attaching Straps Without It Looking Homemade
Patterns always just say “attach straps” like that’s self-explanatory. It’s not. You’ve got options:
- Weave the strap ends through the top few rows of the bag and sew them down on the inside. This is secure but bulky.
- Lay the strap flat against the outside of the bag and sew it down for like 2-3 inches. Looks cleaner but might not hold up if you’re carrying heavy stuff.
- Crochet the straps directly onto the bag by working into the edge stitches. Most secure but you gotta plan ahead for this.
I usually do option two because I’m lazy and it works fine for most bags. If I’m making a grocery tote I’ll do option three.
Linings and Why Patterns Lie About Them
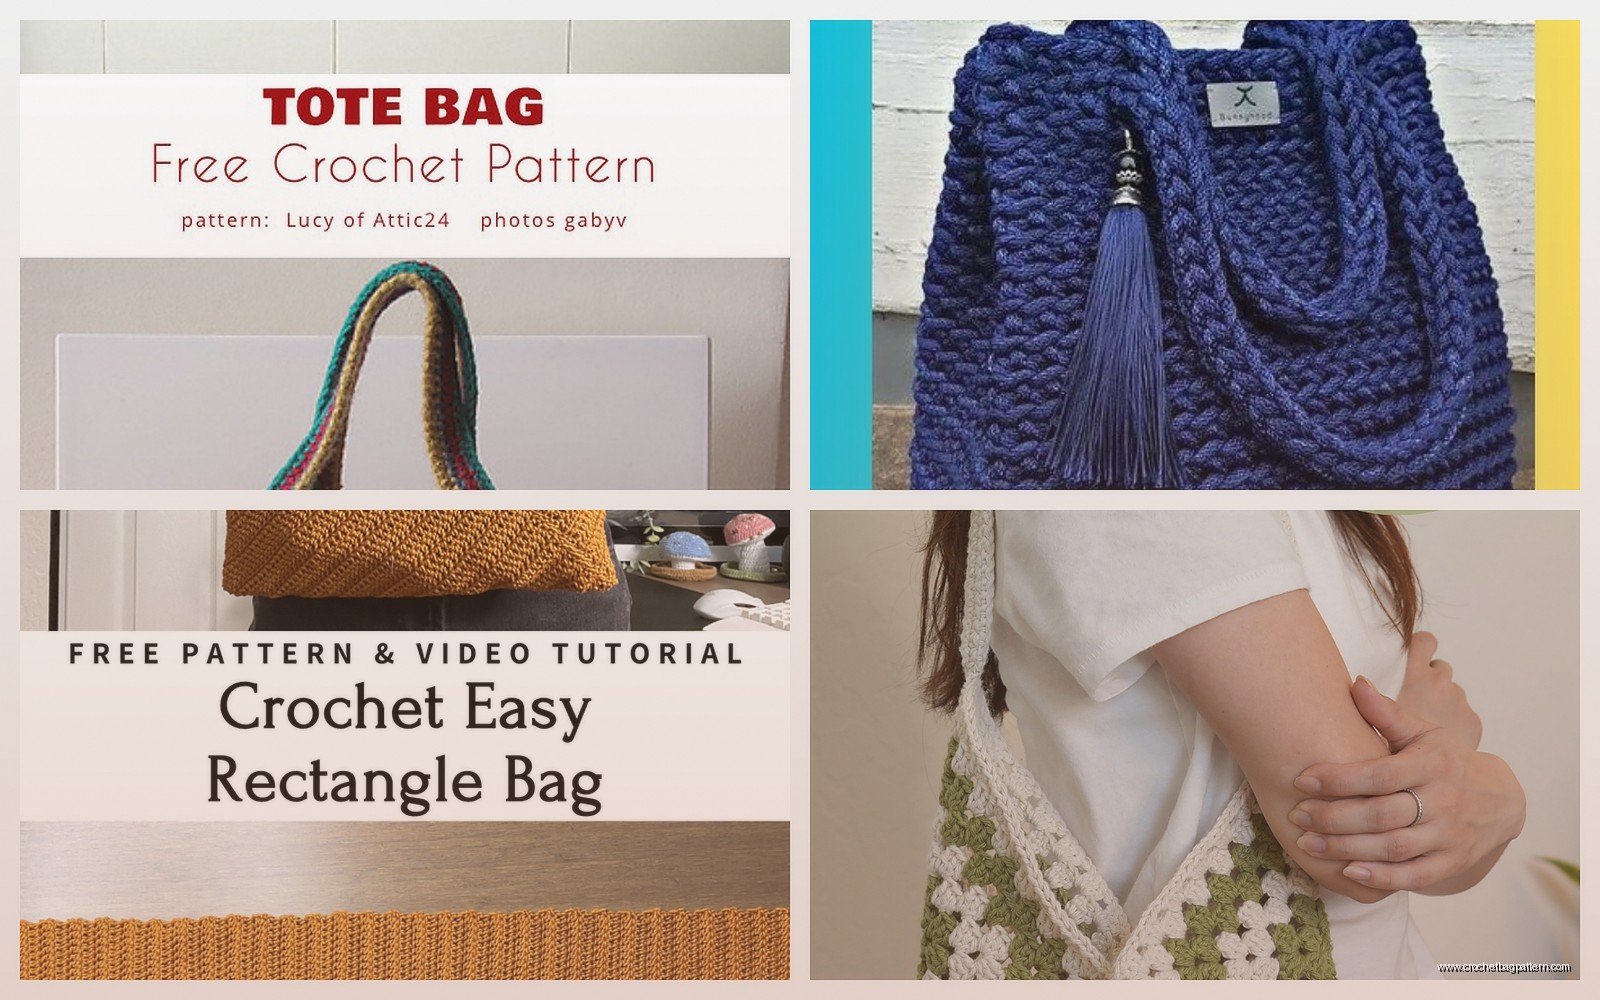
So many free patterns are like “lining optional” which technically true but also if you’re making a purse and you DON’T line it, everything falls through the holes. Your phone, your keys, loose change – all of it just escapes through the gaps between stitches.
I didn’t line my first three bags because I thought it was too complicated. Then I made a purse, put my stuff in it, and immediately my chapstick fell through. Super annoying.
Lining isn’t hard you just need basic sewing skills. Measure the inside of your bag, cut fabric with seam allowance, sew it into a pouch shape, and hand-stitch it into the bag. Use cotton fabric or canvas, not slippery polyester stuff that slides around.
Or don’t line it and just use it for things that won’t fall through – yarn storage, beach bag for towels, whatever. Not everything needs lining.
Pockets Are A Whole Thing
Some patterns include pockets which sounds great until you’re actually crocheting them. Internal pockets mean you’re basically making a smaller bag and attaching it inside the bigger bag. External pockets are easier – just make a small rectangle and sew it onto the outside.
I tried doing an internal zipper pocket once following a YouTube tutorial and it was… look I’m not saying don’t try it but maybe don’t make it your first bag project. The zipper kept bunching up and I had to hand-sew it in place and it still looks wonky but it functions so whatever.
Actual Free Pattern Sources That Aren’t Garbage
Most free patterns online are either super vague or way too complicated with charts and symbols and seventeen different stitch techniques. Here’s what I’ve actually used:
Ravelry has tons of free bag patterns and you can filter by difficulty. The comments section usually tells you if the pattern has errors or if the sizing is off. People are pretty honest there.
YouTube is better than written patterns honestly if you’re a visual learner. Search “simple crochet tote” and you’ll get a hundred tutorials. Watch a few and pick one where the person doesn’t talk too much and actually shows their hands.
Random blogs can be good but half the time the pattern is buried under 5000 words about the blogger’s inspiration and their grandmother and the meaning of handmade items. Just scroll to the actual pattern.
Modifying Patterns When They’re Wrong
Here’s something nobody tells beginners – patterns are wrong sometimes. Or they’re right for the designer but wrong for your yarn weight or tension or whatever. If you follow a pattern exactly and your bag is coming out way too small, just… make it bigger. Add more chains at the start. Do more rounds. It’s not sacred text.
I followed this one pattern for a market bag that said use a 5mm hook with worsted weight cotton. My bag was tiny and stiff. Tried again with a 6mm hook and it actually looked like the photo. The pattern was just written for someone who crochets tighter than I do.
Closures That Actually Close
Open tote bags are fine but purses need to close or you’re just asking for your stuff to fall out. Options that don’t require advanced skills:
Buttons: crochet a button loop on one side, sew a button on the other. Easy and looks decent. The loop is just a chain of like 10 stitches attached at both ends.
Magnetic snaps: you can buy these at craft stores and hand-sew them into a lined bag. They’re more secure than buttons and easier than zippers.
Drawstring: leave holes in the top row (chain 2, skip 2 stitches, repeat around), then thread a crocheted cord or ribbon through. This works better for bucket bags than flat totes.
Zippers are possible but they’re annoying to hand-sew into crochet fabric. I’ve done it twice and both times I was like why am I doing this. But they do work if you’re patient and have a needle threader because those zipper teeth are gonna fight you.
The Stretch Problem Nobody Warns You About
This is the thing that annoyed me most when I made that summer 2024 tote – the pattern showed this cute structured bag and mine was all floppy and stretched out after I used it once. Turns out cotton yarn stretches when you put weight in it. Who knew. (Everyone knew. I just didn’t think about it.)
Solutions: use tighter stitches than you think you need, go down a hook size, or add structure with plastic canvas in the bottom. You can buy sheets of plastic canvas at craft stores and just cut it to fit your bag base. Makes a huge difference for bags that carry heavy stuff.
Or double strand your yarn which uses twice as much but creates a much sturdier fabric. I did this with some Sugar’n Cream for a grocery tote and it’s held up for like two years now.
Yarn Amounts And Why Estimates Are Usually Wrong
Patterns will tell you “200 yards of worsted weight yarn” but that’s basically a guess. Your tension is different. Your hook size might be different. You might decide to make the bag bigger halfway through.
General rule from my experience: a small purse needs about 300-400 yards. A medium tote needs 500-700 yards. A big beach bag or market tote needs 800+ yards. These are rough estimates and you should probably buy an extra skein just in case.
I ran out of yarn on a bag once and had to finish it with a slightly different dye lot and you can totally tell if you look close. Now I always buy extra.
Color Changes and Stripes
If you want stripes just switch colors every few rows. Carry the unused color up the side or cut it and weave in ends later, your choice. Carrying it up is faster but you get a little line of color showing on the side. Cutting it means a million ends to weave in.
I made a striped tote in like three different colors of Red Heart Super Saver and just carried the yarn up the inside. You can see it a tiny bit but I don’t really care and nobody else has ever mentioned it.
When Patterns Tell You To Block Your Bag
Some patterns are like “block to measurements” which seems excessive for a bag. I’ve blocked exactly one bag in my life and it was because the top edge was all wavy and weird. Wet it down, pinned it flat, let it dry. It helped but wasn’t life-changing.
For most bags you can skip blocking especially if you’re using acrylic. Cotton bags might benefit from it but honestly if you’re gonna use the bag regularly it’ll shape itself with use anyway.
The one time blocking really helped was with a bag that had a decorative stitch pattern that wasn’t laying flat – blocking opened up the pattern and made it look more intentional. But for basic single crochet bags? Don’t bother.
Anyway that’s basically what I’ve figured out about bag patterns over the past few years. Start simple, use cheap yarn while you’re learning, and don’t stress if your bag doesn’t look exactly like the pattern photo. Most of those photos are styled and pinned and probably empty. Your bag that actually holds your stuff and functions is better even if it’s a bit wonky.
