
May
okay so waistcoat stitch basics
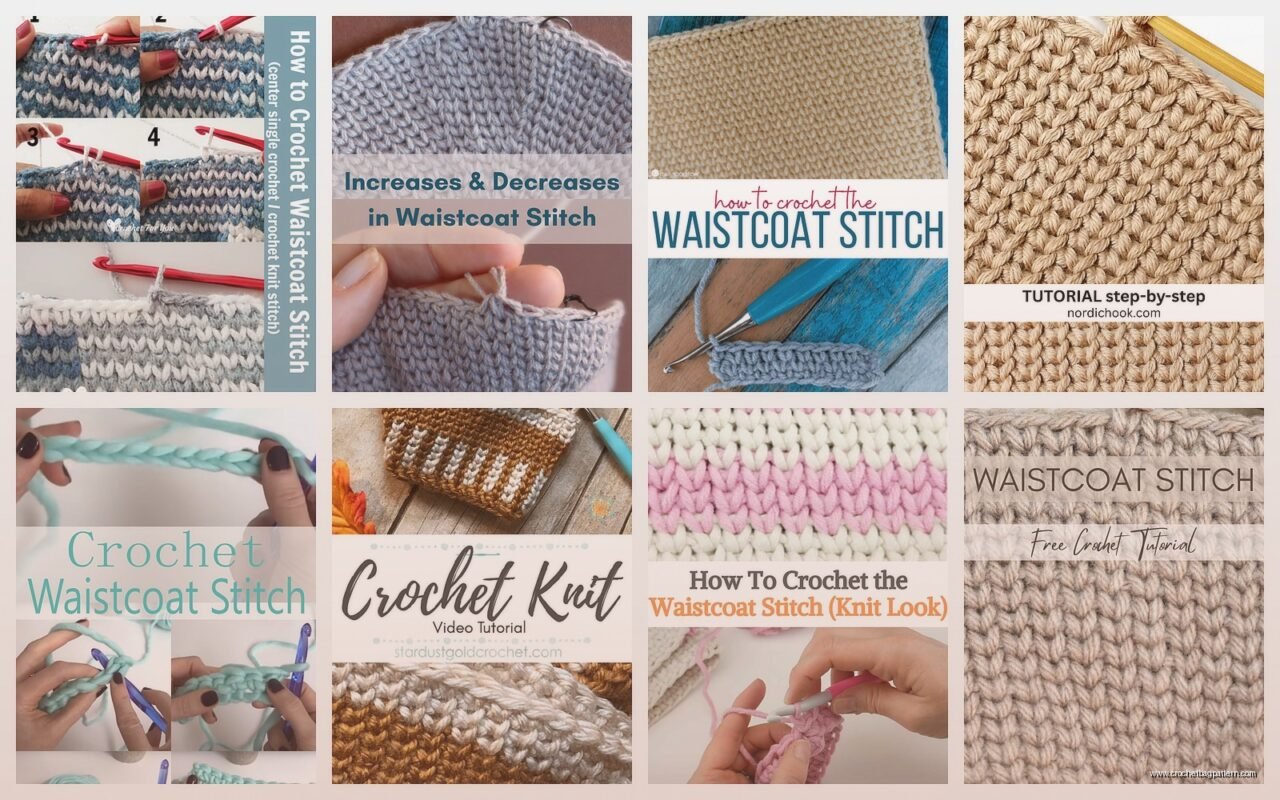
So waistcoat stitch is basically this crochet technique that looks like knitting when you’re done and honestly I discovered it completely by accident back in spring 2022 when I was trying to make a scarf and kept messing up my tension. I was using some Red Heart Super Saver in that grey heather color because it was what I had lying around and I accidentally started going through the stitches weird and then realized it looked way better than what I was originally attempting.
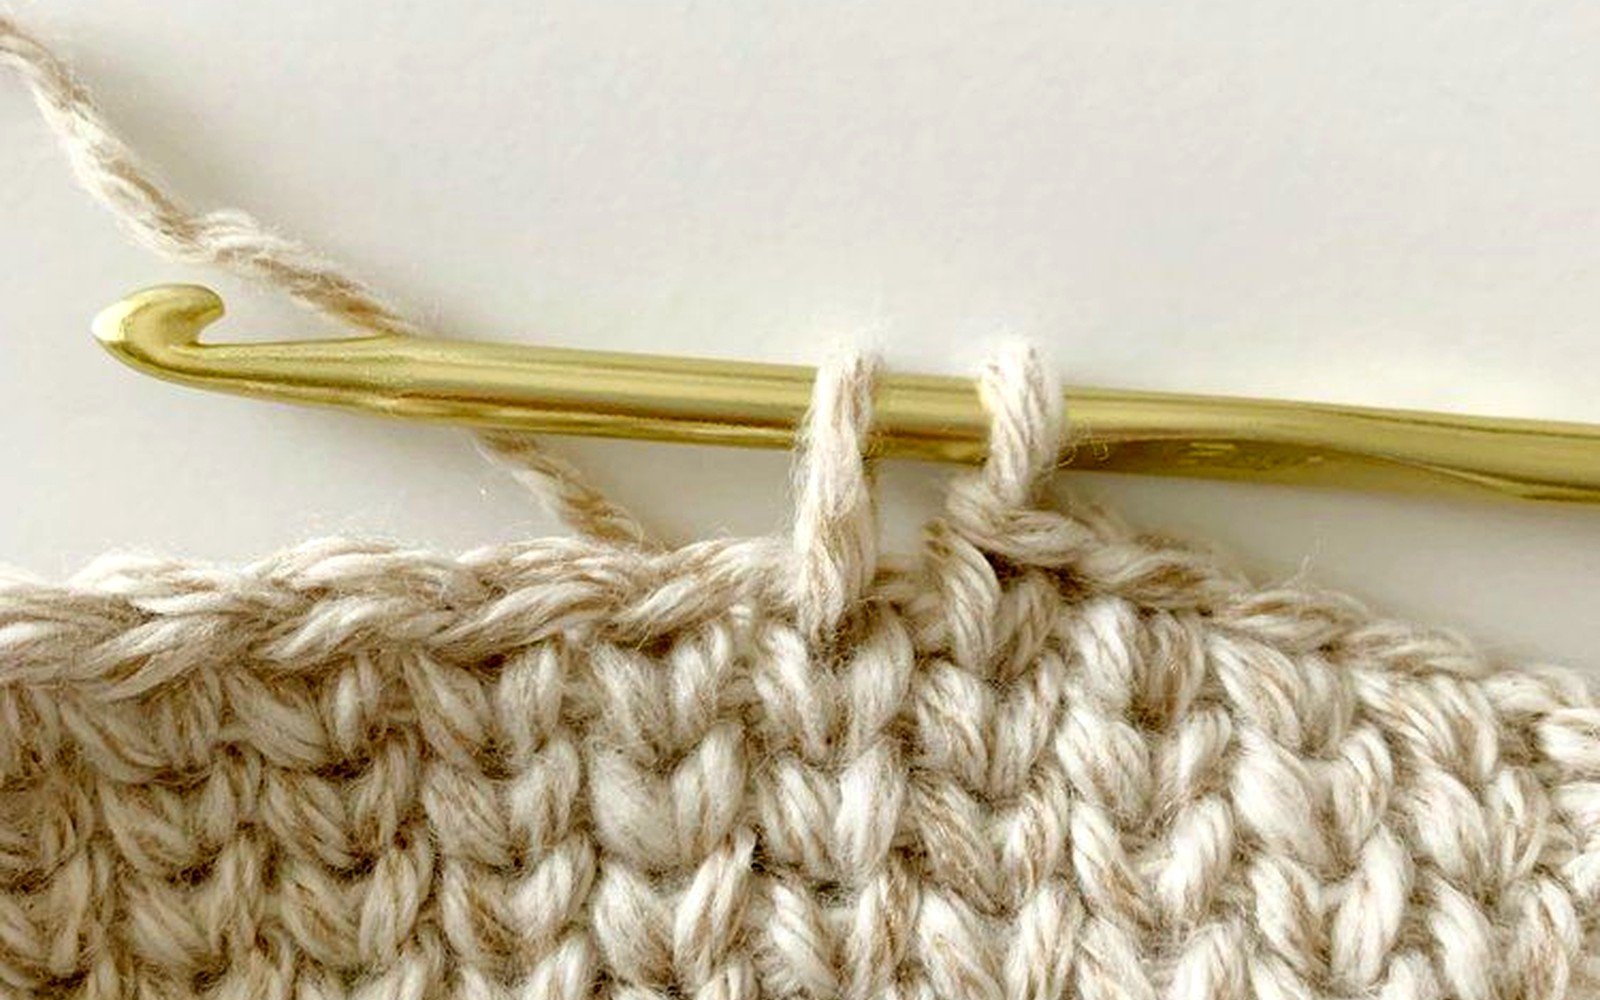
The whole point is you’re working into the stitch differently than normal single crochet. Instead of going under both loops or just the back loop, you’re actually splitting the stitch and going through the center of it. Like you’re literally piercing through the V of the stitch from the previous row.
how to actually do it
Start with a foundation chain, whatever length you need. The foundation row is just regular single crochet across because you need something to work into. This first row is gonna look normal and boring, don’t worry about it.
For the second row, this is where it gets different. Chain one and turn your work like usual. Now look at the single crochet stitches you just made. Each one looks like a little V on top, right? Instead of inserting your hook under those loops, you’re going to insert it directly through the middle of the V. Your hook goes between the two strands of yarn that make up that V shape.
It feels super weird at first because you’re basically stabbing through the stitch instead of going around it. Insert hook through the center, yarn over, pull through (you’ll have two loops on hook), yarn over again, pull through both loops. That’s your waistcoat stitch.
Keep doing this across the entire row. Every stitch gets pierced through the middle. When you turn and start the next row, you do the same thing again.
the thing that really annoyed me
Okay so the most frustrating part about waistcoat stitch is that it’s actually kinda hard to see where you’re supposed to insert your hook, especially with darker colored yarn. I was watching some crime documentary on Netflix while trying to figure this out and kept losing count because the stitches blend together way more than regular crochet. With normal single crochet you can clearly see each stitch as a separate unit but waistcoat stitch creates this fabric that’s so dense and tight that everything smooshes together.
I was using Caron Simply Soft in black at one point trying to make a… I think it was supposed to be a headband or something? Anyway I could NOT see what I was doing and ended up accidentally skipping stitches or adding extra ones without realizing. Had to rip it out like three times. Super annoying. Would recommend using lighter colors when you’re learning or at least have good lighting.
tension and fabric stuff
The fabric you get from waistcoat stitch is thick. Like really thick compared to regular single crochet. It doesn’t have much stretch either, which is actually perfect for bags or things that need structure but not great if you want something drapey. I made a little pouch thing and it stands up on its own, that’s how sturdy it is.
Your tension matters way more with this stitch than regular crochet. If you crochet too tight, you’re gonna have a hard time getting your hook through the center of each stitch. Too loose and the knit-look effect doesn’t work as well because you can see gaps. You want it firm but not strangling your hook.
I usually go up a hook size from whatever the yarn recommends. So if the yarn says use a H hook, I’ll use an I or J. Makes it easier to pierce through those stitches without feeling like you’re forcing it.
which direction to work
You can work waistcoat stitch in rows (back and forth) or in the round. In rows is more straightforward because you’re just turning your work and going back across. In the round is where it gets interesting because you create this seamless tube that really looks like stockinette knitting.
When working in the round, you don’t turn your work. You just keep going around and around in the same direction. Join with a slip stitch at the end of each round, chain one, and continue. The right side is always facing you which is nice.
I made a coffee cozy thing working in the round with some Lily Sugar’n Cream cotton yarn (the yellow one, I think it was called Sunshine?) and it actually looked so much like knitting that people asked me if I knit it. Which was the point but also felt weird to explain.
starting your project
Foundation chain needs to be however many stitches you want plus one for the turning chain. So if you want 20 stitches across, chain 21.
Row 1: Single crochet in second chain from hook and across. You should have 20 single crochets. Chain 1, turn.
Row 2: This is where you start the actual waistcoat stitch. Insert hook through the center of first stitch (splitting that V shape), complete single crochet. Repeat across. Chain 1, turn.
Row 3 and beyond: Just keep doing what you did in row 2. Every row is waistcoat stitch once you get going.
tips for not messing up
Count your stitches at the end of each row, especially when you’re starting out. It’s so easy to miss the last stitch or accidentally add one at the beginning. I still count sometimes and I’ve been doing this for a while now.
The first stitch of each row can be tricky. Make sure you’re actually going through it and not just working into the chain space. The last stitch is also easy to miss because it kinda hides.
If you realize you’ve made a mistake several rows back, you gotta decide if it’s worth ripping out or if you can live with it. Waistcoat stitch is such a pain to frog (rip out) because the stitches are so tight and interconnected. Sometimes I just leave small mistakes if they’re not super obvious.
yarn choices that work well
Smooth yarn shows off the stitch pattern better than fuzzy or textured yarn. I’ve tried this with Red Heart Super Saver, Caron Simply Soft, Bernat Softee Chunky, and some random acrylic stuff from Michaels. The smoother yarns definitely look more knit-like.
Cotton yarn like Lily Sugar’n Cream or I Love This Cotton from Hobby Lobby works great too. The stitch definition is really crisp with cotton. But cotton has no stretch at all so combined with waistcoat stitch you get something very firm and structured.
Haven’t tried it with wool because I don’t usually work with wool but I imagine it would look nice. Might be harder to see your stitches depending on how fuzzy the wool is.
Chunky or bulky weight yarn makes the process go faster but you can really see if your tension is off. Worsted weight is probably the sweet spot for learning. Sport or DK weight works too but takes forever to make anything substantial.
what to make with it
Bags and pouches are perfect for waistcoat stitch because you want that structure. I made a little drawstring bag for my… actually I don’t remember what I was gonna put in it but it’s sturdy enough to hold whatever.
Headbands and ear warmers work well because they need to hold their shape. The thickness keeps your ears warm too.
Scarves are okay but they’re gonna be heavy and not very drapey. More like a structured scarf than a flowy one. I started that scarf in spring 2022 and honestly never finished it because it was taking forever and getting heavy.
Hats look really good in waistcoat stitch, especially beanies worked in the round. They look just like knit hats. You can even do ribbing at the brim by switching to back loop only single crochet for a few rows.
Some people make sweaters with it but that seems like a lot of work and the fabric would be so thick and heavy. Also not stretchy which seems problematic for a garment you need to pull over your head.
variations and modifications
You can do waistcoat stitch with half double crochet too instead of single crochet. Same concept, you’re just piercing through the center of the stitch but working a taller stitch. It goes faster but doesn’t look quite as knit-like in my opinion.
Some people do a slip stitch version which is even tighter and more fabric-like but also takes forever and is hard on your hands.
You can combine waistcoat stitch with regular stitches for texture. Like do a few rows of waistcoat then a row of regular single crochet in the back loop only for a ridge. Creates interesting patterns.
troubleshooting common problems
If your edges are getting wavy or ruffled, you’re probably adding stitches somewhere. Count more carefully and make sure you’re not working into the turning chain space as if it’s a stitch.
If your fabric is curling, that’s just kinda what waistcoat stitch does sometimes, especially in rows. The fabric is so dense it wants to curl. Blocking can help, or you could add a border in a different stitch. Or just accept the curl, my cat likes to bat at curled edges anyway so whatever.
If you’re having trouble getting your hook through the stitches, either go up a hook size or loosen your tension. You shouldn’t have to fight with every single stitch.
If it doesn’t look knit-like enough, check that you’re really going through the center of the stitch and not just under the front loop or something. The hook needs to split that V completely.
working in the round details
For working in the round, start with a chain that’s the circumference you want. Join with slip stitch to form a ring, being careful not to twist the chain.
Round 1: Chain 1, single crochet in each chain around. Join with slip stitch to first single crochet.
Round 2 and beyond: Chain 1, waistcoat stitch in each stitch around (piercing through the center of each V). Join with slip stitch to first waistcoat stitch.
The join can create a little jog where the rounds meet. There are ways to minimize this with a jogless join technique but honestly I usually just ignore it or position it at the back of whatever I’m making.
gauge and sizing
If you’re following a pattern, definitely check your gauge because waistcoat stitch is denser than regular single crochet. Your gauge swatch in waistcoat will have fewer stitches per inch than the same yarn in regular single crochet.
I don’t usually follow patterns so I just make stuff up as I go, but if you’re trying to make something a specific size you gotta swatch first. Make a 4×4 inch square and count stitches and rows.
The fabric also doesn’t stretch so you can’t really fudge the sizing like you might with a stretchier stitch. What you make is what you get size-wise.
my hand gets tired
Yeah so waistcoat stitch is more work than regular crochet because you’re forcing your hook through the middle of stitches instead of just sliding under loops. Your hand will get tired, especially when you’re first learning and tensing up.
Take breaks. I usually work on it for like 20 minutes then do something else for a bit. Trying to power through just makes your hand cramp up and then your tension gets all wonky.
Make sure you’re not gripping your hook too tight. Your hand should be relaxed. I know that’s easier said than done when you’re concentrating but try to stay loose.
If your fingers start hurting, stop. Not worth injuring yourself over a stitch technique. There’s always tomorrow or whenever to keep working on it.
does it use more yarn
Yeah waistcoat stitch definitely uses more yarn than regular single crochet for the same size piece. The fabric is denser so there’s more yarn packed into each square inch. I’d estimate maybe 20-30% more yarn? I’m not great at math so don’t quote me on that but it’s noticeably more.
Plan accordingly if you’re working from a limited amount of yarn. Better to have too much than run out right before you finish.
I ran out of yarn once making that coffee cozy and had to use a slightly different dyelot for the last few rounds. You could tell if you looked closely but nobody else noticed. Still bugged me though.
Anyway that’s basically waistcoat stitch. It’s not complicated once you get the hang of where to put your hook, just takes practice to do it consistently. The knit-look effect is pretty cool and it’s nice to have another technique in your repertoire even if you don’t use it all the time. I still mostly do regular stitches for most projects but waistcoat is good for specific things where you want that dense structured fabric.
