
May
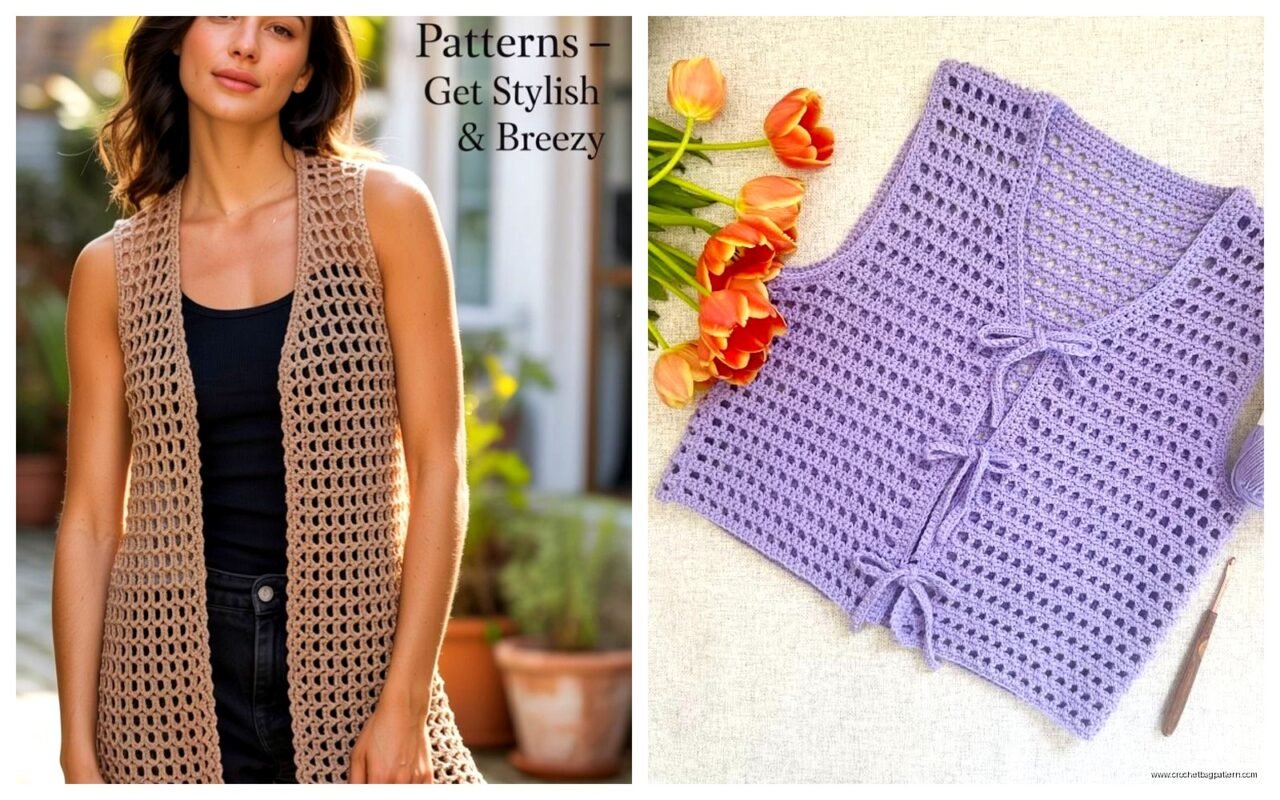
okay so vests are actually way easier than you think
So like the main thing with crochet vests is they’re basically just rectangles or panels you stitch together. I made my first one in spring 2022 when I was binge-watching that show Severance and honestly it kept me from overthinking the patterns because I was so distracted by the plot twists. The vest turned out kinda lopsided but whatever, I still wear it.
The basic construction is usually either one big rectangle that folds over your shoulders with side seams, or it’s a front panel and back panel that you seam at the shoulders and sides. Some patterns do it all in one piece which sounds fancy but it’s really just—you work it flat and do some strategic shaping.
picking your pattern style
There’s like three main types you’ll see everywhere. The granny square vest which is exactly what it sounds like, you make a bunch of squares and join them. Then there’s the continuous panel vest where you’re just making rectangles with whatever stitch pattern you want. And then the shaped vest which has actual armhole shaping and sometimes a v-neck or whatever.
I’d start with the panel style honestly because you can literally just crochet two rectangles and call it a day. The granny square ones look cute in photos but joining all those squares is SO annoying, like I made one in summer 2024 using Red Heart Super Saver in that Buff color (the tan one) and I wanted to throw it across the room by square number 30. My cat kept sitting on the squares too which didn’t help.
measurements you actually need
Okay so you need your bust measurement obviously. Then measure from your shoulder down to where you want the vest to end, like hip length or cropped or whatever. And you need the width across your back from shoulder to shoulder.
Most patterns will have you make the back panel first. It’s usually just straight crochet with no shaping. The width should be about half your bust measurement plus maybe 2-4 inches for ease because you don’t want it skin tight unless that’s your thing. The length is just however long you measured.
For the front panels, each one is gonna be roughly a quarter of your bust measurement wide. If you’re doing a open front vest with no buttons or closures, you might want a bit of overlap so you’re not flashing everyone.
yarn choices that won’t make you miserable
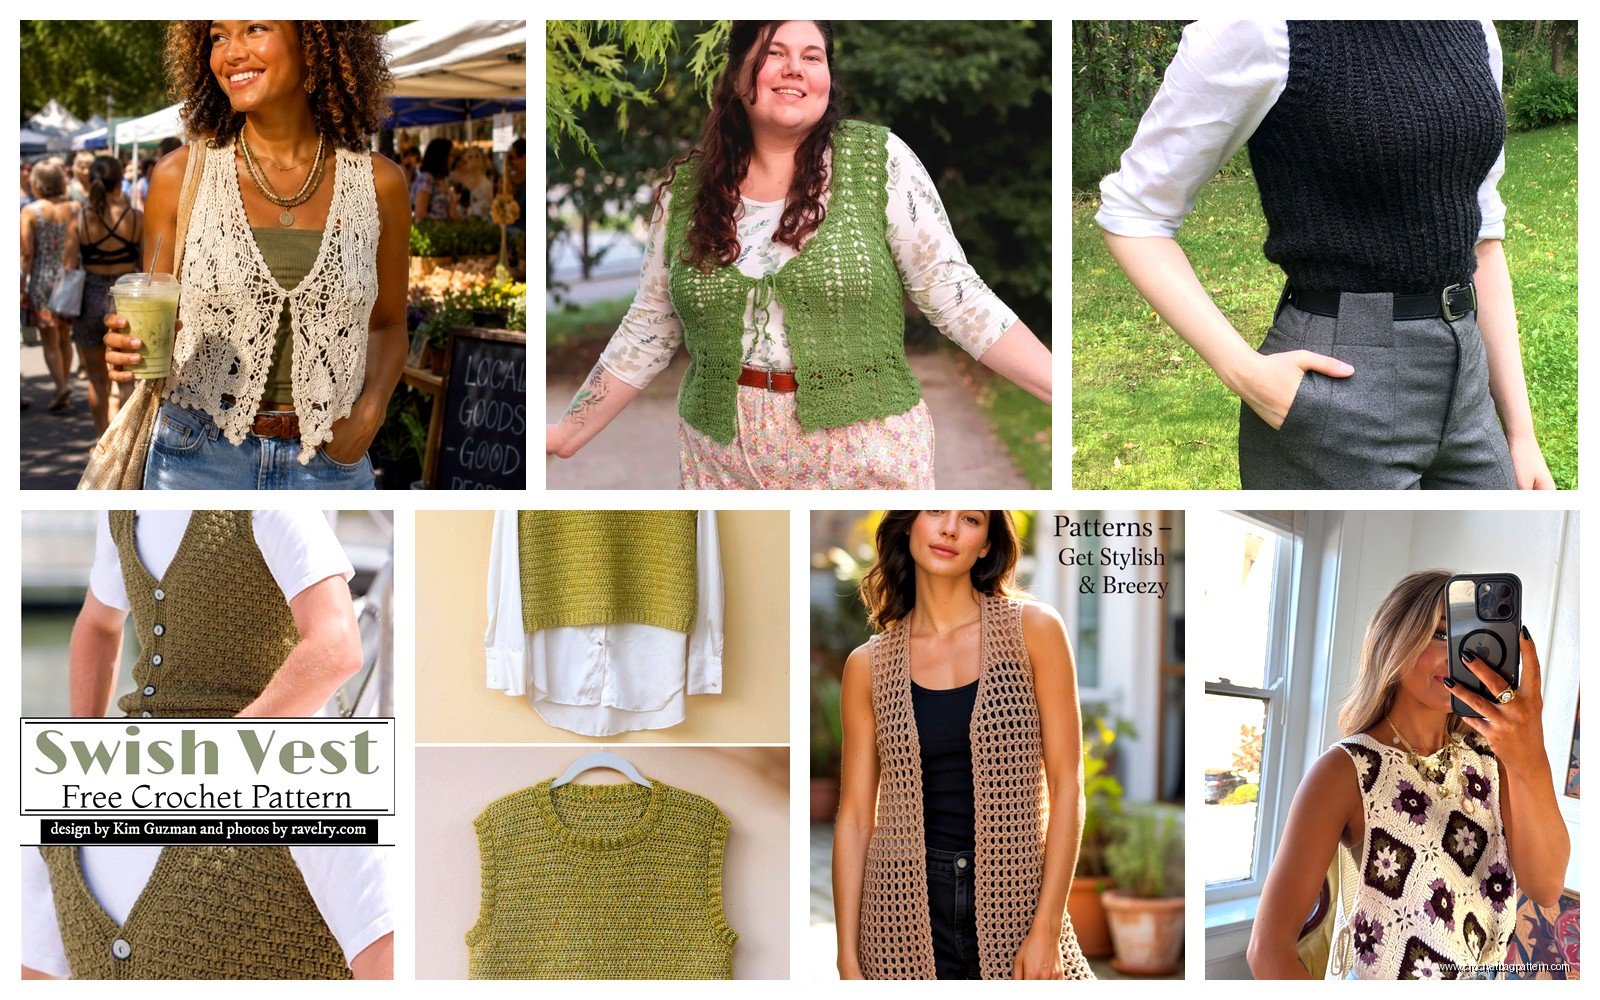
I’ve used a bunch of different yarns for vests and honestly the weight matters more than you’d think. Worsted weight is like the standard and works for most patterns. I really like Caron Simply Soft for vests because it drapes nice and isn’t scratchy, plus it’s cheap enough that if you mess up you’re not out like $60.
Lion Brand Wool-Ease is good if you want something with a bit of structure. I made a vest with their Fisherman colorway and it holds its shape really well. Doesn’t get all stretched out and saggy after wearing it a few times.
The thing that annoyed me most about one vest I made was I used this chunky weight yarn thinking it would work up faster—it did, but the vest was SO heavy and bulky it looked ridiculous. Like I was wearing a crochet bulletproof vest or something. Ended up frogging the whole thing which was like 8 hours of work down the drain.
Cotton yarn works great for summer vests. Lily Sugar’n Cream isn’t really meant for garments but I’ve used it anyway for a cropped vest and it was fine, just a bit stiff. Better options are like the Paintbox Cotton DK or I Love This Cotton from Hobby Lobby if you have one near you.
gauge is boring but kinda important
Look I’m not gonna lecture you about swatching because I barely do it myself but for a vest you should at least crochet like a 6 inch square in your pattern stitch and measure it. If the pattern says 10 stitches = 4 inches and you’re getting 12 stitches = 4 inches, your vest is gonna be way smaller than expected.
Going up or down a hook size fixes this usually. I keep hooks in every size from E through K just so I don’t have to make a store run when my gauge is off.
basic construction methods
The easiest vest pattern I ever did was literally just: make a rectangle that’s about 45 inches wide and 18 inches long (adjust for your size obviously). Fold it in half so it’s 22.5 inches wide. Mark the center fold. From that center point, measure out about 8 inches on each side along the fold and mark those spots. Those are gonna be your shoulder seams.
Seam from those marks down the sides for about 8-10 inches depending on how long you want the armholes. Leave the rest open at the bottom for movement. The center fold becomes the shoulder line and you’ve got armholes and a open front. Done. It’s not fitted or anything but it works.
For something more shaped, you’ll work the back panel and then do increases or decreases for armhole shaping. Patterns will tell you like “decrease 1 stitch at each end of next 4 rows” or whatever. Just follow that and it’ll curve in where the armholes are.
stitches that work well
Double crochet is your friend for vests because it works up reasonably fast and has good drape. Single crochet makes things too dense and stiff unless you’re going for that look. Half double crochet is a nice middle ground.
I really like the moss stitch for vests (that’s alternating single crochet and chain 1). It’s got texture but isn’t too holey. The shell stitch looks pretty but can be too lacy depending on the yarn weight, like you might need a cami underneath.
Granny stripes work great and they’re mindless once you get the rhythm down. That’s what I was doing during Severance, just zone out and crochet stripes. The pattern is basically double crochet 3 in one stitch, skip 2, repeat.
armhole finishing
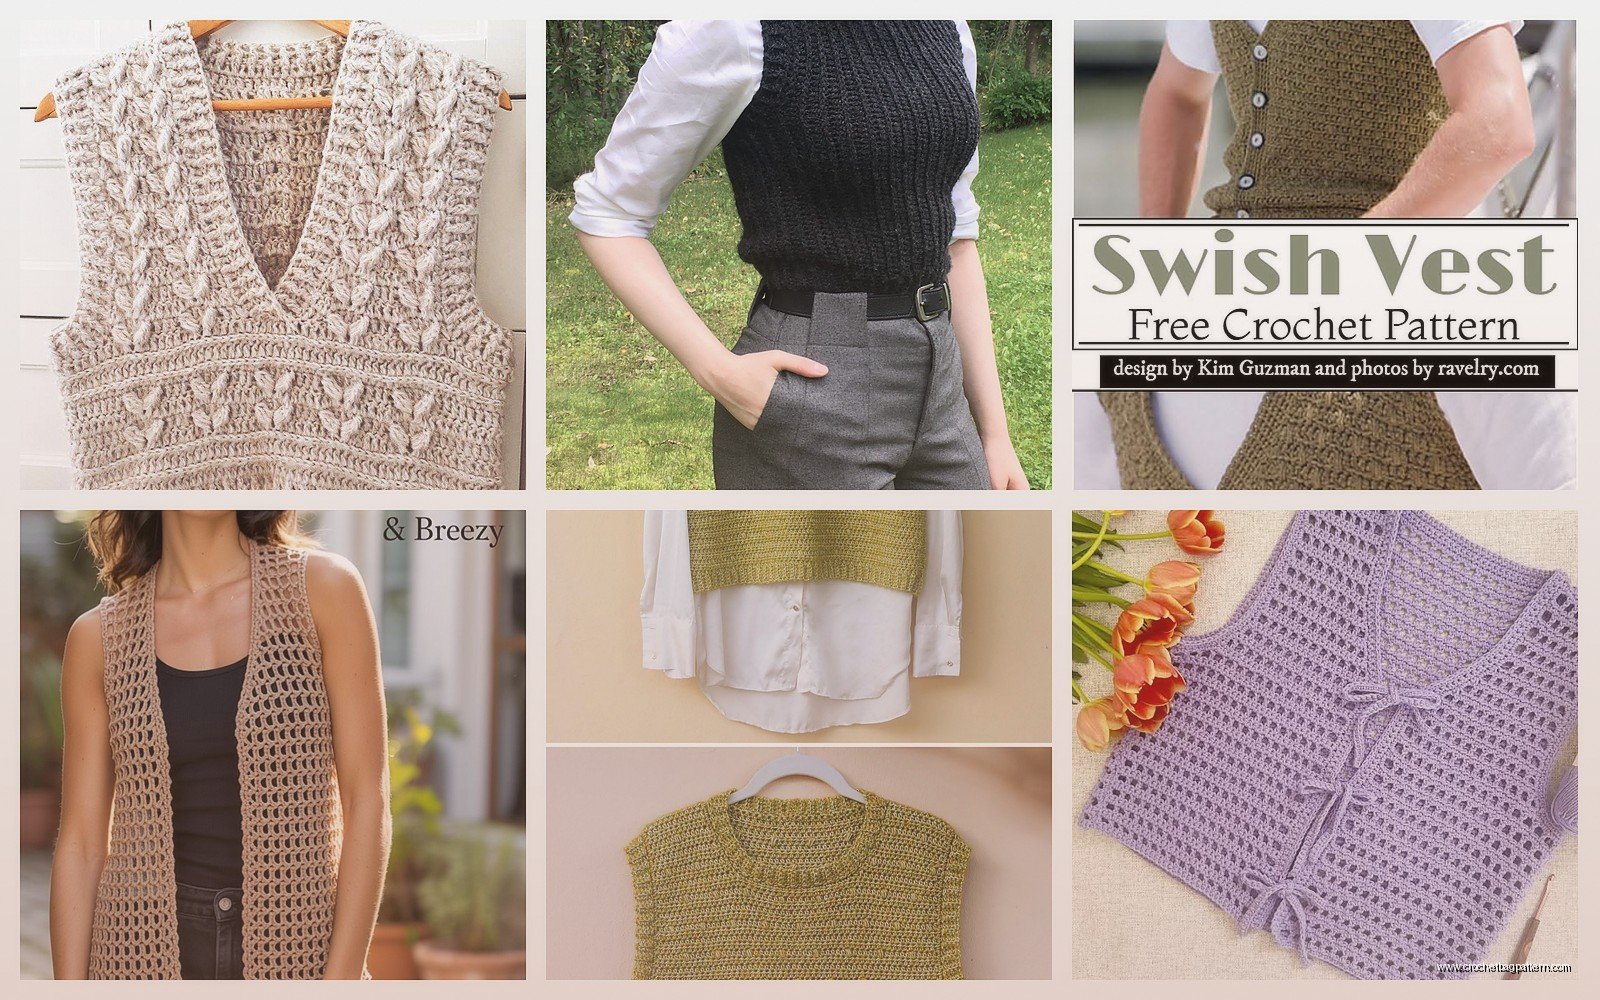
This is where patterns get weird because everyone does it different. Some patterns have you crochet right into the armhole edges to make a border. Some say to do a slip stitch edge. Some don’t finish them at all and just leave the raw edges.
I usually do at least one round of single crochet around each armhole just to clean it up and make sure it’s not gonna stretch out weird. If you want it extra neat you can do a round of reverse single crochet (crab stitch) but that’s kinda fussy.
The neckline and front edges usually get the same treatment. A simple single crochet border makes everything look more finished. You can add a picot edge if you’re feeling fancy but honestly plain borders look just as good.
seaming panels together
Okay so when you’ve got your panels done you gotta join them. I use the whip stitch most of the time because it’s fast and I’m impatient. You just put wrong sides together and whip stitch through both edges. It creates a little ridge on the right side which I actually think looks intentional and decorative.
Mattress stitch is invisible and professional looking but takes forever. You weave the yarn through the edge stitches in a specific way and it disappears. Good for if you’re making something you wanna sell or gift to someone you’re trying to impress.
Slip stitch seaming is what a lot of patterns recommend. You basically slip stitch through both layers. It’s flat and sturdy but can be a bit bulky depending on your yarn weight.
The thing that drives me nuts about seaming is when the stitch counts don’t match up perfectly because you were off by one somewhere and now you’re trying to fudge it so the seam doesn’t pucker. Happens every single time no matter how careful I am with counting.
sizing adjustments
Most patterns are written for like medium or a specific bust size. To adjust you basically just add or subtract stitches in multiples of your pattern repeat. Like if your stitch pattern repeats every 6 stitches, you’d add or subtract 6 stitches (or 12 or 18) to keep the pattern working out.
For length you just work more or fewer rows. Pretty straightforward.
The tricky part is armhole depth. If you’ve got broader shoulders or longer arms you might need deeper armholes. You can add an extra inch or two pretty easily, just work those straight sections longer before you start any shoulder shaping.
adding closures or keeping it open
A lot of vests are meant to be worn open in the front which is easy because you don’t have to do anything. Just crochet your panels and you’re done.
If you want buttons you’ll need to add buttonholes on one front panel and sew buttons on the other. Buttonholes are just chain spaces basically. Like when you get to where you want a buttonhole you’d chain 3, skip 3 stitches, then continue your row. On the next row you work stitches into that chain space.
I made a vest with toggles once using those wooden toggle buttons and I actually really liked how it looked, kinda boho. Just made bigger buttonholes with chain 5 spaces.
You can also do ties instead of buttons. Just crochet some chains or i-cords and attach them at strategic points. I did this on a summer vest in 2024 and it was cute but the ties kept coming untied which got old fast.
common problems and fixes
If your vest is twisting or not laying flat, it’s usually a tension issue. You might be crocheting too tight or too loose. Blocking can help with this—just wet the vest, pin it flat to the right measurements, and let it dry.
Armholes that are too tight are the worst because then you can’t move your arms and the vest pulls weird. If you’re making a pattern for the first time maybe go up a size just for the armholes or add an extra inch to the depth. You can always make it smaller but making it bigger after the fact is basically impossible without frogging.
If your front panels aren’t matching in length even though you did the same number of rows, your tension probably varied between them. I do one panel per day usually so my tension stays consistent, but if you’re doing one in the morning when you’re alert and one at night when you’re tired they might come out different sizes. Just block them to match or add/remove a row.
pattern resources
Ravelry has approximately one million vest patterns ranging from free to paid. I’ve bought patterns from indie designers that were really well written with clear photos. The free ones are hit or miss—some are great and some are like written in code you have to decipher.
YouTube tutorials are good if you’re a visual learner. Bella Coco has some vest tutorials that are pretty clear. I learned a lot from just watching people’s hands and seeing how they construct things rather than trying to read charts or written patterns.
You can also just wing it honestly. Once you understand the basic structure of front panel, back panel, seam together, you can make up your own design. Pick a stitch you like, make rectangles in that stitch, adjust as you go. That’s basically how I learned because I never followed patterns exactly anyway.
yarn amounts
This depends so much on your size and the pattern but generally for a adult medium vest in worsted weight you’re looking at like 600-1000 yards. Smaller sizes or cropped vests might be 400-600 yards. Plus sizes or longer vests could be 1200-1500 yards.
I always buy an extra skein just in case because running out of yarn when you’re almost done is the actual worst. And dye lots matter—if you have to buy more yarn later and it’s a different dye lot, the colors might not match exactly and you’ll have a weird stripe situation going on.
Cotton takes more yardage than acrylic for the same size garment usually because it’s denser and doesn’t have as much loft. Keep that in mind if you’re substituting yarns.
Anyway that’s most of what I’ve figured out about making vests over the past few years. They’re honestly a good project if you want to make wearable stuff but don’t wanna deal with sleeves or a ton of shaping. Just make some rectangles and stitch them up and you’ve got a vest.
