
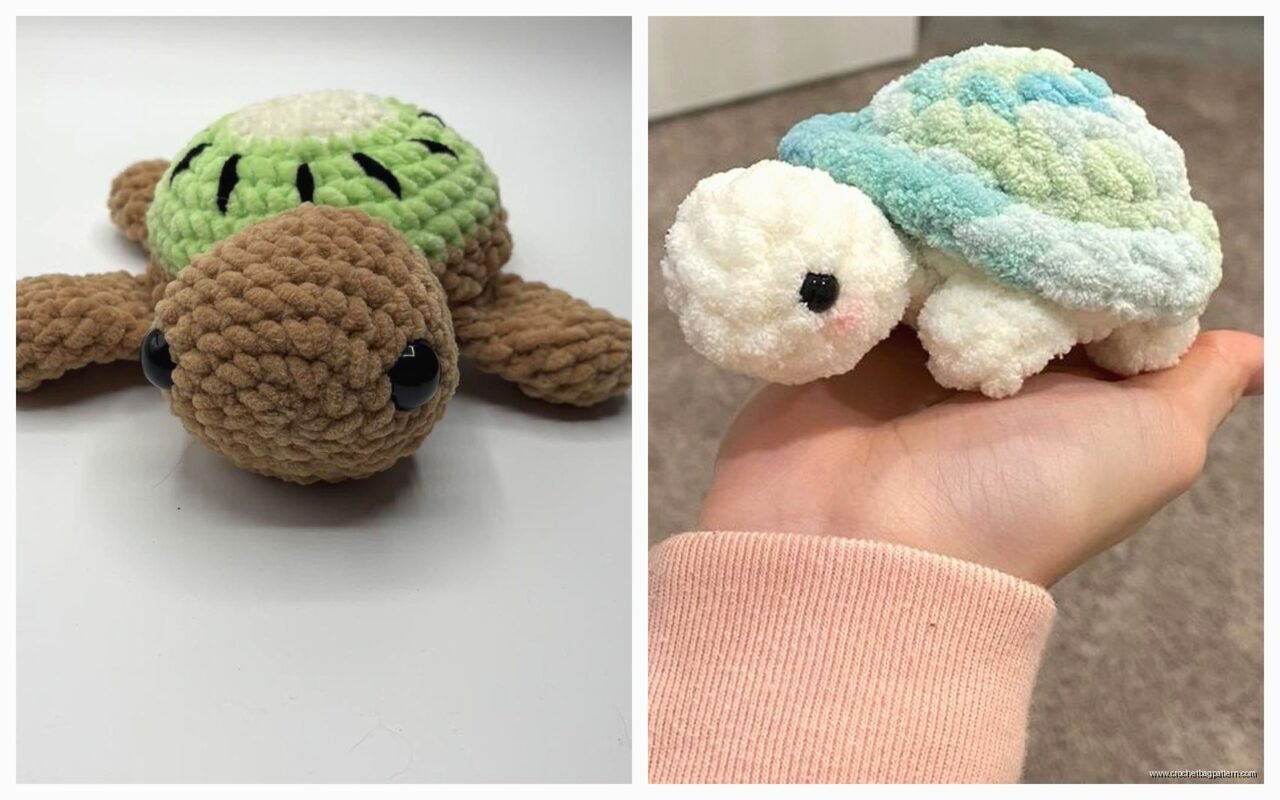
May
okay so the turtle thing, I made one back in spring 2022 when I was binge-watching that show with the dragons and honestly it kept my hands busy during the boring council scenes
The basic shape is pretty straightforward once you get your head around it. You’re gonna start with the shell because that’s the main body piece and everything else attaches to it. Most patterns do magic ring start but I just chain 4 and slip stitch into a circle because that’s what I learned first and changing now seems pointless
Shell Construction
Round 1 is usually 6 single crochets into your ring. Then you increase every stitch for round 2 so that’s 12 total. Round 3 you do the whole *sc, inc* repeat which gives you 18. Keep going with this pattern where you add one more stitch between increases each round until you hit about 54 or 60 stitches depending on how big you want the turtle
I used Red Heart Super Saver in that seafoam green color for my first turtle shell. It’s acrylic so it’s not fancy but it works and it’s like $3 a skein at Walmart. Some people get all precious about using cotton for amigurumi but honestly the stiffness of acrylic helps it hold shape better anyway
Once you’ve got your circle flat and wide enough you work even for maybe 6-8 rounds with no increases. This creates the dome part. Then you start decreasing to close it up but NOT all the way closed because you need to stuff it first
The stuffing part is actually where I messed up my first turtle because I didn’t pack it firm enough and the shell got all saggy and sad looking. You really gotta jam that polyfil in there. Like more than feels reasonable. The shell should feel almost hard when you’re done stuffing
The Underbelly
So the flat bottom part, some patterns have you crochet a separate oval and sew it on. That’s what I did but honestly the sewing part was so annoying and my stitches were visible and ugly no matter how careful I was with the whip stitch or mattress stitch or whatever
You make an oval by chaining like 10 or 12, then working sc around the entire chain including both sides of it. Then increase on the curved ends for a few rounds until it matches the opening of your shell. The pattern I loosely followed said to use a tapestry needle and matching yarn but the seam still looked lumpy
Next time I’d probably just work the bottom as a continuation of the shell somehow but I haven’t figured out exactly how that would work with the shaping
Head and Flippers
The head starts the same way, magic ring or chain ring with 6 sc. Increase to maybe 24 stitches over a few rounds then work even for the length of the head. I made mine about 2 inches long before starting to decrease
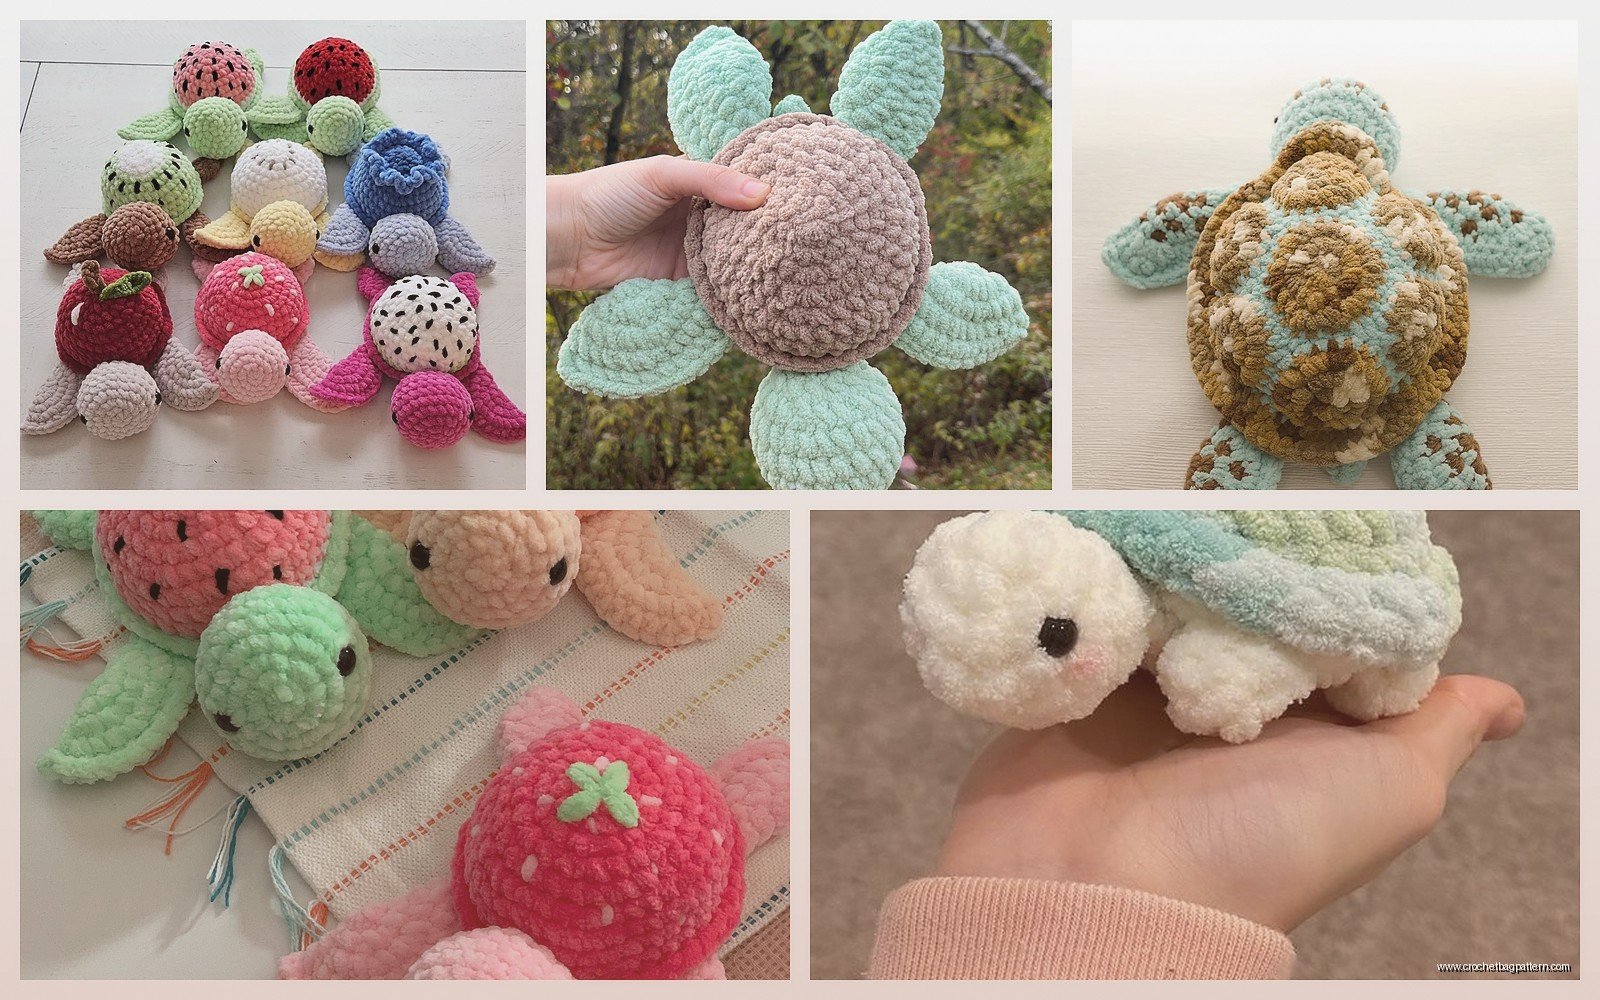
Here’s the thing nobody tells you though – where you place the safety eyes matters SO much for the expression. I put mine too far apart on the first turtle and it looked derpy. Not cute derpy, just… wrong. They should be pretty close together, like maybe 4-5 stitches apart, and positioned in the increase section so they sit on the sides of the head slightly
I used 9mm safety eyes from some random Amazon pack. You gotta put these in before you close up and stuff the head obviously or you’ll be trying to force the washer backing through tight stitches and that’s impossible
For flippers I did a flat teardrop shape. Chain 6, then sc down one side, do 3 sc in the end stitch to curve around, sc back up the other side. Then work around that entire shape with increases at the curves for 2-3 rounds until it looks flipper-ish. Make four of these, obviously
The back flippers can be the same as front or slightly smaller if you want to be accurate but honestly who’s measuring turtle flippers
Attaching Everything
This is the part that annoyed me the most because there’s no perfect system for it. You’re basically eyeballing where the head should sit and pinning it with regular sewing pins first before you commit to stitching
I used the same yarn to sew pieces on, doubled over for strength. You stitch around each piece like twice to make sure it’s secure because kids will yank on these things. My niece immediately grabbed the head of the turtle I made her and tried to twist it off so yeah, reinforce your stitches
The flippers attach at an angle, not straight out to the sides. They should point slightly forward and down. I attached them to the underside where the shell meets the belly piece, spacing them roughly where they’d be on a real turtle or where it looked balanced I guess
The Little Tail
Almost forgot about this part. The tail is just a tiny cone. Start with 4 or 5 sc in a ring, work even for maybe 4 rounds, done. Stuff it lightly and sew it to the back of the shell. It’s small enough that it’s kinda fiddly but it does complete the look
Shell Pattern Details
Some people do the hexagon pattern on the shell to make it look more realistic. You can do this with surface crochet after the shell is done, using a contrasting color. I used Caron Simply Soft in chocolate brown to make lines on my seafoam shell
Basically you draw out roughly where you want the hexagons with a fabric marker first (the kind that disappears). Then insert your hook from the back of the work, pull up a loop of the contrasting yarn, move to the next stitch along your line, insert hook, yarn over and pull through both loops. It’s like slip stitching on the surface
Do five or six hexagon shapes clustered in the center of the shell with smaller sections around the edges. It doesn’t have to be perfect geometry because real turtle shells aren’t perfect either
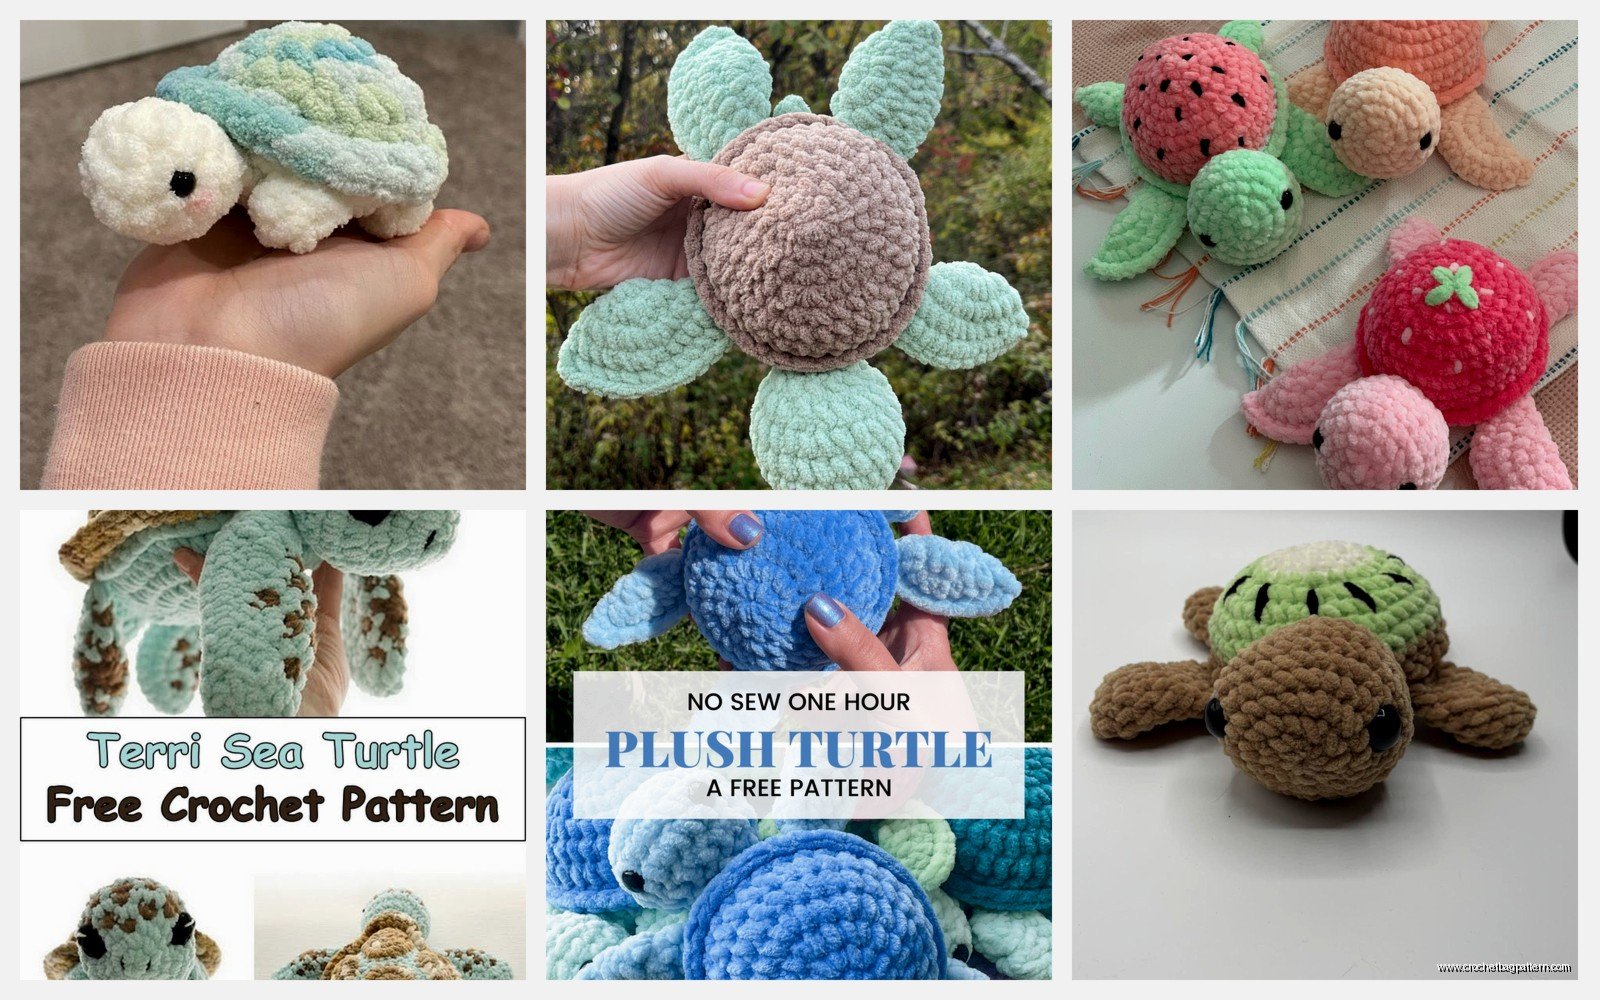
Or you can skip this entirely and just make a solid colored shell, that works too. My spring 2022 turtle had no pattern and looked fine
Yarn Choices and Gauge
I mentioned Red Heart already but I’ve also used Bernat Blanket yarn for a giant turtle which was like 12 inches long when finished. That required a 9mm hook and way more stuffing but the process was the same just scaled up
For normal sized turtles about 4-5 inches, use worsted weight yarn with a 4mm or 5mm hook. The smaller hook than recommended on the label is important because you don’t want gaps between stitches where stuffing shows through
Gauge doesn’t matter much for amigurumi except that tighter = better. Your stitches should be tight enough that you can barely see through them when you hold the work up to light
I’ve tried cotton like Lily Sugar n Cream but it was harder on my hands and didn’t have the same give as acrylic. Plus it costs more and the color range isn’t as good for sea creature colors. Though they do have a nice aqua shade
Variations and Details
You can add little details if you want to get fancy. Some people embroider a smile with black yarn. I tried this once and it looked creepy so I picked it back out
Blushing cheeks with pink chalk or eyeshadow is a thing people do but it seems like it would rub off or look dirty after handling. Haven’t tried it myself
Different flipper styles exist too – some patterns do rounded flippers instead of pointed ones, or add webbing detail with extra rounds… actually webbing doesn’t make sense for a sea turtle now that I think about it since they have the paddle flippers not webbed feet, that’s freshwater turtles or whatever
You could make a baby turtle by using thinner yarn and smaller hook. Like sport weight with a 3mm hook would give you a tiny version maybe 2 inches across
Common Problems
If your shell is ruffling instead of laying flat, you increased too fast. If it’s cupping inward, you didn’t increase enough. The flat circle part should literally be flat before you start the dome rounds
Uneven stuffing shows as lumps. You can sometimes fix this by poking a crochet hook in through the stitches to redistribute the polyfil without taking the whole thing apart
My cat kept stealing the polyfil bag while I was working on these which was irritating because then there’d be little white fluffs all over the carpet
If the head flops forward or backward after attaching, you didn’t sew it securely enough or position it right. It should sit slightly recessed into the shell opening, not perched on top of the edge
The flippers might stick out weird if you attach them too high up on the shell. They need to be on the underside mostly, just barely wrapping onto the side edge of the shell
How Long It Takes
The shell takes the longest, maybe 2-3 hours if you’re going at a casual pace. All the other pieces combined are another 2 hours or so. Assembly is maybe 30-45 minutes depending on how fussy you are about placement
So figure like 5-6 hours total for a regular sized turtle start to finish. The giant one I made with Bernat Blanket took way longer, probably 10 hours because the rounds got so big
Pattern Resources
I didn’t follow one specific pattern exactly, I kind of cobbled together techniques from different free patterns on Pinterest and YouTube. There’s a popular one by… I wanna say it was a blog called Grace and Yarn or something similar? That one has good photos
YouTube videos are helpful for seeing how the pieces actually look in 3D as you make them. Search “amigurumi turtle tutorial” and you’ll find like dozens. I watched one by a channel called Clubcrochet that had clear instructions for the shell shaping
Ravelry has patterns too but some are paid and honestly the free ones are just as good
Other Random Tips
Use stitch markers to mark your rounds unless you’re good at counting. I lose track constantly so I move a marker up every round
If you’re making multiple turtles in different colors, do all the shells first, then all the heads, etc. Assembly line style is faster than making each one completely start to finish
The yarn ends can be woven in as you go for the shell since you’re working in continuous rounds. Just crochet over the tail for a few stitches when you start a new round. Saves time at the end when you’re trying to weave in like 10 different ends from all the pieces
Polyfil is cheaper at craft stores when they have the 40% off coupon which is basically every week. Don’t buy the tiny bags at Walmart, get the big pound bag
If you mess up the count and don’t notice until several rounds later, you can usually just fudge it by increasing or decreasing an extra time in the current round to get back on track. Amigurumi is forgiving that way since it’s all gonna be stuffed and smooshed into shape anyway
That’s pretty much everything I can think of for making a turtle. The pattern concept works for other round animals too – you could make the shell more of a sphere and add different appendages for like a octopus or something but with the flat bottom and flippers you get a turtle
