
May
Picking Your First Throw Pattern
So the main thing about crochet throws is you gotta figure out if you want a blanket or an afghan because people use those words interchangeably but they’re kinda different? Afghans are usually the ones with more structured patterns and blankets can just be like… a big rectangle of stitches. I made my first real throw in spring 2022 when I was basically living on my couch binge-watching The Crown and I just wanted something mindless to do with my hands.
Start with deciding your size. A lap throw is usually around 36×48 inches which is honestly perfect for most people. Then you’ve got full size which is more like 50×65 inches and that takes forever. I learned this the hard way because I started what I thought would be a lap blanket but kept going and ended up with something massive that my cat immediately claimed as his territory.
Yarn Weight and Yardage
This is where everyone gets tripped up including me every single time. For a basic throw you want either worsted weight (that’s the #4 on the label) or bulky weight if you want it to work up faster. I used Lion Brand Wool-Ease for that 2022 blanket and it was actually pretty decent? Not scratchy like some acrylic blends get. You need to calculate yardage before you start or you’ll run out halfway through and then you’re scrambling to find the same dye lot.
Here’s the annoying math part: for a worsted weight lap throw you need roughly 1500-2000 yards. For bulky it’s less yardage but the skeins cost more so it evens out. I always buy an extra skein because nothing is worse than being 10 rows from done and realizing you’re short.
Brands I’ve Actually Used
- Lion Brand Wool-Ease – good all-around, washes well
- Red Heart Super Saver – cheap and bulletproof but can feel stiff
- Caron Simply Soft – lives up to the name but pills eventually
- Big Twist Value from Joann – honestly fine for practice throws
- Bernat Blanket yarn – super bulky and works up fast but your hands will cramp
Basic Stitch Patterns That Actually Work
You can make an entire throw with just single crochet but I’m gonna be real with you, that’s boring as hell and takes forever. Here’s what I actually recommend:
Granny square afghans: Make a bunch of squares then seam them together. This was my summer 2024 project and the thing that annoyed me most was weaving in all those ends. Every single square has like 4-6 ends to weave in and when you’ve got 48 squares that’s… I don’t even want to do that math. But the advantage is you can work on it in chunks and carry squares around with you.
Corner to corner (C2C): You start in one corner and work diagonally which sounds weird but it’s actually really intuitive once you get going. Uses mainly double crochet and chain stitches. The fabric has a nice texture and it grows fast. I made one of these during a really bad breakup in late 2023 and just kept crocheting until it was big enough to wrap around myself completely.
Ripple or chevron patterns: These make wavy stripes and they’re super popular but honestly the points never line up perfectly for me and it makes me irrationally annoyed. You’re doing increases and decreases in specific spots to create the wave effect.
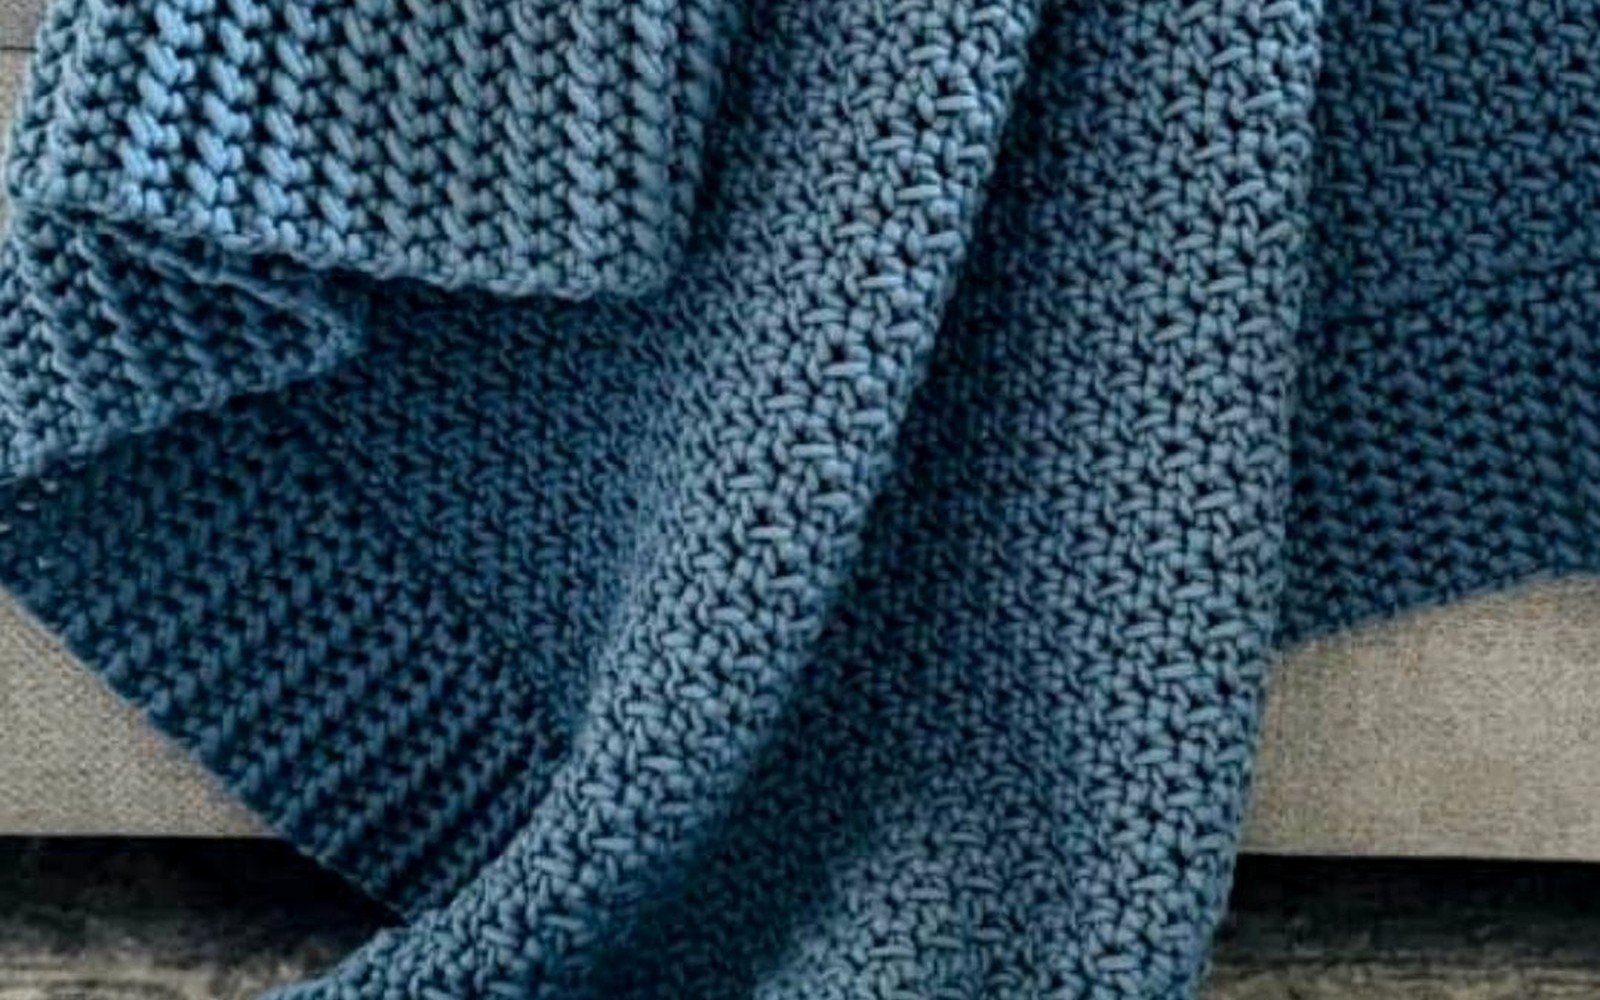
Moss stitch: Just alternating single crochet and chain stitches. Creates a nice textured fabric that’s reversible. Pretty mindless once you get into the rhythm.
Starting Your Throw
Most patterns have you chain a starting chain that’s like 150+ stitches long and that’s where people mess up right away. Your foundation chain needs to be loose or the whole bottom edge will pull in weird. I go up a hook size just for the foundation chain then switch back to my regular hook for the actual rows.
Another option is foundation single crochet or foundation double crochet where you’re basically making the chain and first row at the same time. It’s stretchier and I like it better but it takes practice to get the tension right. There are videos on YouTube that explain it better than I can in text.
The Border Situation
So many people skip the border and honestly the throw looks unfinished without it. Even just doing 2-3 rounds of single crochet around the whole thing makes it look way more professional. I usually do single crochet for the first round to even everything out, then maybe a round of half double crochet, then finish with single crochet again.
For corners you work 3 stitches in the same corner stitch to make it turn properly. If you don’t add extra stitches in the corners your blanket will cup inward and look weird.
Gauge and Tension
This is gonna sound preachy but you actually need to pay attention to gauge for throws because if your stitches are too tight the blanket will be stiff and heavy, too loose and it’ll be floppy and full of holes. I crochet pretty tight naturally so I usually go up a hook size from what the pattern recommends.
Most throw patterns use a K or L hook (6.5mm or 8mm) for worsted weight yarn. If you’re using bulky yarn you might need an M or N hook. The pattern should tell you what gauge you’re aiming for like “12 stitches and 10 rows = 4 inches” or whatever.
I’ll be honest though, I rarely make gauge swatches for blankets because I’m lazy and if it ends up a little bigger or smaller than planned it doesn’t really matter? It’s not like a sweater where fit is crucial.
Managing a Big Project
Throws get heavy as you’re working on them especially if you’re using regular acrylic yarn. My shoulders were so sore after long sessions working on that C2C blanket. Some people put the bulk of the blanket in their lap or use a project bag to support the weight.
Also your working yarn can get tangled in the existing blanket fabric which is super annoying. I try to keep the blanket folded or rolled up so there’s less surface area for the yarn to catch on.
The Middle Slog
Every throw has this phase where you’re past the exciting beginning but nowhere near done and it feels like you’ll be crocheting forever. That’s normal. I usually have a couple smaller projects going at the same time so I can switch when the blanket feels tedious. Sometimes I’ll work on the throw while watching TV and save more complex projects for when I actually want to focus.
Keeping track of rows helps mentally. I use a row counter app on my phone or just make tally marks on paper every 10 rows so I can see progress.
Joining Yarn and Color Changes
You will run out of yarn in the middle of your throw, that’s just how it is. I join new yarn at the end of a row when possible by working the last stitch until you have 2 loops on the hook, then pull through with the new yarn. Leave like 6 inch tails on both colors and weave them in later.
For planned color changes like stripes, same deal. Change colors on the last yarn over of the row before you want the new color to show up. If you change at the beginning of the row you get a messy jog where the colors meet.
Some people do the Russian join or spit splice to join yarn without ends to weave in but I’ve never bothered learning it properly. Weaving in ends while watching Netflix isn’t that bad.
Common Problems
Edges getting wavy: You’re probably adding stitches accidentally. Count your stitches every few rows until you get consistent. The end stitches are easy to miss or accidentally work into twice.
Blanket getting wider or narrower: Same issue, you’re gaining or losing stitches somewhere. Those turning chains count as stitches sometimes but not always depending on the stitch you’re using which is confusing.
Running out of yarn: This happened to me with the spring 2022 blanket and I had to order more online because the store was out of that color. The dye lot was different and you can totally see the line where I switched if you look close. Now I always buy extra.
Hand pain: Take breaks. Seriously. I gave myself tendonitis in my wrist from doing like 8 hour crochet sessions on that breakup blanket and had to stop crafting completely for two weeks. Not worth it.
Washing and Blocking
When you finish you’ll want to wash the throw because it probably has hand oils and dirt on it from being worked on for weeks or months. I just throw acrylic throws in the washing machine on gentle with cold water and lay flat to dry or tumble dry low.
Blocking isn’t really necessary for basic throws made with acrylic yarn but if you used wool or a wool blend you might want to wet block it to even out the stitches. Basically you wash it, pin it out to the right dimensions on a blocking mat or foam tiles, and let it dry completely. Makes it look more professional but also like… it’s a blanket that’s gonna get used and washed repeatedly so I don’t stress about it.
Pattern Resources
Ravelry has thousands of free throw patterns. Just search for “afghan” or “blanket” and filter by free patterns. YouTube is also great for video tutorials if you’re a visual learner. I learned the C2C technique entirely from YouTube because written patterns for it made no sense to me.
Some designers I like are Make and Do Crew and Daisy Farm Crafts. They have clear patterns with lots of photos. Avoid patterns that are just a wall of text with no pictures unless you’re really confident in reading crochet abbreviations.
Time Investment
A basic lap throw takes me maybe 20-25 hours if I’m working with bulky yarn and simple stitches. Worsted weight with more complex patterns can easily be 40+ hours. That granny square afghan from summer 2024 took me probably 50 hours total including all the seaming and weaving in ends.
Don’t start a throw if you need it done by a specific deadline unless you’re really disciplined about working on it regularly. They take way longer than you think they will and there’s nothing worse than rushing through the end of a project that’s supposed to be relaxing.
Oh and my dog kept trying to lay on the blanket while I was working on it which made everything take longer but also he looked really cute doing it so I couldn’t even be mad. He still tries to steal any blanket I’m working on the second I put it down.
