
Jun
Making the Body Base
So the body of a stingray is basically a flat disk and honestly when I made my first one back in spring 2022 I kept thinking it looked like a weird pancake for way too long. You’re gonna start with a magic ring and work in continuous rounds, but here’s the thing – you need to increase way more aggressively than you would for like a regular ball shape.
Start with 6 sc in your magic ring. Then for round 2, do 2 sc in each stitch around so you get 12 stitches. Round 3 is where it gets different – I usually do (sc 1, inc) around to get 18, then round 4 is (sc 2, inc) for 24 stitches. Keep going with this pattern but the increases need to stay pretty frequent or your stingray body won’t flatten out properly.
I used Hobbii Rainbow Cotton 8/4 for one of mine and it worked really well because it’s got that nice matte finish that doesn’t look too shiny or fake. The stingray I made during that weird rainy week in summer 2024 when my cat kept knocking my yarn balls off the couch used Red Heart Super Saver in Grey Heather and honestly it was fine but a little stiff.
Shaping the Wings
The wing part is what makes it actually look like a stingray instead of just a flat circle with a tail. What annoyed me SO MUCH about this process is that most patterns don’t explain clearly when to stop the circular increasing and start working in rows for the wings. You basically work the body up to about 4-5 inches across depending on how big you want it, then you stop.
Here’s what you do – instead of continuing in the round, you’re gonna pick a spot on your circle and start working back and forth in rows. Each wing section is worked separately. So like, chain 1, turn, and work across maybe 15-20 stitches (depends on your body size), then chain 1, turn back. You keep doing this but decrease at the edges every few rows to get that tapered wing shape.
For the decreases I usually do sc2tog at the beginning and end of every other row. The wings should kind of curve and get pointier as you go. Work until the wing is about as long as you want – mine are usually like 3-4 inches from the body center but you can make them longer if you want that dramatic look.
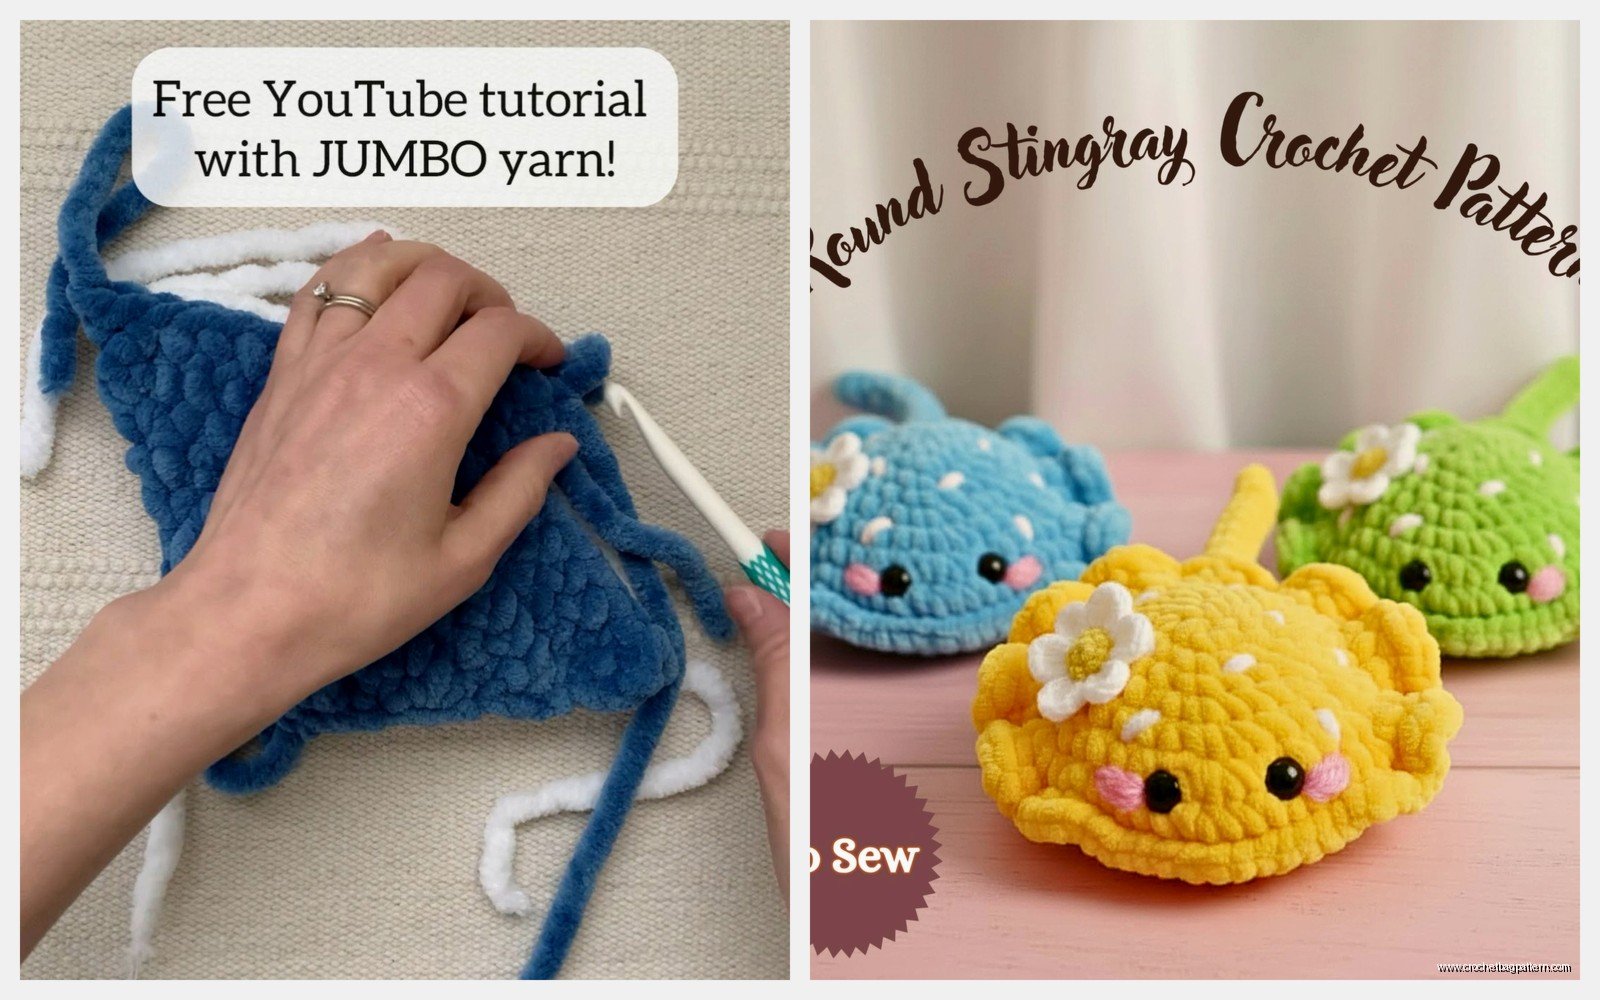
Then you gotta do the same thing for the other wing on the opposite side. Leave some stitches in between for where the head will be.
The Tail Situation
The tail is honestly the easiest part but also where people get creative. I just chain a long strand – like 20-30 chains depending on how dramatic you want it. Some people do a single crochet back along the chain to make it thicker, some leave it as just chains.
For my summer 2024 one I was watching that baking show – you know the British one? – and I got distracted and made the tail WAY too long. It looked ridiculous but also kind of cool. Anyway you attach the tail at the back center of the body, right opposite from where the head area is.
If you want to get fancy you can make the tail thicker at the base and taper it down. Start with sc in each chain for the first 5-6 chains, then switch to slip stitches for the rest. Gives it more dimension.
Adding the Head and Face
The head isn’t really a separate piece – it’s more like a slight bump on the top of the body. Where you left those stitches between the wings, you’re gonna work a few rounds in a small circle to build up height. Maybe do 8-10 sc in a circle, then work 2-3 rounds without increasing.
Eyes are where you can make it cute or creepy. I usually use safety eyes around 6mm or 8mm, placed pretty far apart on the sides of the head bump. Stingrays have eyes on top of their bodies not on the front so keep that in mind. Place them before you close up the head completely.
You can stuff the head area very lightly with polyfil if you want but honestly I sometimes skip this because it can make the body buckle weird. Lily Sugar’n Cream cotton worked great for one I made because it held its shape without much stuffing needed.
The Mouth Area
This is on the bottom technically. You can embroider a simple curved line with black yarn or embroidery floss. I usually just do a couple of straight stitches in a smile shape or sometimes I skip it entirely because who’s really gonna see the bottom anyway.
Some patterns have you crochet gill slits on the underside but that seemed like overkill to me. If you really want them just do some surface slip stitches in lines near where the head meets the body.
Bottom Side Details
So the underside is usually lighter colored if you’re going for realistic. You could either crochet a whole separate piece in cream or white and sew it to the bottom, or just leave it as-is. I tried the separate piece thing once with Caron Simply Soft in Off White and it was such a pain to sew on evenly that I literally never did it again.
What I do now is just single crochet around the entire edge of the stingray body with the lighter color to give the illusion of a pale underside without all that extra work. Works fine and looks decent.
Color and Texture Options
Most people do grey or brown but I’ve seen people make them in blues, even rainbow colors for like a fantasy version. The spring 2022 one I made was this dark charcoal grey with black spots that I embroidered on after with some scrap black yarn. Just random french knots scattered across the top of the wings and body.
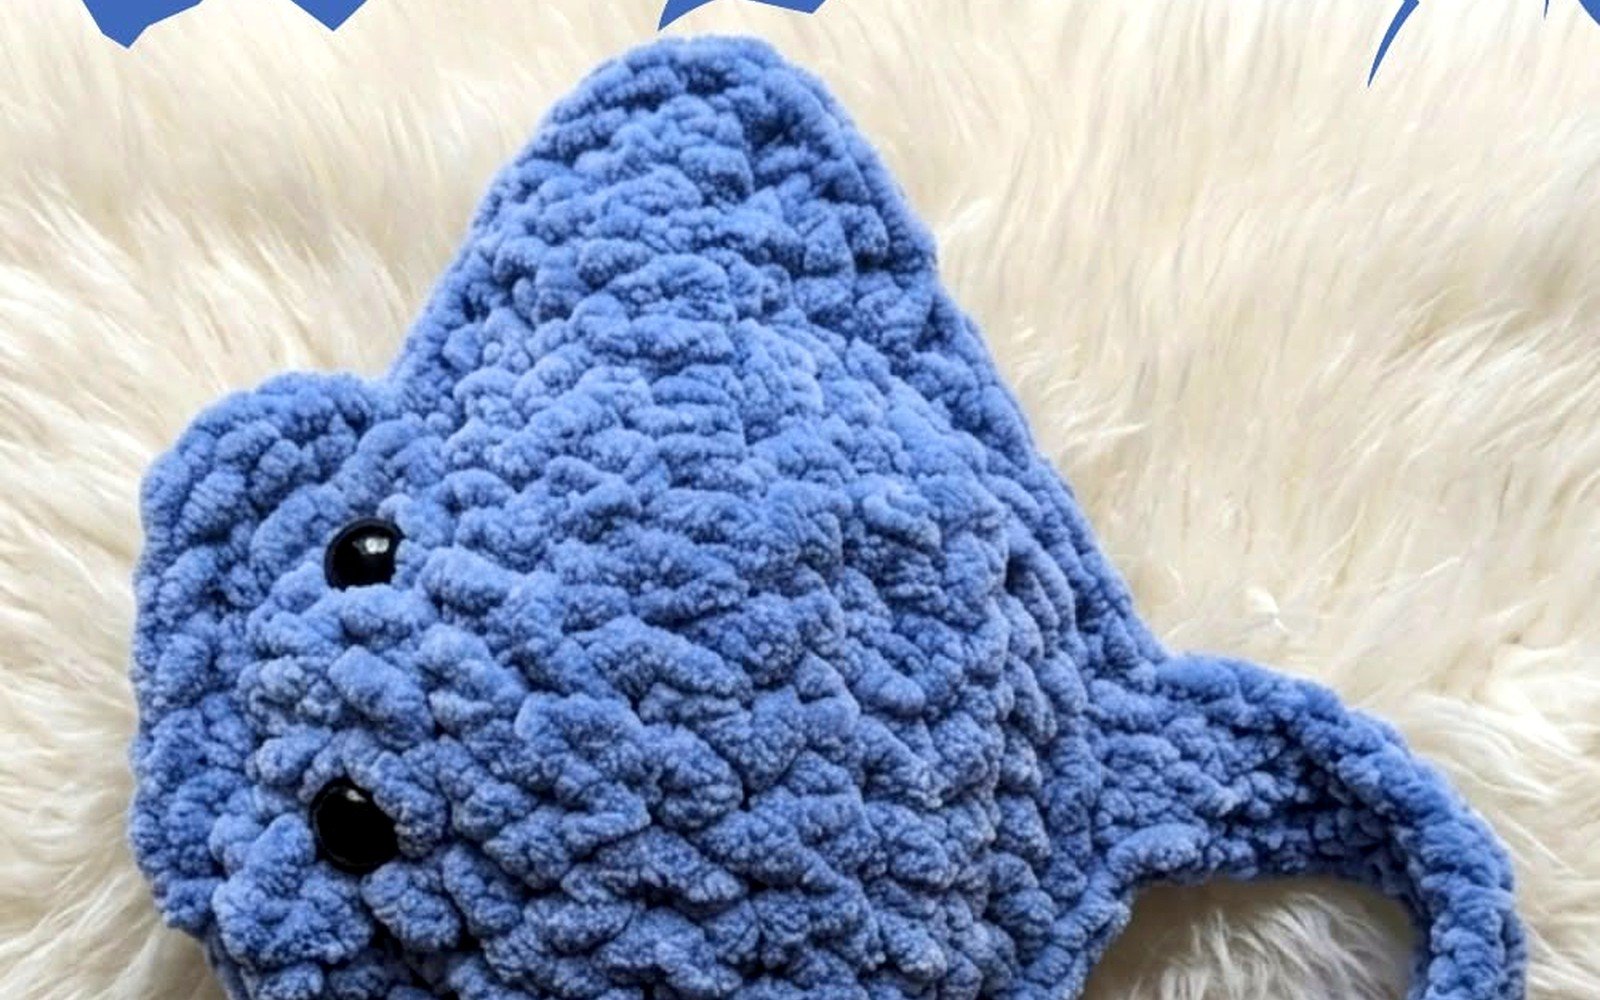
If you want texture you can work some rows in back loop only which creates ridges. I did this on the wings once and it looked kind of cool, gave it that rippled effect like the stingray is swimming. But it also made the fabric curl more so you have to block it or it looks wonky.
Bernat Blanket yarn would probably make a super chunky soft stingray but I haven’t tried it. Might be too thick for the detail work.
Barb on the Tail
Some patterns include a barb which is kinda dark but also accurate I guess? You can make a small triangle shape – chain 4, then sc 2, hdc 1, sl st 1 back down, something like that. Sew it onto the tail about halfway down or two-thirds of the way.
I usually skip this because it seems mean even though it’s just yarn but do whatever you want.
Assembly and Finishing
If you made separate pieces for anything you gotta sew them together now. I use the same yarn as the body and just whipstitch everything. The tail should be sewn on really securely because it’s gonna get pulled on probably.
Weave in all your ends and there’s gonna be a lot of them especially if you changed colors. This is the worst part honestly, I always have like 10+ ends to weave in and I just sit there with my tapestry needle watching TV and trying not to think about how tedious it is.
Blocking helps a LOT with stingrays because you want that body to lay flat and the wings to have nice smooth curves. Pin it out on a foam mat or blocking board, spray with water or use the steam setting on your iron (don’t touch the iron directly to acrylic yarn though or it’ll melt, learned that the hard way), and let it dry completely.
Size Adjustments
If you want a bigger stingray just keep increasing for more rounds before you start the wings. Like instead of stopping at 5 inches go to 7 or 8 inches across. The wings will need to be longer proportionally too.
For a tiny one you could use sport weight yarn and a smaller hook – maybe 3.5mm or 4mm. Would be cute as a keychain or something if you added a little loop to it.
Common Problems
The body curling up instead of laying flat means you didn’t increase enough in the early rounds. You need those increases to be aggressive so the circle naturally wants to ruffle and flatten rather than cup into a bowl shape.
Wings looking lumpy usually means your tension was inconsistent or you decreased too quickly. Try to keep even tension and spread the decreases out more gradually.
If the whole thing looks wonky just block it aggressively and it’ll probably be fine. Blocking fixes like 80% of amigurumi problems honestly.
Yarn Weight Considerations
Worsted weight is standard and works perfectly fine. DK weight makes a thinner more delicate looking stingray. Bulky weight would work but you’d need to adjust your hook size and it might be harder to get the details right on the face.
I tried making one with that Wool-Ease yarn once and it was okay but kind of scratchy. Cotton is really ideal for sea creatures I think because it has that matte look and holds shapes well without being too stretchy.
Pattern Variations
You could add spots or stripes by changing colors every few rounds or rows. Fair isle type patterns would be complicated on the curved shaping but simple stripes work great.
Some people make the wings ruffled by adding extra stitches along the edges. Like instead of just decreasing to taper them, you could do a round of (sc, inc) all along the wing edge for a frilly effect. Haven’t tried this myself but I’ve seen pictures and it looks cool in a fancy goldfish kind of way.
Adding fins on the tail is another option – just make two tiny triangular pieces and sew them on near the end of the tail on either side. Makes it look more dynamic like it’s actually swimming through water or… whatever.
The possibilities are honestly endless once you get the basic body and wing structure down. You could probably even adapt the pattern to make a manta ray by making the wings even bigger and changing the proportions a bit but that’s more advanced probably.
