
Jun
Getting Started with Your Red Panda
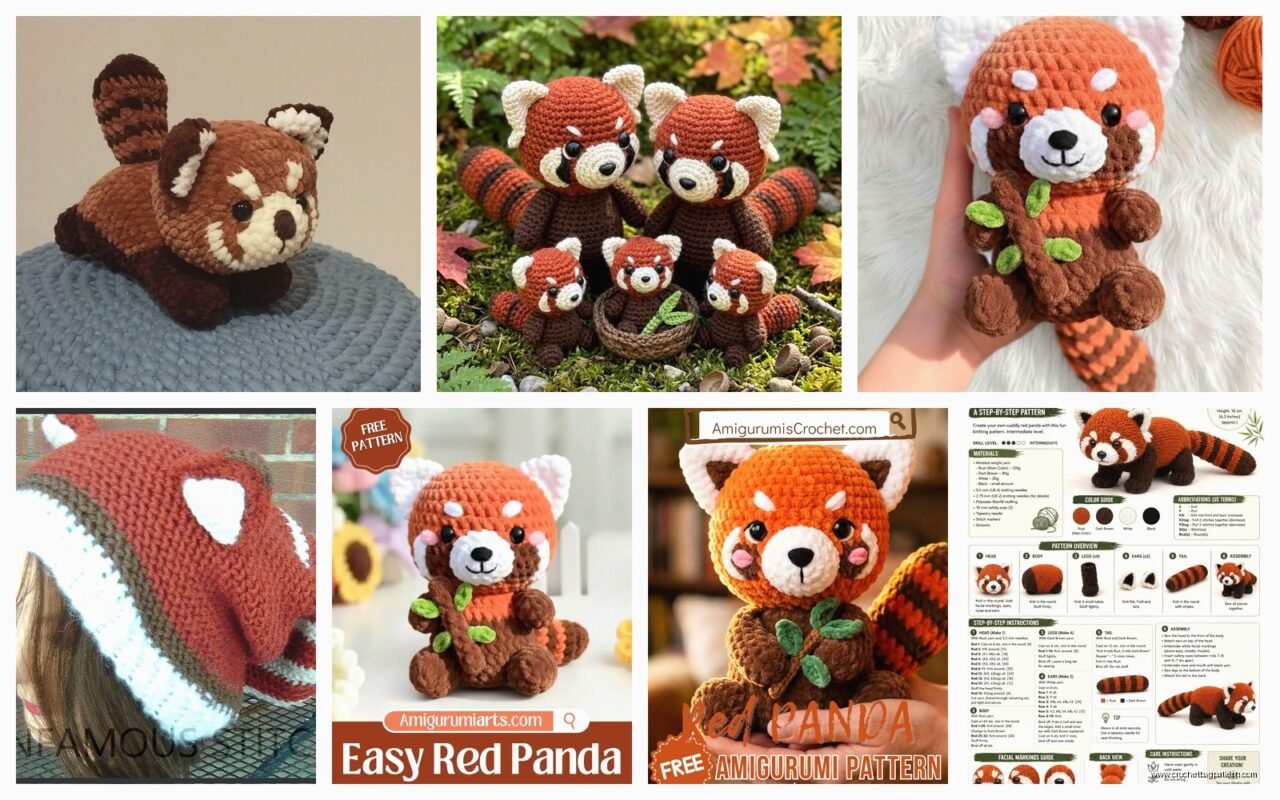
So the first time I actually made a red panda was back in spring 2022 and honestly I was just messing around because I’d seen one at a zoo and thought they were ridiculously cute with those rust-colored markings. The pattern itself isn’t that different from making other amigurumi animals but the color changes are what really make it look like an actual red panda instead of just a generic stuffed blob.
You’re gonna need a few colors minimum. I used Red Heart Super Saver in Burnt Pumpkin for the main reddish-brown body parts because it was cheap and I had it lying around. Then you need black or very dark brown for the legs and ears and tail stripes. White or cream for the face markings. Some people get really particular about using the exact right shade but honestly from like three feet away nobody can tell if you used off-white versus pure white.
Yarn Weight and Hook Size
Most patterns call for worsted weight yarn which is what I use because it works up faster than the tiny thread stuff. If you use a smaller hook than what the yarn label recommends you’ll get tighter stitches which is what you want for amigurumi so the stuffing doesn’t show through. I usually use a 3.5mm or 4mm hook with worsted weight. The tighter the better honestly because there’s nothing more annoying than finishing something and being able to see white polyfil poking through the stitches.
That actually annoyed me SO much when I made my first red panda. I used the hook size the pattern recommended which was 5mm and the fabric was way too loose. Had to restart the head entirely which added like two hours to the whole project. Now I just automatically go down a hook size or two from whatever any pattern tells me.
Basic Structure and Body Parts
The body is usually worked in continuous rounds starting with a magic ring. If you don’t know how to do a magic ring just look it up real quick because it makes starting amigurumi pieces way cleaner than chaining and joining. You start with 6 single crochets in the ring then increase gradually until you get to whatever diameter the pattern calls for.
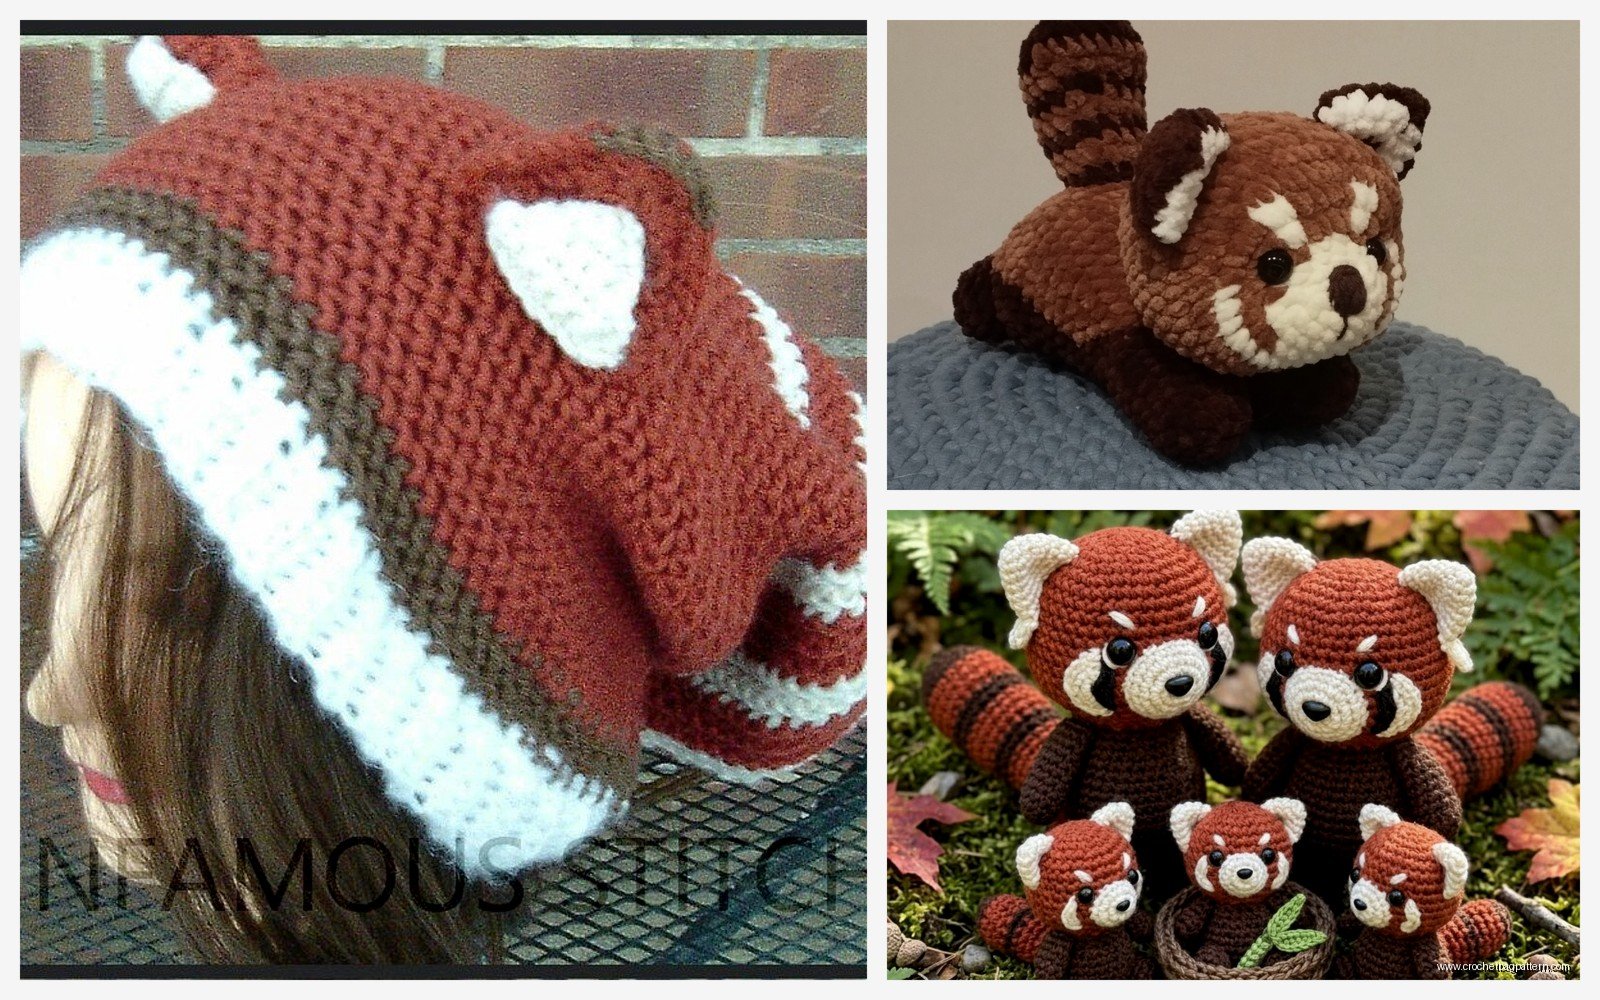
For a red panda you’re making:
- Head (obviously)
- Body
- Four legs
- Tail (the tail is actually really important for red pandas because it’s big and fluffy with rings)
- Two ears
- Muzzle or snout area
The head is where most of the personality comes from. You’ll work it in that rust color until you get to the face area then switch to cream or white. The color change doesn’t have to be perfect because you’re gonna add black markings around the eyes anyway which hides any messy transitions.
Making the Head
Start with your magic ring in the rust color. Work rounds of increases until you hit the widest part of the head then work even for several rounds then start decreasing. Before you close it up completely you gotta stuff it firmly. Not like rock hard but firm enough that it holds its shape and doesn’t flop around.
The face markings are what make it actually look like a red panda instead of just a rust-colored bear or whatever. You need white on the muzzle area and around the eyes then black tear-drop shapes that go from the eyes down toward the muzzle. I usually embroider these on after the head is finished using black yarn and a yarn needle. Just do some long stitches in the shape you want. Doesn’t have to be perfect, red pandas in real life all have slightly different markings anyway.
Eyes and Safety Eyes
Most people use safety eyes which you can get at craft stores or Amazon. The 9mm or 12mm size works for most patterns. You install these BEFORE you finish stuffing and closing up the head because the backs go on from the inside. Position them where the pattern says or just eyeball it based on reference photos.
I’ve also embroidered eyes when I didn’t have safety eyes on hand. Just use black yarn and make a few satin stitches in a circle. Add a tiny white stitch for the light reflection if you want to get fancy. My cat kept trying to bat at the red panda while I was adding the eyes which was super distracting but also kind of funny.
The Body and Assembly
The body is pretty straightforward, similar construction to the head but more oval-shaped. Start with your magic ring, increase to the widest point, work even for the length of the body, then decrease to close. Some patterns have you make the body and head as one piece which honestly saves you from having to sew them together later but I kinda prefer them separate because you can position the head at different angles.
The legs are basically little tubes. Dark brown or black yarn, start with magic ring, increase slightly for the paw area, then work even for the length of the leg. Make four of these. The front legs are sometimes slightly thinner than the back legs depending on the pattern. Stuff them as you go because it’s harder to stuff them once they’re finished.
That Tail Though
The tail is what really makes a red panda recognizable. It’s thick and fluffy with rings of color. You alternate between the rust color and the dark brown/black every few rounds to create stripes. Start with the dark color at the base, work a few rounds, switch to rust, work a few rounds, keep alternating until you have like 5-6 rings total.
The tail should be pretty long, almost as long as the body. Stuff it firmly so it holds its shape. Some people add a wire inside so they can pose the tail in different positions which is cool but I never bother because it seems like extra work and I’m usually just making these to sit on a shelf anyway.
Ears and Small Details
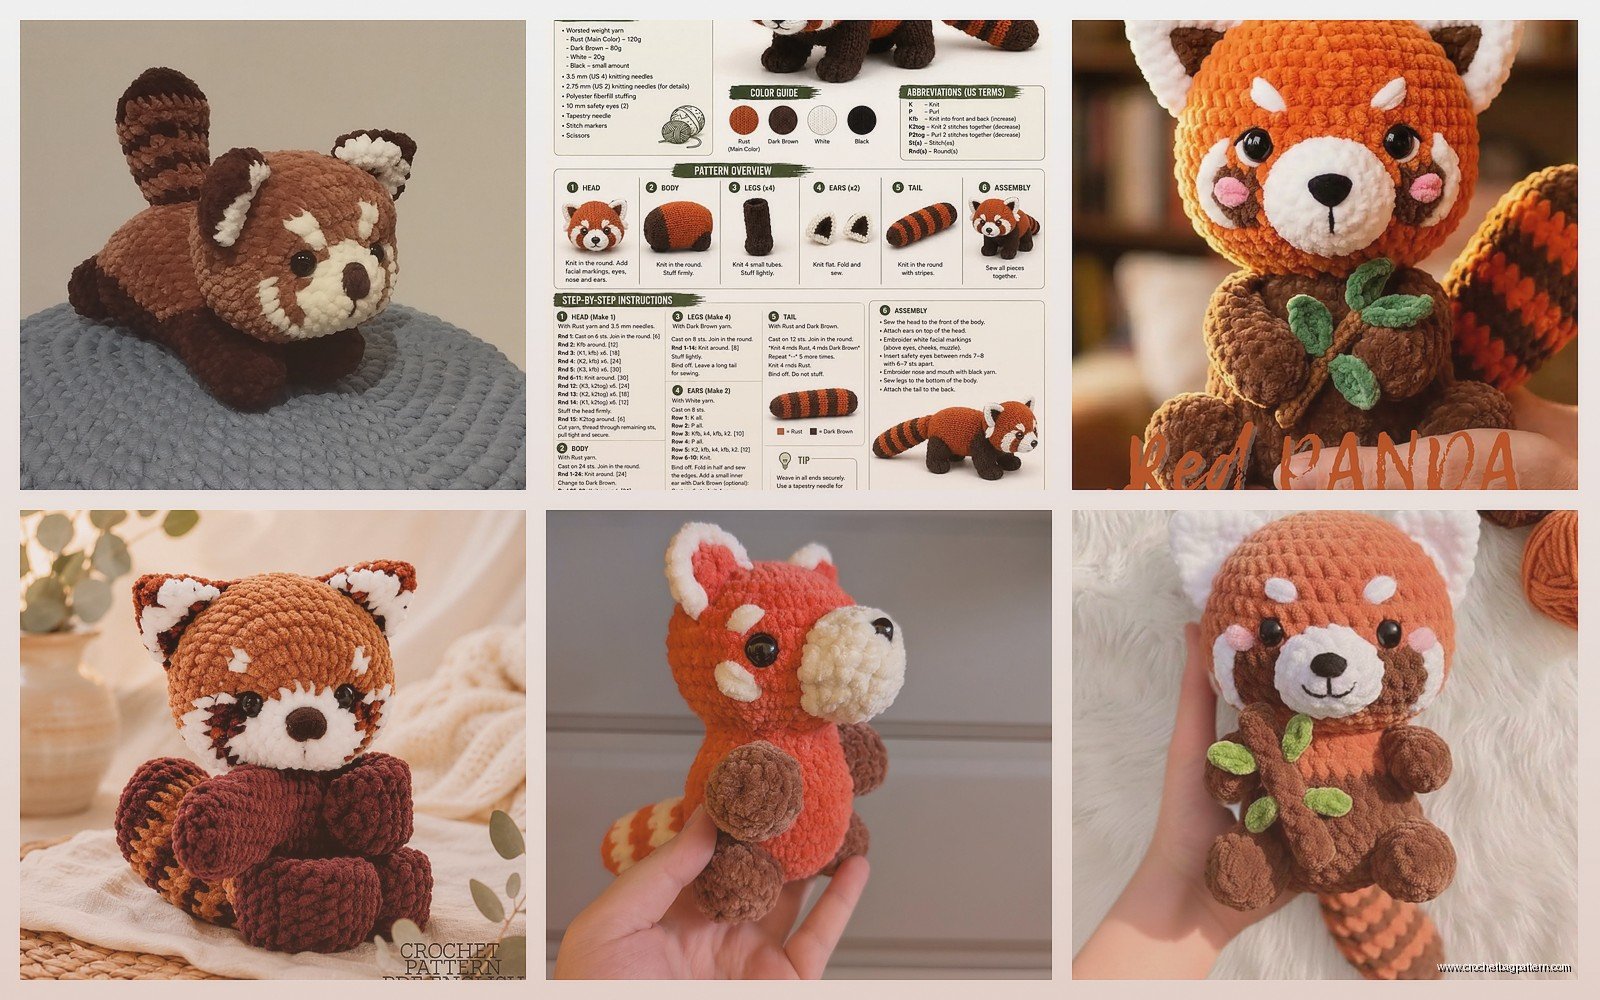
Ears are small triangles worked in the dark color. You can make them flat or slightly cupped depending on the pattern. Attach them to the top sides of the head. The positioning matters more than you’d think because if you put them too far forward or too far back it changes the whole expression of the face.
The muzzle or snout area is sometimes a separate piece you make in cream or white and sew onto the face. It’s basically a small oval worked in rows or rounds then stuffed lightly and stitched on. This gives the face more dimension than just embroidering the white area directly onto the head. I was watching that baking show while making this part, the British one with the tent, and I kept losing count of my stitches because I was paying more attention to the showstoppers or whatever they call them.
Putting It All Together
Assembly is where things can get tedious. You’re sewing all these pieces onto the body and trying to make it look balanced and proportional. I use the same color yarn as whatever piece I’m attaching and a yarn needle. Whip stitch works fine for most attachments.
Attach the head first, making sure it’s centered and at the angle you want. Then add the legs, positioning them so the red panda can sit upright or stand on all fours depending on what look you’re going for. The tail attaches at the back bottom of the body. Sew it on securely because it’s heavy with all that stuffing.
The ears go on last usually. I always end up repositioning them like three times before I’m happy with how they look. Sewing through all those layers of already-crocheted fabric and stuffing can be tough on your hands honestly. Take breaks if you need to.
Color Change Techniques
Since red pandas have distinct color zones you’ll be doing some color changes. The cleanest way is to complete the last stitch of the old color until you have two loops on your hook, then pull through with the new color. This makes the transition happen right at the base of the next stitch instead of in the middle of a stitch.
For the tail stripes you’re changing color every few rounds which means you’ll have a lot of yarn ends to weave in later. I usually weave them in as I go instead of leaving them all for the end because otherwise it’s overwhelming. Just use your hook or a yarn needle to pull the ends through the inside of the work and trim them.
Sometimes the color changes create little jogs where the rounds start and end. You can minimize this by using the invisible join technique or just accept that it’s gonna be slightly visible and move on with your life. Nobody’s gonna examine your amigurumi that closely anyway unless they also crochet.
Stuffing Tips
Use polyfil or fiberfill stuffing, the kind you can get at any craft store. Poly-Fil is a common brand, comes in a big bag. Don’t overstuff or the stitches will stretch out and look weird. Don’t understuff or it’ll be floppy and sad looking. You want it firm but still slightly squeezable.
For the legs and tail I stuff as I go, adding small amounts every few rounds. For the head and body I stuff right before closing them up. Sometimes I add plastic pellets to the bottom of the body to give it weight and help it sit upright better. You can get these at craft stores too, in the doll-making section usually.
If you’re making this for a small kid don’t use safety eyes or plastic pellets because choking hazard. Embroider the eyes instead and just use regular stuffing throughout.
Pattern Variations and Sizing
You can make red pandas in different sizes by changing your yarn weight and hook size. Sport weight yarn with a smaller hook makes a tiny one, bulky yarn with a big hook makes a huge one. The technique is the same, the proportions just scale up or down.
Some patterns include little accessories like a bamboo stick since red pandas eat bamboo. You make this by crocheting a long thin tube in green and maybe adding some leaves at one end. It’s cute but not necessary. I made one once and it just fell off constantly so I stopped including them.
You can also modify the face expression by changing where you place the eyes or how you embroider the markings. Higher eyes make it look younger and cuter, lower eyes make it look more realistic. Bigger eyes versus smaller eyes, same thing. Play around with it before you commit to the final placement.
Common Problems I’ve Run Into
The head being too big or too small for the body is a common issue. This usually happens when you switch yarn weights between pieces or your tension changes. Try to keep your tension consistent throughout or just accept that it’ll be slightly wonky and call it character.
Limbs falling off after a while means you didn’t sew them on securely enough. Go through each attachment point multiple times with your needle, really anchor it. I’ve had legs fall off red pandas before and had to reattach them which is annoying because you’re sewing through already-stuffed pieces.
The stuffing showing through happens when your stitches are too loose like I mentioned before. Use a smaller hook or pull your stitches tighter as you work. You can also use yarn that matches your stuffing color, like if you’re working with rust-colored yarn use slightly orange-tinted stuffing instead of pure white. I’ve never actually seen colored stuffing in stores though so that might just be a theoretical solution.
Yarn Recommendations
Besides Red Heart Super Saver I’ve used Caron Simply Soft which is nice and… actually softer than Red Heart but it can split more easily while you’re working with it. Lion Brand Vanna’s Choice is good too, comes in a lot of colors. For the black parts I’ve used whatever black yarn I had around, doesn’t matter as much.
Acrylic yarn is fine for amigurumi even though some people act like you need fancy cotton yarn. Acrylic is cheaper, more widely available, and washable which matters if you’re making it for a kid who’s gonna drag it through dirt. Cotton yarn makes a stiffer fabric which some people prefer but I think it’s harder to work with for amigurumi.
Whatever you use, just make sure all your yarn is the same weight so the pieces match up size-wise. Mixing worsted and DK weight is gonna give you weird proportions unless you adjust the pattern.
Time Investment
A red panda takes me maybe 6-8 hours total depending on the size and how detailed the pattern is. That’s spread out over several days usually because I don’t sit and crochet for 8 hours straight. The body and head are the most time-consuming parts. The legs and ears go pretty fast.
Assembly and detail work like embroidering the face markings and weaving in ends takes longer than you’d think. Maybe 1-2 hours just for that. Don’t skip weaving in your ends properly or they’ll work loose over time and you’ll have little yarn tails poking out everywhere.
If you’re new to amigurumi it’ll take longer while you figure out the techniques. Once you’ve made a few animals the process gets faster because you’re not constantly checking the pattern or redoing stitches.
