
Jun
Getting Started with Crochet Portrait and Doll Patterns
So you wanna make those crochet portraits or dolls of iconic women that keep showing up on Instagram right? I got really into this in spring 2022 when I was stuck at home with a sprained ankle and honestly it was harder than I expected but also kinda addictive once you figure out the basic approach.
The main thing to understand is there are basically two ways people do this – flat portrait panels that look like fiber art you’d hang on a wall, or actual 3D amigurumi-style dolls. The portraits are honestly easier to start with because you don’t have to worry about stuffing or proportions as much, you’re just working flat and building up the image row by row or using something called tapestry crochet.
Choosing Your Subject
Pick someone with distinctive features or a really recognizable look. I made a Frida Kahlo one first because the unibrow and flowers make her super identifiable even if your tension is kinda wonky. Ruth Bader Ginsburg with her collar is another good one, or Dolly Parton because big hair translates well to yarn texture.
You need a reference image obviously. I usually find a high-contrast photo and sometimes run it through one of those pixel art converters online to simplify it into blocks of color. Each block becomes stitches in your work. Don’t pick something with too many subtle color gradients for your first one or you’ll go insane trying to find seventeen shades of beige.
Yarn Choices That Actually Matter
For portraits I mostly use worsted weight because it works up faster than fingering weight but still gives you enough detail. Red Heart Super Saver gets a bad rap but honestly it’s perfect for this – cheap, comes in a million colors, and the slight stiffness actually helps portraits hold their shape. I used their “Buff” color for skin tones on my Frida piece and “Black” for hair.
The thing that annoyed me SO much about the whole process was finding the right skin tone yarns. Most yarn companies have like two options – pale peach or one brown – and neither looks natural. I ended up using Caron Simply Soft in “Bone” and “Taupe” held together for some projects, or Lion Brand Vanna’s Choice in “Linen” which is more of a warm tan. For darker skin tones I mixed “Chocolate” and “Mustard” from Red Heart which sounds weird but actually worked.
For the 3D dolls you want something softer. I like Bernat Premium or Paintbox Yarns Cotton DK because they have better drape and don’t feel scratchy when you’re handling the finished doll a lot.
The Portrait Approach
Tapestry crochet is your friend here. You’re basically carrying the unused colors along inside your stitches as you work, switching colors when the pattern tells you to. It creates a thick, sturdy fabric with no loose strands on the back.
Start with single crochet stitches because they’re short and tight – gives you more detail per inch. Make a gauge swatch first to figure out how many stitches equal an inch, then you can map out your portrait on graph paper where each square equals one stitch.
Work in rows, not rounds. Chain your starting width – for a portrait that’s maybe 8×10 inches you might chain 40 stitches or whatever your gauge says. Then just follow your chart, switching colors as you go. When you change colors, you literally just drop the old color and pick up the new one, making sure to trap the unused yarn inside the next stitch.
I was watching The Crown while making my Ruth Bader Ginsburg portrait and kept losing count because I’d get distracted by the drama, so maybe pick something less engaging or just accept you’ll have to frog some rows.
Color Changes Without Losing Your Mind
The trick is to change color on the last yarn over of the stitch before you need the new color. So you insert hook, yarn over with old color, pull through, then yarn over with NEW color and complete the stitch. That way the next stitch is already in the right color.
Keep your unused colors loose but not too loose as you carry them. Too tight and your work puckers, too loose and you get weird loops on the back. This is gonna take practice to get the tension right.
Making 3D Dolls Instead
These are more involved but also more fun to display honestly. You’re making separate pieces – head, body, arms, legs, then sewing them together and adding details.
Start with a basic amigurumi body pattern. There are tons free online but the structure is usually the same – you work in continuous rounds (spiral) starting with a magic ring. For a head you increase rounds until it’s the size you want, work even for a bit, then decrease to close it up. Stuff as you go with polyfil.
The face is where it gets tricky. You can embroider features with yarn or embroidery floss, or use safety eyes and embroider just the mouth and nose. For iconic women I usually embroider everything because you need specific expressions and eye shapes that generic safety eyes don’t give you.
Getting the Hair Right
Hair makes or breaks these dolls. For Dolly Parton I made in summer 2024 I used this technique where you crochet a base cap that fits the head, then loop long strands through every stitch and brush them out. Used Red Heart Super Saver in “Maize” which is this bright yellow that actually looked pretty good for her signature blonde.
For curlier textures like Angela Davis’s afro, you can use a technique where you chain loops and attach them in clusters. Or there’s this thing where you crochet tight spirals separately and sew them on. I’ve also seen people use actual doll hair or even – okay this sounds weird but my cat knocked over my Frida doll like six times while I was making it and I almost used some of her fur as a joke but didn’t.
For Frida’s braids I made two long crochet tubes and wrapped them around her head with the flowers tucked in. The flowers were just tiny crocheted circles in Red Heart “Cherry Red” and some dark pink I can’t remember the name of.
Clothing and Accessories
This is where you really capture who they are. RBG needs that lace collar – I crocheted a tiny doily-style collar using thread weight yarn and a 1.5mm hook which was absolutely terrible for my hands but looked amazing. You could also use actual lace fabric and just glue or stitch it on.
For pants and shirts on dolls, I usually crochet them directly onto the body before stuffing. Like you’d make the legs, then instead of switching to a skin color at the waist, you continue in pants-color and work the torso as trousers. Then add a separate top layer for the shirt.
Accessories can be anything – tiny glasses made from wire and thread, earrings from seed beads, Michelle Obama’s arms looked amazing when I made her sleeveless dress from… I think it was Lily Sugar’n Cream in that coral color? The cotton yarn has a nice crisp look for formal clothing.
Assembly and Details
Use the same yarn color as your pieces to sew them together so seams don’t show as much. I use a tapestry needle and whip stitch or ladder stitch depending on what’s being attached. Arms and legs can be sewn on or you can use thread joints to make them poseable, but that’s more advanced.
For portraits, you’ll want to block them when done. Pin them to a blocking board or even just a towel over cardboard, spray with water, let dry. This evens out your stitches and makes the image clearer.
Add embroidered details last – eyebrows, mouth, any facial features that need definition. I use embroidery floss because it’s thinner and you can get more precise lines. For Frida’s unibrow I used three strands of black floss in a satin stitch.
Common Problems I’ve Hit
The proportions on 3D dolls are hard to get right. Heads always want to be too big or bodies too small. I follow the rule that the head should be about one-third of the total height but even then it’s easy to mess up. Make your pieces, lay them out before stuffing and sewing to check if things look right.
Color pooling with variegated yarns can ruin a portrait. Stick to solid colors unless you specifically want that effect.
Tension consistency matters more here than in like a blanket or whatever. Uneven tension shows up really obviously in portrait work because you need clean color blocks. Take breaks if your hands get tired because tired hands mean loose stitches.
Patterns vs. Freehand
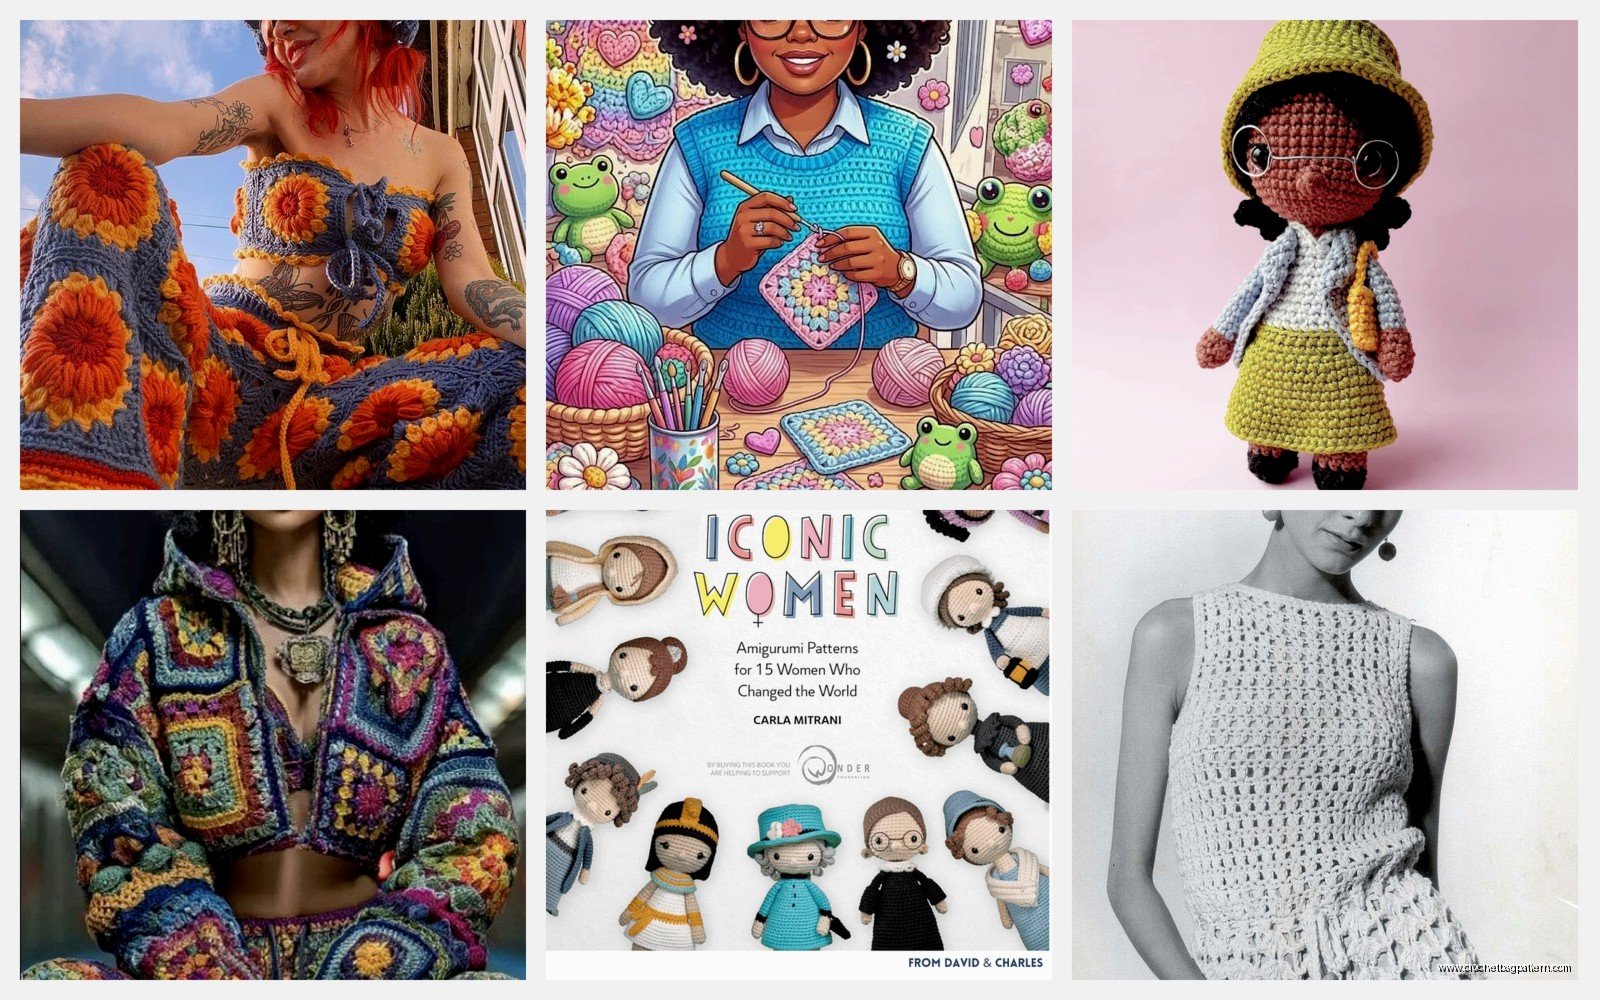
You can buy patterns on Etsy or Ravelry for specific iconic women – I’ve seen Rosa Parks, Harriet Tubman, Malala, tons of others. These usually come with detailed charts and color guides which saves you the planning work.
Or you can freehand it which is what I usually do now. Create your own chart by pixelating an image, choose your colors, work from that. It’s more flexible and you can customize details, but you might have to restart sections if something doesn’t look right.
For dolls, start with a basic amigurumi doll pattern then modify the clothing and features. Way easier than trying to draft a whole doll from scratch unless you really know construction.
Display and Finishing
Portraits can be mounted on canvas board or in embroidery hoops. I’ve seen people sew them onto fabric backing first then frame them, or just pin them directly to foam board. The Red Heart portraits I made were stiff enough to just tack directly to the wall.
For 3D dolls you might want a stand if they don’t sit or stand well on their own. You can make wire armatures inside the body before stuffing but gotta plan that from the start. Or just display them sitting on a shelf which is what I do.
Some people seal their work with fabric stiffener or even watered-down glue to help portraits hold shape, but I haven’t found it necessary if you use the right yarn weight and tight enough tension.
Yarn Amounts
For a portrait maybe 8×10 inches you need maybe 100-200 yards of your main background color and smaller amounts of detail colors. I usually buy one skein of each color and have plenty left over.
3D dolls depend on size but a roughly 12-inch doll takes maybe 300 yards total across all colors. The Dolly doll I made used almost a whole skein just for the hair because I went really full with it.
Buy more than you think of any custom-mixed colors because dye lots vary and you won’t be able to match it later if you run out.
Skill Level Stuff
If you can chain, single crochet, and increase/decrease, you can do portraits. The tapestry technique takes practice but it’s not complicated, just requires attention. I’d say intermediate beginner level.
3D dolls need you to understand working in the round and basic amigurumi shaping. Probably solid beginner to intermediate. The sewing and assembly is honestly harder than the crochet part sometimes.
Don’t start with something too ambitious. A simple portrait of someone with bold features beats a complicated doll that ends up looking wrong. I made that mistake with a Serena Williams doll that just never looked quite right because I tried to add too much detail to the face and it got muddy.
