
May
okay so graph patterns
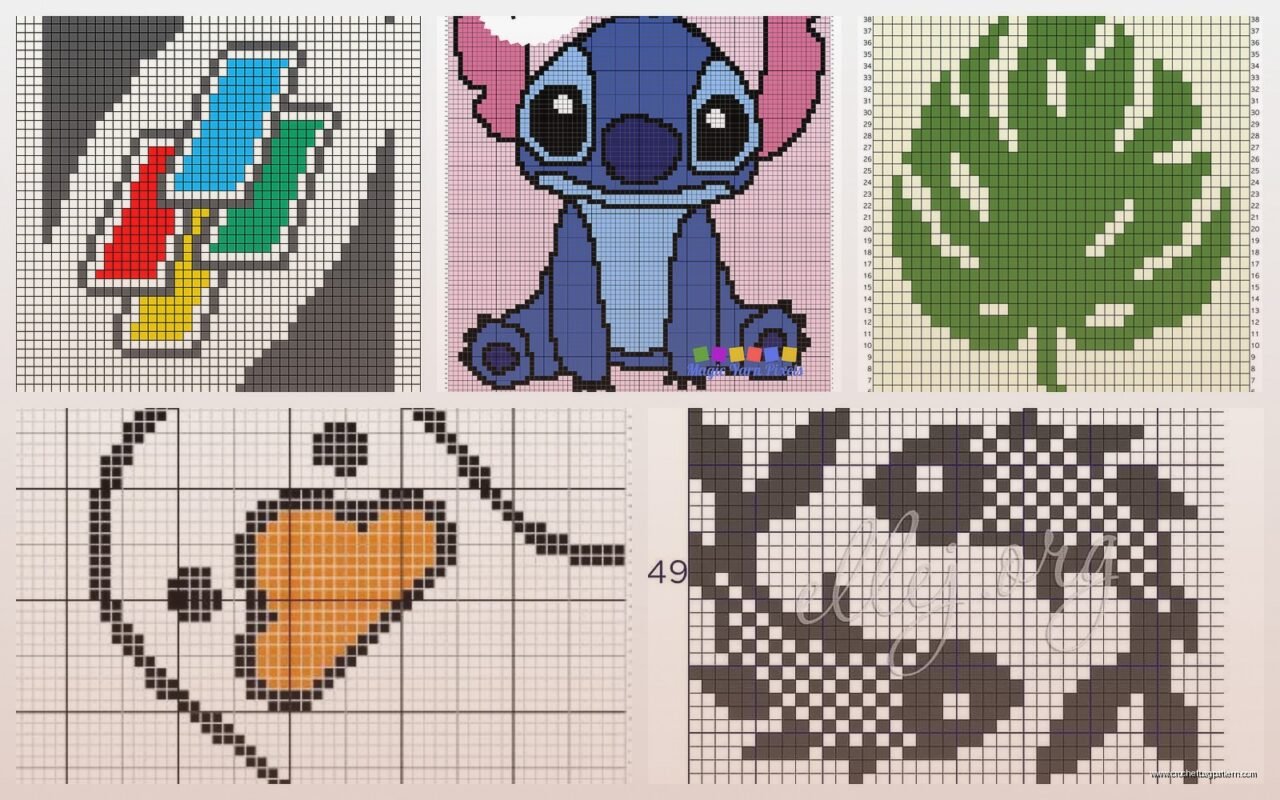
So basically crochet graph patterns are like those pixel art things where each square equals one stitch and you just follow the colors. I made this really ambitious Mario mushroom blanket back in spring 2022 when I was stuck at home with covid and honestly it was the only thing keeping me from losing my mind completely.
The way it works is you get a chart that looks like graph paper and each little square represents one stitch. Usually single crochet because it makes the most square-looking stitch. If you use double crochet or something taller your image gets all stretched out and weird. Trust me I learned that the hard way with a pokemon thing that ended up looking like someone put pikachu in a taffy puller.
Reading the Charts
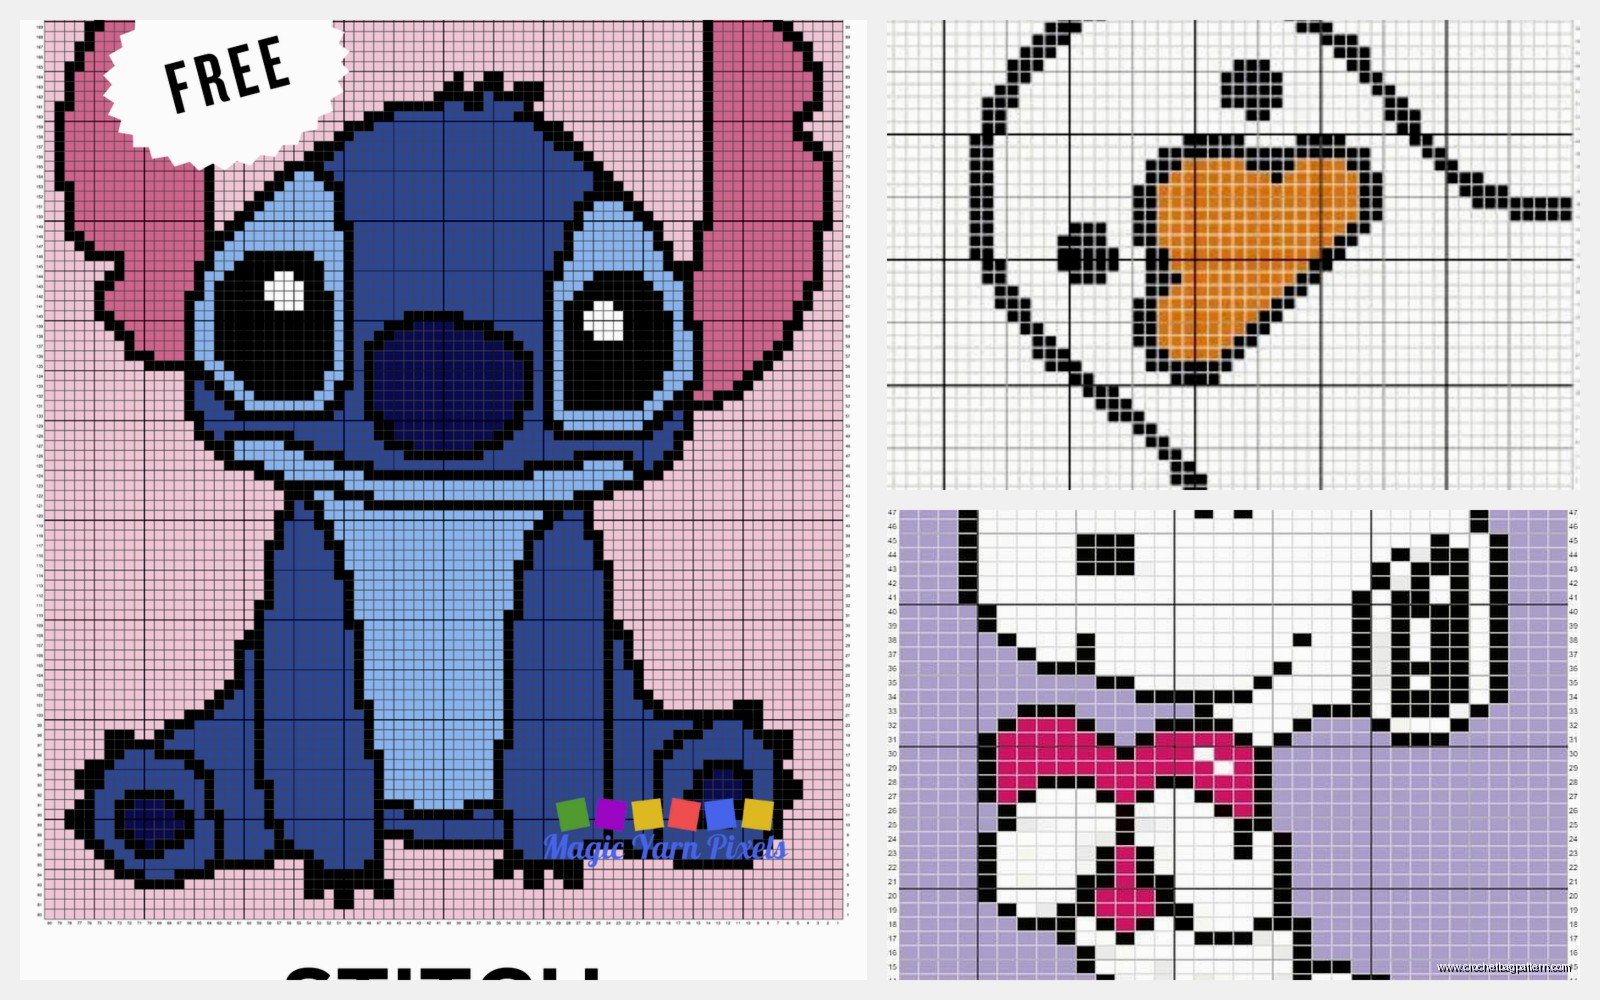
Charts usually go from bottom to top and you read odd rows right to left and even rows left to right. Which makes sense when you think about it because thats how you’re actually crocheting back and forth. Some patterns number the rows on the side so you don’t lose track but some don’t and then you gotta use a post it note or something to mark where you are.
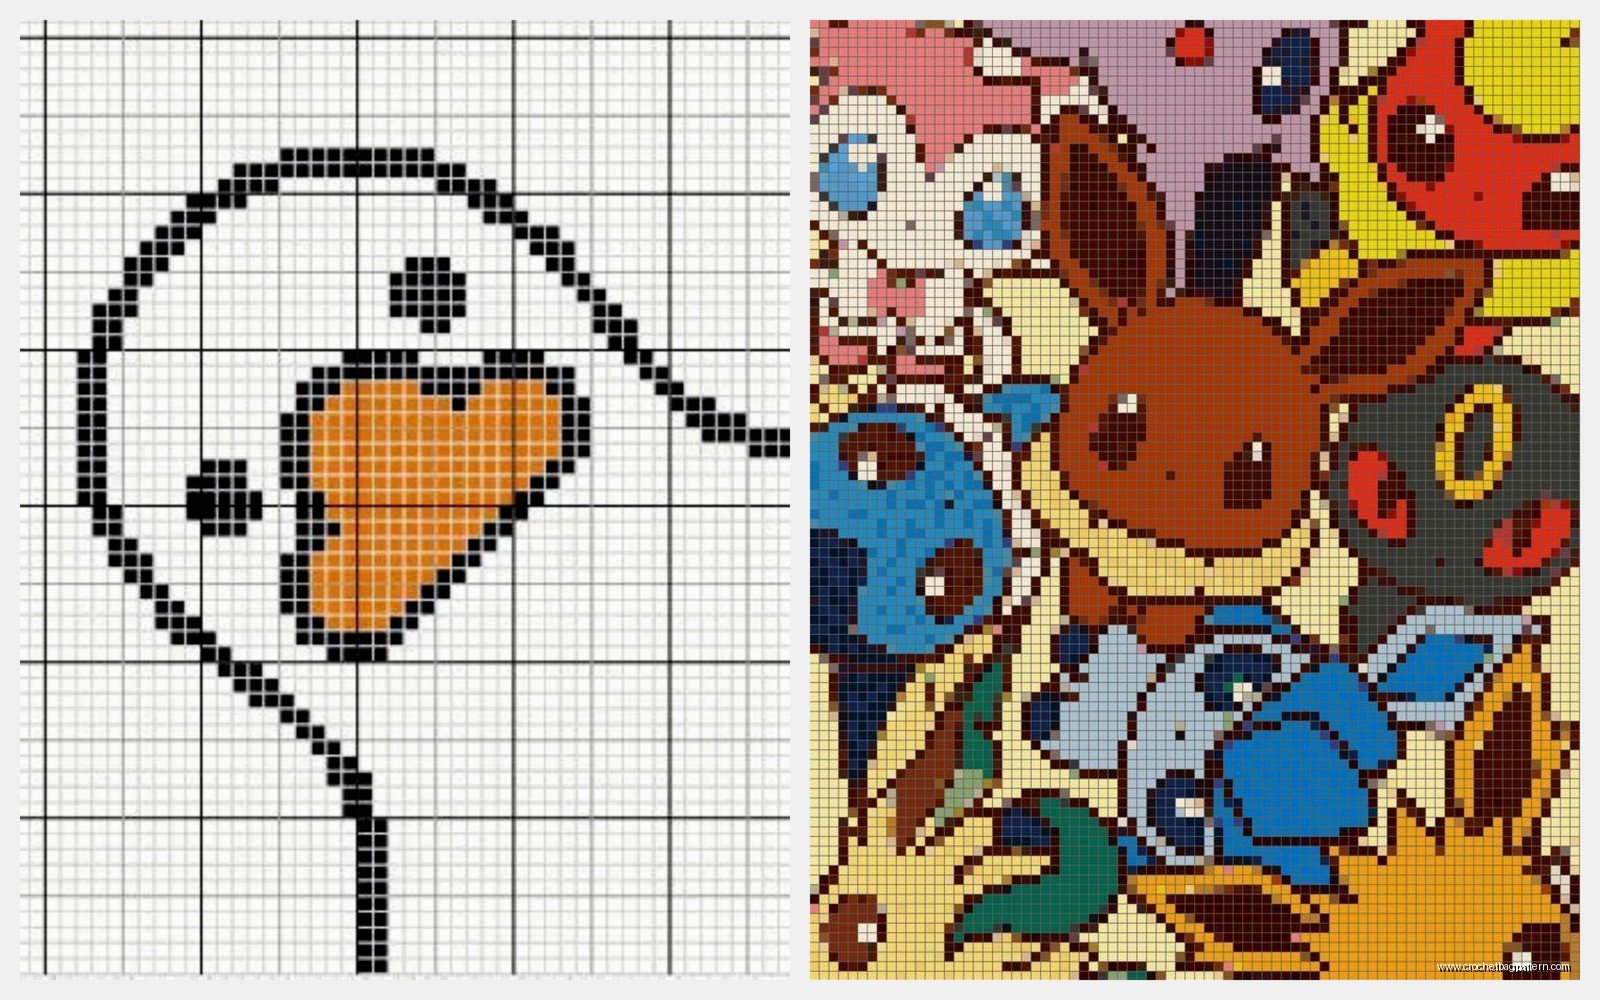
Each colored square is one stitch in that color. Empty squares or white squares are usually your background color. Sometimes patterns use symbols instead of colors which is actually easier to follow in my opinion because you can still see it if you print in black and white.
Choosing Your Yarn
For graph patterns you really want yarn that has good stitch definition. I usually use Red Heart Super Saver because it’s cheap and comes in a million colors and honestly the stiffness kind of helps the stitches stay square. I know people are snobby about it but whatever it works. For that Mario mushroom I used Red Heart in Cherry Red, White, and Cornmeal for the little dots.
Caron Simply Soft is also good if you want something a bit nicer feeling. They have this really good black called Black that actually stays black and doesn’t fade to grey. I used that for a skull pattern once that turned out pretty cool.
The annoying thing is you need to have all your colors ready before you start because running out halfway through is a nightmare. And different dye lots can look really different even in the same color which absolutely ruined this sunset pattern I was making in summer 2024. I ran out of this coral pink and the new skein was like two shades darker and you could totally see the line where I switched. Still mad about that honestly.
Actually Making the Thing
So you’re gonna want to do single crochet for basically everything. Use a hook that’s maybe one size smaller than the yarn recommends so your stitches are tight and you don’t get gaps where the wrong color shows through. I usually use a 5mm hook with worsted weight yarn even though it says to use 5.5mm.
Start with a foundation chain that matches the width of your pattern. So if your chart is 40 stitches wide you chain 40. Then you single crochet across for row one following your chart.
Carrying Yarn vs Cutting
Okay this is where it gets annoying and there’s like two schools of thought. You can either carry the yarn you’re not using along the back of the work or you can cut it every time you switch colors and weave in the ends later.
Carrying yarn is faster and you don’t have eight million ends to weave in. But your project gets bulky especially if you’re carrying yarn across like 20 stitches. And sometimes the carried yarn shows through to the front if your tension isn’t perfect. What I do is carry the yarn if it’s less than 5 or 6 stitches but cut it if the gap is bigger than that.
When you carry yarn you just crochet over it with your working color. So the unused color is trapped inside your stitches running along the back. Every few stitches kind of tug on both yarns to make sure nothing’s getting too loose or puckered.
My cat kept attacking the yarn tails while I was working on a project last month and honestly it was so distracting I almost gave up on the whole thing.
Changing Colors
To change colors you work your stitch until you have two loops on the hook then pull through with the NEW color. So you’re basically starting the new color on the last yarn over of the previous stitch. This makes the color change look cleaner because the top of the stitch is already the new color.
When you drop the old color just let it hang there if you’re gonna use it again soon. If you’re cutting it leave like a 6 inch tail to weave in later. I know people say 4 inches is enough but I always feel like it comes loose so I do 6.
Finding or Making Patterns
You can find free graph patterns all over the place. Pinterest has a ton obviously. There’s websites that will convert images into crochet charts which is cool but sometimes they create patterns with like 47 different colors and you have to simplify it yourself.
I use this site called Stitch Fiddle sometimes where you can upload a picture and it turns it into a chart. You can adjust how many stitches wide you want it and pick your colors. It’s not perfect though like it tried to turn a photo of my dog into a pattern once and it looked like a potato with eyes.
For pixel art stuff you can literally just find pixel art online and use that as your chart. Like old video game sprites work perfectly because they’re already in that grid format. Just gotta count the squares and match up your colors.
If you want to make your own pattern from scratch you can use graph paper or Excel or Google Sheets. Just fill in the squares with colors. Each square is one stitch. Make sure you’re thinking about how big the finished project will be though because if each stitch is like half an inch and your pattern is 100 stitches wide you’re making something that’s 50 inches wide.
Size and Gauge
Speaking of size you really need to think about gauge. If you’re following someone else’s pattern they might tell you what gauge they got but if you’re making your own you need to do a test swatch. I know everyone hates swatches but for graph patterns it actually matters because you need to know how big each stitch is gonna be.
Make a swatch of like 20 stitches by 20 rows in single crochet with whatever yarn and hook you’re planning to use. Then measure it. If your 20 stitches are 4 inches wide then each stitch is 0.2 inches. Multiply that by however many stitches wide your pattern is and boom you know how wide your finished thing will be.
The thing that really annoyed me about the whole process is that your stitches are never perfectly square. They’re always a little wider than they are tall. So if you’re trying to make something that needs to be proportional like a circle or a face or whatever you have to kind of squish your pattern vertically or stretch it horizontally to compensate. Otherwise you end up with stuff that looks weirdly tall and skinny.
Working in Rows vs Rounds
Most graph patterns are worked in rows back and forth. You chain your starting width, then sc across, chain 1 and turn, sc back across the other direction. Just keep going until you finish all the rows in your pattern.
You can also work graph patterns in the round if you’re making something like a bag or a hat. It’s a little trickier because you have to join each round and keep track of where your round starts. And you’re always working from the same direction which means you might need to flip your chart for every other row… actually no wait if you’re working in rounds you’re always reading the chart the same direction. It’s been a while since I did one in the round so I’m forgetting exactly how that works.
For flat projects I usually do a chain 1 and turn at the end of each row. Some people do chain 2 but I think that makes the edges look weird with single crochet.
Tension and Consistency
Your tension needs to be really consistent for graph patterns to look good. If some of your stitches are loose and some are tight the whole image looks wonky and distorted. I had this problem for like the first three graph projects I made because I would start out crocheting really tight and then as I got tired my stitches would get looser.
The only solution is practice honestly. And taking breaks. If you’re crocheting for hours straight while watching TV or whatever your tension is gonna change. I was binging Succession while making a graph pattern blanket once and I swear you can see exactly where the stressful episodes were because my stitches got all tight and weird.
Dealing with Mistakes
You’re gonna make mistakes. You’ll lose count and put a red stitch where a white stitch should be or you’ll accidentally skip a stitch and your whole row will be off by one. It happens.
For small mistakes like one wrong color you can either frog back and fix it or just leave it. Honestly unless it’s really obvious most people won’t notice. I have a graph pattern piece with like three wrong stitches in it and I’m the only one who knows where they are.
If you skip or add a stitch though you gotta fix that because it throws off every row after it. Your image will get all diagonal and weird. Just frog back to where the mistake is and redo it.
Some people use stitch markers to mark every 10 stitches or something so they can count easier. I tried that once and found it more annoying than helpful but maybe it works for other people.
Finishing
Once you finish your last row you gotta weave in all those ends. This is the worst part and why some people prefer carrying yarn even though it makes the project bulkier. I usually weave ends in as I go like every few rows I’ll stop and weave in whatever ends are hanging there. If you wait until the end you’ll have hundreds of ends and you’ll want to die.
To weave in ends I thread them on a yarn needle and weave them through the back of several stitches in the same color. So like if it’s a red end I weave it through the back of red stitches so it doesn’t show. Go in one direction for a few stitches then reverse direction for a few more stitches so it really locks in place.
You might want to block your finished piece to make it lay flat and even out your stitches. I don’t always bother with blocking but it does make things look more professional. Just wet it or steam it and pin it to the right shape and let it dry.
Tips and Random Stuff
Use a highlighter or pencil to mark off rows on your chart as you complete them. Otherwise you’ll lose your place and have to count everything again.
If you’re doing a big project take a photo of your work every few rows. That way if you mess up and don’t notice until later you can look back at the photos and figure out where the mistake started.
Acrylic yarn is honestly the best for graph patterns even though people act like it’s terrible. It’s cheap so you can get lots of colors without spending a fortune and it holds up really well to washing.
If you’re making something that needs to be really precise like a logo or text consider going up a hook size actually because tighter isn’t always better. Sometimes really tight stitches make the fabric stiff and hard to work with.
You don’t have to follow the pattern colors exactly. Like if a pattern calls for 8 different shades of blue you can probably simplify it to 3 or 4 and it’ll still look good. Unless you’re making something where the exact colors matter I guess.
For text patterns remember that letters need to be chunky and bold or they won’t read well in crochet. Thin fancy fonts just look like blobs. Stick with simple block letters.
When you’re working with multiple colors keep your yarn balls organized or they’ll get tangled into a nightmare. I use a plastic organizer box with compartments or sometimes just ziploc bags.
If you mess up the same section multiple times just walk away for a while. I spent like an hour once trying to get this one corner right on a geometric pattern and kept making the same mistake over and over. Finally I just stopped went and made dinner and when I came back I got it right on the first try. Sometimes your brain just needs a break.
Also Lily Sugar’n Cream is good if you’re making dishcloths or potholders with graph patterns because it’s cotton and can handle heat and water. Comes in decent colors too though not as many options as acrylic.
Anyway that’s basically how graph patterns work it’s really not that complicated once you get the hang of it just tedious sometimes especially the color changes and end weaving but the finished result looks really cool and people are always impressed even though it’s actually easier than it looks.
