
Jun
okay so goat patterns
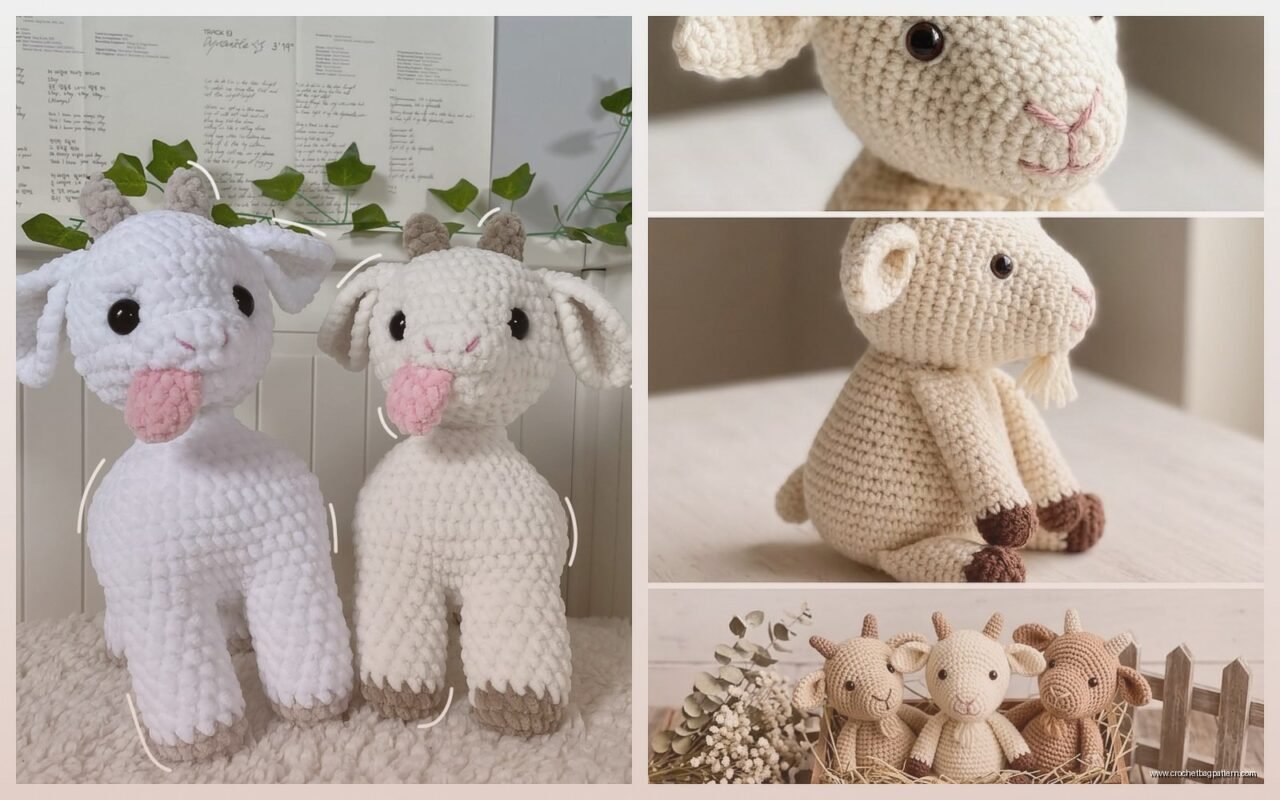
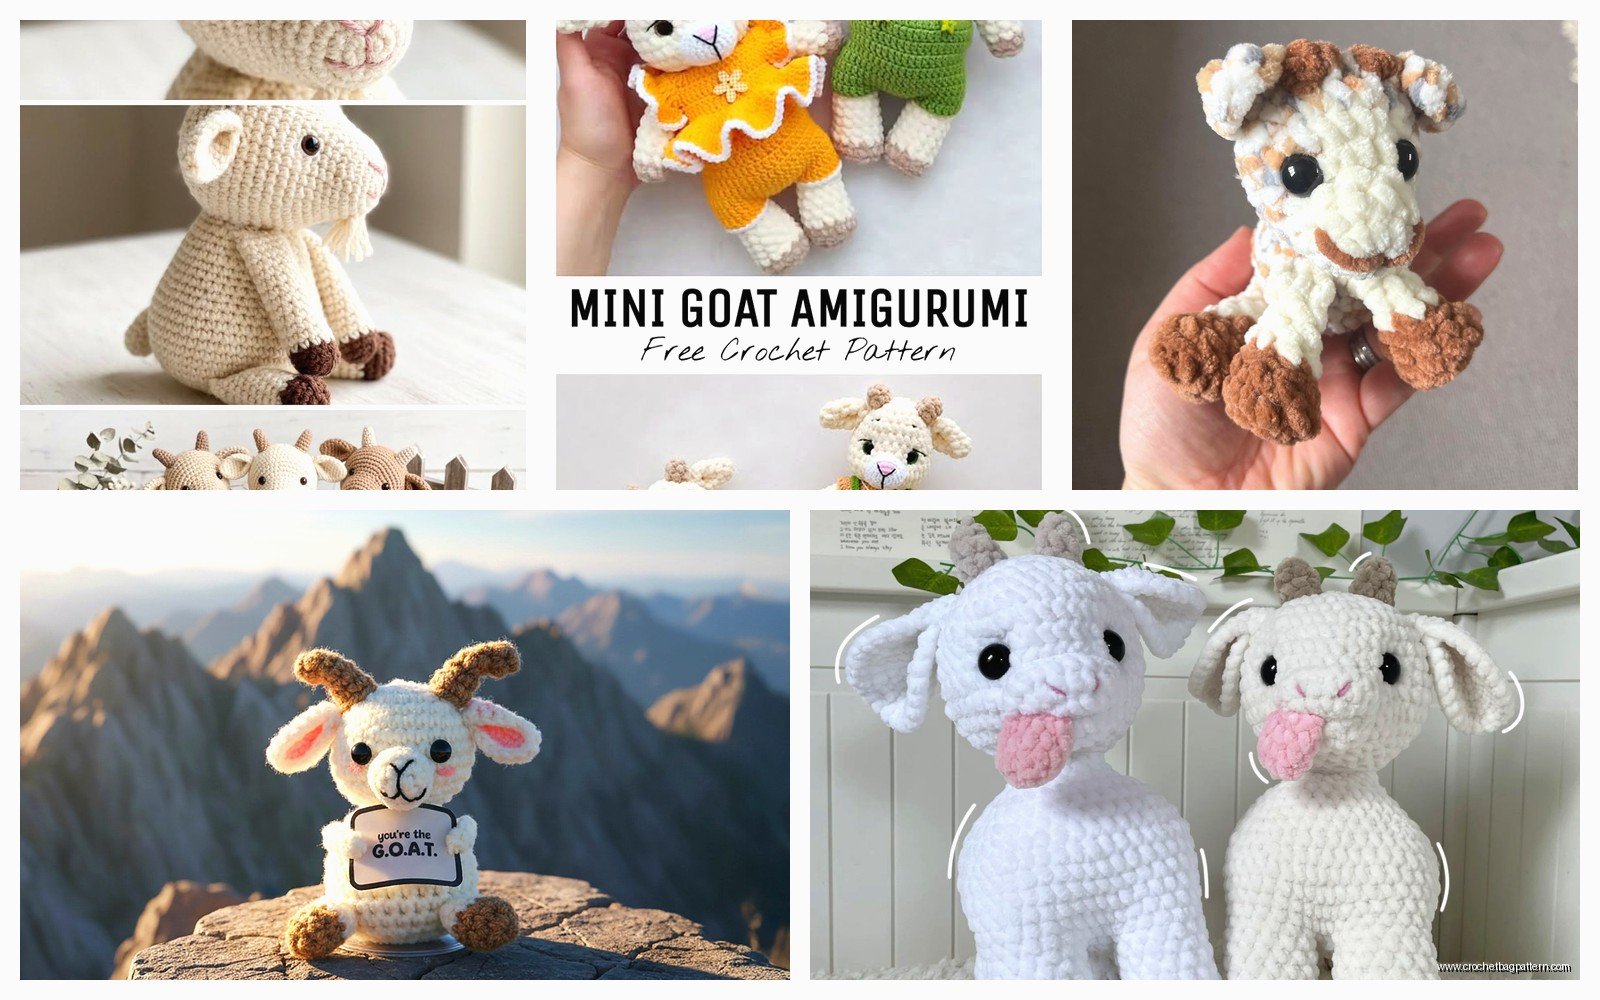
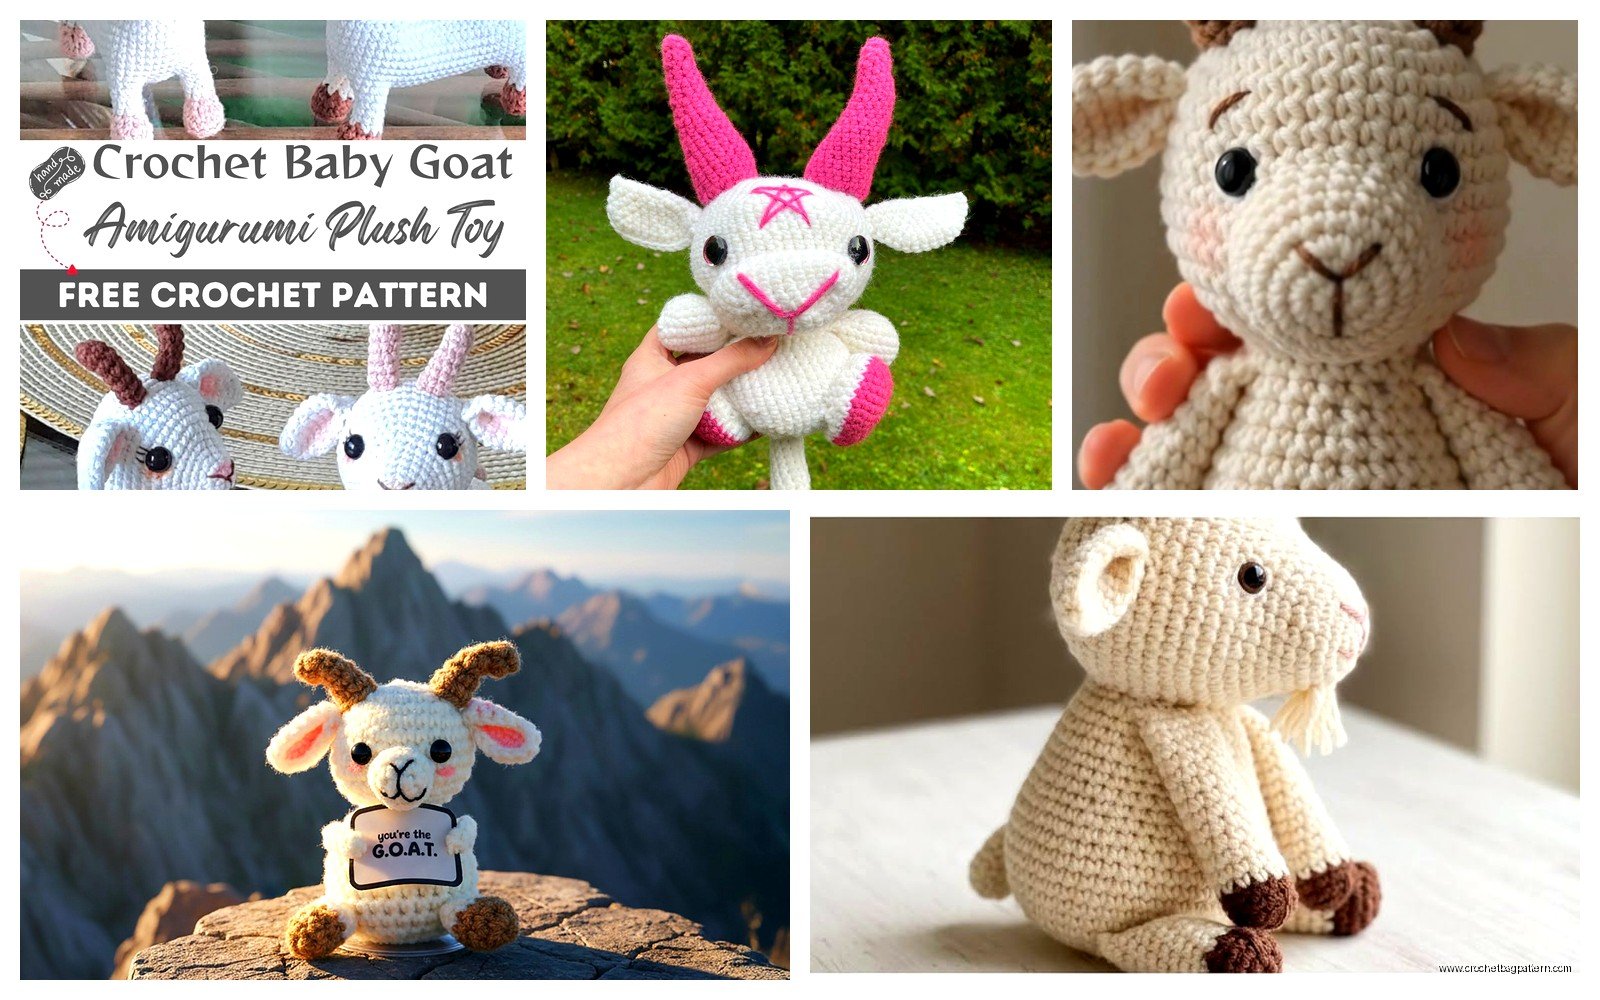
Right so I made this little goat back in spring 2022 when I was basically just stress-crocheting through some work stuff and needed something that wasn’t another blanket. The goat turned out weirdly cute even though the horns gave me actual problems.
You’re gonna need worsted weight yarn for most goat patterns. I used Caron Simply Soft in like an off-white color called Bone or maybe it was Cream? whatever the not-quite-white one is. For the horns I switched to some Red Heart Super Saver in Buff because I had it lying around. The thing about goat colors is they can literally be anything so don’t stress about matching some specific shade. I’ve seen people do them in grey, brown, white, even saw someone do a pink one which was weird but kinda worked.
Basic supplies you need
A 3.5mm or 4mm hook depending on how tight you crochet. I use 3.5mm because I crochet pretty loose naturally and if I go bigger the stuffing shows through the stitches which looks bad. You need polyfil stuffing obviously, safety eyes in like 8mm or 9mm, and honestly a yarn needle for sewing everything together at the end.
The body is basically just a oval shape that you’re gonna stuff. Most patterns start with a magic ring and then you increase pretty quick to get the width. Something like: magic ring with 6sc, then next round do 2sc in each stitch to get 12, then the pattern usually alternates between increase rounds and regular rounds to build up the shape.
The head is where it gets fussy
So the head starts similar but you gotta think about where the snout goes. Some patterns have you crochet the snout separately and sew it on but honestly I hate sewing extra pieces so I look for patterns that shape the snout by just doing strategic increases. What worked for me was doing a basic sphere shape first, then before closing it up completely I’d add extra rounds just on one side to build out that goat snout look.
The annoying thing and this REALLY bugged me was getting the face to look right with the eye placement. Like you put the safety eyes in before you stuff the head obviously but figuring out where they should go is harder than it sounds. I must have held those eyes up to the head like fifteen times before committing. Too high and your goat looks startled, too low and it looks sad, too far apart and it looks like a fish somehow.
I was watching that baking show with the British people while doing this part and kept getting distracted which did not help with counting my stitches.
Legs are repetitive but easy
Each leg is just a tube basically. Start with the hoof color if you’re doing different colors – I did black hooves with some Red Heart in Black. You make a small tube, maybe stuff it lightly, and then switch to your body color and keep going. The front legs are usually straight tubes but back legs sometimes have a little bend to them which means you’d do some short rows or just stuff them in a bent position.
Make four of these. Yes four. I know it’s boring. Put on a podcast or something.
The legs attach to the body and this is where it matters if you want your goat standing or sitting. For standing you gotta position them so the goat balances which takes some trial and error. I usually pin them with regular pins first before actually sewing to see if the thing tips over. For sitting you angle the back legs forward more and the front legs can be straighter.
Ears are their own adventure
Goat ears are kind of floppy and oval shaped. The pattern I used had me make flat oval pieces by chaining like 6 or 7, then working around both sides of the chain doing increases at the ends to get that rounded shape. You make two obviously.
These get sewn onto the sides of the head angled slightly back. The positioning changes the whole personality of the goat honestly – more forward looks alert, more back looks chill. I went somewhere in the middle.
Now the horns which were my nemesis
Okay so horns should be simple right? They’re just small curved cone shapes. WRONG. They’re annoying because they’re small and fiddly and you need them to be firm enough to stand up but also curved properly and also symmetrical which is harder than it sounds.
I used that Buff colored Red Heart for mine. Started with a magic ring, 4 or 5 sc in it, then just slowly increased over several rounds to make a cone shape. The curve comes from how you stuff it – if you bend it while stuffing and kind of hold that shape it’ll stay curved. Some people put wire in them but I didn’t bother because small children exist in my life and wire seems like a safety issue or…
You need two horns and they gotta match. Mine didn’t really match perfectly and it still bugs me when I look at that goat. One curves slightly more than the other.
They get sewn onto the top of the head between the ears. Use a lot of stitches to attach them because they’re heavy for their size and you don’t want them flopping off.
The tail is optional but recommended
Little stubby tail in the back. Just a small tube or even a pompom works. I did a tube with like 4sc around for maybe 5 or 6 rounds. Stuffed it just a tiny bit. Sewed it on the back end of the body pointing up slightly because goat tails kinda stick up.
Some patterns include udders if you’re making a dairy goat which I skipped because I was making a regular farm goat not a specific breed.
Assembly is where you see if it actually works
So you’ve got all these pieces and now you gotta put them together in a way that looks like a goat and not a weird lumpy creature. My cat kept trying to steal the legs while I was working on this part which was not helpful.
Start with attaching the head to the body. I usually sew around the entire neck join twice because that connection gets stressed if anyone actually plays with the finished goat. Use matching yarn and whip stitch around, stuffing the neck area firmly so the head doesn’t wobble.
Then do the legs. Pin them first like I said. Front legs go on the front sides of the body, back legs toward the back but not all the way at the end. The exact position depends on your body shape and how you want it posed. Sew them on securely going around each leg attachment multiple times.
Ears go on the head next. I positioned mine on the sides angling slightly back and down. Sew just the bottom edge of each ear to the head, leaving the rest free to flop naturally.
Horns get positioned on top of the head between where you put the ears. These need really secure attachment – I went around each horn base like three times with yarn.
Tail goes on the back body area, pretty self-explanatory.
Face details matter more than you think
The eyes are already in from earlier but you might want to add some embroidery details. A lot of goat patterns include little nostrils on the snout which you can do with black yarn and a few straight stitches. Some people add a mouth line too but I think that can make them look weird so I usually skip it.
If you want to get fancy you can add little white highlights to the eyes using white yarn or embroidery floss – just a tiny stitch in the upper corner of each eye makes them look more alive.
I’ve seen people add beards to their goats using longer yarn strands attached under the chin which looks cool on boy goats but I didn’t do that for mine.
Yarn weight actually matters here
I mentioned worsted weight earlier but you can technically use different weights. If you use sport weight or DK with a smaller hook you’ll get a smaller goat which might be what you want. Bulky weight with a bigger hook makes a chunkier goat that works up faster.
The important thing is keeping your tension consistent throughout because if your tension varies your goat will have weird lumpy areas or tight spots. This is something I still struggle with honestly – I crochet tighter when I’m focused and looser when I’m watching TV so I try to work on projects like this during similar mental states I guess?
Acrylic yarn like the Caron and Red Heart I used is good for toys because it’s washable and durable. Cotton yarn makes a firmer finished product but doesn’t have as much give. Wool would be weird for this unless you’re making it as decoration only because wool toys are harder to clean.
Pattern variations you might see
Some patterns make the goat in one piece working from the back end forward which is interesting but requires more shaping knowledge. Others have you make the body and head as one continuous piece which means less sewing.
Standing goats vs sitting goats need different leg positioning like I mentioned. There’s also lying down goat patterns where all four legs stick out to the sides which looks cute but limits how you can display it.
Different goat breeds have different features – Nigerian Dwarf goats are smaller and rounder, Alpine goats are bigger with longer faces, Pygmy goats are stocky. You can adapt patterns by changing proportions like making the legs shorter for Pygmy types or the body longer for other breeds.
Common problems and fixes
If your goat won’t stand up it’s usually a leg position issue or the body is too heavy for the leg attachments. Try repositioning the legs slightly forward or adding more stuffing to the legs themselves for stability. Sometimes you gotta just accept it’ll be a sitting goat.
If the head droops forward you didn’t stuff the neck area enough or didn’t attach it securely. This happened on my first attempt at a different animal pattern and I had to open up the neck and add more stuffing then re-sew it.
Lumpy body means inconsistent tension or not enough stuffing. Add more polyfil and really push it into all the corners and edges to get a smooth shape. I use a chopstick to poke stuffing into tight spots.
Horns falling off means you didn’t sew them well enough. Take them off and reattach with more stitches going through both the horn base and deep into the head.
Time commitment for this project
A basic goat probably takes like 6-8 hours total if you’re working steadily? That’s spread across making all the parts, assembly, and details. I usually do projects like this over several days because doing it all at once makes my hands hurt.
The body and head are the longest parts, maybe 2 hours each. Legs are quick, maybe 20 minutes each so that’s another hour and a half total. Ears and horns and tail are small so maybe 30 minutes combined. Assembly takes longer than you’d think, probably 2 hours with all the sewing and positioning.
If you’re new to amigurumi it’ll take longer because you’re learning the techniques. If you’re experienced you might be faster than my estimates.
Making modifications to basic patterns
Once you’ve made one standard goat you can start changing things. Different yarn colors obviously give you different goat varieties. Adding spots or patches with duplicate stitch embroidery after assembly works for multicolored goats.
Size changes are pretty straightforward – use thicker yarn and bigger hook for larger goats, thinner yarn and smaller hook for tiny ones. Just keep all your pieces proportional to each other.
You can add accessories like a little bell collar using embroidery thread and a small bead. Or make a tiny flower crown with embroidered flowers on a yarn circle. I’ve seen people make elaborate setups with multiple farm animals which is cute if you have that kind of time.
The basic construction method for the goat works for other hooved animals too – you can adapt it for sheep by using fuzzy yarn, or horses by making everything longer and bigger, or cows by changing the face shape and adding udders and different ear shapes.
Anyway that’s basically how you make a crochet goat. The pattern itself gives you specific stitch counts but the general approach is pretty standard across different patterns. The main thing is just taking your time with assembly because that’s where a okay project becomes a good one or where a good project becomes kinda wonky looking if you rush it.