
May
okay so diamond patterns
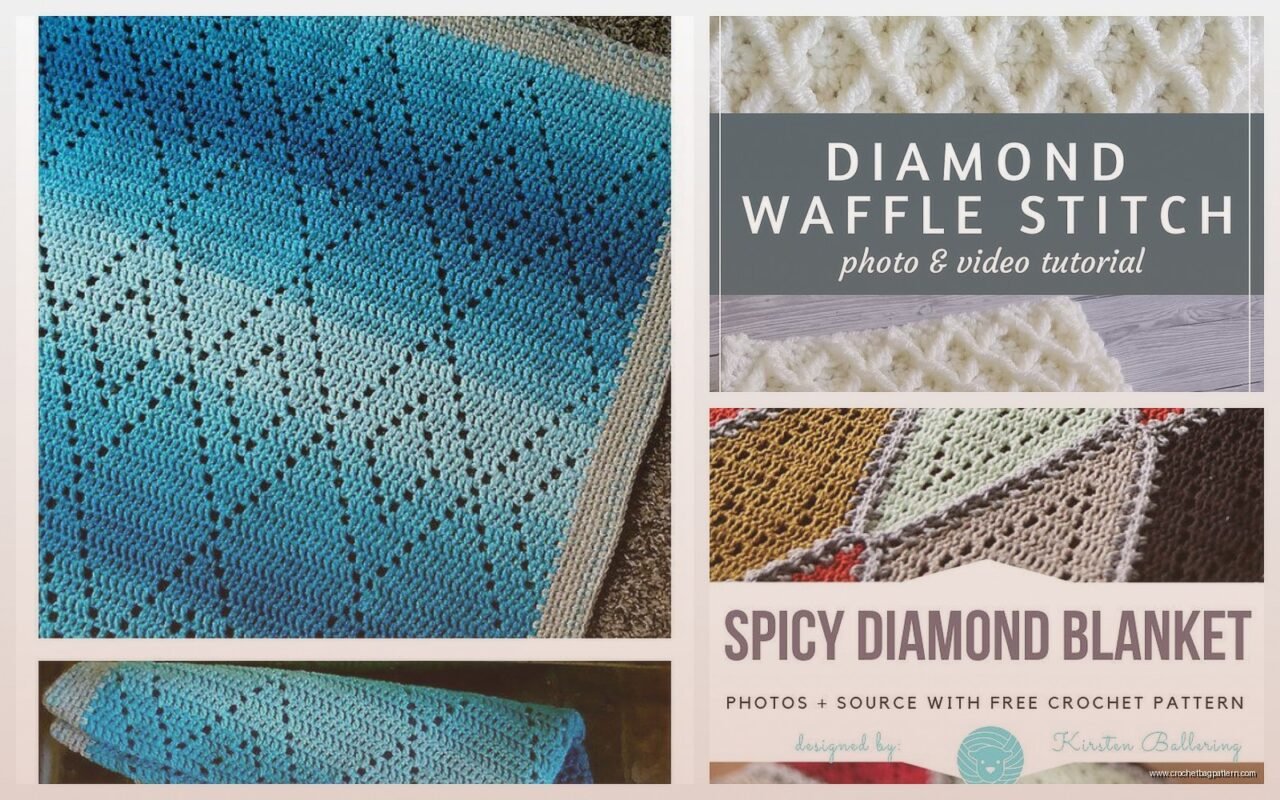
Right so you want to make a diamond pattern in crochet which honestly is easier than it looks once you get the hang of it but also can be super frustrating when you’re first starting because the counting is—anyway I made this blanket back in spring 2022 when I was stuck at home with COVID and had nothing else to do except watch old episodes of The Office for like the millionth time. Used Red Heart Super Saver in that cream color and a dark teal I think? The brand matters because different yarns have different stiffness and Red Heart is pretty stiff which actually helps with geometric patterns because everything stays put better.
The basic idea with diamond patterns is you’re creating a shape using color changes and tension. Not like actual stitches that form diamonds but the visual effect of diamonds through switching colors at specific points in your rows. Some people do textured diamonds with bobbles or front post/back post stitches but that’s different and more complicated.
what you actually need
You’re gonna need two colors of yarn at minimum. I usually grab worsted weight because it’s the easiest to work with and you can actually see what you’re doing. The hook size depends on your yarn but like a 5mm or 5.5mm works for most worsted weight stuff. You also need to be comfortable with basic single crochet and knowing how to carry yarn which is basically just crocheting over the color you’re not using so it doesn’t leave weird loops on the back.
One thing that REALLY annoyed me about this whole process is how the yarn gets tangled when you’re switching colors constantly. Like you think you’re being so organized and keeping the two balls separate but then somehow they’re twisted together in this impossible knot and you have to stop and untangle everything before you can continue. It happened to me probably every ten rows and I wanted to throw the whole project across the room.
starting your pattern
So you chain however wide you want your project. For a diamond pattern you need to think about how big you want each diamond to be. Let’s say you want diamonds that are 10 stitches wide at their widest point. You’d need to chain in multiples of 10 plus a few extra for the edges. I usually do like 50 chains for a small practice piece or baby blanket.
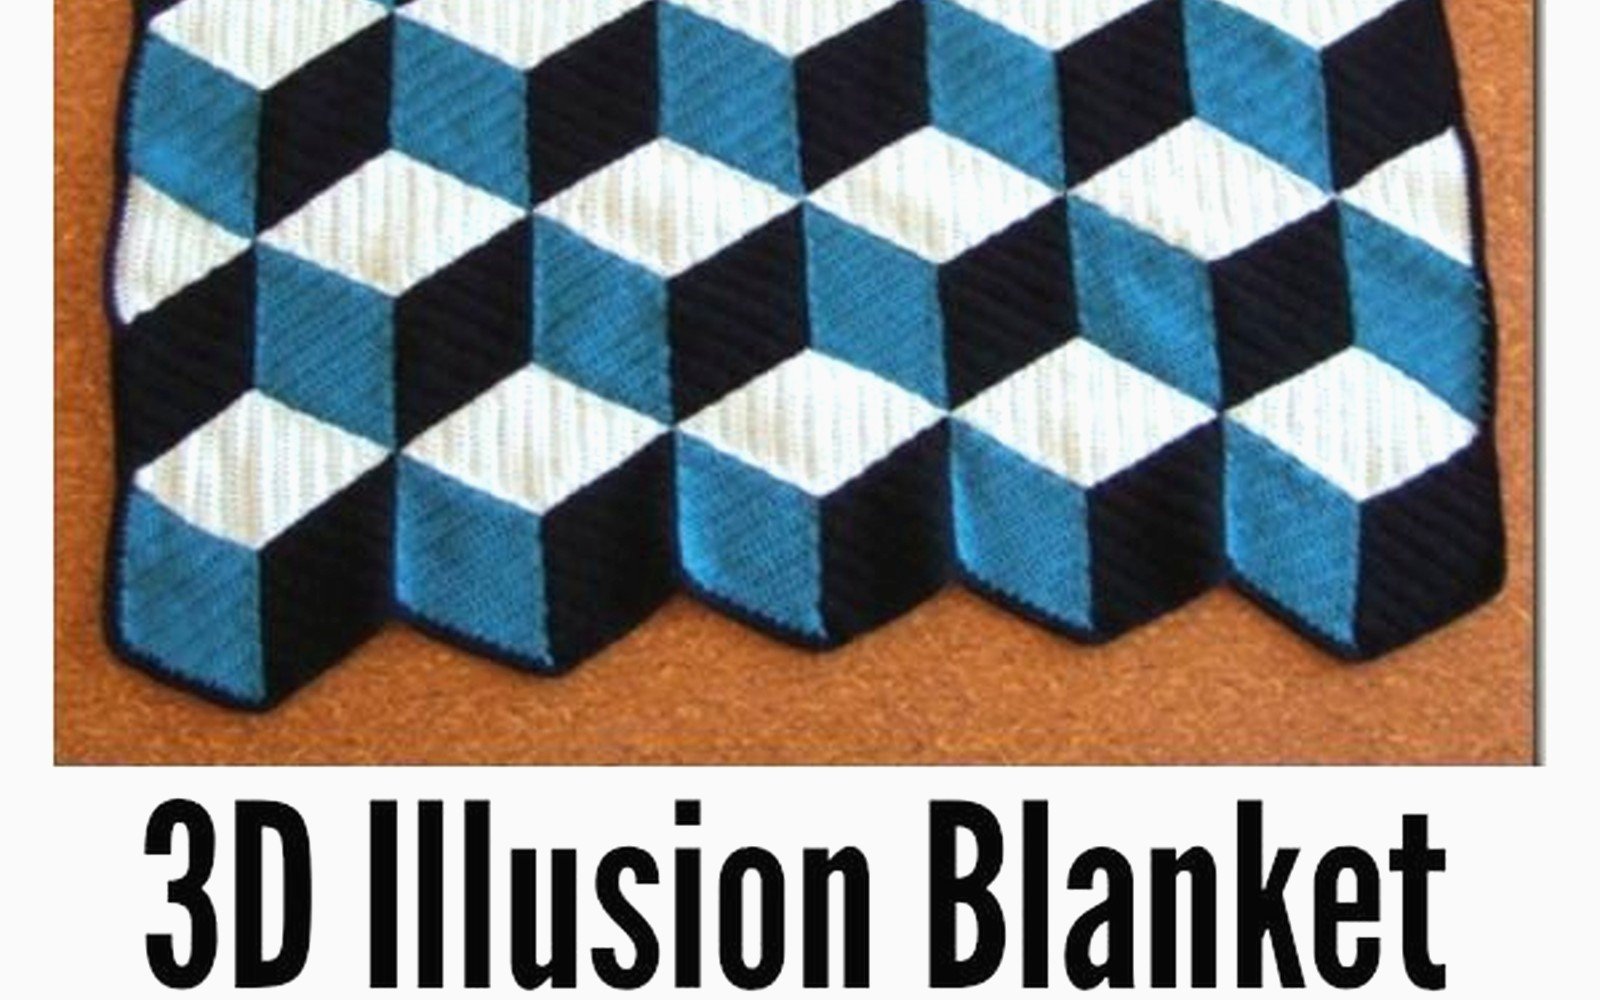
First row is just single crochet across in your base color. Let’s call it Color A. When you get to the end you’re gonna chain 1 and turn like normal. This is just foundation stuff you probably already know.
Second row is where it starts. You’re gonna work in Color A for a certain number of stitches then switch to Color B. The way you switch is important because if you do it wrong it looks messy. When you’re on the last stitch before the color change you pull up a loop with Color A then yarn over with Color B to complete the stitch. That way the new color starts clean on the next stitch.
the actual diamond shape math
Okay so diamonds are basically just increasing then decreasing the second color in a symmetrical way. Let me break it down:
- Row 1: All Color A (your background)
- Row 2: Work like 20 stitches in A, then 1 stitch in B, then rest in A
- Row 3: Work to 2 stitches before where B was, then 3 stitches in B, then rest in A
- Row 4: Work to 2 stitches before where B starts, then 5 stitches in B, continue in A
You see the pattern? You’re adding 2 stitches of Color B on each side every row. Keep doing this until your diamond is as wide as you want it. Then you reverse the process—decrease by 2 stitches of Color B on each side every row until you’re back down to 1 stitch.
The spacing between diamonds depends on how many stitches you leave in Color A between them. I usually do at least 5-8 stitches of background color between each diamond so they don’t look crowded.
carrying the yarn
This is the part that takes practice. When you’re working in Color A and Color B is just sitting there you need to crochet over it so it doesn’t create loose strands on the back. Basically you lay the unused yarn along the top of the previous row and work your stitches over it. This traps it inside your work.
The tension here is tricky because if you pull too tight the whole thing puckers and looks weird. If you leave it too loose you get these saggy bits. I usually keep the carried yarn slightly loose—like not tight but not hanging down either. It’s one of those things where you just gotta do it a bunch of times to get a feel for it.
multiple diamonds in a row
Once you’ve got one diamond down you can plan multiple diamonds across the same row. The trick is staggering them so they look intentional. You can do:
- Straight rows of diamonds all starting at the same row
- Offset diamonds where the second row of diamonds starts halfway through the first row’s diamonds
- Random scattered diamonds but honestly this looks messy unless you really plan it out
I prefer the offset version because it looks more interesting and kind of like an argyle pattern. For that you’d start your first row of diamonds on row 2, then start your second row of diamonds on like row 8 or 9 but positioned between where the first diamonds are.
the counting problem
You WILL lose count of where you are. I don’t care how good you think you are at counting, when you’re switching colors and carrying yarn and trying to remember if this is the row where you increase or decrease, you will mess up. I use stitch markers at the beginning and end of each Color B section which helps a lot. Those little plastic ring ones from like Loops & Threads or whatever brand they sell at Michaels.
Also keeping a piece of paper next to you with tally marks for what row you’re on is actually super helpful even though it feels ridiculous. I’d be sitting there watching TV and my cat would walk across my lap and I’d lose track of whether I was on row 7 or 8 of a diamond and have to count backwards from the beginning to figure it out.
tension and gauge stuff
Your tension needs to be consistent across both colors or the diamonds will look wonky. Some yarns are easier to keep consistent than others. Like I tried this once with Bernat Blanket yarn (that super chunky soft stuff) and it was a disaster because that yarn is so stretchy and uneven. The diamonds looked drunk.
Stick with firmer yarns when you’re learning this. Red Heart Super Saver like I mentioned, or Caron One Pound, or even the cheap Paintbox Yarns cotton if you want something less acrylic. The cotton actually works really nice for diamond patterns because it has no stretch at all so your shapes stay crisp.
You don’t really need to do a gauge swatch for this unless you’re making something that needs to be a specific size. For blankets or scarves or whatever just make sure your stitches are all roughly the same size and you’re good.
fixing mistakes
When you mess up a color change (and you will) you have two options. Option one is frog it back to where the mistake is and redo it. Option two is just keep going and pretend it’s intentional. I’m definitely more of an option two person unless the mistake is really obvious.
If you notice you miscounted and your diamond is lopsided by like one or two stitches just adjust it on the next row. Add an extra stitch on one side or skip increasing on the other side. As long as you get back to symmetry by the time you reach the widest point nobody will notice the bottom was slightly off.
edges and borders
The edges of colorwork projects can look messy because of all the color changes. What I do is plan my diamonds so they don’t go all the way to the edge—leave at least 3-4 stitches of solid background color on each side. Then when the whole thing is done you can add a simple border in the background color to clean everything up.
Just single crochet around the entire edge, working 3 sc in each corner to keep it flat. This hides any wonky edge stitches from the color changes and makes the whole thing look more finished.
different stitch options
I’ve been talking about single crochet this whole time but you can do diamond patterns in other stitches too. Half double crochet works and goes faster but the color changes are slightly less crisp because the stitches are taller. Double crochet is possible but honestly I think it looks too loose and you can see too much of the carried yarn through the stitches.
Some people do moss stitch or even granny squares arranged in diamond shapes but that’s getting into different territory. The basic color-change diamond I’m describing here works best with shorter stitches.
project ideas that actually work
Baby blankets are perfect for this because they’re small enough that you won’t get bored but big enough to really see the pattern. I made one with light pink and white diamonds that turned out pretty cute. Pillow covers are good too—you can make two squares with the diamond pattern and seam them together.
Scarves work if you keep them narrow enough that you’re only doing one or two diamonds wide. Otherwise it takes forever. Bags are another option, like a simple tote bag with diamonds on the side would look cool.
I tried making a sweater panel with diamonds once and that was… ambitious. It technically worked but matching the gauge across the colorwork sections and the plain sections was annoying and I never actually finished the sweater so I can’t really recommend that unless you’re more patient than me.
color combinations
High contrast looks the most dramatic—like black and white, or navy and cream, or that dark teal and cream I used. Low contrast can be pretty too but the diamonds don’t pop as much. Variegated yarn as one of the colors usually looks bad because the color changes compete with the geometric pattern and it just looks busy.
Metallic yarn as the diamond color over a matte background looks fancy if you’re into that. Lion Brand has those Metallic yarns that aren’t too expensive. Just know that metallic yarn can be splitty and annoying to work with.
wrapping up the technical stuff
The main things to remember: count carefully, carry your yarn at consistent tension, use stitch markers, and don’t stress if it’s not perfect. Geometric patterns look more forgiving than they are because people’s eyes kind of autocorrect small mistakes when they see a repeated pattern.
Practice on a small swatch first with scrap yarn so you’re not invested in the outcome. Once you get comfortable with the color changes and the rhythm of increasing and decreasing, you can tackle a bigger project. That blanket I made during COVID turned out pretty good even though I had no idea what I was doing when I started. Just worked through the mistakes and kept going.
