
Jun
Getting Started With The Deer Body
So the deer body is basically just a big oval shape and you’re gonna start with a magic ring. I made my first deer back in spring 2022 when I was marathoning that true crime show on Netflix, the one about the staircase guy, and honestly the repetitive rounds helped me not get too freaked out by the episodes. You do like 6 single crochets in the magic ring, pull it tight, and then you just increase gradually until you get to about round 7 or 8 where you have maybe 42 or 48 stitches depending on how chunky you want your deer.
I used Lion Brand Vanna’s Choice for that first one because it was what I had laying around in this really pretty fawn color. The nice thing about that yarn is it’s worsted weight so it works up fast but it also has enough body that your stuffing doesn’t show through weird gaps. You could also use Bernat Super Value or honestly whatever brown-ish yarn you have.
After you get to your full width you just work even for like 15-20 rounds. Don’t count too precisely because honestly it doesn’t matter that much if your deer is slightly longer or shorter. Then you start decreasing at the same rate you increased until you’re back down to like 6 stitches and you close it up.
The Head Is Where It Gets Annoying
The head shape is similar but smaller and here’s the thing that really annoyed me – getting the snout to look right is genuinely frustrating. You make a regular oval head shape, maybe ending with 36 stitches around, but then you have to figure out where to attach the snout piece and it never looks quite right the first time.
For the snout I just made a tiny oval, started with 6 in a magic ring, increased to 12, worked one round even, then decreased back down. But positioning it on the face is trial and error. I pinned mine in like four different spots before I actually sewed it on because it kept looking either too high or too far down or just weird.
The ears are actually pretty straightforward though. You can make them flat or slightly 3D. I usually do flat because it’s faster. Chain like 8 or 9, then work back along the chain doing increases at the bottom to make it rounded and then decreases as you go up to make it taper to a point. You make two of those in your main color and then two smaller ones in white or cream or pink for the inner ear.
Legs and The Standing Problem
The legs are just tubes basically. Magic ring with 6 stitches, increase to 12 for the hoof part, then decrease back to maybe 9 or 10 and work even for however long you want the legs. I made mine pretty stubby on that first deer because I wanted it to sit nicely but then I realized it looked kind of dumpy so on the next one I made them longer.
You need to stuff the legs firmly or your deer won’t stand up at all. This is where that annoying part comes in – I spent like twenty minutes trying to get my deer to balance and it kept tipping forward because the head was too heavy. Eventually I put some craft wire through the legs and that helped but it was still not perfect. Some people use armature wire through the whole body but I’ve never bothered with that because seems like too much work.
For the hooves you can either leave them the same color as the body or switch to black or dark brown. I did black on one and it looked pretty good, just tie off your fawn color and attach the black for the last 3 or 4 rounds of the leg.
Arms or Front Legs Whatever You Call Them
Same concept as the back legs but I make them slightly thinner. Start with 6, increase to 10 instead of 12, then work even. You can position these however you want – straight down for a standing deer or angled forward for a sitting one. I usually don’t wire these because they’re not load-bearing or whatever.
Attach all four legs to the body before you stuff the body completely. It’s way easier to get them positioned evenly when you can still squeeze the body around. I learned that the hard way because on my first one I stuffed it totally full and then trying to sew through all that stuffing to attach legs was genuinely miserable.
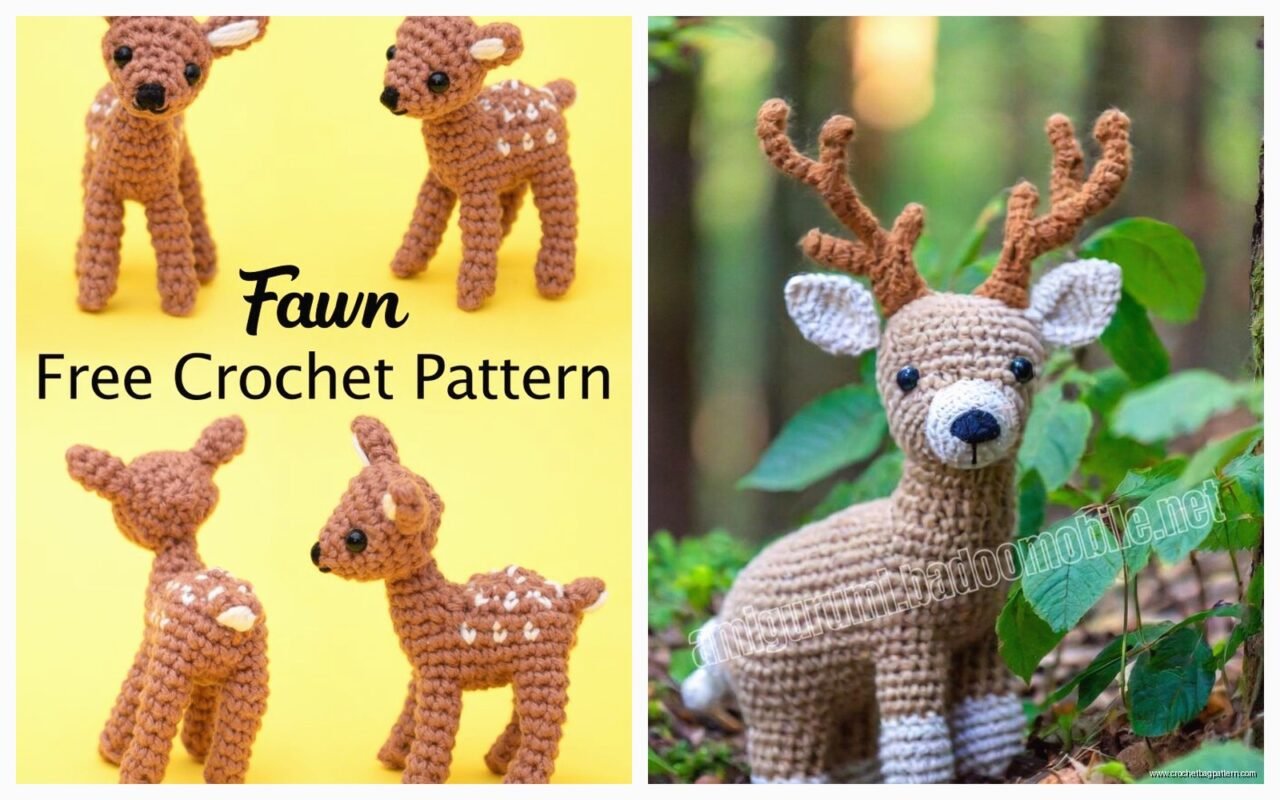
Antlers Are Optional But Come On
You gotta do antlers or it’s just a weird brown blob with ears. I used a different brown yarn for these, I think it was Caron Simply Soft in Chocolate, because I wanted them darker than the body. You can do them a bunch of different ways but the easiest is to just make branch shapes.
Chain like 8, slip stitch back down to the 4th chain from hook, chain 6 more for a side branch, slip stitch back to the main branch, continue slip stitching down, make another side branch, finish slip stitching to the end. Make two of those and sew them to the top of the head between the ears. They flop around kind of loose which annoyed me but you can use starch or watered down glue to make them stiff if you want. I never bothered.
Some patterns have you make really elaborate antlers with like five branches but that seems excessive for a little amigurumi deer. Two or three branches each is plenty.
The Face Details
For eyes you can use safety eyes which is what I did, probably 9mm or 10mm size. Put them in before you stuff the head or you’ll be sorry. Position them pretty wide apart and kind of on the sides of the head more than the front because that’s how deer actually look. Although honestly if you want your deer to look more cartoon-y you can put them closer together facing forward.
I embroidered a little nose with black yarn, just a small triangle or Y-shape at the tip of the snout. Some people do a pink nose which looks cute but less realistic. You can also embroider little white spots on the body if you want it to be a fawn instead of an adult deer. I did that on one and used white embroidery floss, just made random little ovals across the back and sides.
My cat kept trying to attack the deer while I was working on it because the antlers looked like toys to him I guess, so I had to keep moving it to higher surfaces.
Tail Situation
The tail is easy and you might forget it entirely which I definitely did the first time. Just make a little pompom or a small stuffed teardrop shape in white or cream. Attach it to the back of the body up kind of high, not down low like you’d think. Deer tails sit higher than you expect.
For a pompom I just wrapped white yarn around my fingers like 30 times, tied it in the middle, cut the loops, trimmed it into a ball shape. Takes two minutes. For a stuffed tail do a magic ring with 6, increase to 9, work even for a few rounds, decrease and close. Either way works fine.
Assembly Order That Actually Makes Sense
This is the order I do things now after messing it up a few times: make the body and set it aside unstuffed, make the head and stuff it, attach the snout and inner ears to the ears then attach ears to the head, put in safety eyes, embroider nose, make all four legs, attach legs to body with body still unstuffed or just lightly stuffed, NOW stuff the body fully, sew head to body, make and attach antlers, make and attach tail.
The reason you want to attach the head after the legs is because you need to see how the deer sits or stands to figure out what angle the head should be at. If you attach it first you might end up with a deer that’s looking straight up at the ceiling or down at the ground and it looks weird.
Yarn Weight and Hook Size Stuff
Most people use worsted weight yarn with a 4mm or 4.5mm hook for amigurumi deer. I’ve used both and honestly can’t tell much difference in the final result. The important thing is that your stitches are tight enough that stuffing doesn’t poke through. If you can see gaps between your stitches go down a hook size.
I tried making one with bulky yarn once thinking it would work up faster and it did but it was HUGE, like twice the size I expected, and also the proportions looked off because the details like the snout and ears didn’t scale up right. So stick with worsted weight unless you specifically want a giant deer.
For colors you want at least two – main body color in brown or tan, and white or cream for the snout/tail/inner ears. Dark brown or black for hooves and nose if you’re not using safety eyes. You could also get fancy with it and use grey for a different look or even do an unnatural color scheme if that’s your thing.
How Long This Actually Takes
My first deer took me like three evenings of casual crocheting while watching TV. Maybe six or seven hours total? Once you know what you’re doing you can probably finish one in four or five hours. The body works up fast because it’s just continuous rounds of basic stitches. The fiddly parts are the face assembly and getting the legs attached evenly.
If you’re making multiple deer as gifts or whatever you can production-line them – make all the bodies one day, all the heads another day, etc. I did that one year for Christmas gifts and it was way more efficient than finishing one completely before starting the next.
Common Problems I’ve Run Into
The head being too heavy for the body is a big one. If your deer keeps falling forward either make the body bigger, stuff it more firmly, use less stuffing in the head, or add weight to the bottom of the body. I’ve put pennies or washers in the bottom before stuffing and that helps.
Legs not being even is another issue. I measure them against each other as I go now but I still sometimes end up with one that’s slightly longer. You can fudge it a bit when you attach them by sewing one on slightly higher than the others.
The antlers falling off because I didn’t sew them on securely enough – this happened once and I had to reattach them with way more stitches going through to the other side of the head. Make sure you’re sewing through the head from one antler to where the other one will be so they’re really anchored.
Running out of the main color yarn halfway through is SO annoying because then you have to either order more and wait or try to match it at the store which never works perfectly. I always buy an extra skein now if I’m making something bigger than a tiny amigurumi.
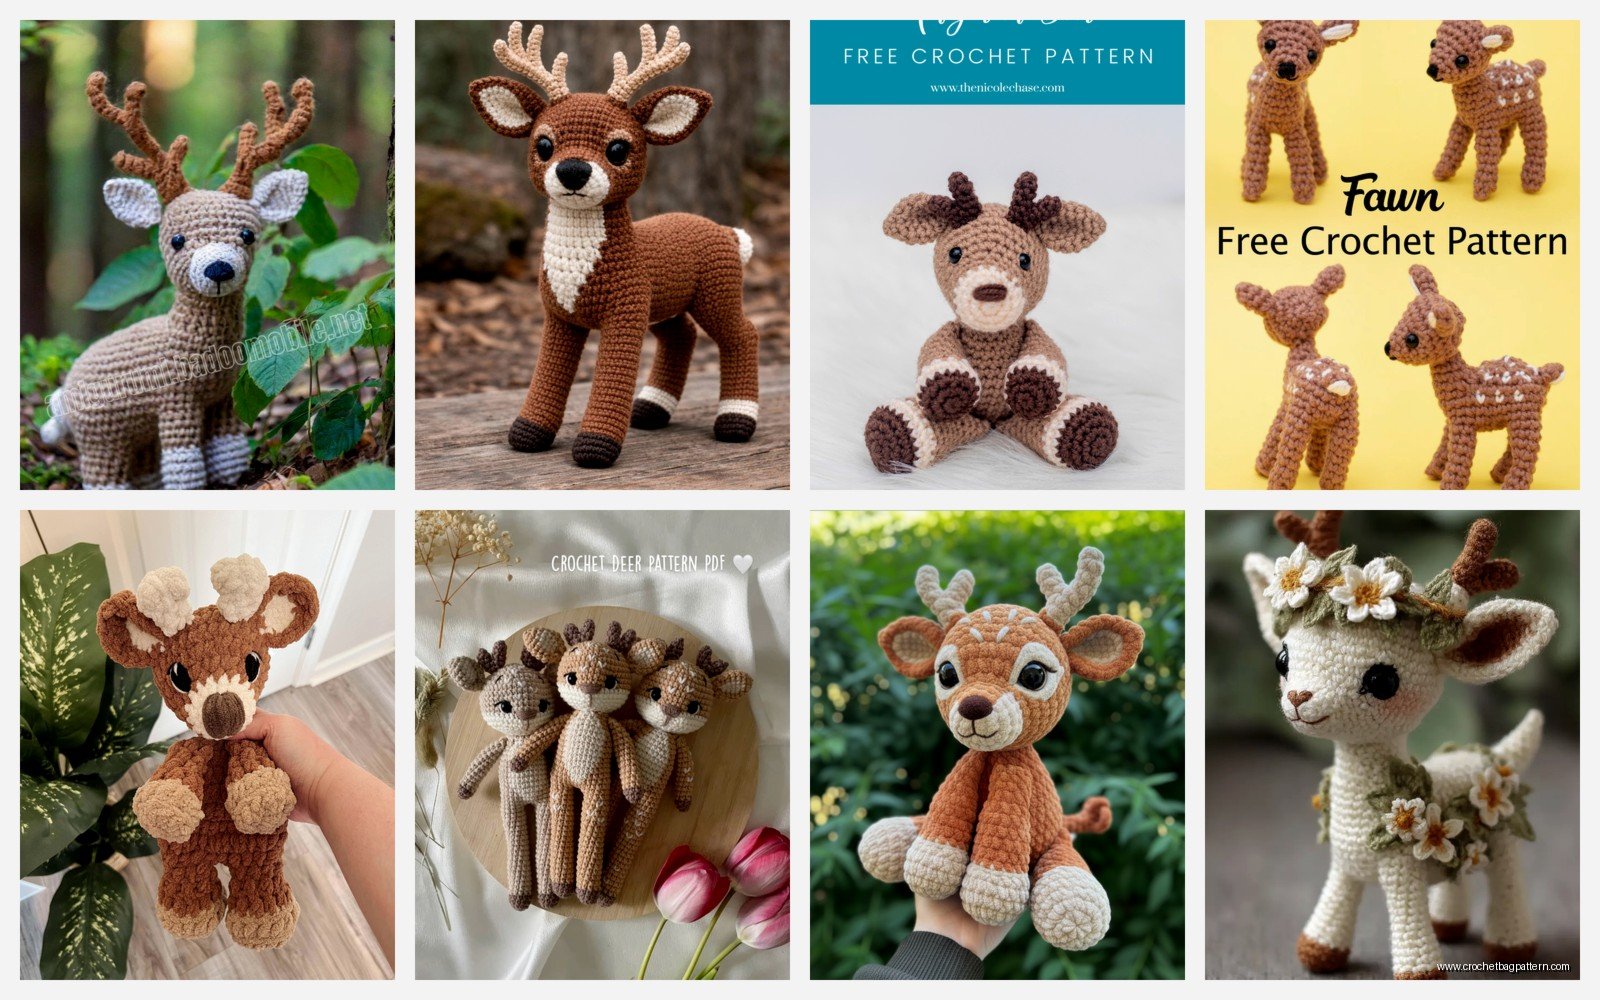
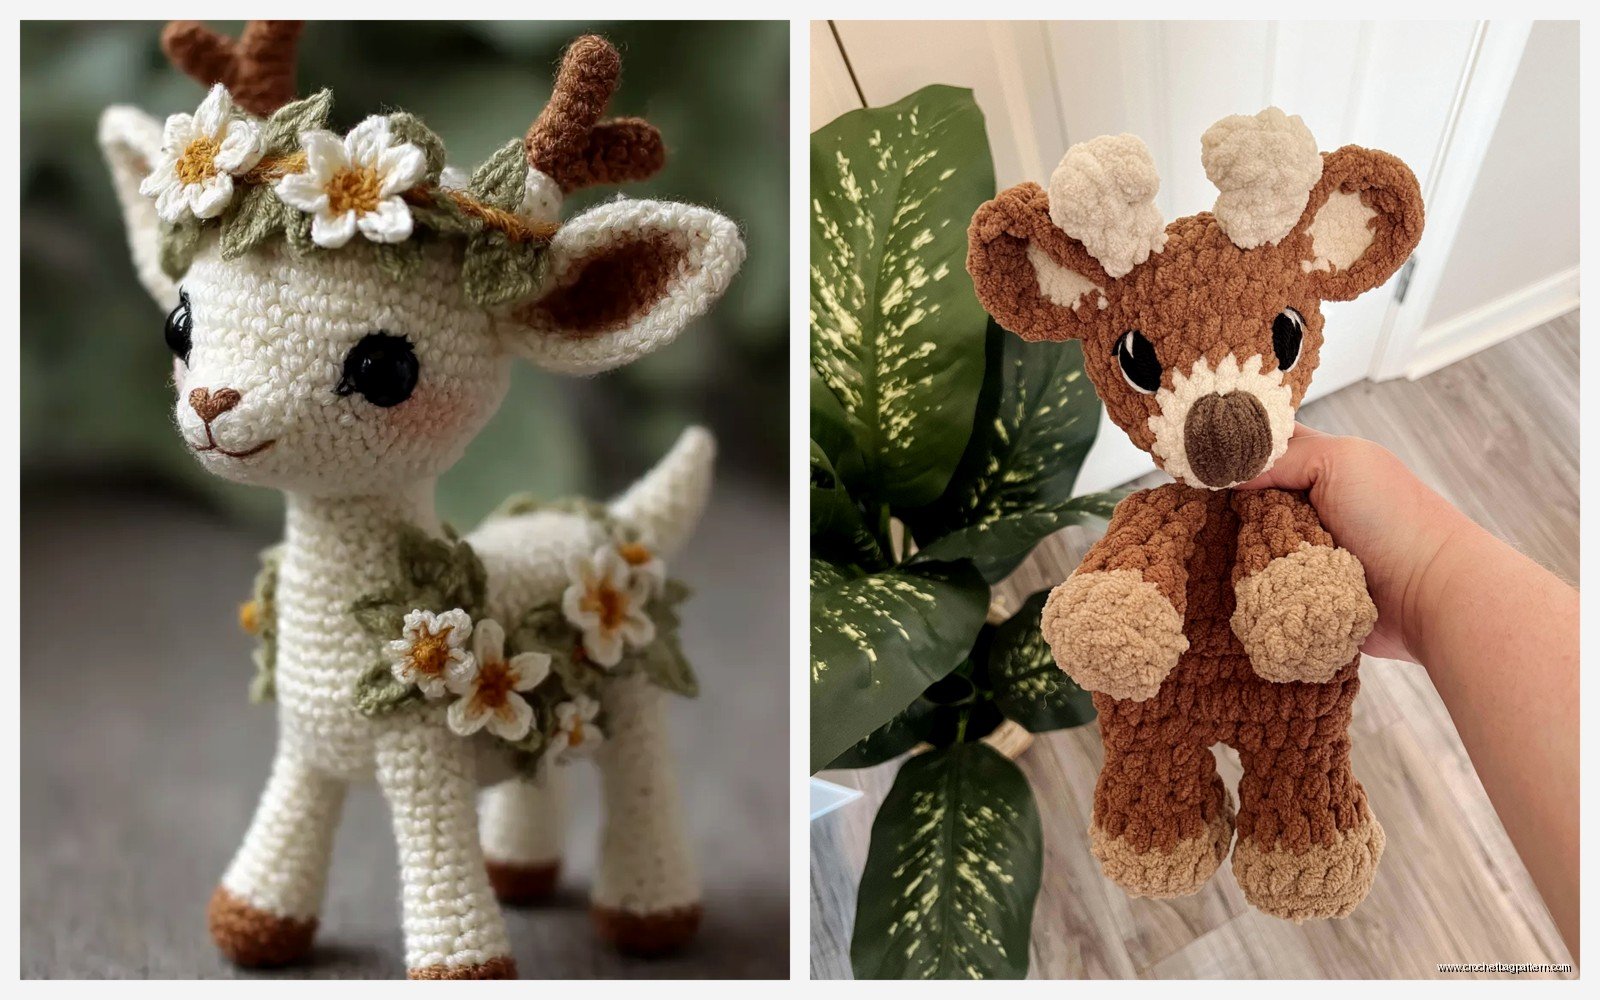
Variations You Can Try
You can make a lying down deer instead of standing by just changing how you attach the legs – position them out to the sides instead of underneath. Add a little flower crown with tiny crochet flowers if you want it extra cute. Make a baby deer by using thinner yarn or just doing fewer increase rounds so everything is smaller. Do an albino deer with white body and light pink details.
Some people make clothes for their amigurumi deer like little scarves or sweaters but that seems like overkill to me. The deer is already complete on its own.
I saw someone once who made a whole family of deer in different sizes and posed them together which looked really good. You’d just scale the pattern up or down by changing your starting number of stitches and how many rounds you work.
What Stuffing Works Best
Poly-fil is fine, that’s what I use most of the time. The cheap stuff from Walmart or wherever works just as well as expensive stuffing. Some people use wool roving but that seems unnecessarily expensive for something that’s just gonna be inside where you can’t see it. The main thing is to stuff firmly enough that the shape holds but not so tight that your stitches stretch out and look weird.
For the legs and antlers you might want to use smaller pieces of stuffing poked down with a chopstick or crochet hook to get into those narrow spaces. I keep a dedicated chopstick in my craft supplies just for stuffing amigurumi.