
Jun
Getting Started With Cat Patterns
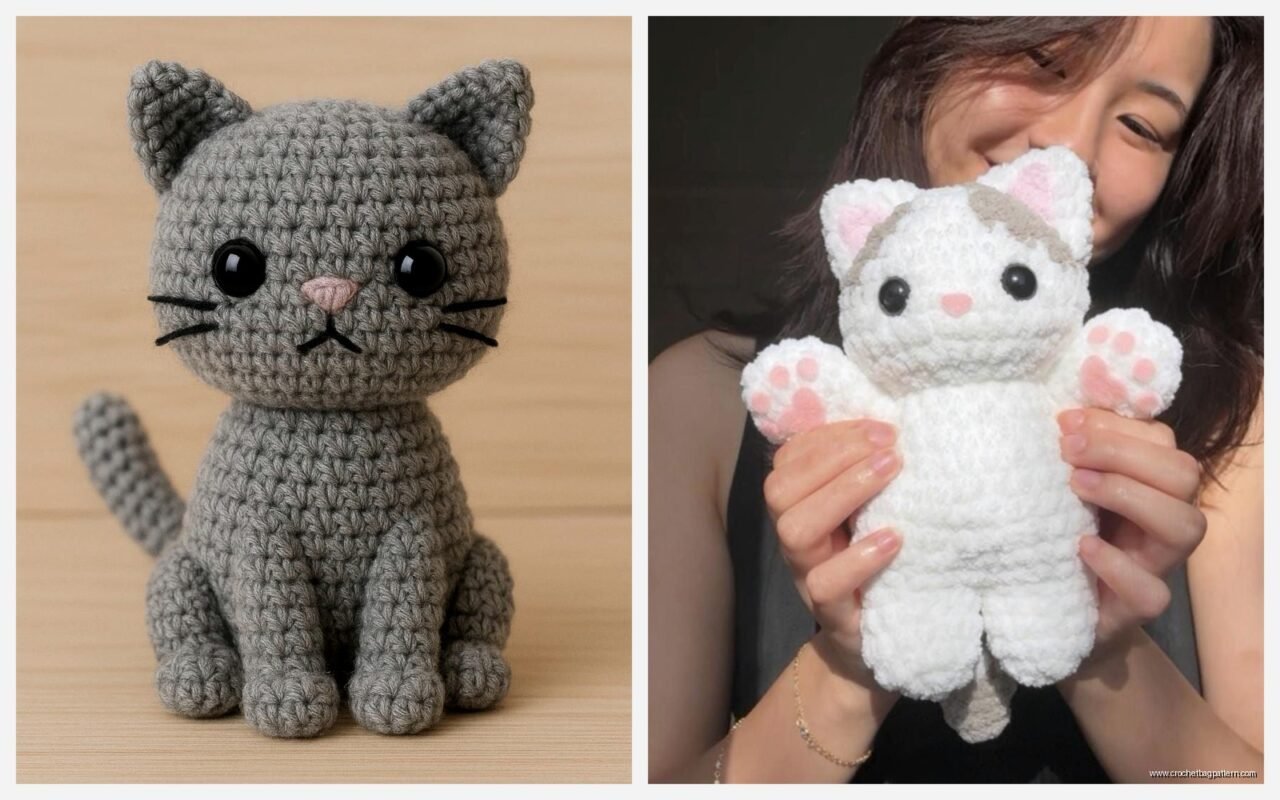
So the first cat I actually finished was in spring 2022 when I was supposed to be organizing my closet but obviously ended up crocheting instead. Used some Red Heart Super Saver in that grey color because I had like three skeins left from another project and figured why not make a cat.
The thing about cat amigurumi is you need to decide right away if you want a realistic cat or one of those chunky round ones that look more like a potato with ears. Both are fine but the techniques are kinda different. The round ones are honestly easier because you’re basically making a sphere and then adding features, whereas the realistic ones need shaping and you gotta think about proportions.
Yarn and Hook Size
I usually grab whatever worsted weight yarn is around. Red Heart Super Saver works fine, Caron One Pound if I’m making something bigger, or if I’m feeling fancy maybe some Paintbox Yarns Cotton DK. The cotton ones hold their shape better but they’re more expensive and honestly for a first cat just use acrylic.
Hook size matters more than people think. Most patterns say 3.5mm or 3.75mm for worsted weight but I always go down to 3.25mm because you want that tight tension so the stuffing doesn’t show through. Nothing worse than seeing polyfil poking out between stitches. That was the most annoying thing actually when I made my second cat, I used the recommended hook size and you could see white stuffing through the grey yarn and it looked terrible.
Basic Cat Body Construction
You’re gonna start with a magic ring which I know some people hate but honestly just learn it, makes everything look cleaner. Do 6 single crochets in the magic ring, then you increase every round until you get to whatever size you want the body to be.
For a sitting cat the body is usually worked from bottom up. You make increases for like 6-8 rounds depending on how fat you want your cat, then work even for the middle section, then decrease at the top. If you want a standing cat or one laying down the construction is different but sitting is easiest to start.
The pattern I used in 2022 had me make the body and head separately then sew them together which was fine but now I prefer patterns where you work them as one piece because less sewing means less chance for me to mess up the attachment.
Head Shaping
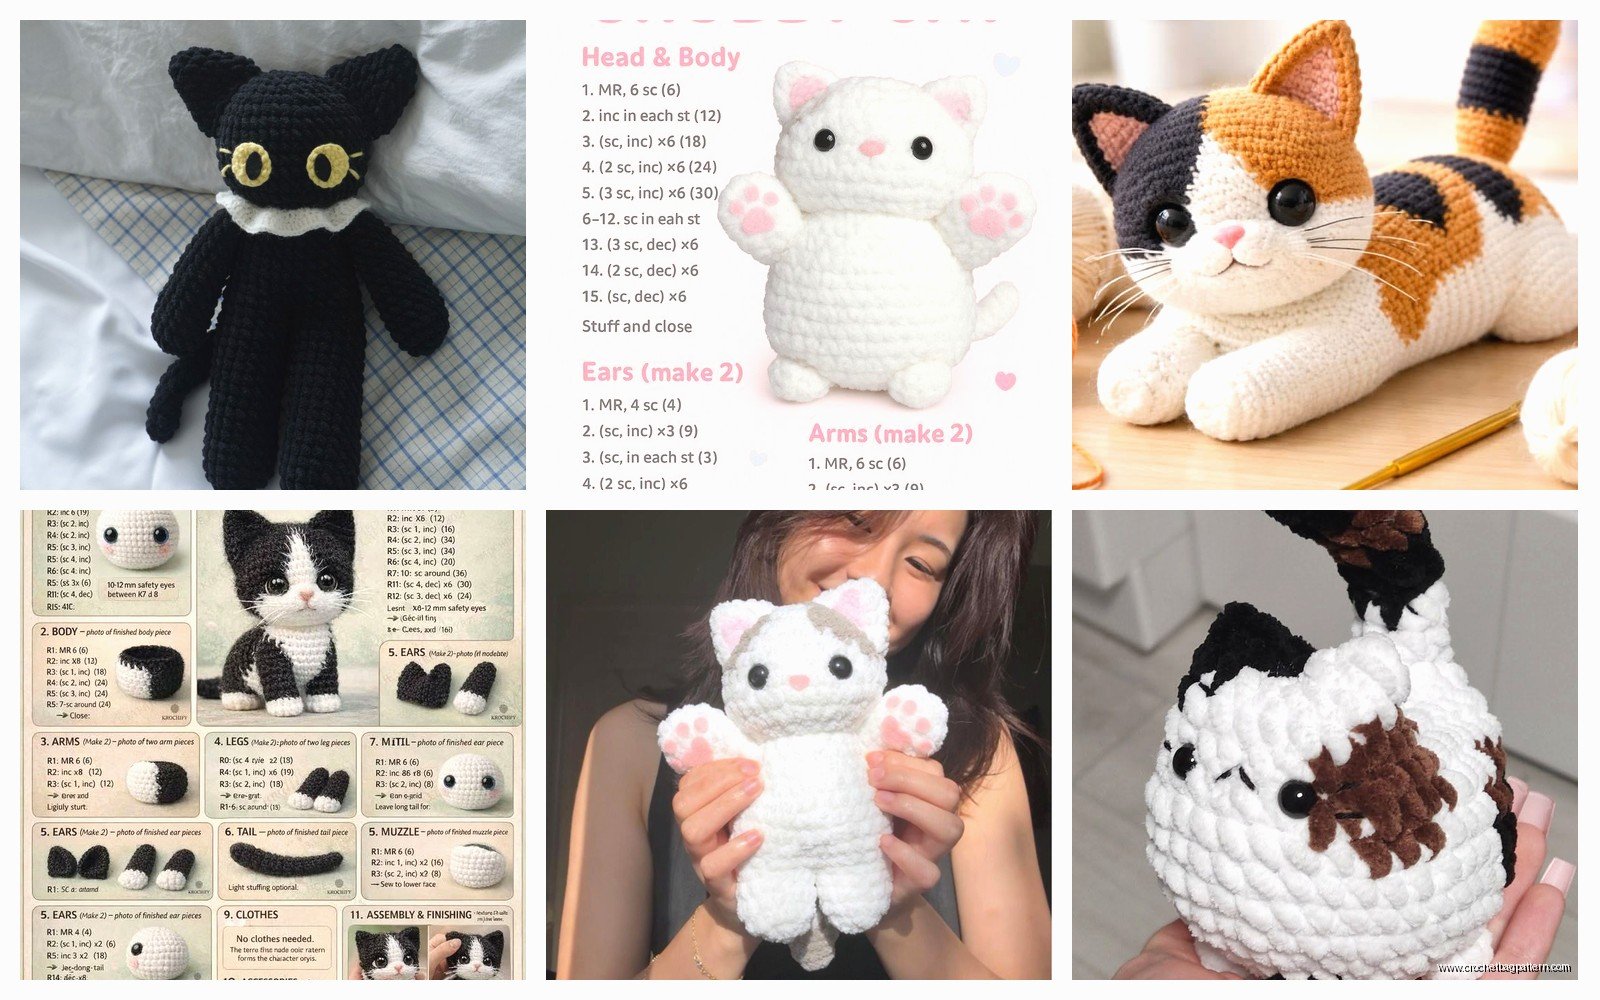
Cat heads are tricky because they need to look like actual cat heads and not just balls. You want to create increases around where the cheeks would be. So after you finish the body you either start the head separately or continue from the body, and you do strategic increases on each side.
I usually do like round 1 of head: sc around, round 2: increase 4 stitches evenly spaced on sides, round 3: sc around, round 4: increase again in similar spots. This gives you that wider cheek look. Then you work even for a few rounds and decrease at the top.
My dog was barking at the mailman the entire time I was trying to figure out head shaping the first time and I kept losing count of my stitches.
The Legs and Tail Situation
Legs are repetitive which is good and bad. Good because once you make one you just repeat it three more times. Bad because making four identical things is boring and by leg number four you’re wondering why you didn’t just make a snake instead.
Start with magic ring, 6 sc, then increase to 12 for the paw part. Work even for 2 rounds, then decrease back down to 8 or 9 stitches for the leg part. Work even until the leg is as long as you want. Don’t stuff the legs too firmly or they won’t pose well. Actually for sitting cats I barely stuff the back legs at all, just the paw part.
Front legs for a sitting cat can be worked straight down from the body if your pattern does it that way, or made separately and sewn on. I’ve done both and honestly can’t decide which I like better.
Tails are just tubes. Magic ring with 6 sc, work even for however long you want the tail, maybe increase to 8 stitches partway through if you want it thicker at the base. Some patterns have you decrease at the tip but I usually just keep it the same width. Wire in the tail if you want it to hold a curved shape but I never bother because it’s extra work and also I don’t have craft wire just laying around.
Ears That Actually Look Like Cat Ears
This is where patterns vary a lot. Triangle ears are easiest, you just make flat triangles and sew them on. But they can look kinda flat and basic. Better cat ears have some dimension to them.
What I do now is make each ear with two pieces, an outer ear and inner ear in a lighter color. The outer ear is worked in rows to make a triangle shape, like chain 6, turn, sc 5, turn, sc2tog, sc 1, sc2tog, turn, sc 3, turn, sc2tog, sc 1, fasten off. Something like that, I’m going from memory so those numbers might not be exact but you get the idea.
Inner ear is smaller, maybe start with chain 4 instead. Then you layer the small one on the big one, sew them together, pinch the bottom to make it curved, and attach to the head. Makes a huge difference in how cat-like it looks.
Face Details and Features
Eyes are the thing that make or break a cat. You can use safety eyes which is what most people do, usually 9mm or 12mm depending on the size of your cat. Black is classic but amber or green looks more realistic.
Safety eyes go in before you close up the head obviously. Position them between rounds 12 and 15 usually, with about 6-7 stitches between them. But honestly just hold them up to the head and move them around until it looks right because every pattern is slightly different.
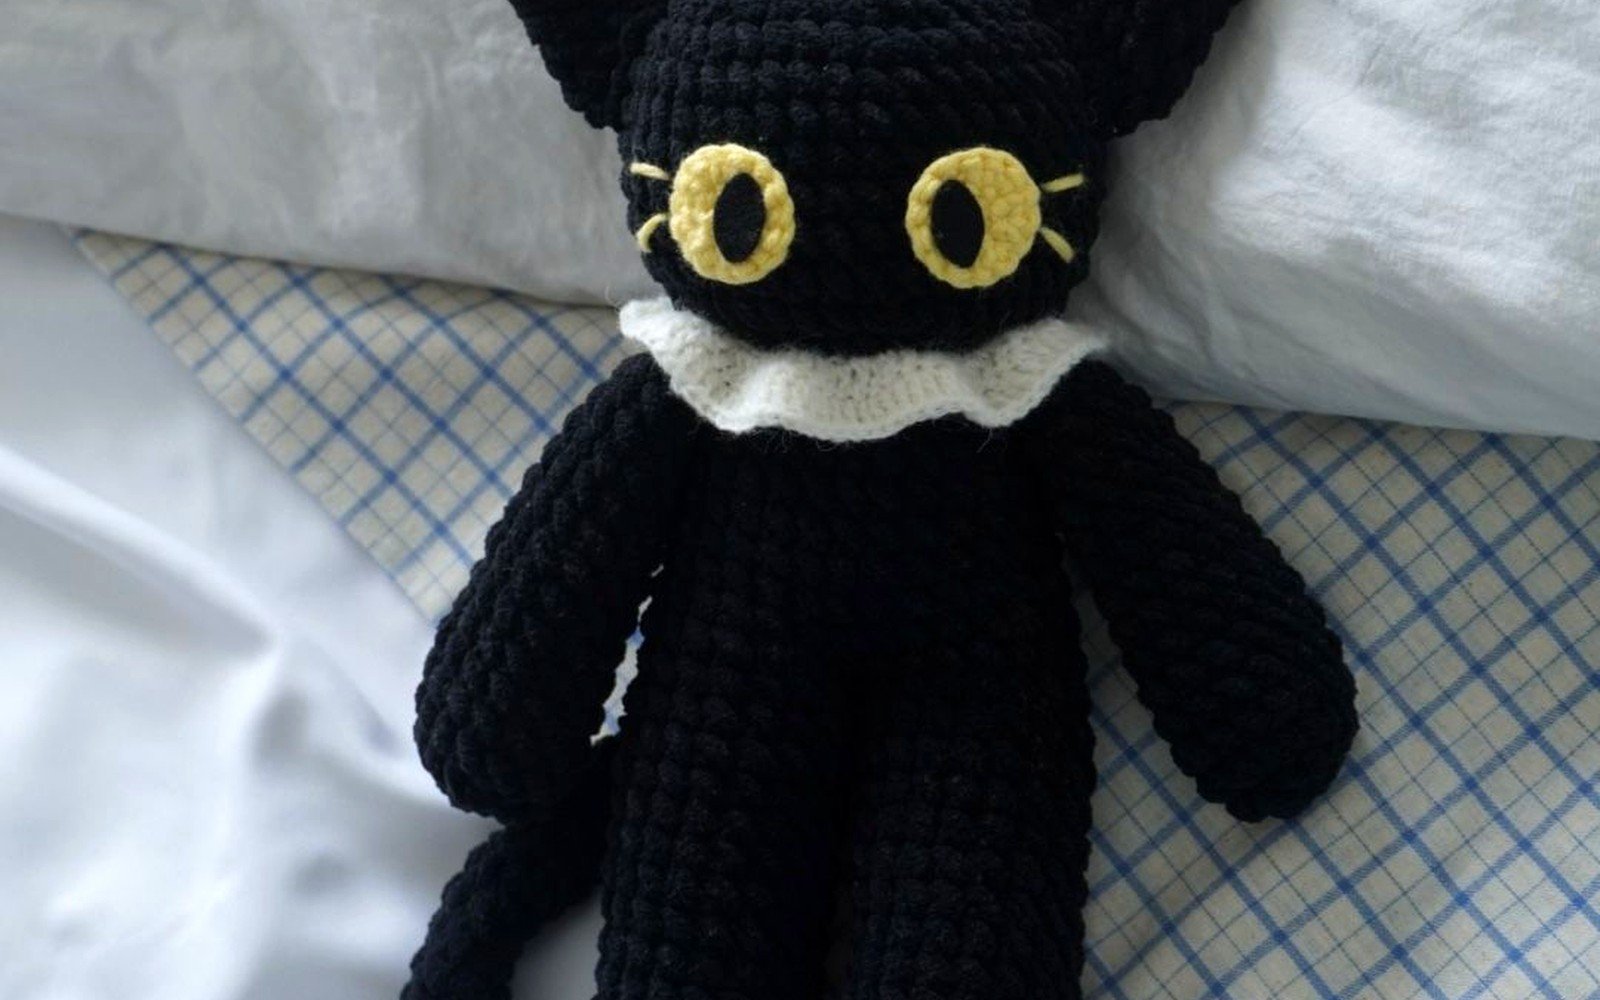
If you don’t want to use safety eyes you can embroider them with black yarn or use buttons or felted balls. I made one cat in summer 2024 with embroidered eyes because I ran out of safety eyes and didn’t want to wait for an Amazon order, and it actually looked pretty cute, more vintage-looking.
Nose is usually a triangle of pink or black yarn, embroidered on with satin stitch. Put it between and slightly below the eyes. Mouth is just a Y shape, upside down Y technically, with the stem of the Y being the line down from the nose and the two arms of the Y being the smile parts.
Some people add whiskers with fishing line or embroidery thread but I think it looks weird on amigurumi so I skip that part even if the pattern includes it.
Assembly Is Where Everything Goes Wrong
Even if you made all the pieces perfectly, assembly can mess it up. The key is pinning everything first before you sew. I use regular straight pins and just stick all the limbs and ears where I think they should go, then look at the cat from all angles.
Legs need to be symmetrical or the cat looks drunk. I learned this the hard way. Use a tape measure or just count the rounds from the bottom and make sure you’re attaching them at the same point on each side.
For sewing I use the same yarn as the piece I’m attaching, and I do a whip stitch all the way around each piece at least twice. You gotta pull it tight enough that there’s no gaps but not so tight that it puckers. This is where I get annoyed every single time because sewing amigurumi pieces is just not fun, it’s tedious and my hands cramp up.
The tail goes on the back obviously but the placement affects how the cat sits. Higher up and it sticks out more, lower and it curves under. I usually put it around round 3 or 4 from the bottom of the body.
Stuffing Technique
Use polyfil stuffing, the cheap stuff from Walmart works fine. Don’t overstuff or your cat will look like it’s about to explode. Don’t understuff or it’ll be floppy and sad.
Stuff as you go when you’re making the body and head, don’t wait until the end. For the body I stuff it about 3/4 full, firmly but with some give. The head needs to be stuffed more firmly so it holds its shape and the face doesn’t collapse.
I use the back of a crochet hook or a chopstick to push stuffing into corners and make sure there’s no lumps. Sometimes I’ll pull stuffing apart into smaller pieces before stuffing it in because the big clumps create lumpy spots.
Color and Pattern Variations
Once you know the basic construction you can make any kind of cat. Tabby cats need stripes which you can do by carrying yarn or just changing colors every few rounds. I made an orange tabby using Caron Simply Soft in Pumpkin and Mango, switching between them randomly to create stripe-ish patterns.
Tuxedo cats are easy, black body with white chest and paws. You change to white yarn for the belly section and the paw parts of the front legs. Some patterns have you make a separate white bib piece and sew it on which looks cleaner but is more work.
Calico cats are harder because you need multiple colors and the pattern needs to look random but balanced. I haven’t actually finished a calico yet, started one while watching The Bear season 2 but got distracted and it’s still sitting in my project bag.
Siamese or pointed cats need color changes at the face, ears, legs and tail. You start those pieces in the darker color then switch to cream or white for the body. The face is tricky because you need to change colors partway through the head rounds to create the mask effect.
Common Problems and Fixes
If your cat is leaning to one side it’s probably because the legs aren’t attached evenly or the stuffing is distributed weird. You can try restuffing or repositioning the legs but honestly sometimes you just gotta accept that your cat has character.
If the head is too heavy and flops forward you didn’t stuff the neck area enough. You can add more stuffing through the bottom before you close it up, or add a few stitches between the head and body to reinforce the connection.
If you can see stuffing through the stitches your tension is too loose or your hook is too big. Not much you can do except start over with a smaller hook or tighter tension, or line the inside with fabric which is extra work but does solve the problem.
Lumpy stuffing shows through and looks bad. Pull the stuffing apart into thin layers and add it gradually, smoothing as you go. Sometimes I’ll actually remove stuffing and redo it if it looks really lumpy.
Pattern Resources and Where to Find Them
Ravelry has tons of free cat patterns, some better than others. I usually sort by most favorited because that generally means people have actually made them successfully. Etsy has paid patterns that often include more detail and better photos.
PlanetJune has good realistic animal patterns including cats, they’re paid but worth it if you want something that actually looks like a specific cat breed. The instructions are really clear with lots of photos.
YouTube is helpful for seeing how certain techniques work, especially if you’re having trouble visualizing how to shape the head or attach the legs. I watched like five different videos on magic ring before I finally got it to work properly because apparently I was pulling the wrong tail or something—
Once you’ve made one cat the next ones go faster because you understand the construction. I can make a basic sitting cat in maybe 6-8 hours now spread over a few days, whereas my first one took like three weeks because I kept frogging and redoing sections.
The nice thing about cats versus other amigurumi is people actually recognize what they are. Make an elephant and people are like “oh what’s that, a pig?” but a cat is obviously a cat even if your proportions are a bit off. Low stakes, good project for learning amigurumi basics without getting too stressed about perfect results.
